Trick or Treat with Suzz
Hopefully today’s tutorial will teach you a new trick and be a treat!
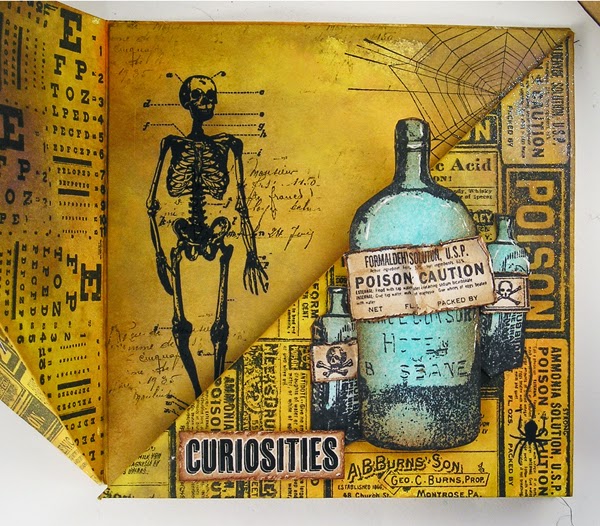
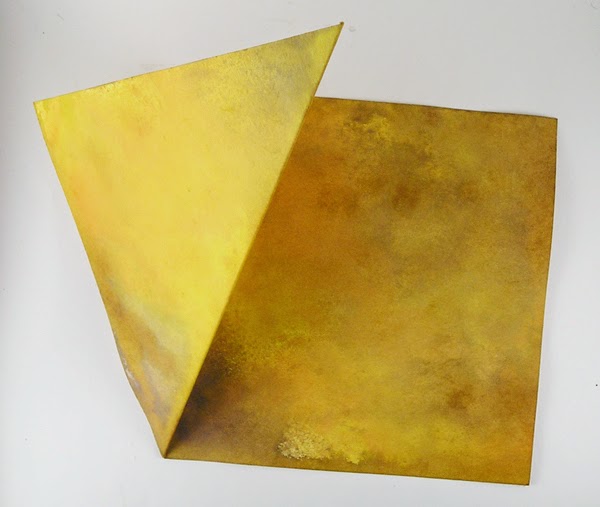
You open up the left flap:
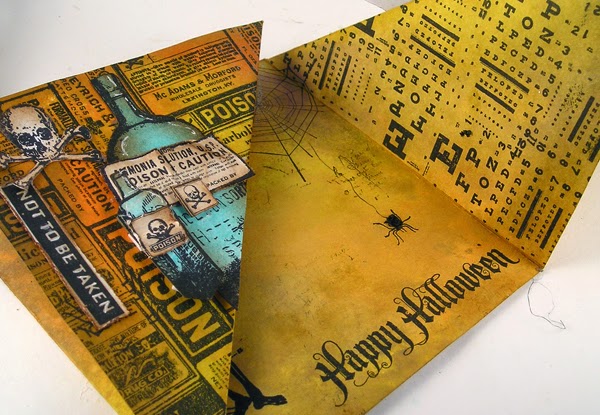
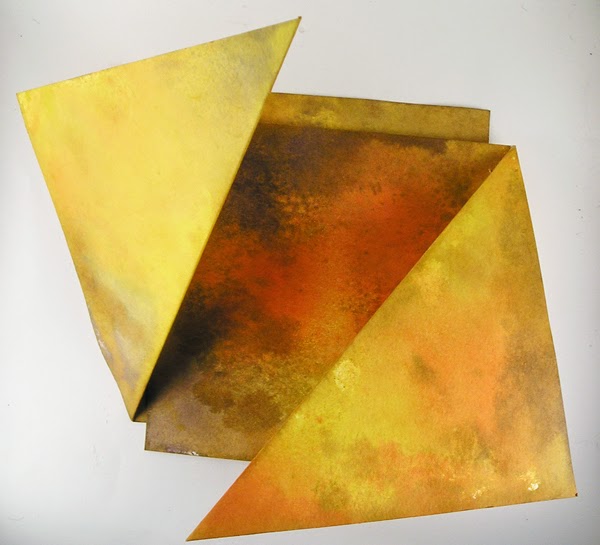
And then the right flap:
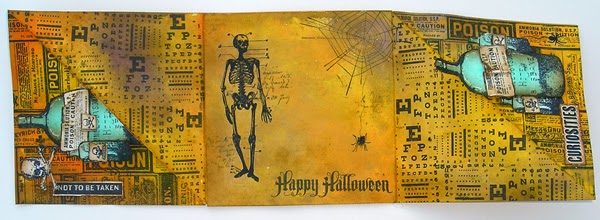
Completely open the card lays flat like this:
Here’s how to make a card like mine.
I cut two pieces of white cardstock measuring 5 1/2″ x 11″.
I scored the cardstock at 5 1/2″. I then scored on a diagonal from the top left corner to the middle score on a diagonal and folded it back. To score the opposite side score at 5 1/2″. I then Score from the bottom right corner to the middle score at the top.
You will tape down the center pieces in the middle together. I wait until I am done with all my stamping before putting the two pieces together.
This is how the card looks with the two front folds folded back and the middle opened up:
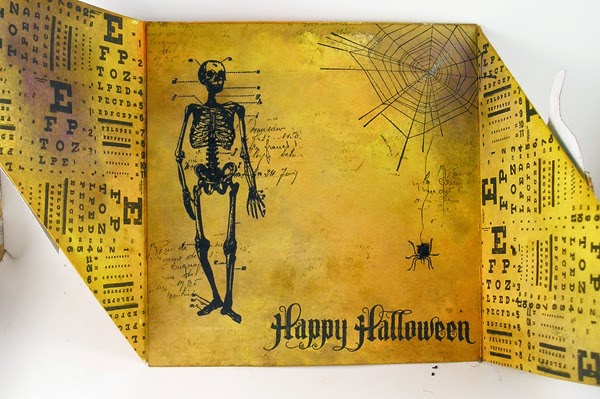
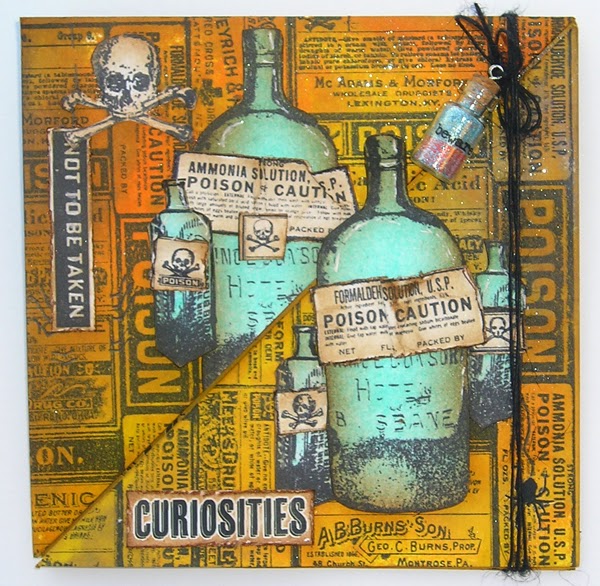
The rest of the design is deciding what you want to use for your front and inside design. I decided to use this as a Halloween card for my oldest. I will send it off to him with a gift card inside.
Products: Bone Folder, Idea-ology – Apothecary Remnant Rub-Ons, Stampers Anonymous – Poisonous, Stampers Anonymous – Mini Halloween 3, Stampers Anonymous – Halloween, Visual Artistry – City Central, Ranger Archival Ink – Black, Ranger Distress Sprays – Spiced Marmalade, Mustard Seed, Dusty Concord, Paper Artsy – Hot Pick 1205, Signo – Uni-Ball White Gel Pen, Tattered Angels – Glimmer Mist – Turquoise

Thank you Suzz for the new crafty tricks! Now guess what? it’s your turn! Join us this week in the challenge and show us what techniques you’re ready to rock!
Challenge Badge

Spotlight Badge


What an interesting card. Thanks for the detail steps. I’ll give this a try & hope that mine looks 1/2 as good as yours.
Melissa
“Sunshine HoneyBee”
Very cool folds. I really love the little poison glitter jar detail.
Definitely going to try this new trick. Such a treat!! Love your card Suzz. Fantastic vintage feel and the colors you used are awesome. Can’t wait to try this! — Mary Elizabeth
This is great!
Wow! This is so cool! What a fun idea! Love all the staming and interaction! Hugs, Sandra
Very cool!
I love how your project turned out, Suzz! And folding seems so…do-able! I think I can handle this, which is always a plus! Thanks for the inspiration and for such a clever technique that can still be done by a commoner such as myself! ;)
This is such a fun and awesome project! Love your grew inspiration, Suzz.
Great inspiration.
Great interactive project Suzz! This is so much fun and has so much wonderful detail ~ I love it and thank you for sharing your tutorial! :)
Awesome project! Love all the spooktacular stamping!
Absolutely wonderful card! Love this and thanks for sharing with us your tutorial! BArbarayaya