Candied Poinsettias with Suzz
Happy Holidays! Suzz here. Andrea is always inspiring me with her use of cloth in her projects and had me thinking how could I create a different look and feel for the traditional poinsettia?
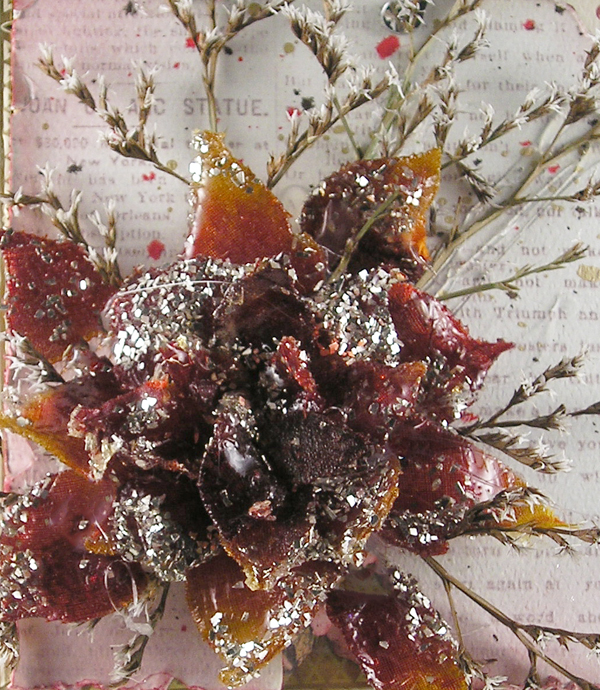
I decided to play around with a poinsettia dye, some linen cloth and some inky sprays to create a candied poinsettia.
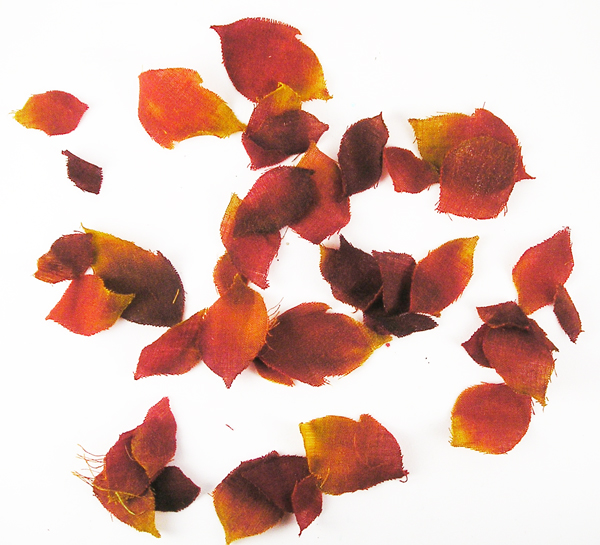
1. Die cut a variety of linen petals.
2. Spray all the petals with yellow ink.

3. pour a little of the red spray and mix in brown into a bottle cap.
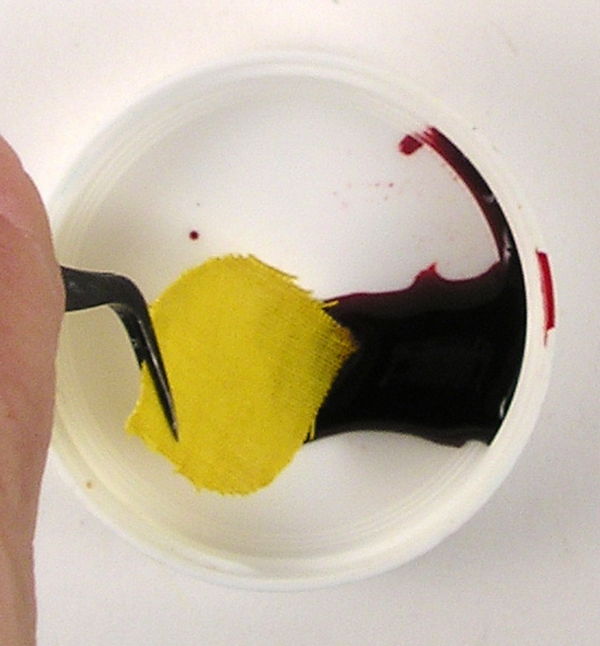
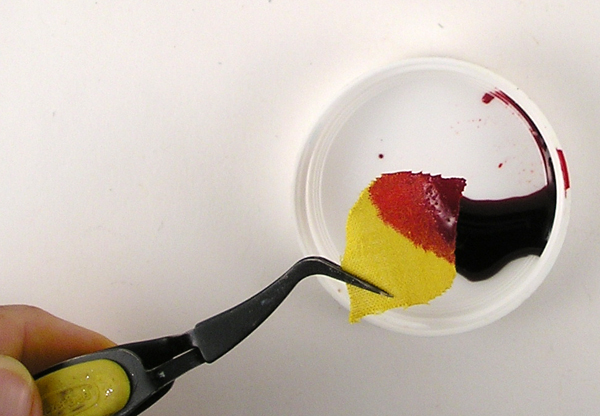
4. Using tweezers hold one end of the petal and dip the other end into ink. This will continue to spread after you pull it out of the ink. I left mine in and had 1/4 soaked before I pulled it out and most of my petals ended up mostly red. So a little goes a long way.
5. Repeat until all petals are done and dried.
Now onto the candied effect.
6. Heat up the melt pot and pour in a big batch of clear embossing powder. I used super fine as I have large quantities but this would work with any clear embossing powder.
7. While that is melting pour a capful of silver glass glitter into the top of the glitter.
8. Pick up a petal with the tweezers and dip it completely into the clear melted embossing powder. The petals are hard to release when they dry so you should have a second metal stylus/tool to push them off onto the craft mat. Also if you get extra embossing powder on your metal pieces you can heat them up with the glue gun and wipe off the excess with a stack of baby wipes (so you don’t burn your fingers)
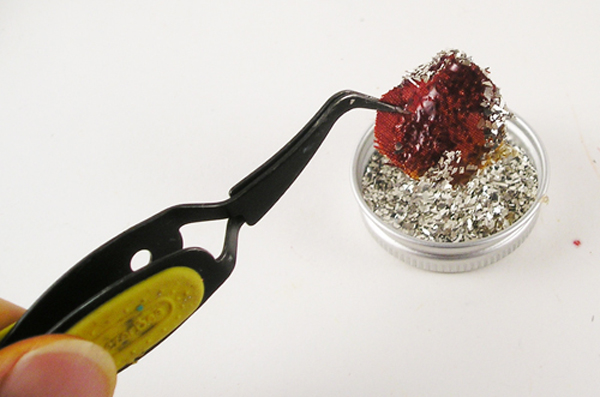
9. While the petal is still hot and melted dip edges into the glitter. Set aside to cool off. (I set these directly onto my craft mat and they will not stick.)
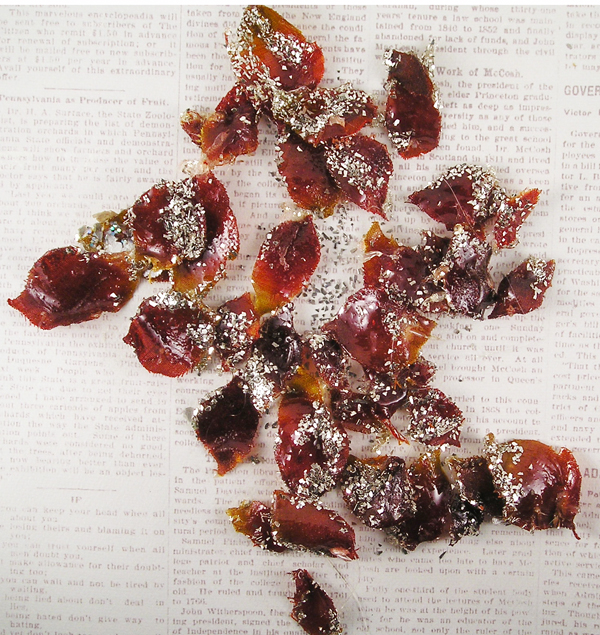
10. Repeat on all the petals.
Now we get to assemble our poinsettia. I chose to use hot glue for mine but you could also use the melted embossing powder to assemble the flower but it would require much more time and patience to wait for it to cool off in place.
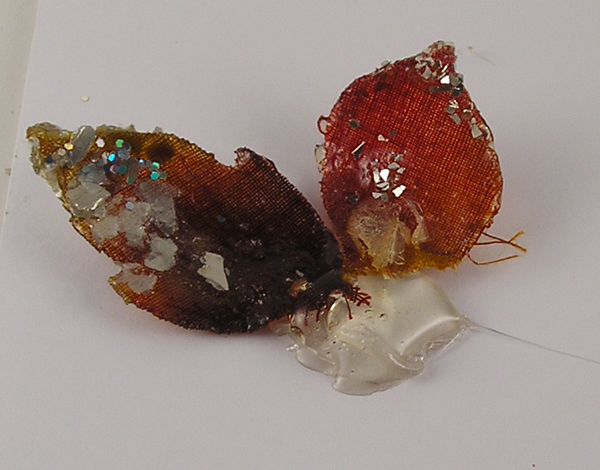
11. Heat up the glue gun and line up your petals by size to help quickly put them in place.
12. Place a dollop of glue in the center of where you want your middle of the poinsettia to be and place your larger petals in a circular shape.
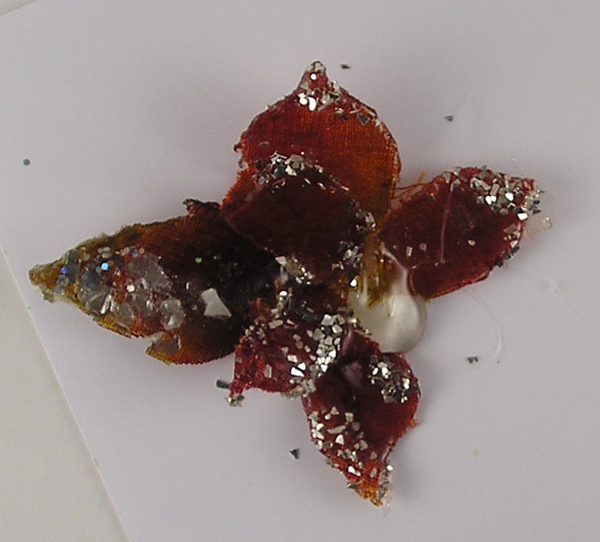
13. Apply more glue to the center of the flower and add another of petals. Repeat until all layers are put together.
I decided to use an old cigar box and cover it in some pretty Christmas papers and glue my flower to the box to use as a re-usable gift box.
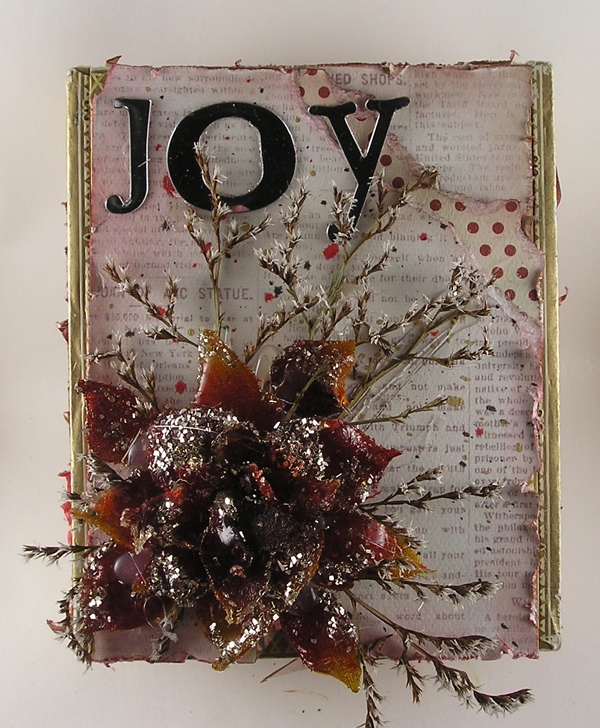
Products: Ranger Distress Spray – Mustard Seed, Barn Door, Vintage Photo, Sizzix Tattered Poinsettia Die , Simon Says Exclusive Clear Embossing Powder, Stampendous Silver Crushed Glass Glitter, Tweezers, Ranger Melt Pot, Mini Glue Gun, Glue Sticks, Idea-ology Mirrored Sheets, Alphabet Dies, Ranger Distress Ink – Aged Mahogany, Vintage Photo
Happy Holidays!
Suzz
Challenge Badge

Spotlight Badge


Oh my gosh! This is perfect! When I first saw the post, I was sure that the flower was candy!
WOWZERS! This is absolutely AMAZING! GORGEOUS!
So pretty!
Each little petal is a work of art in itself. Lovely!
Looks good enough to eat. But maybe not ROFL. Hugz
This is amazing! Wow! gorgeous
Wow, thanks for the inspiration, these are stunning.
This is an incredible idea! Your tutorial is perfect! Thanks for sharing! barbarayaya
oh my gosh, your creative mind.
WOW! the effect is sooo amazing! thanks for a fabulous tut! LOVE this! xxD
OOOOOOOOOOOOOOOOOOOOOOOOO! These are fantabuliscious!! I am going to be giving this a try!! LOVELOVELOVE this!!!!! TFS!