Creating a Tone-on-Tone Background with Diecuts with Kristina Werner
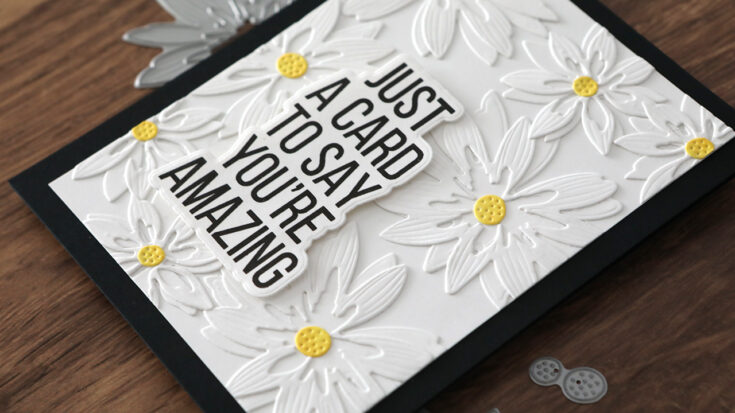
Hi all! Kristina here. Today I have a fun tone-on-tone card for you. I used the Dreamy Daisy Layers dies to create a textured background.
I started by die cutting all the dies in the set four times out of white cardstock. Then I assembled the petal pieces on white cardstock and adhered them using a liquid glue.
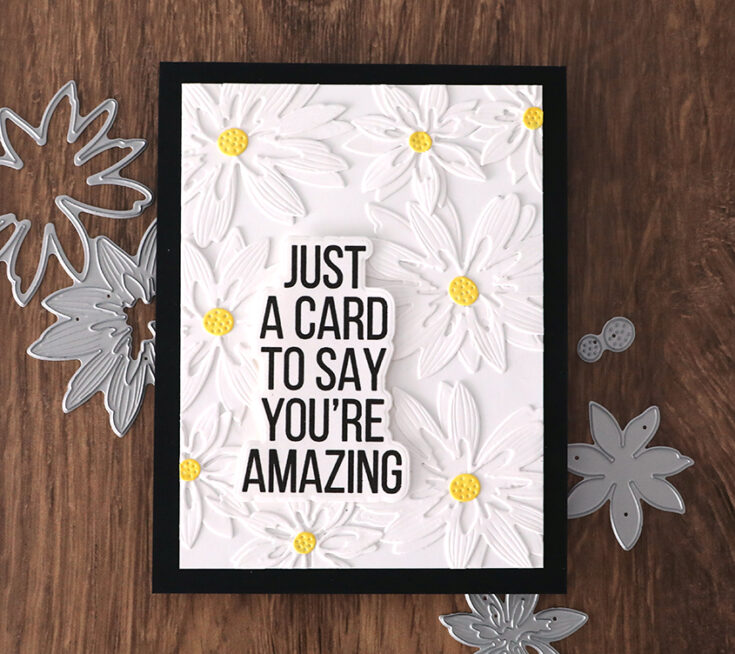
For the center of the flowers, I used Sunbeam ink and a blending brush to color them yellow. Then I adhered them to the center of the flowers.
To finish off the card, I used the XL Greetings 2 stamp set to stamp a greeting and die cut it using the coordinating dies.
Thanks for stopping by!
Supplies
|
Yippee for Yana: Sunflowers & Copic Blend Free Coloring
Hi friends! We’re delighted to welcome back special guest Yana Smakula! You may or may not know that Yana is Ukrainian. Yana is our dear friend and part of our Simon Says Stamp family. We encourage you to read her post if you are looking for ways to help during this trying time for our Ukrainian friends and family.
Hello, crafters, this is Yana Smakula for Simon Says Stamp! Welcome back for another Yippee For Yana video!
As you may or may not know, I am Ukrainian and I am currently located in western Ukraine. You might think this is not the time for me to be making cards and filming videos, but card making has always been my therapy and it is even more so now. I will continue to create cards and film videos for as long as I can. And I thank you for your support.
Instagram is booming with blue and yellow cards these days. There are so many amazingly inspiring projects featuring the two colors of the Ukrainian flag – blue, for clear blue sky, and yellow, for fields of wheat or fields of sunflowers which is a national flower of Ukraine.
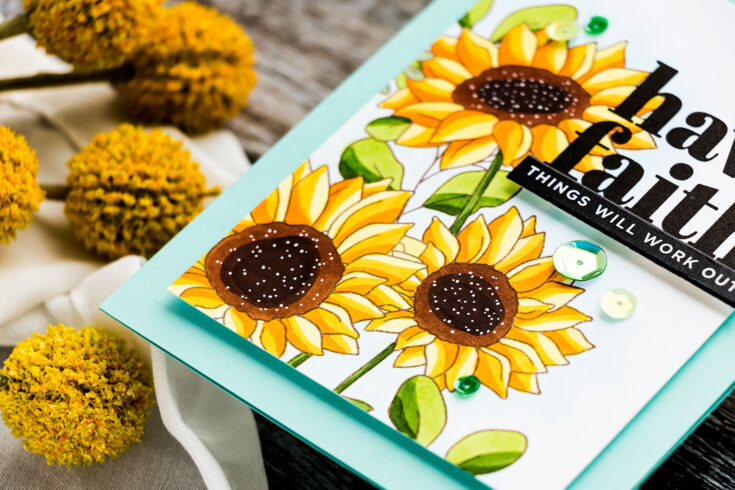
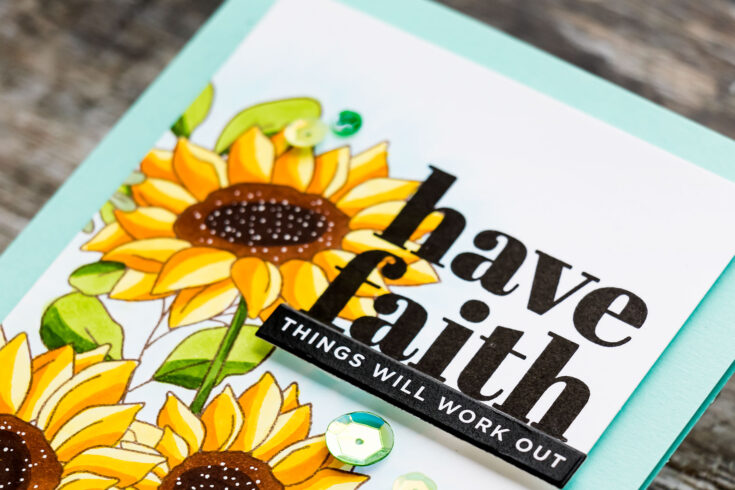
I was inspired by all your projects, I wanted to create a sunflower card myself. Simon Says Stamp has several amazing stamp sets that feature sunflowers, either alone or in combination with other flowers. I picked the Sunflower Garden stamp set.
I love all things abstract and I also love to experiment with my Copic markers. This led me to a different way to color which I like to call Copic Blend Free coloring. I say Copic because I use Copic markers for this technique, but other alcohol markers work just as well.
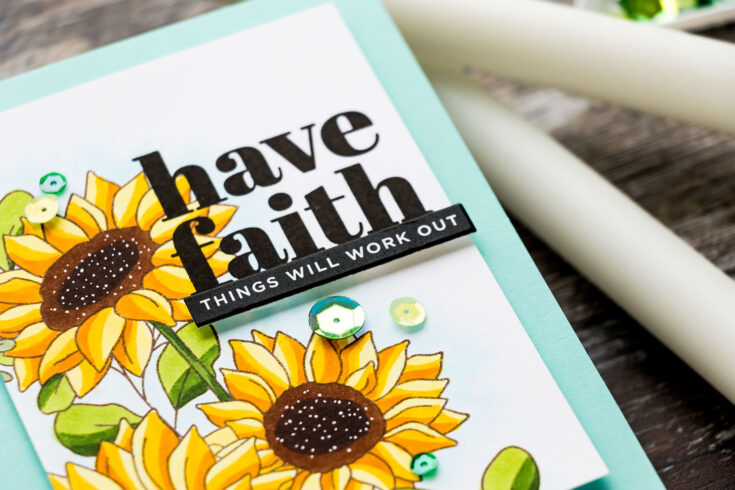
The finished image has a modern graphic colored look to it, and the best part about it is you don’t need alcohol markers that blend well together, in fact, the greater difference in color or shade of your markers, the better it is for this technique.
I stamped the image in Versafine Vintage Sepia ink, I didn’t want to use black, as I opted for softer colors. You can also try stamping in the type and color of ink you use for no-line Coloring, and use this coloring technique for a no-line colored result. I imagine that would look quite beautiful. I’m hoping to try it one day.
My stamping was done on Simon’s 130lb cardstock as I love this paper for coloring with Copic markers. I used my heat tool and heat set the ink as the type of ink I used is not Copic markers friendly and it bleeds when it comes in contact with alcohol.
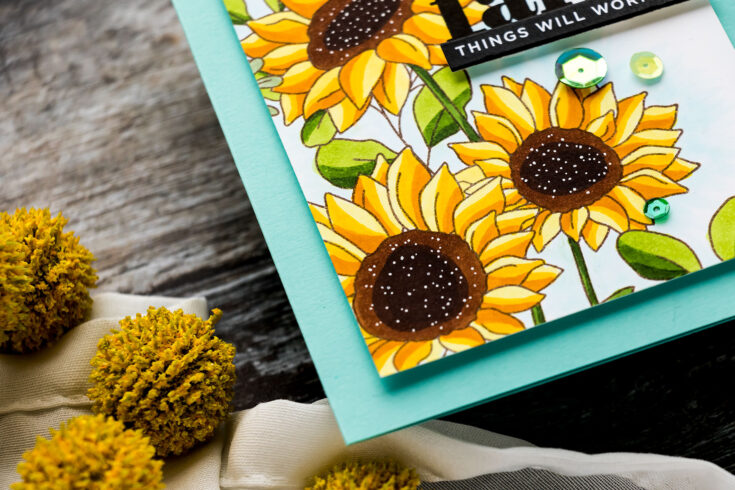
I trimmed my panel to 3 1/2 x 4 3/4” and began coloring. The idea is not to do any blending. To achieve this, you need to let the ink you’ve applied dry before you apply the next color on top.
You can use this coloring method with many different images and I’ve demonstrated the technique in the past featuring both small and large images. It works not only for flowers but other types of images too.
The darker you go, the less of an area you cover. Remember not to blend anything, just apply a solid layer of color. It is up to you how many marker colors to use to color your image in this way. I would say use 3 markers, a light, a medium, and a dark. If you have a big marker collection you can add a 4th or even a 5th color to add greater color variation to the flowers, especially if you are coloring a larger image.
I love this coloring method and the final result. It looks very different from the blended coloring. I know this is not for everyone, but ever so often I like to color this way. If you struggle with blending using your alcohol markers, this might be a very easy way for you to color.
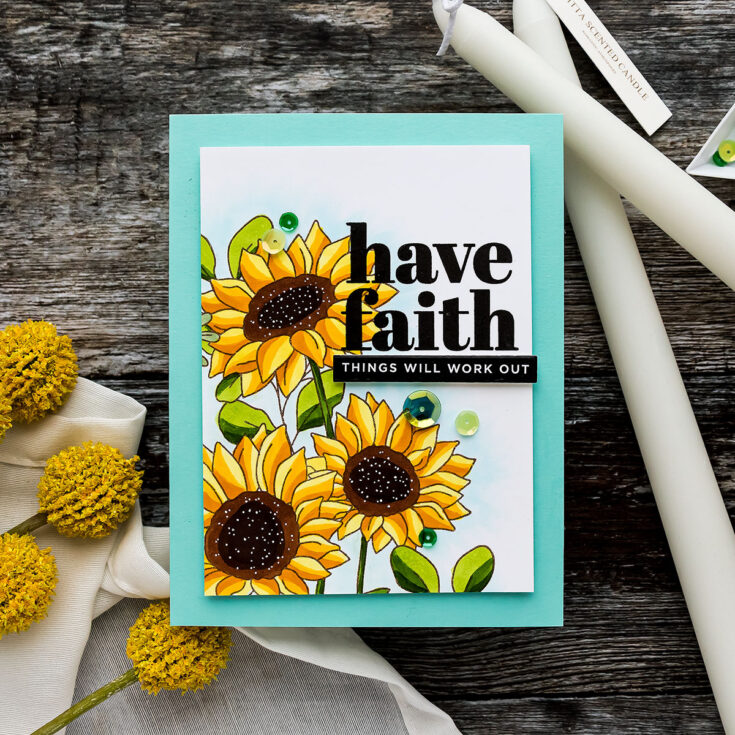
Next, I stamped a sentiment for my card – I selected one that reads Have Faith. We all need to have faith these days and believe in a peaceful tomorrow. Here I used Versafine Onyx Black ink to add more contrast to the sentiment.
To add detail to the flower centers I used my 0.5 Sakura Gel Roll pen and added white dots in small clusters onto the brown centers. They helped create the highlights for the seeds.
I foam mounted this panel onto a light blue card base and added a “things will work out” sub sentiment cut out from one of Simon’s pre-printed sentiment strips. I also embellished my card with the Four Leaf Clover sequins from Simon.
Thank you for spending time with me today. Thank you for your encouraging comments, emails, and DMs. I have faith and I hope peace will be here soon.
WATCH THE VIDEO:
SUPPLIES:
|
Thanks so much for stopping by, and thanks again to Yana for being our guest! Again, if you are looking for ways that you can help support Ukraine, please visit Yana’s post HERE.
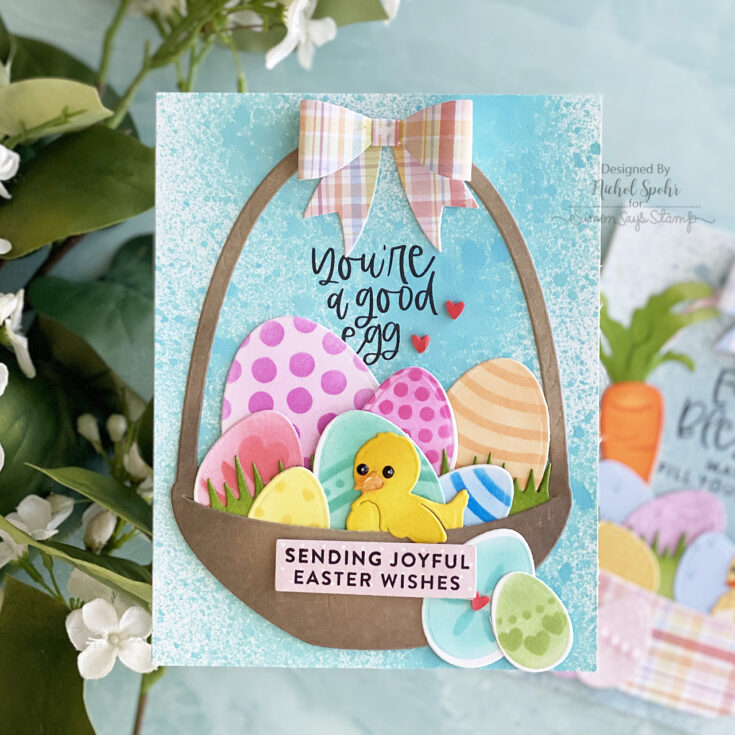
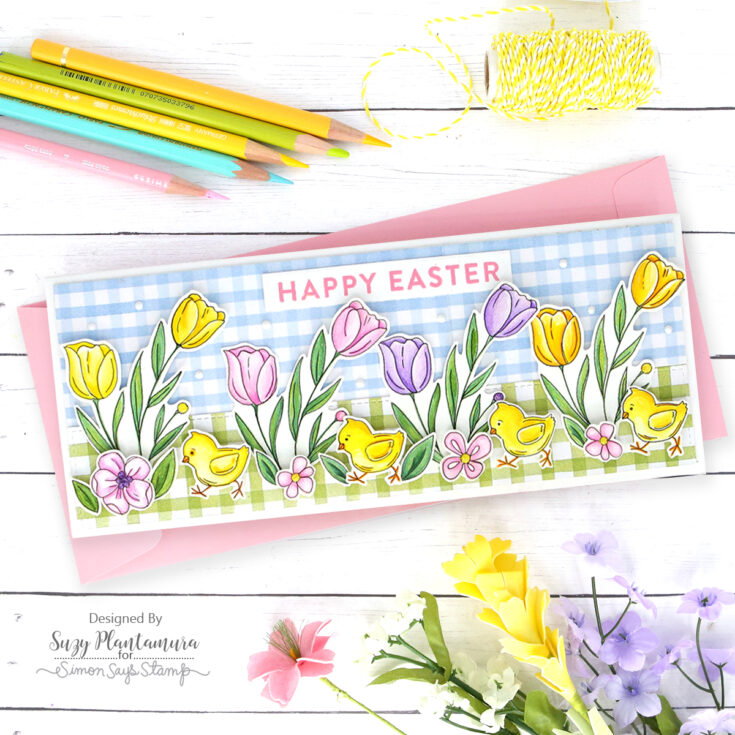
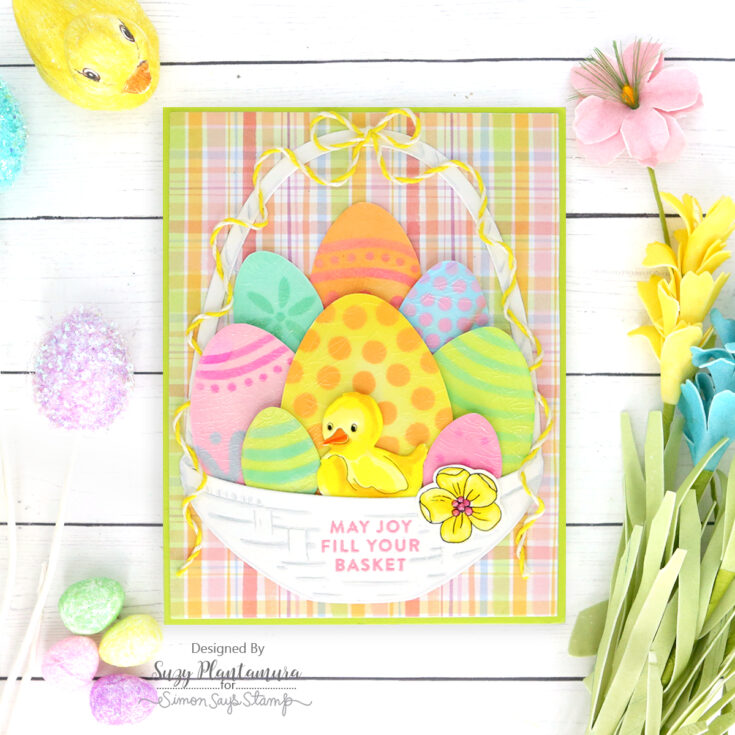
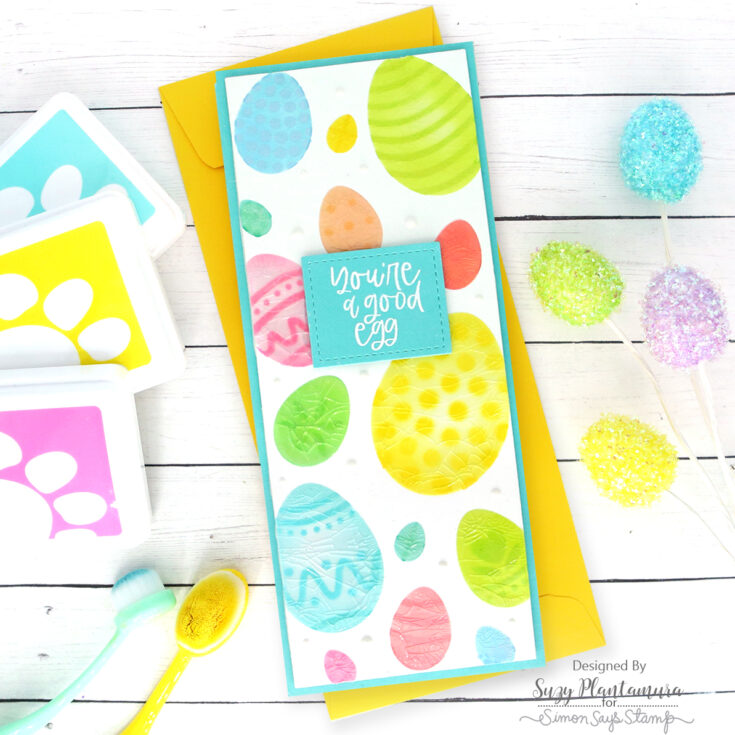
It’s HERE! Our Limited Edition 2022 Easter Card Kit; Easter Joy!
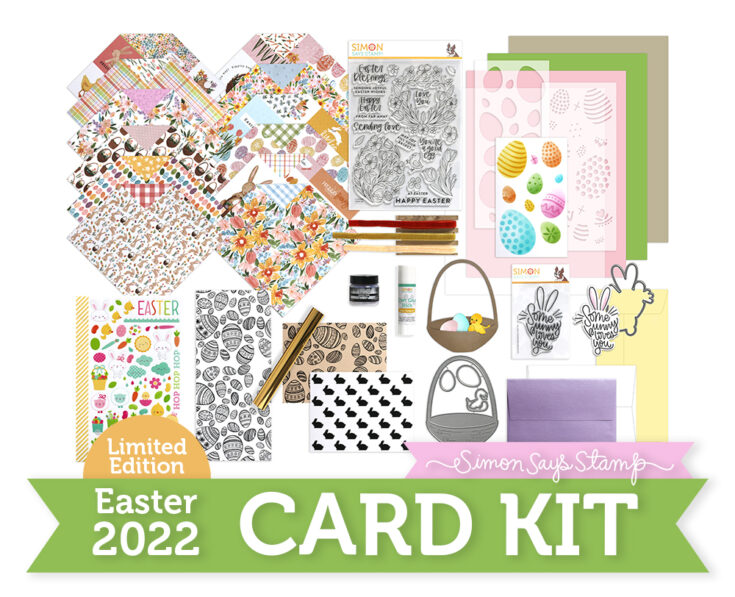
Happy Tuesday, fellow crafty friends! SURPRISE! We have a super fun Limited Edition Easter kit to share with you today! : ) ! We hope you are inspired by this special kit with hand-picked ingredients in the spirit of SPRING, Easter, and all things HOPPY as well as sharing cards with those that are special to you.
The always fabulous Laura Bassen made the intro video to this kit along with some fabulous inspiration! Don’t miss it!!
Please note this is a limited edition kit that must be purchased separately from a subscription.
WATCH THE VIDEO:
This JAM PACKED kit has a retail value of over $100!
Kit includes:
NEW and EXCLUSIVE Simon Says Stamp Easter Joy 6×8 inch clear stamp set
NEW and EXCLUSIVE Simon Says Stamp Somebunny Loves You 3×4 inch clear stamp
NEW and EXCLUSIVE Simon Says Stamp Somebunny Loves You coordinating die set
NEW and EXCLUSIVE Simon Says Stamp Set of 2 Layering Eggs Stencils
NEW and EXCLUSIVE Simon Says Stamp Large Easter Basket die set
1 sheet of each design of Echo Park My Favorite Easter 6×6 inch paper
1 sheet of Doodlebug Mini Icons Easter Express Stickers
3 Tim Holtz Velvet Ribbons (mustard, yellow, rust) 1 yard of each
1 container of one fluid ounce Ranger Icicle Mini Crackle Paste
1 Therm O Web Limited Edition White Deco Foil BASKET OF FUN White Toner Card Front
1 Therm O Web Limited Edition White Deco Foil BASKET OF FUN Slimline Toner Sheet
1 Therm O Web Limited Edition Kraft Deco Foil BASKET OF FUN Kraft Toner Card Front
1 sheet of 6×6 inch Therm O Web Gold Foil
1 Simon Says Stamp Exclusive Glue Stick
1 sheet Simon Says Stamp 8.5 x 11 inch cardstock in Cotton Candy
1 sheet Simon Says Stamp 8.5 x 11 inch cardstock in Green Apple
1 sheet Neenah 8.5 x 11 inch cardstock in Desert Storm
1 sheet of 8.5 x 11 inch Simple Foundations translucent Vellum Paper
1 Simon Says Stamp Envelope in White
1 Simon Says Stamp Slimline Envelope in Lemon Chiffon
1 Simon Says Stamp Envelope in Metallic Lavender
Ever wonder what all you can do with our glue stick? This quick tip video showcasing our EXCLUSIVE Simon Says Stamp Glue Stick (included in the kit) just might help! :)
GET INSPIRED!!
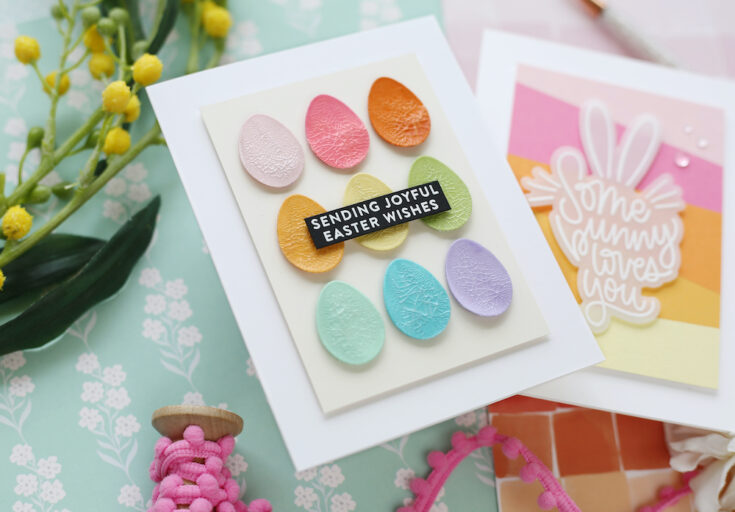
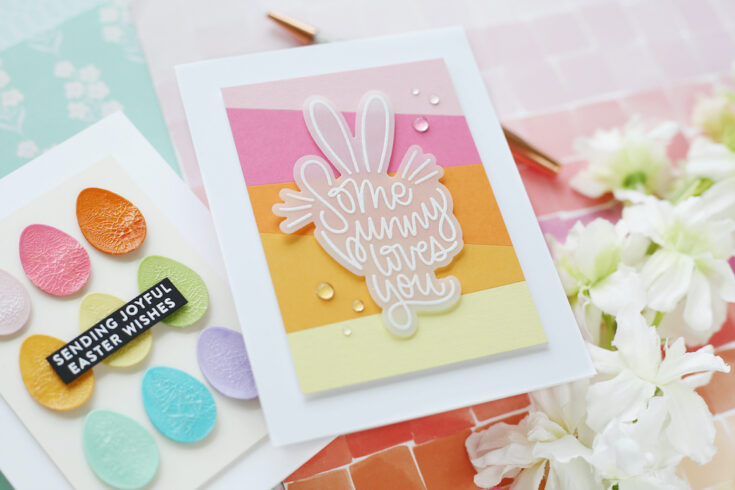
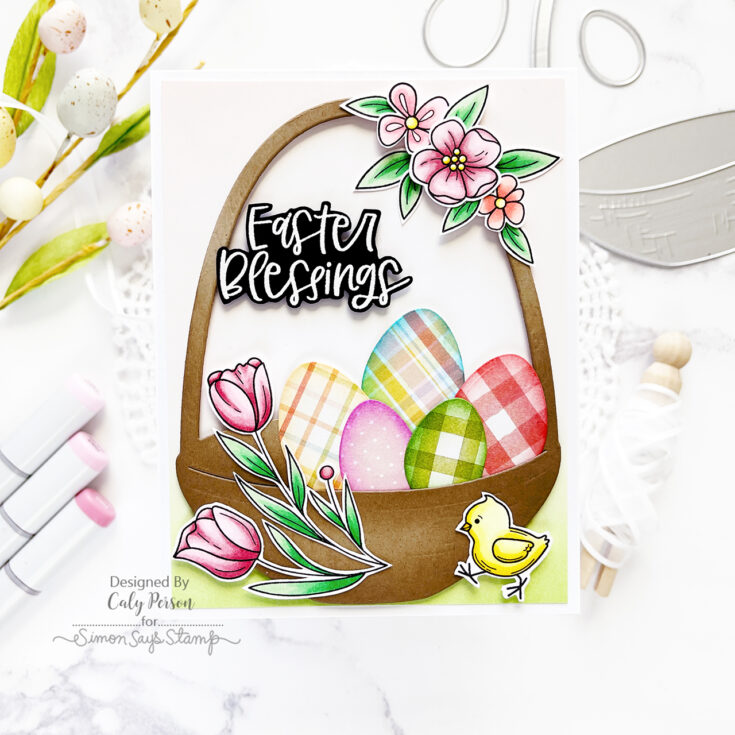
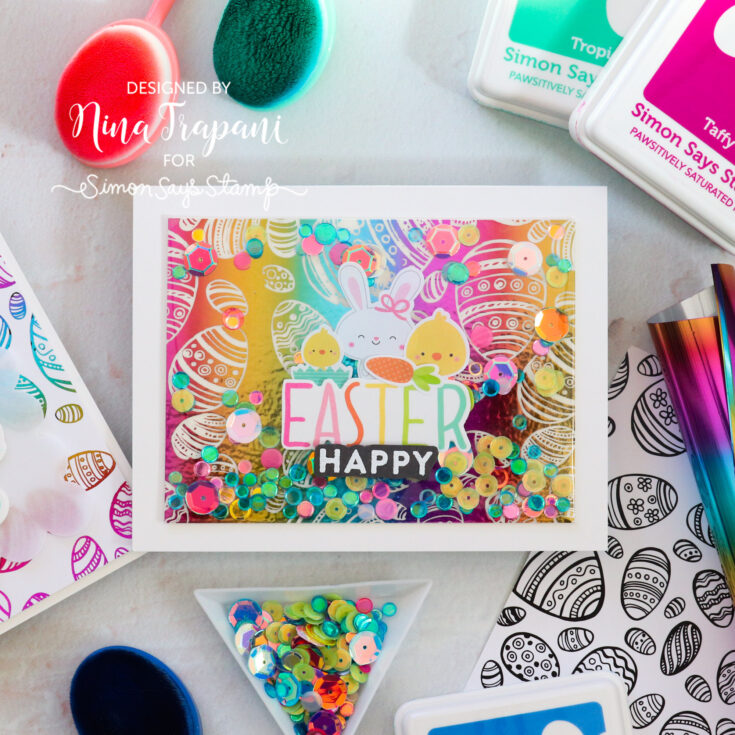
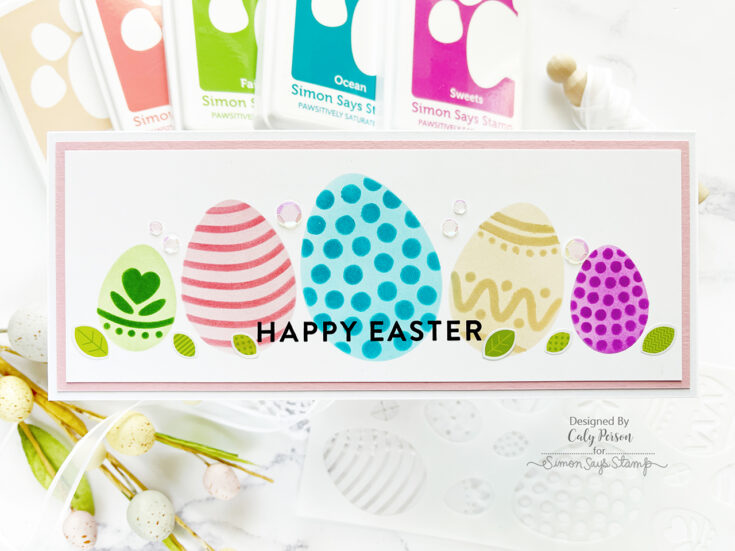
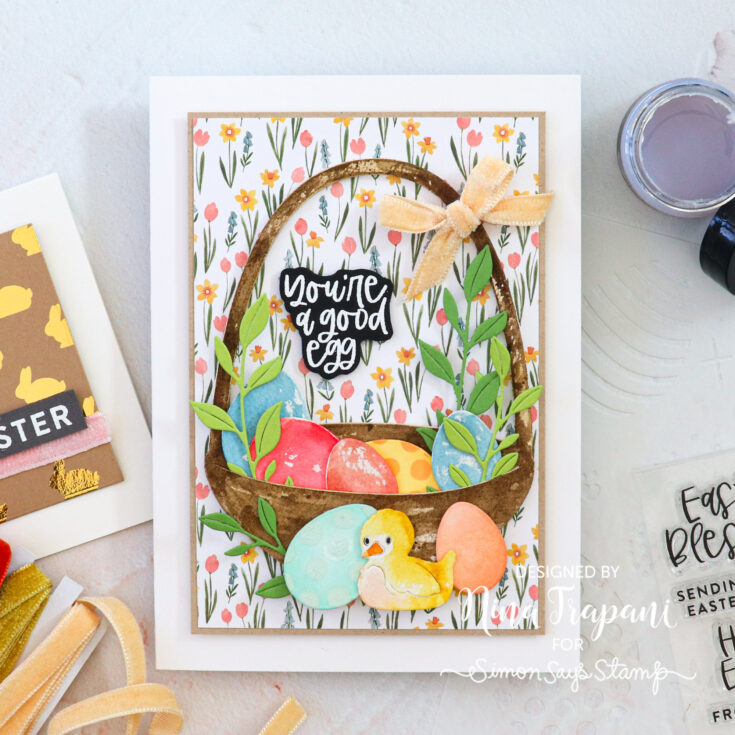
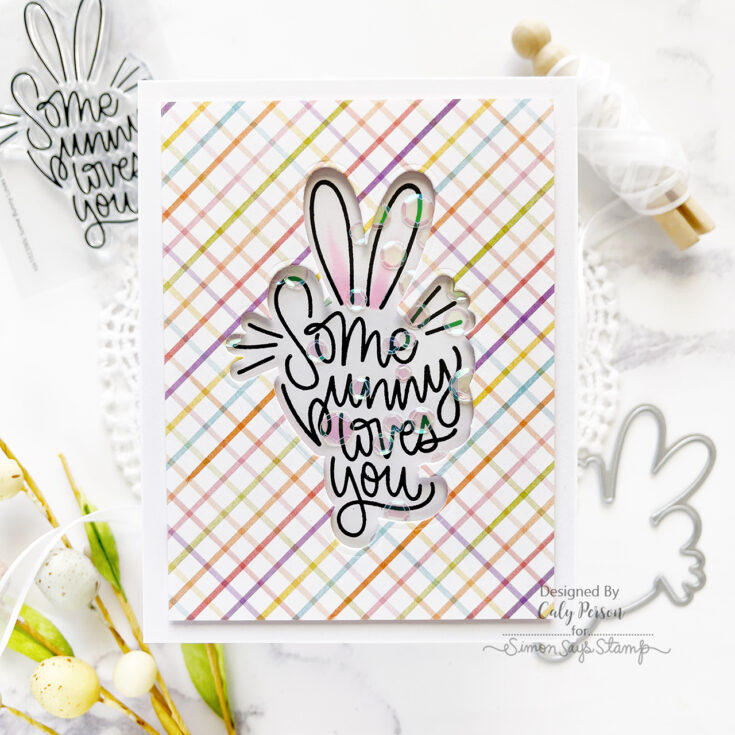
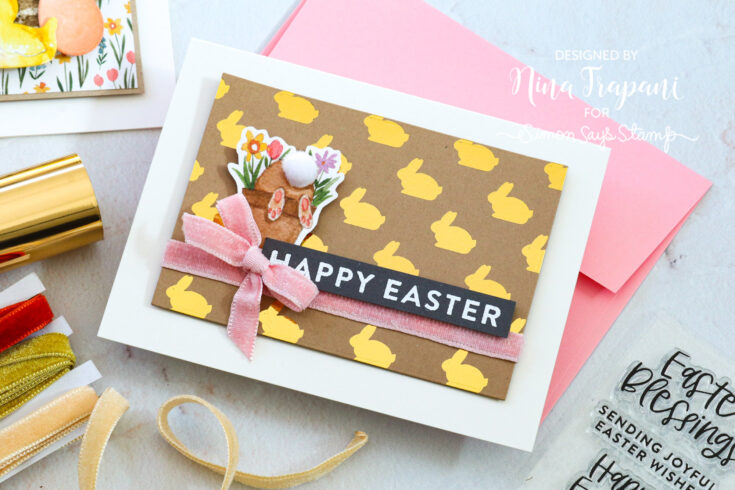
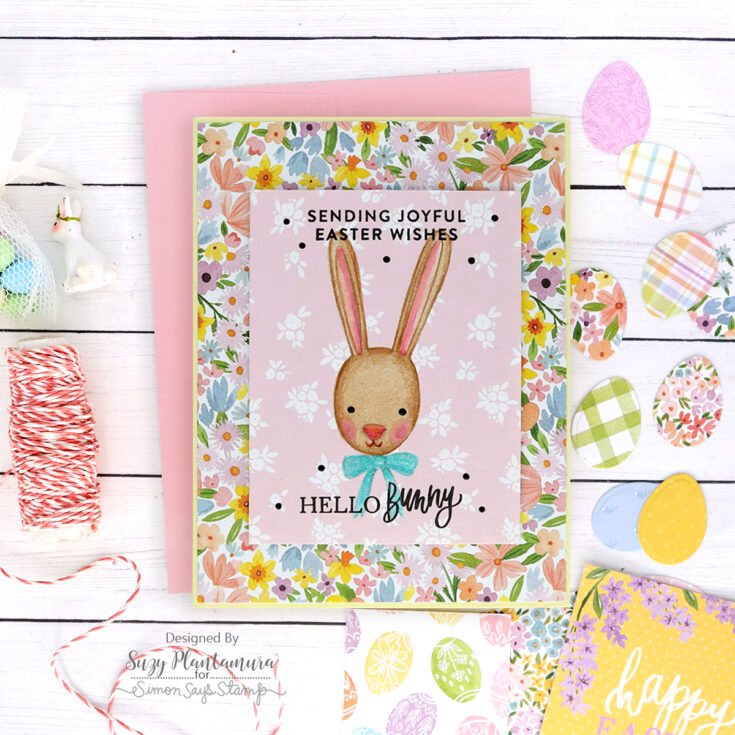
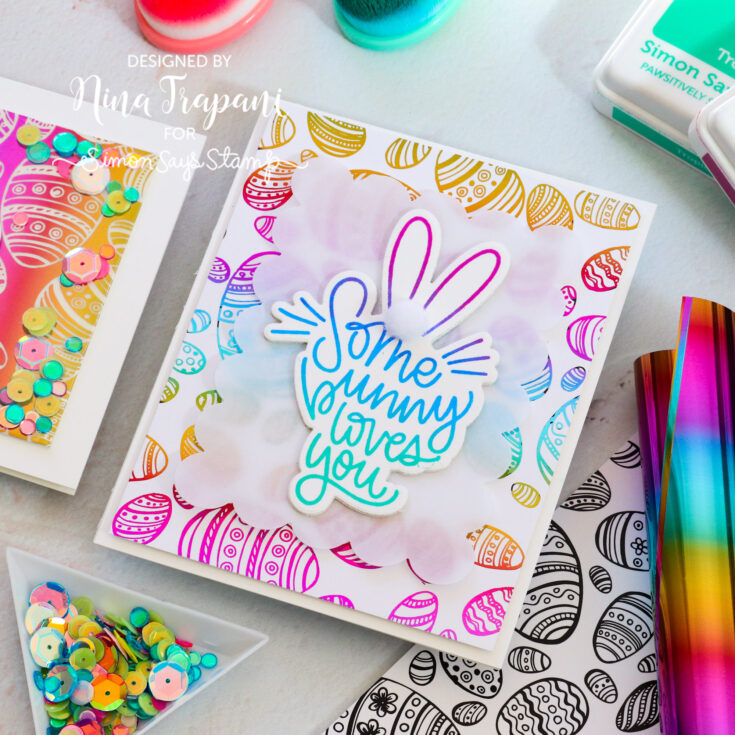
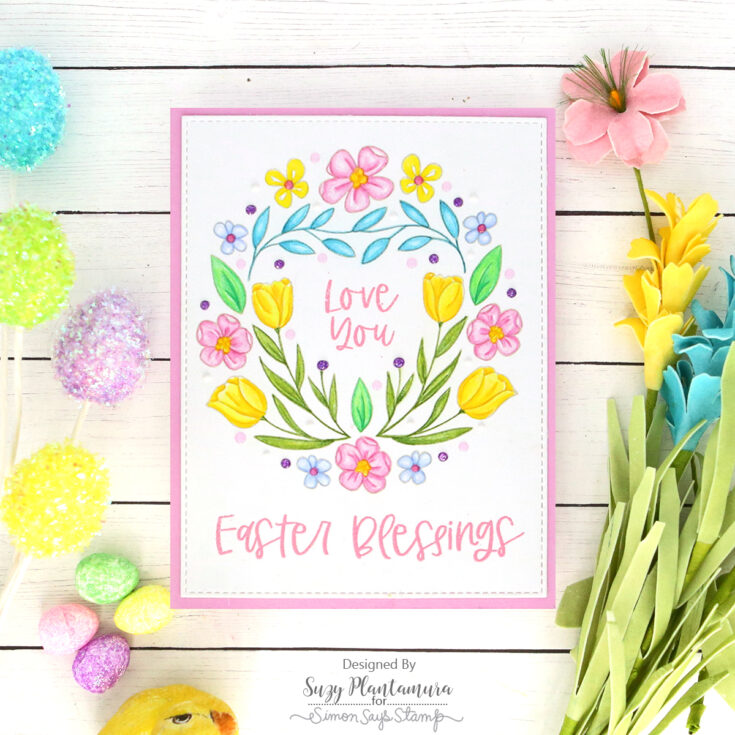
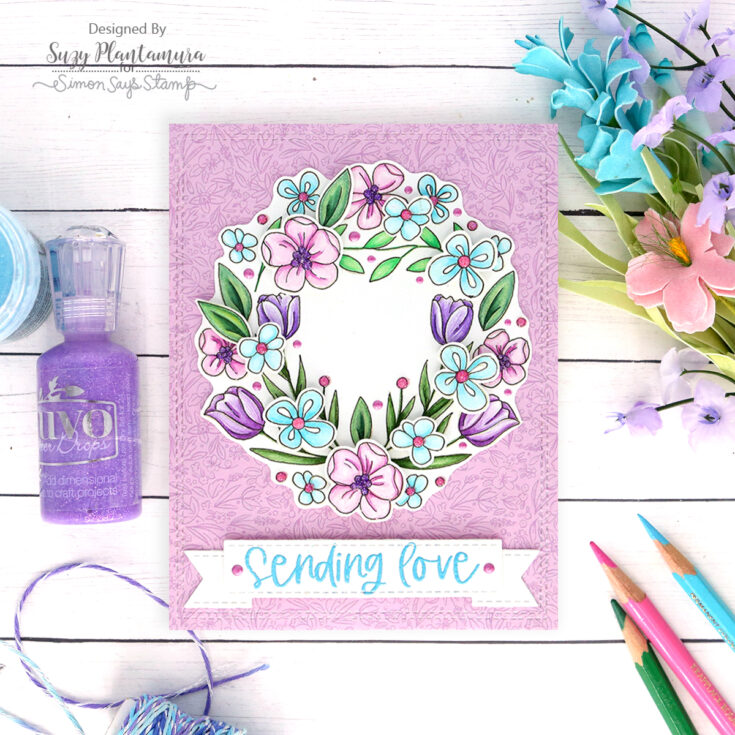
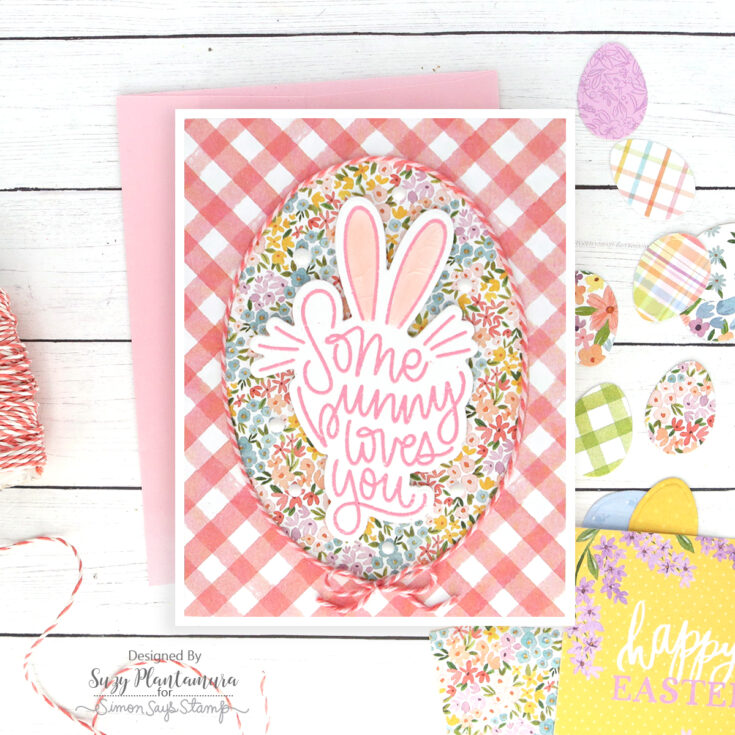
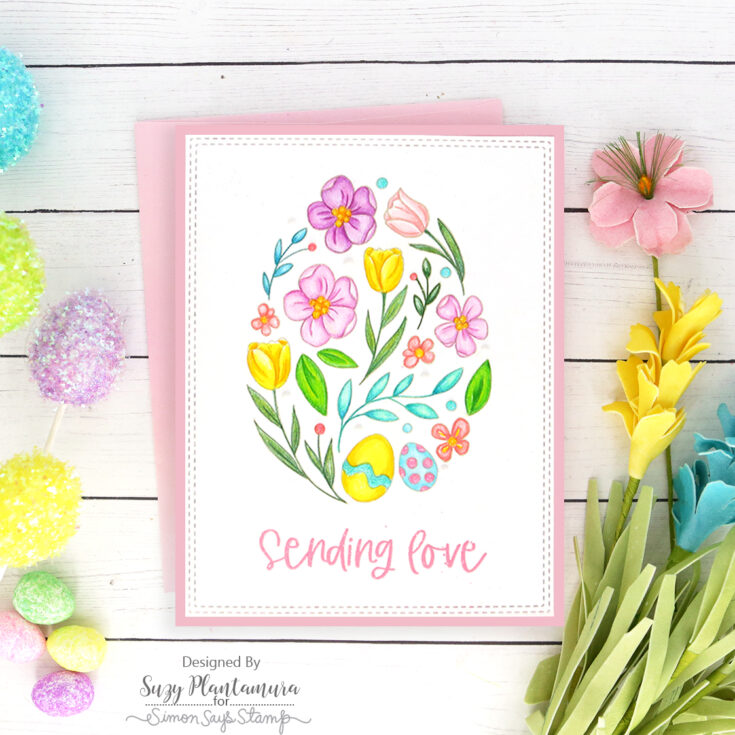
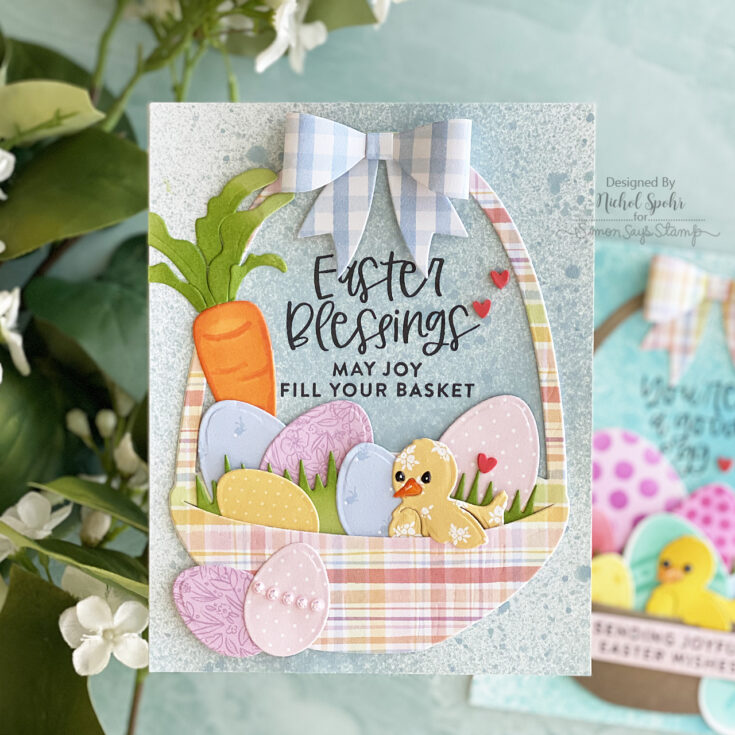
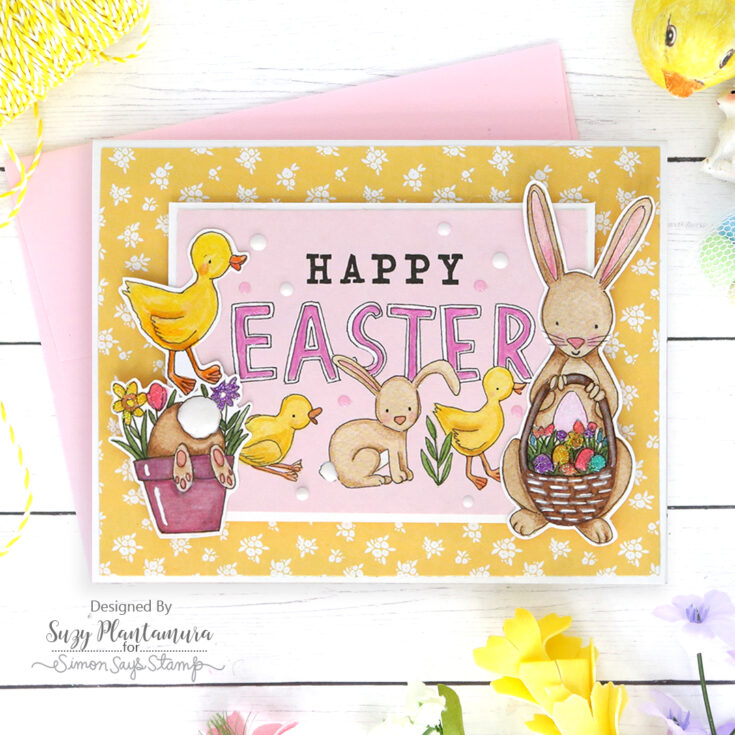
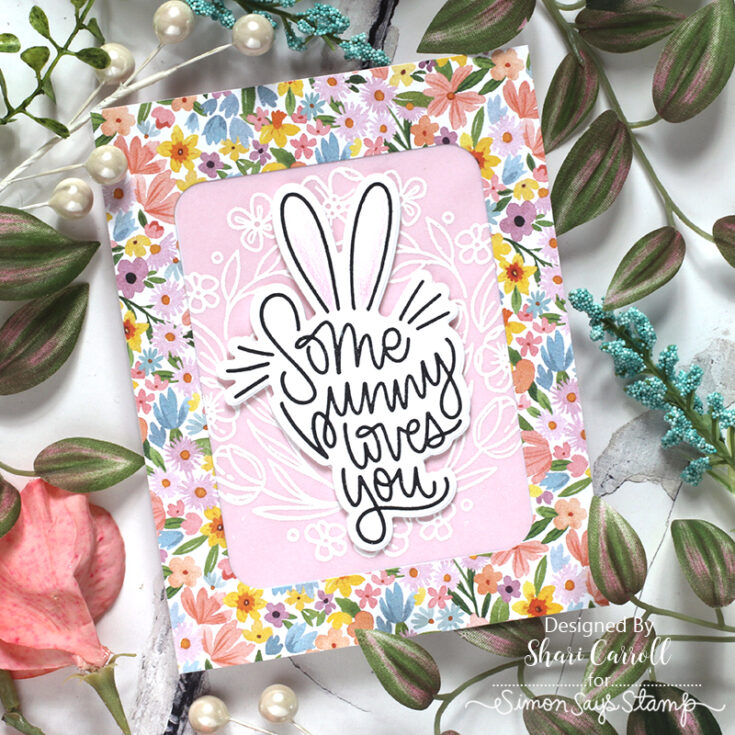
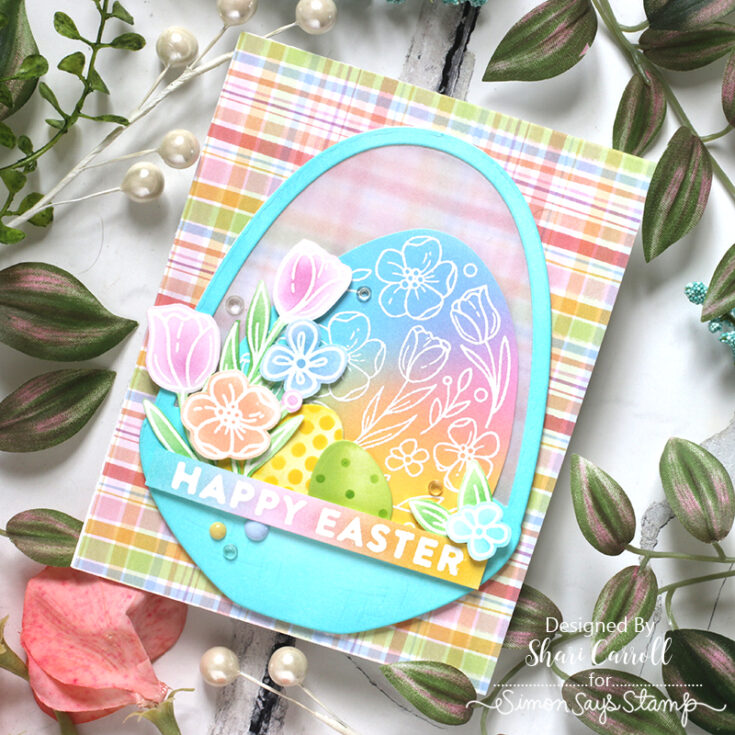
We hope you love it, and don’t forget to share cards you make on our gallery and get inspiration from it too!


