Creating a Tone-on-Tone Background with Diecuts with Kristina Werner
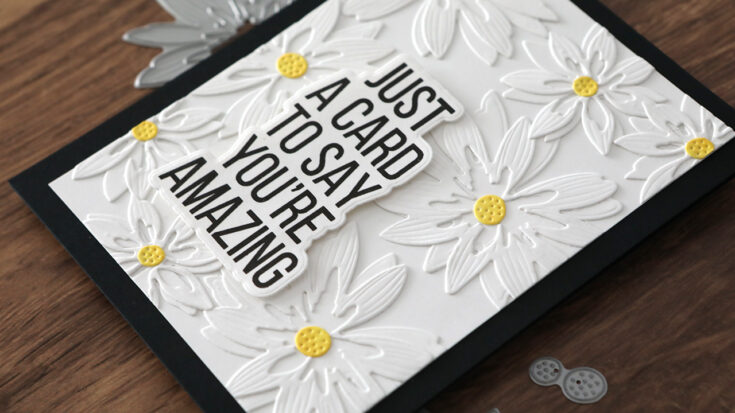
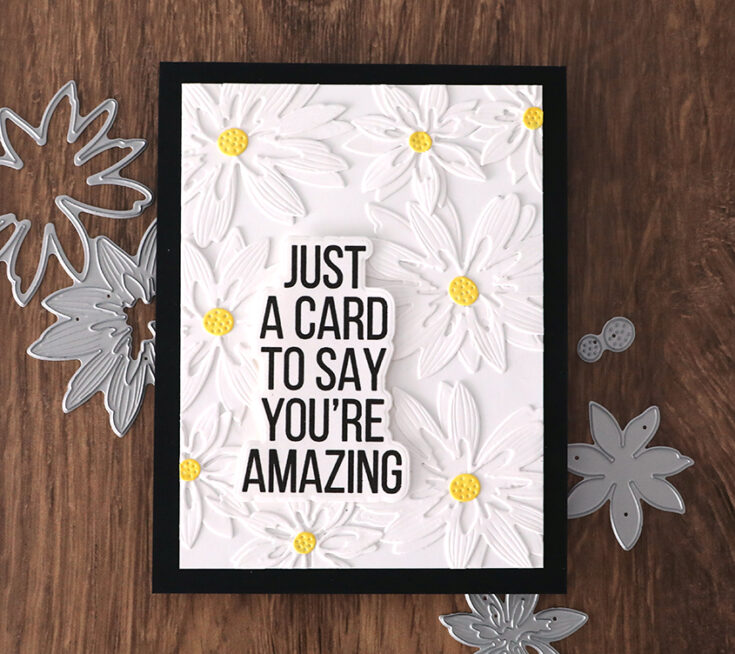
Hi all! Kristina here. Today I have a fun tone-on-tone card for you. I used the Dreamy Daisy Layers dies to create a textured background.
I started by die cutting all the dies in the set four times out of white cardstock. Then I assembled the petal pieces on white cardstock and adhered them using a liquid glue.
For the center of the flowers, I used Sunbeam ink and a blending brush to color them yellow. Then I adhered them to the center of the flowers.
Absolutely LOVELY, Kristina! TFS, SSS! Your suggestions on how else to do this (different colors for base, vellum, etc.) are also appreciated.
Lori S in PA
In business since 2002, Simon Says Stamp is striving to offer you the best online selection of stamps, altered art, scrapbooking, mixed media, card making and paper crafting products in the world. We stock over 100,000 quality items in our warehouse so that we can offer you quick service and one stop shopping at a great price!


Absolutely LOVELY, Kristina! TFS, SSS! Your suggestions on how else to do this (different colors for base, vellum, etc.) are also appreciated.
Lori S in PA
Oh I love how this looks!! Beautiful background!!!
Oh my, how pretty. Just goes to show you that tone on tone can be breathtaking, also. Thanks for sharing your tips.
This is really lovely – there is something special about white on white
Absolutely Beautiful!!! I love it!!!!
Your very talented!!
Such a great idea! Thank you!