Mixed Media: Tim Holtz Christmas Curio Clock

Welcome, everyone!! It’s Shari here with a cute little display piece. I’m gearing up for Christmas and spotted this Red Tim Holtz Curio Clock… I couldn’t wait to decorate it.

I used the Tim Holtz Sizzix Christmas Cutouts dies with white 120lb. cardstock. I die-cut two of each shape, painted them, then glued them together to create sturdy pieces that will last over time.
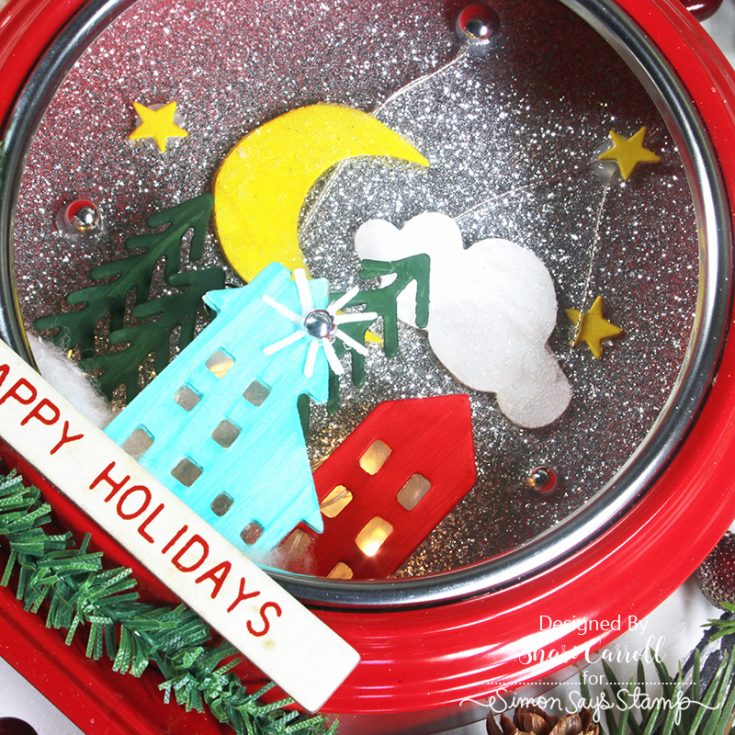
I’ve suspended the moon and cloud with string, so they have a little movement. Tim Holtz tiny lights are set behind the houses and trees to illuminate the scene at night.
SUPPLIES:
|


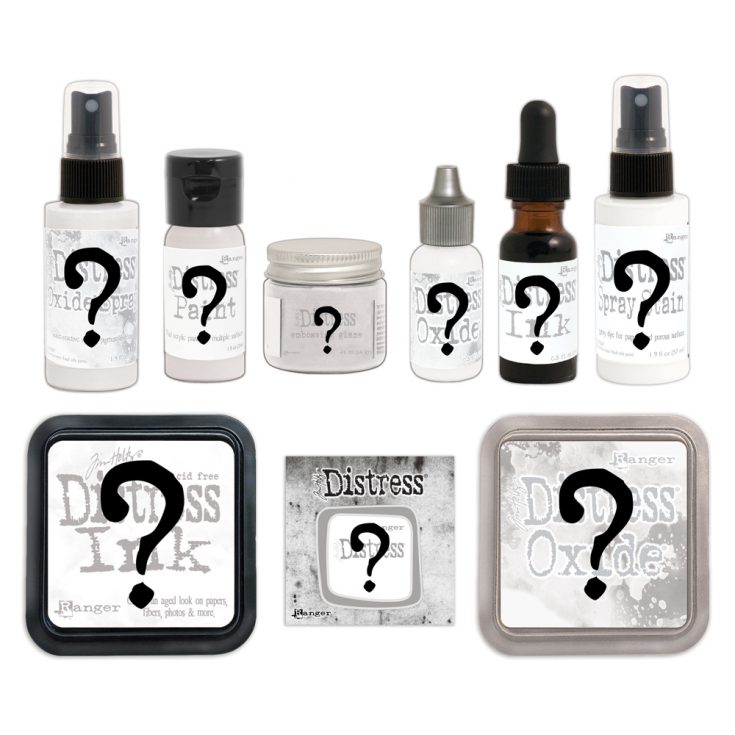
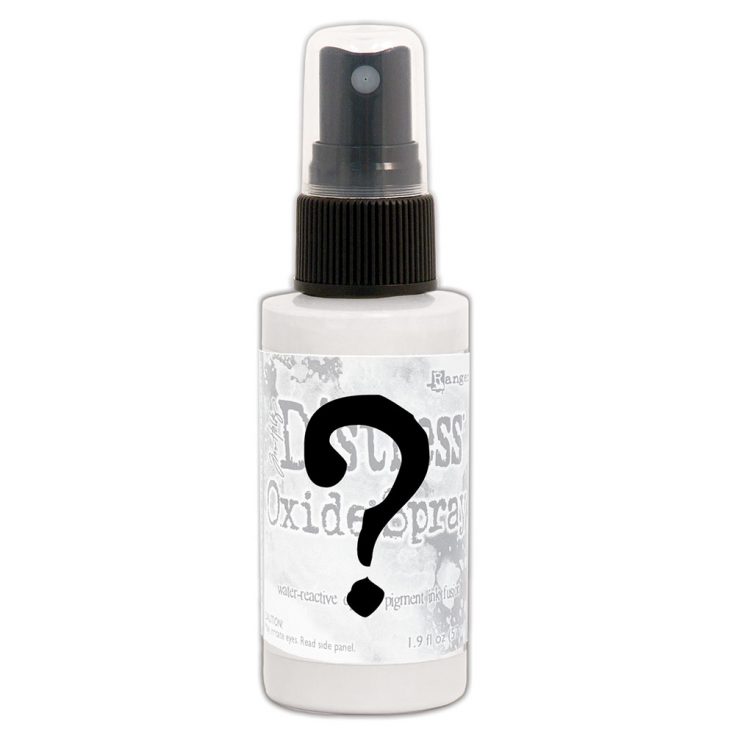
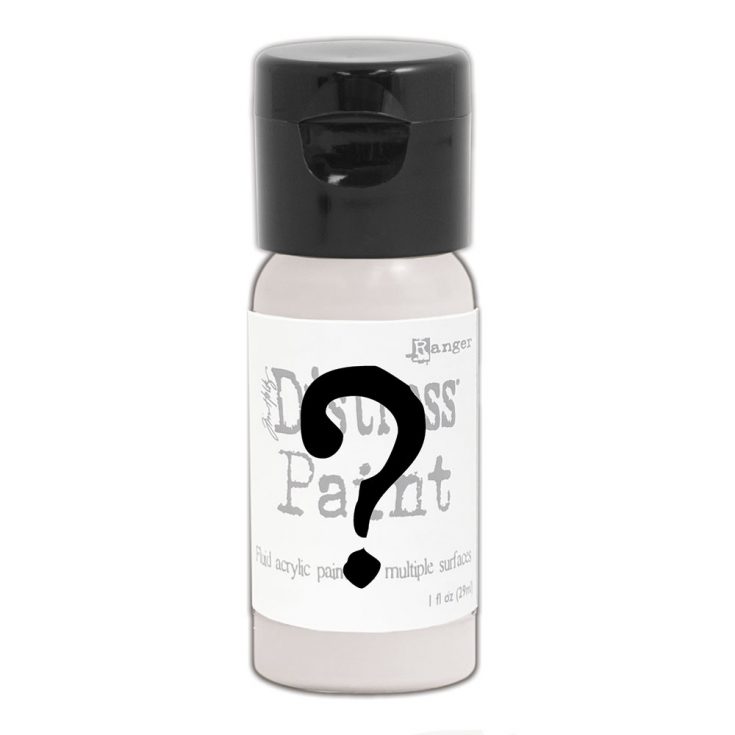
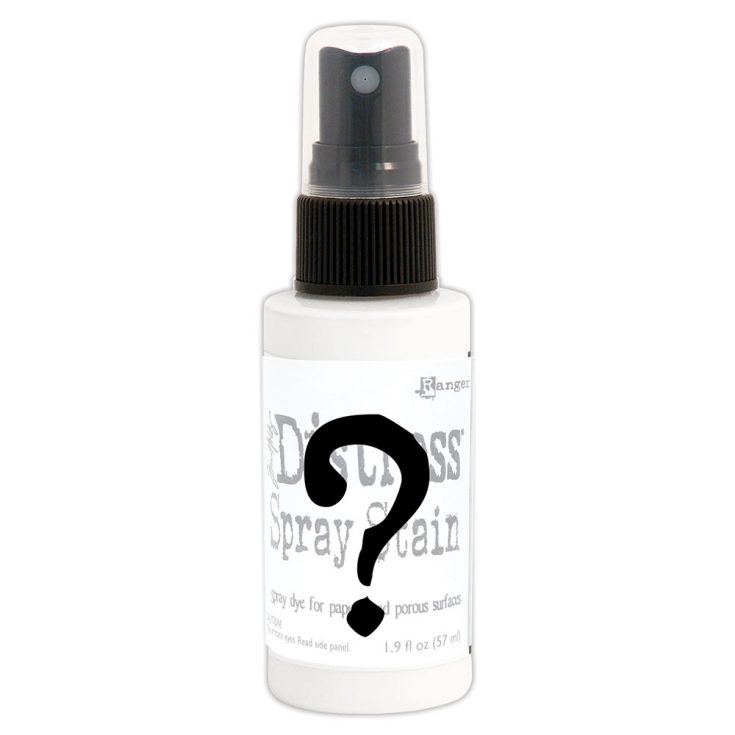
Get FIRST in line to get the NEWEST Tim Holtz Distress Color!
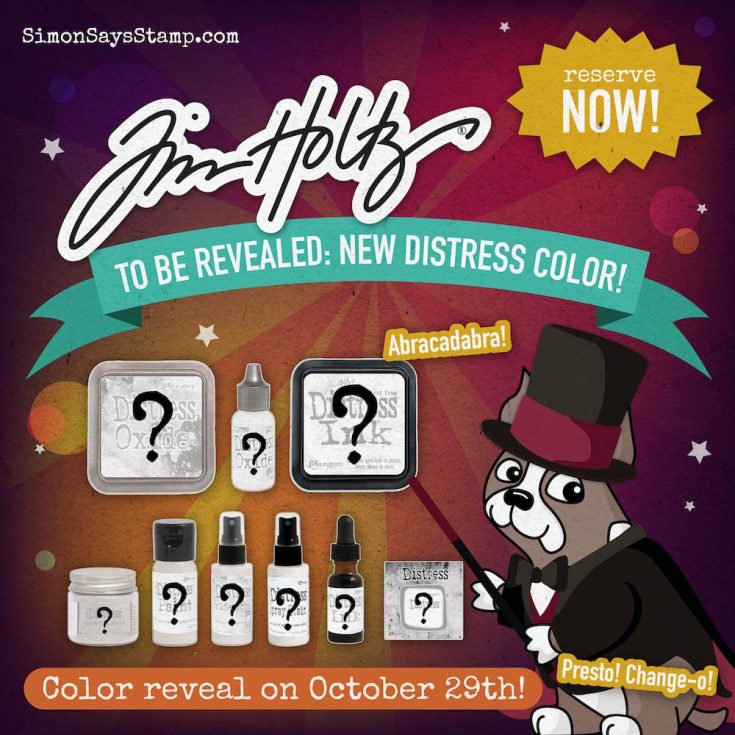
Hi friends! We’re are SO excited to see that the brand NEW Distress color is, and let’s face it, we know we will love it! If you’re like us, then feel free to be the FIRST in line to receive the new color in your medium of choice –or– get them all by pre-ordering NOW!

Doodling with Debby Reprise: Distress Oxide Blending
Hi friends! Happy Wednesday! As we go further into the Autumn season, I’m drawn towards colors that remind me of this time of year, and when I came across this gorgeous design by the FABULOUS Debby Hughes, I thought it was the perfect time to reprise this gorgeous card – in case you missed it! Enjoy!

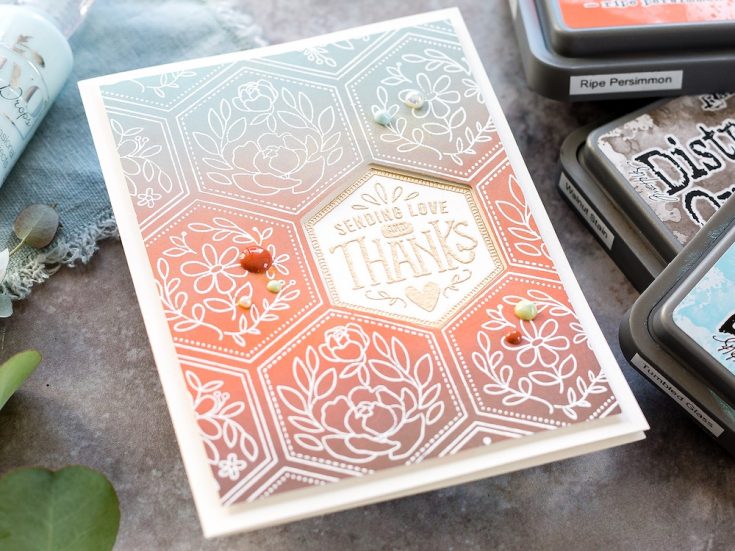
Hi, it’s Debby here and thank you for joining me for Doodling With Debby. This month it is all about the Distress Oxide Blending. Did you see Kristina Werner’s look at the new Distress color – Speckled Egg. So fabulous and her Distress Oxide combinations are always spot on. I have Speckled Egg on its way to me, but in the meantime, I thought I’d play with the colors I have already. I was really taken with a color combo Kristina used of Speckled Egg with Ripe Persimmon and Walnut Stain. I switched out the Speckled Egg for Tumbled Glass instead.
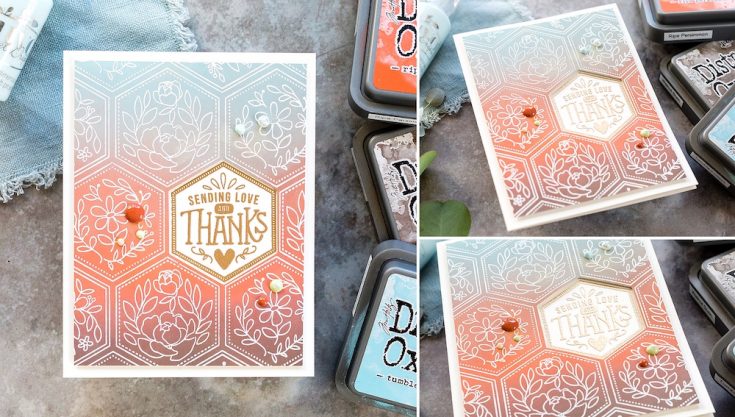
Starting with the Tumbled Glass and a blender brush from Simon Says Stamp I gently blended ink over a piece of Neenah Solar White card on a Tonic craft sheet. I started light but quickly realized that for this piece, I needed to get lots of ink on there. I blended the Tumbled Glass over the best part of two-thirds of the panel and then brought in Ripe Persimmon. This is an intense color and quickly filled the space. I then followed up with Walnut Stain at the bottom. These colors took some blending, and I went back and forth with the three colors until I had a blend I liked. I liked the orange toning down the blue and equally the blue toning down the orange until the end results was a hazy, misty flow from one color to the next.
I took some time to dry the piece as I’ve added a lot of wet ink and I planned to heat emboss over the ink blending and I didn’t want the embossing powder sticking everywhere to wet ink. So, I dried the panel, tested it by sprinkling on powder, and I was getting a little powder stuck so I wiped that away and dried the panel some more. I did this two or three times before I was happy.
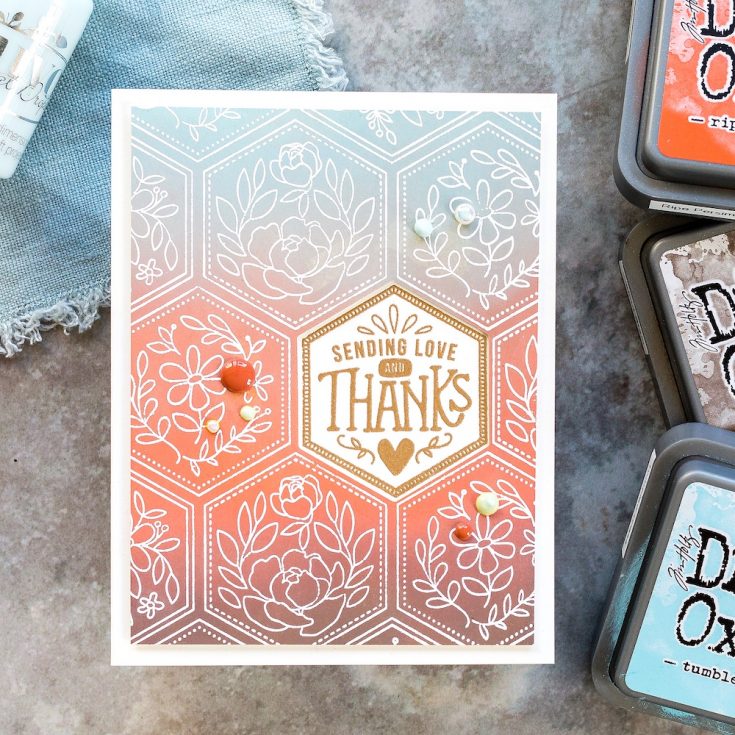
The suite of products I used today are all from Simon Says Stamp’s new release – Center Cut Hexagon Floral Backgrounds and Hexagon Greetings and matching die. All three are intended to be used together. I placed the Center Cut Hexagon Floral background in the Misti and removed the centerpiece. You can stamp this background as a whole, but removing the centerpiece gives you options to add sentiments from the Hexagon Greetings set or die cut with the Hexagon Greetings die. Having lined up where I wanted the open area to be on my panel, I kept it in place with tape and then treated the card with anti-static powder. I then stamped the design in Versamark ink and taking a tip from Cathy Zielske I gently rubbed over the Misti with a cloth to help get a good stamped impression.
I sprinkled on white embossing powder before melting the embossing powder with a hot heat tool. For me, embossing after ink blending gives the best results as the embossing powder stays clean and bright rather than blending over a pre-embossed design and having to wipe and clean up the embossed lines afterwards. The only cleaning up doing it this way is to wipe away the excess anti-static powder.
With the background piece now embossed, I debated the different ways I could use the other products in the suite. Either die cut the embossed panel directly and add something into the open space or stamp and die cut a Hexagon Greeting to foam mount of the open space or equally stamp directly into the open space for a one-layer design. I decided to go with the first option and to help me die cut the hexagon precisely; I die cut a template first. I aligned the hexagon exactly where I wanted it and lightly taped it down. Then placed the template over the top and taped it in place before carefully removing the hexagon. I then taped the die in place and ran it through my die cutting machine. I first saw this style of die-cutting from Michelle Short, and it is an excellent way to die-cut precisely where you want to.
Now I did make one rookie mistake here, and that is I didn’t take some of the sticky off the washi tape by dabbing it on my clothes for example before adhering it to my panel. As a result, when I lifted a couple of the washi pieces, they stuck slightly and pulled at the paper. However, I love this piece and wasn’t going to start again, so I carried on with the intention of covering up my mistakes.
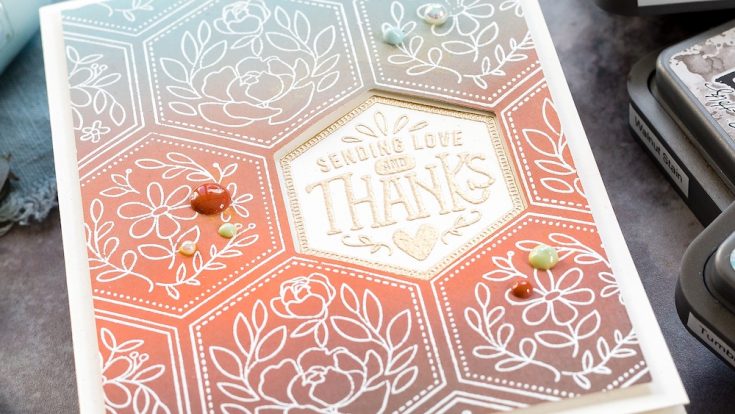
With the open area now die cut with the matching hexagon, you could add this back in with a sentiment stamped on it and foam mounted. I trimmed the panel to be slightly smaller than an A2 card base and decided I liked the look of the panel over the Ivory card with the card color showing through the hexagon window. I decided to stamp a Hexagon Greeting directly on the card base, so it lined up with the embossed panel window. I placed the card base in the Misti, lined up where I wanted the panel to sit and then nested the Hexagon Greeting in place. I shut the door of the Misti to pick up the stamp and then removed the embossed panel before treating the card with anti-static powder and stamping the greeting in Versamark ink. For the greeting, I chose Antique Gold embossing powder so that it would show up nicely against the Ivory card. I added foam adhesive to the back of the panel and lined it up over the greeting to adhere in place.
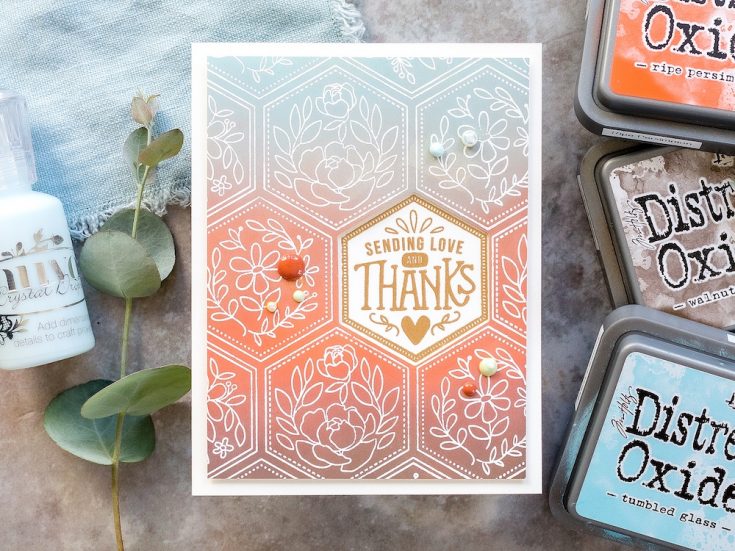
Now to hide those imperfections and also take the card up a notch with a few embellishments. I dug around in my stash and found some old enamel dots which toned perfectly. These are from Simple Stories, I don’t see these exact ones still available, but many beautiful colors still are. I then added droplets of Nuvo Duck Egg Crystal Drops to tone with the muted down Tumbled Glass and finally added a couple of my favorite eggshell pearls from Little Things From Lucy’s Cards kept in place with GinaK Connect glue. I added these embellishments to discretely cover up my washi tape rookie mistakes and all the time their triangle formation draws attention to the greeting too.
Well, that’s me for this month. I hope you enjoyed this tutorial. Thanks for joining me and I hope to see you next time for Doodling With Debby.
WATCH THE VIDEO:
Watch below or in HD on YouTube.
SUPPLIES:
|


Thanks so much for stopping by, and thanks to Debby for being our guest!


