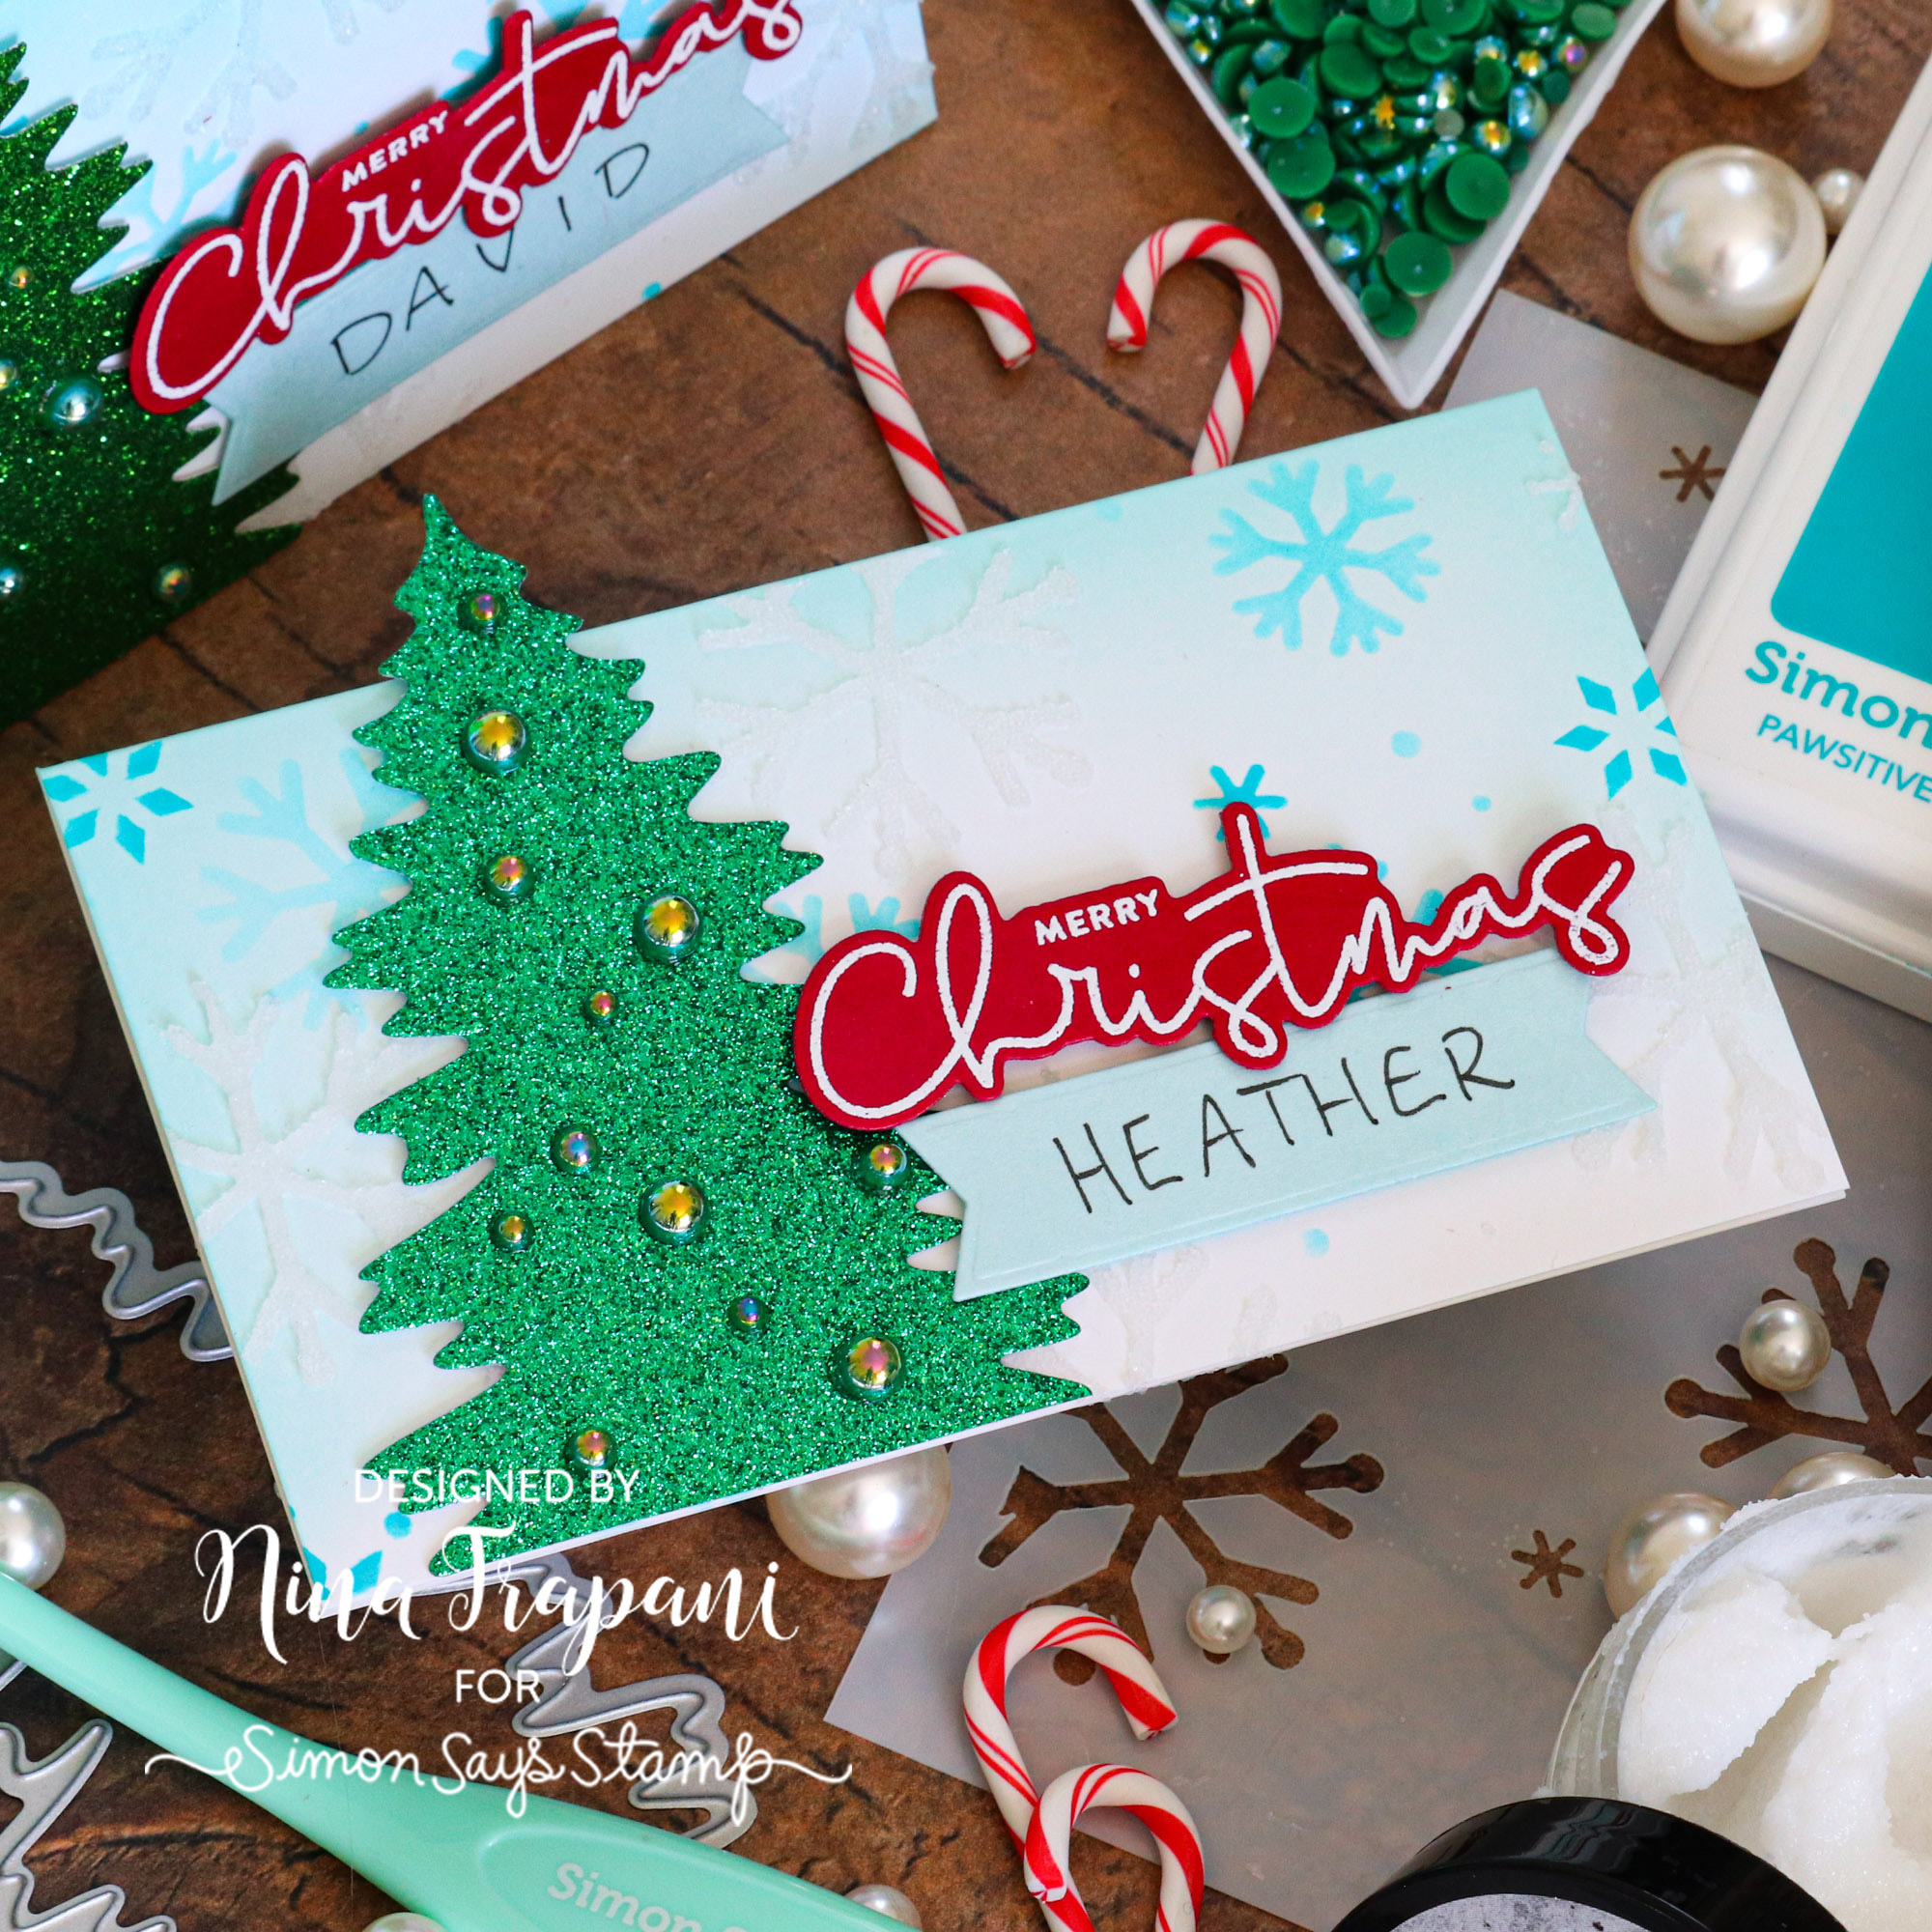
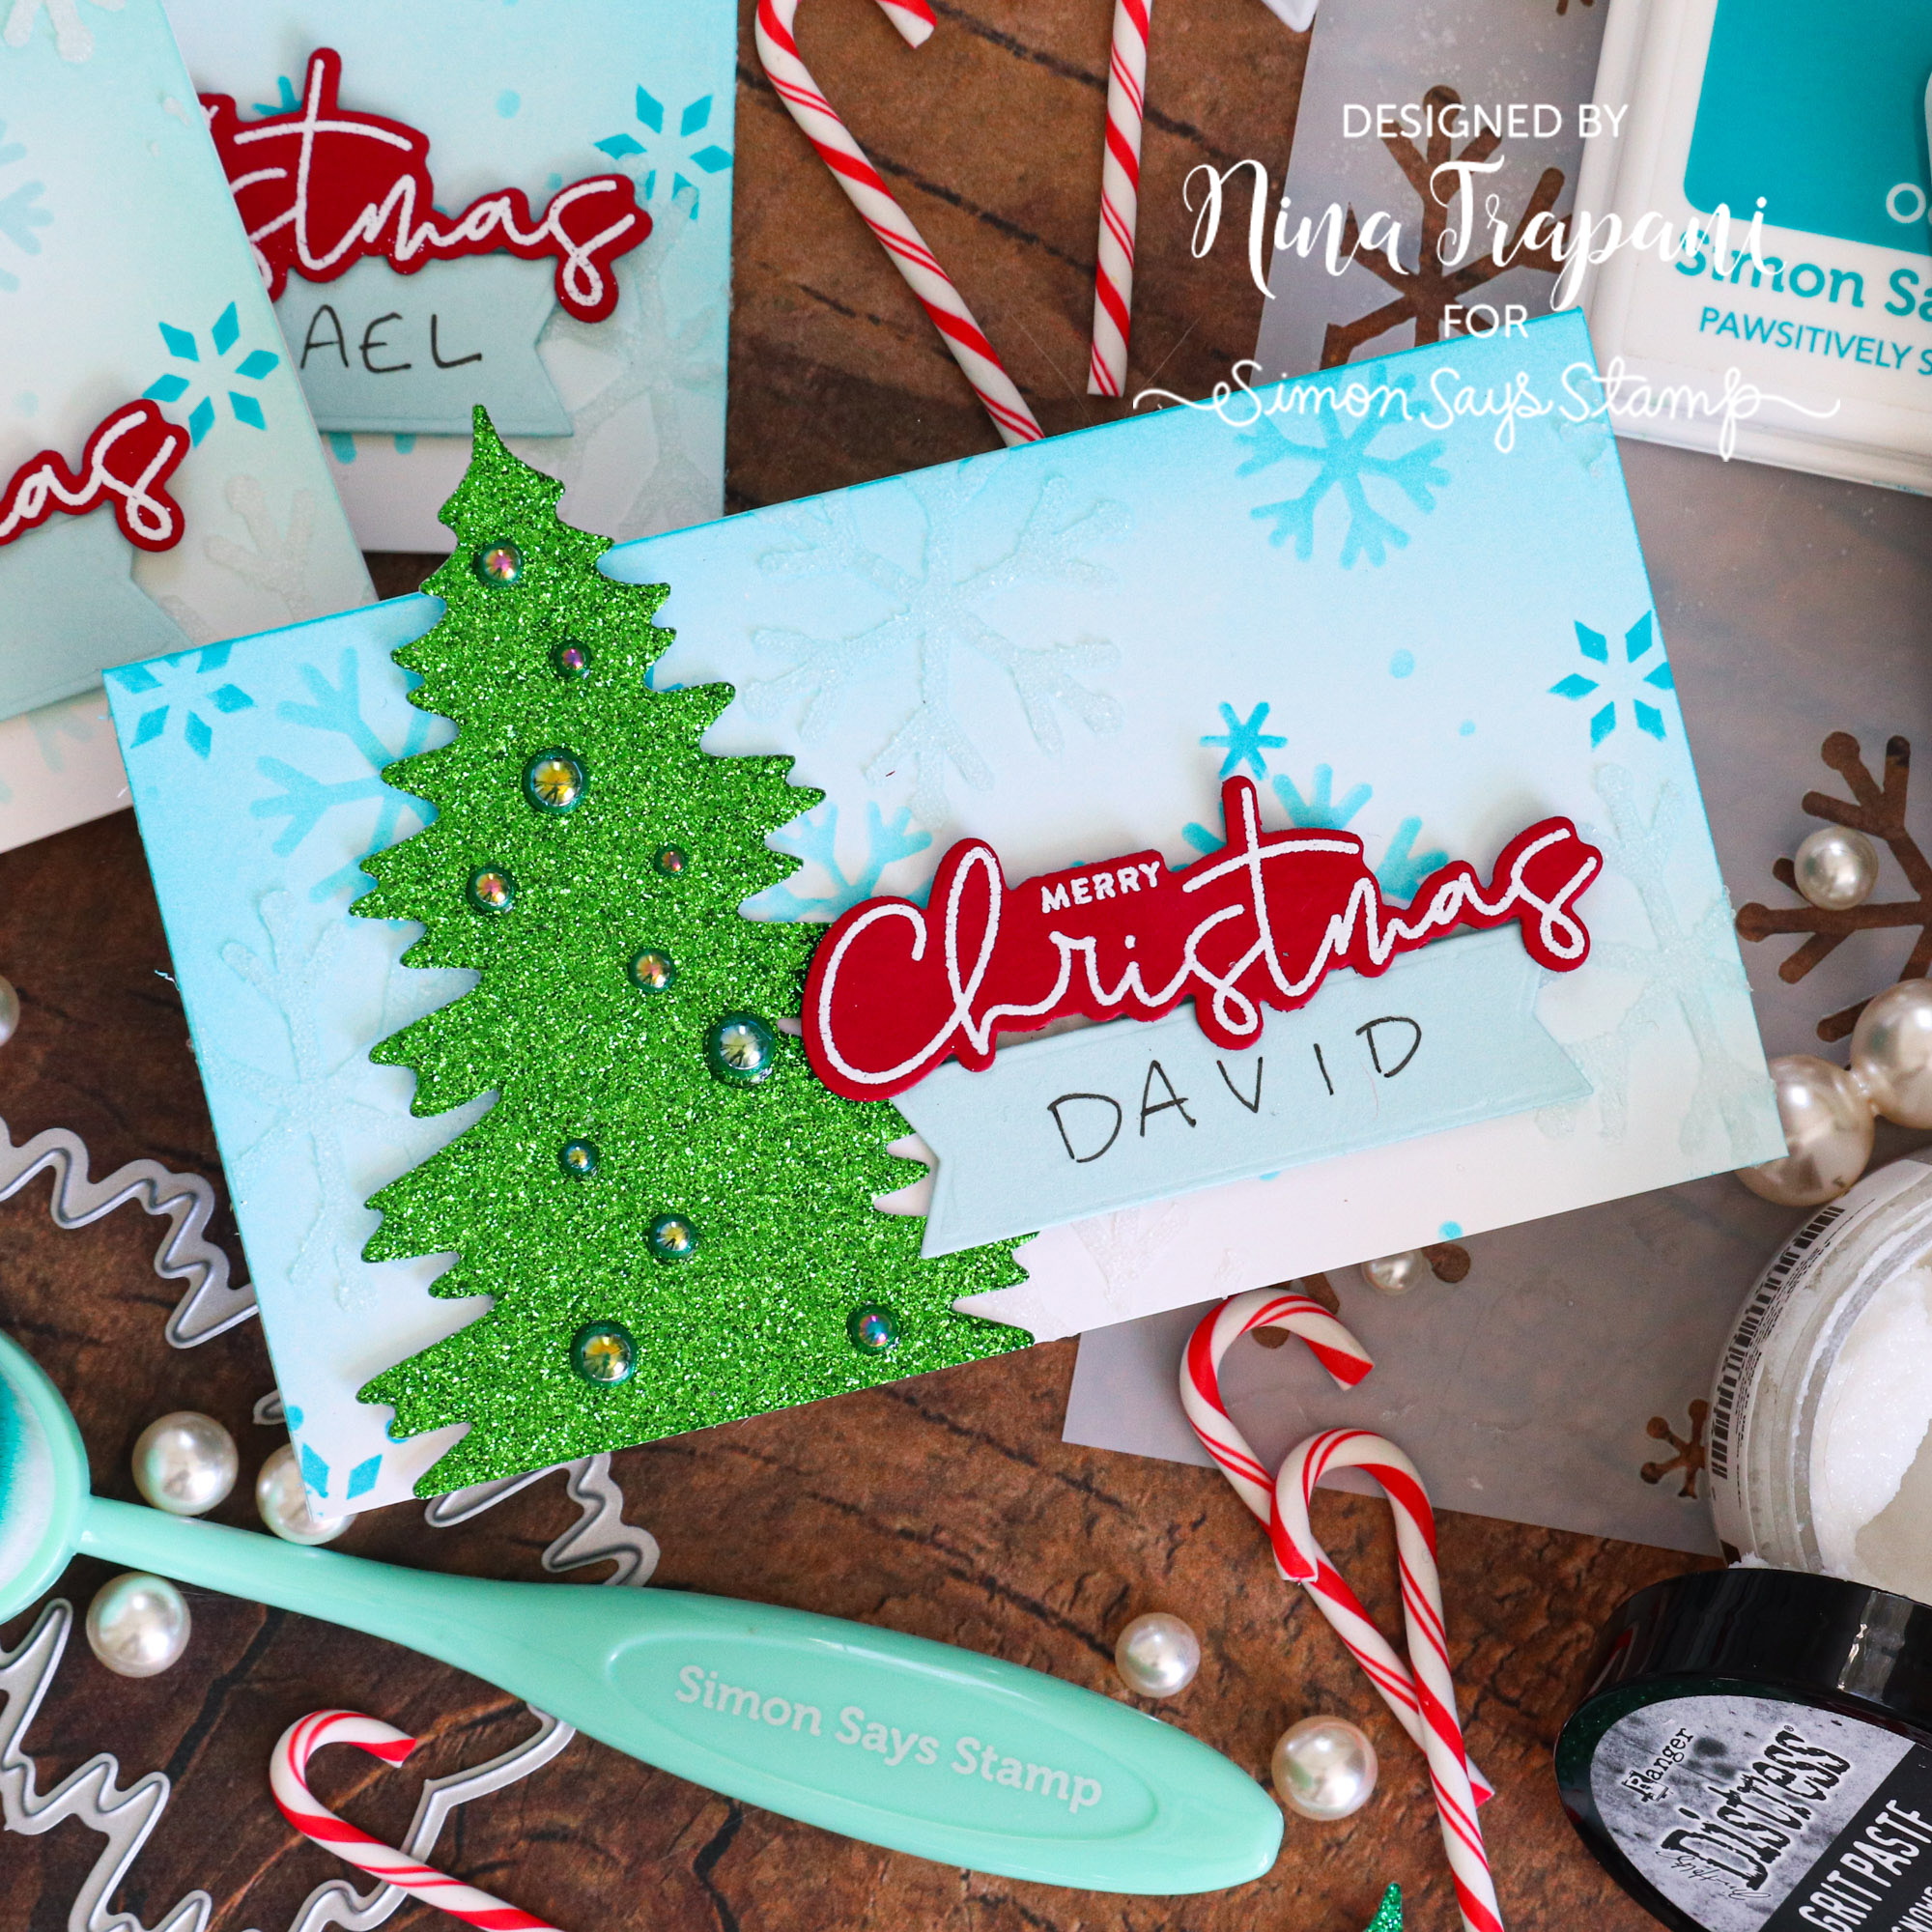
Hey there everyone it’s Nina-Marie Trapani here with you and I am sharing a festive, holiday project using the new Pretty Pink Posh Christmas release! I’ll be showing you how to make place cards for your table this holiday season.
These glittery trees can be decorated however you’d like and you can change the colors to match your holiday decor. Each place card uses the new Layered Snowflakes stencil set, Pine Trees dies, and Pine Green Pearls.
Want to learn how I created these beauties? Watch the video below for all the details!
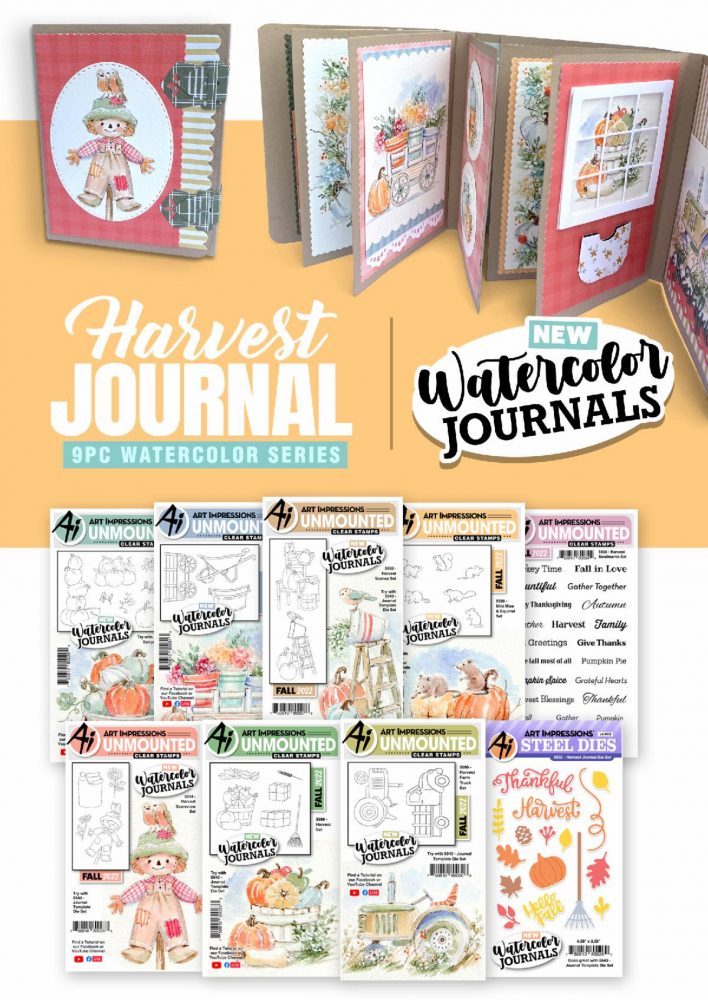
NEW and just in time for your autumn-themed projects! This gorgeous selection of 9 new sets is a welcomed addition to the Watercolor Journals series! Check them out!
In business since 2002, Simon Says Stamp is striving to offer you the best online selection of stamps, altered art, scrapbooking, mixed media, card making and paper crafting products in the world. We stock over 100,000 quality items in our warehouse so that we can offer you quick service and one stop shopping at a great price!