Add Ink to Your Fabric and Fabric to Your Art with Andrea Ockey Parr
Greetings fellow creative souls! Andrea Ockey Parr here and it’s not only tutorial time; it’s confession time. When I was in junior high, I totally bombed my sewing class, despite the efforts of my sewing genius of a mother. I just couldn’t get the hang of following patterns. It seemed like I was back in geometry and we all know what geometry can do to otherwise sane people. Because of my sewing debacle, I avoided fabric and anything thread-related for years. Luckily, I stumbled across fabric again later in life and now it’s one of my favorite artistic mediums.
This week’s tutorial will show how easy it is to add ink to fabric and fabric to your art. And don’t be scared: there’s no sewing machine involved.
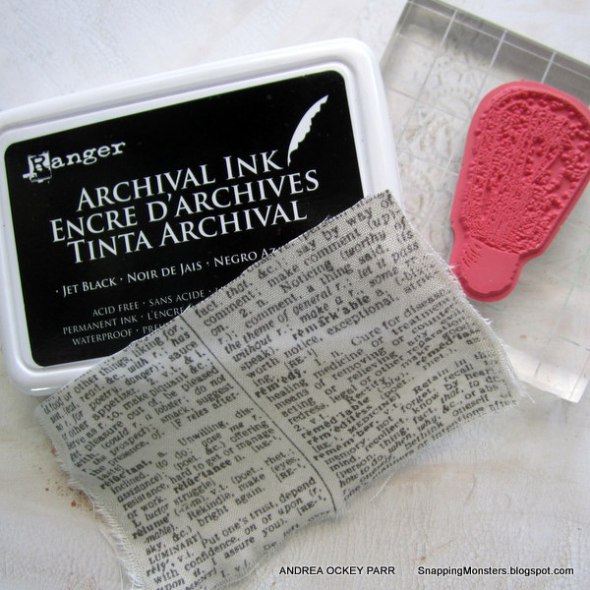
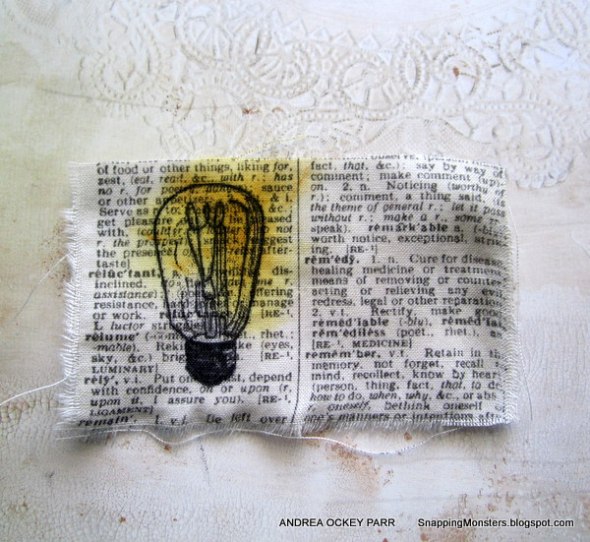
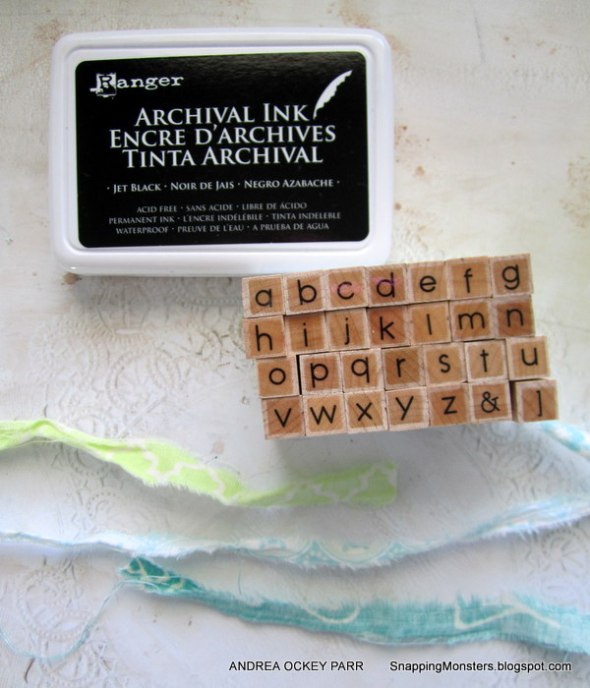
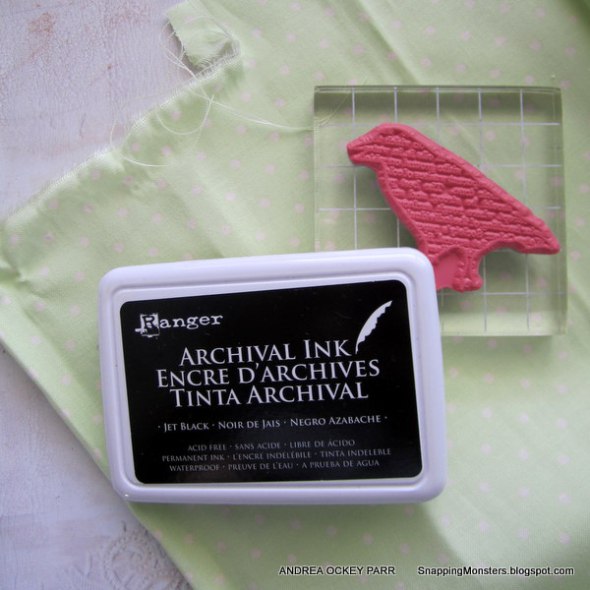
The first step is to get some great ink, like Ranger Jet Black Archival ink, and a stamp you like such as this little light bulb from Wendy Vecchi’s “Steampunk Art” set. I love using cling-mount stamps on acrylic blocks because it’s easy to see exactly where you’re stamping. You’ll also need a fabric scrap. I’ve chosen this Dictionary scrap from Tim Holtz’s Eclectic Elements Labels fabric set.
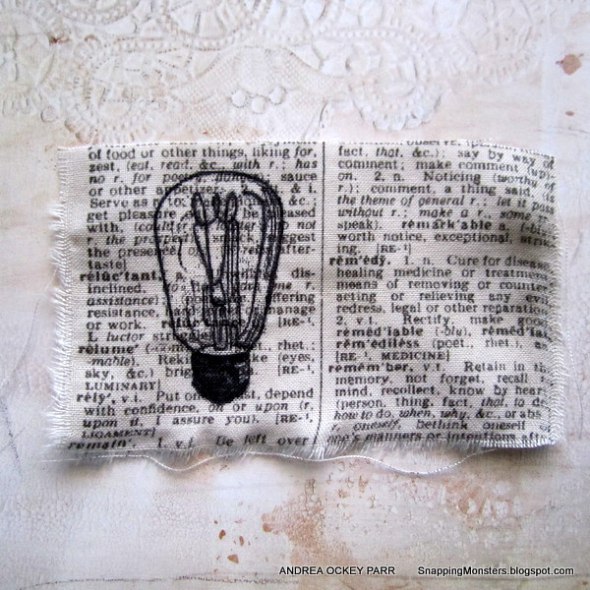
The next step is to stamp your image onto the fabric. If the lines don’t turn out dark enough or if a part of your image doesn’t ink onto the fabric very well, you can go over the lines again with a thin black Sharpie.
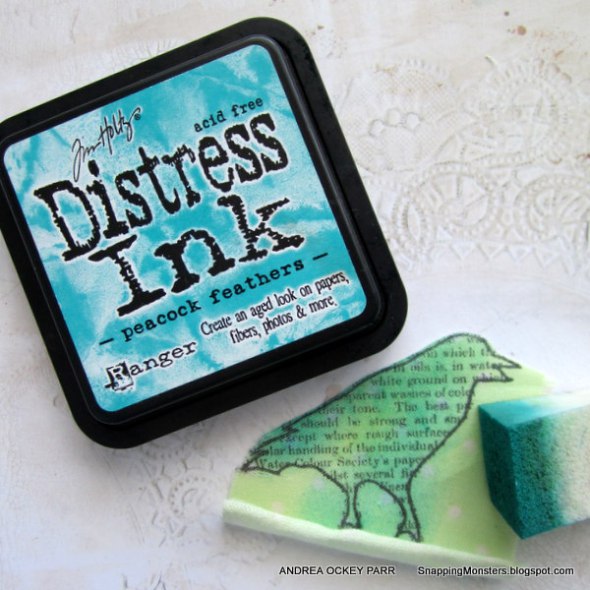
Now we want to give it some pizazz by adding color! Pick out your favorite ink pad like Tim Holtz’s Wild Honey. Notice I’m not being too particular about ink types and brands since this isn’t going to be an item that is going to be washed. You’ll also want an ink dauber sponge of some sort or a plain old makeup wedge sponge.
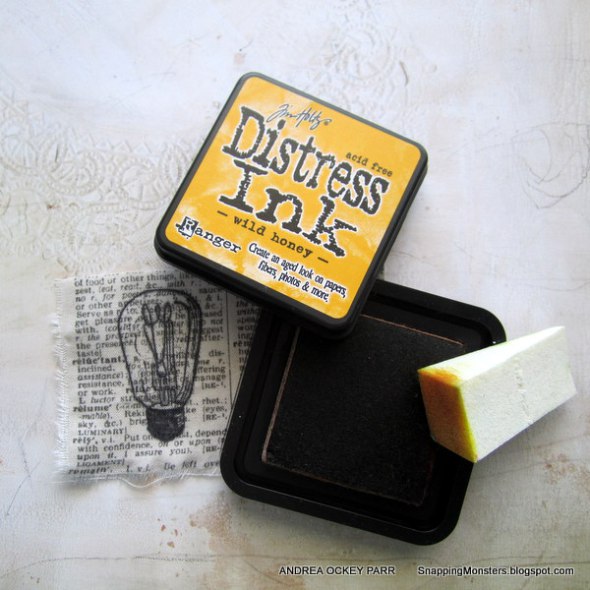
Dab the sponge onto your ink pad and rub the sponge onto your stamped image area. I am always amazed at the huge difference a little ink can make!
Now that your stamped image is looking good, you’ll need something to attach it to. I made a tag using Maggie Holmes paper and the Tim Holtz Tag and Die set which I cut on the Sizzix Big Shot. I gathered some other fabric scraps from my fabric junk pile to place behind my light bulb. Since my light bulb was a bit too big for the tag, I ripped off the excess fabric. I personally like the look of ripped edges, but you could certainly cut the fabric more cleanly if you’d prefer.
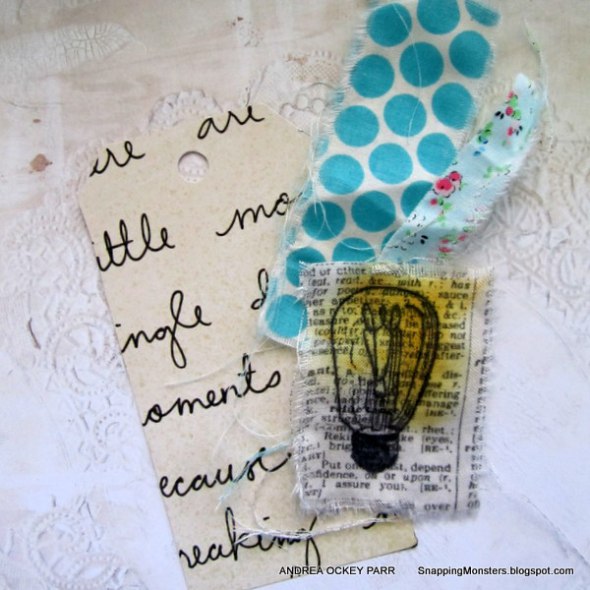
Now it was time to assemble the layers of my tag. I adhered the fabric scraps to the paper tag using an industrial glue stick, but I’ve also had success with all sorts of collage mediums. I also added some more ink with sponges (Tim Holtz’s Peacock Feathers and some greens from Colorbox’s Rainforest set).
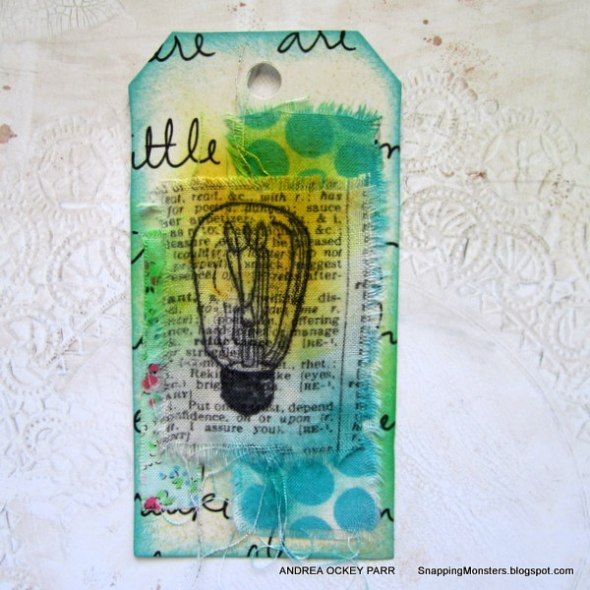
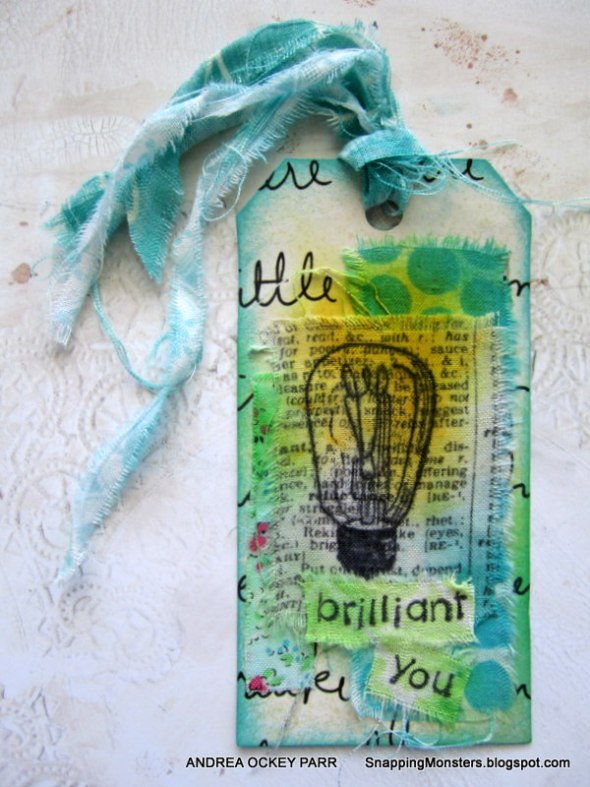
Now all that was left was the sentiment and the “ribbon” for the top of the tag. Thin scraps of fabric work great for both! Here I’ve torn some thin strips and have my Hero Arts Basic Letters stamp set and ink ready to create my sentiment.
And wah-la! Here is the finished product. It’s all ready to give to someone who is brilliant (or at least someone who may need a little self-esteem boost until the next phase of brilliance comes along).
That’s just one way to add ink to fabric and fabric to your art. Another favorite ink and fabric technique of mine is to use images that already exist in a fabric’s pattern. It’s almost like fabric ephemera.
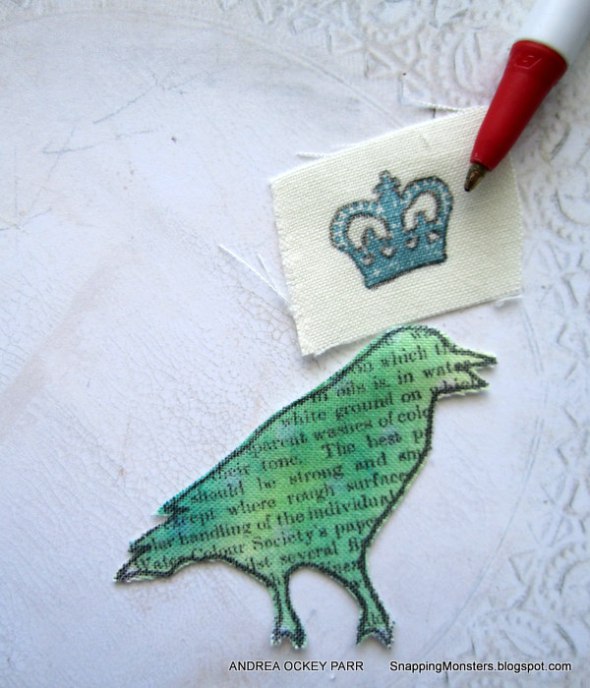
For this project, I started out by stamping this fabulous bird from the Dylusions “Birds on a Wire” set onto a piece of green fabric. Once again I’m using Ranger Jet Black Archival ink for its richness of color.
I’ve colored in my bird using the sponge and ink technique previously described and I’ve started cutting the bird image out.
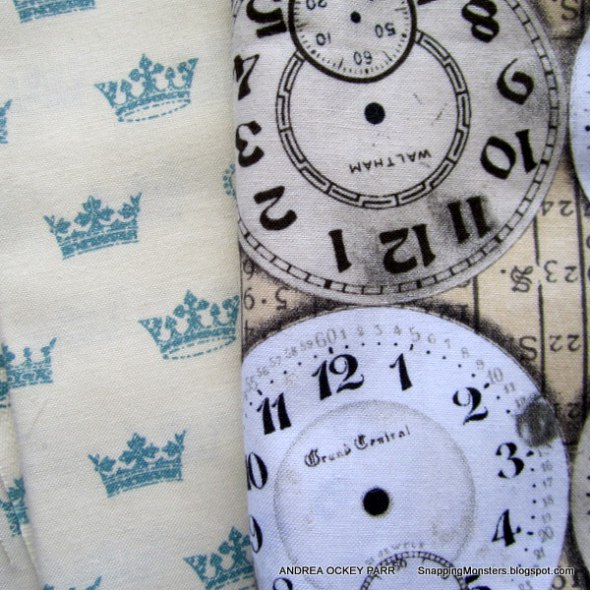
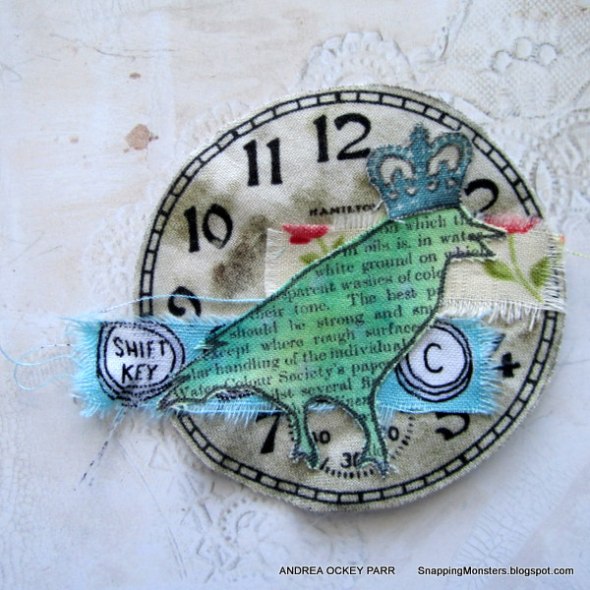
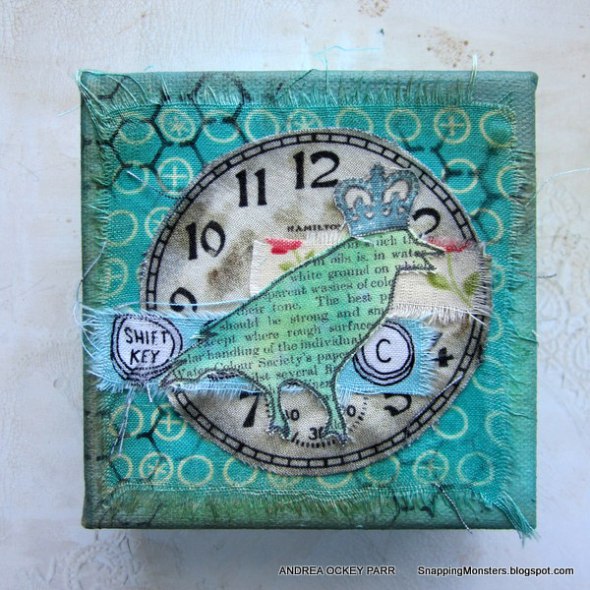
Next I found these printed fabrics that I wanted to incorporate into my project. The clock print is Tim Holtz’s Timepieces fabric that comes in both his Eclectic Elements Labels set (clocks have a tan background) and also in his Eclectic Elements Documentation set (clocks have a gray background). Even though these fabric lines are relatively new, I’ve already used these clock images several times because they are so incredibly versatile. I also found this piece of fabric with blue crowns on it and the crowns looked like they’d fit my bird’s head nicely.
I cut these images out of the fabric and cut out two clocks, not sure of which one I wanted to use at this point.

When I saw my fabric elements together, I noticed they all had well-defined outlines except for the crown. To give it a more “stamped” look, as if it were outlined in ink, I drew around it with a simple black ballpoint pen.
I cut out the crown, grabbed a few other scraps of fabric and experimented with the clock images until I found a combination I liked. Once I had the layers decided on, I glued everything onto the clock face.
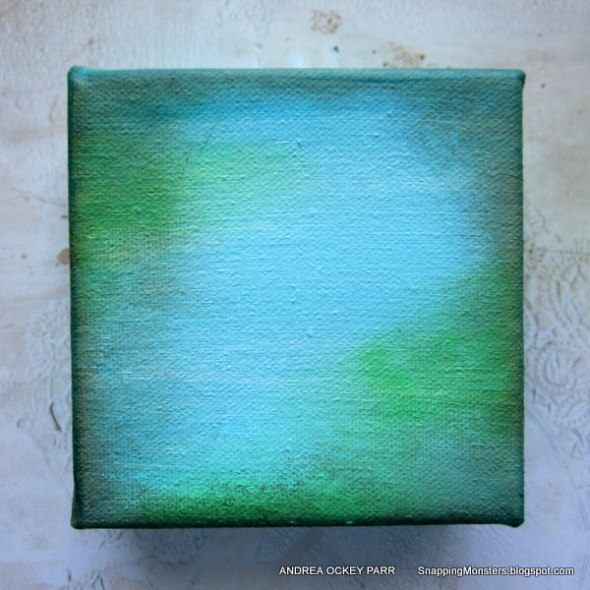
I needed something for my fabric collage to go on, so I painted a chunky 4X4 canvas with Gesso and acrylic paint. Once it was dry, I inked around the edges with Tim Holtz’s Black Soot and Walnut Stain inks, along with some more greens.
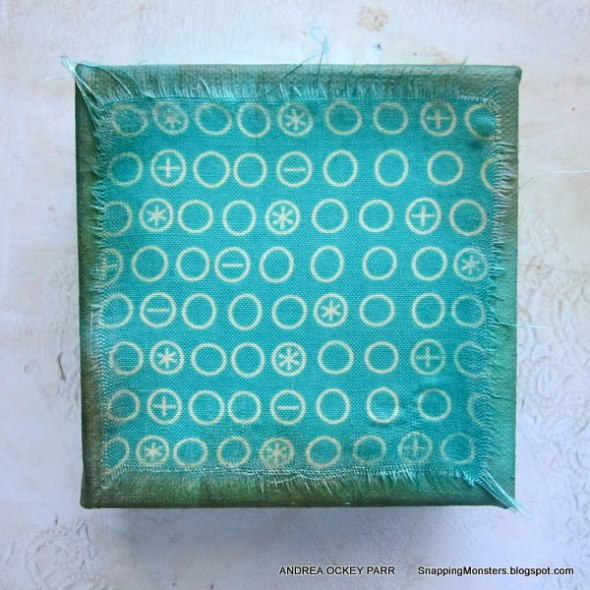
I decided the background still looked too plain, so I glued on another fabric scrap and re-inked the edges.
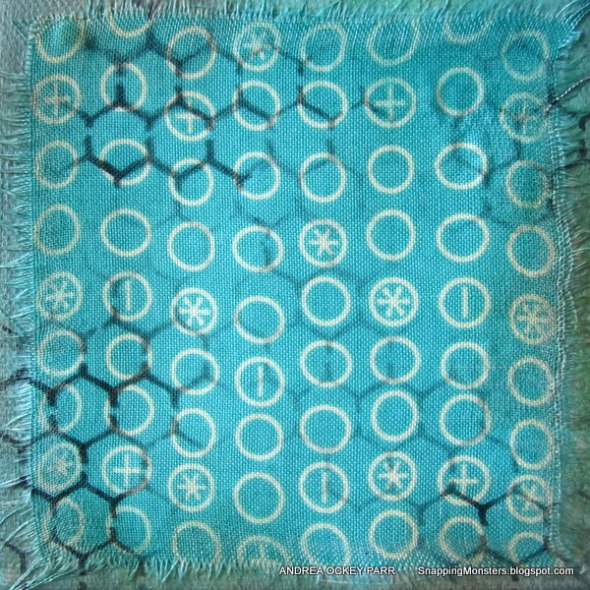
I thought since this project had a bird in it that I would add some chicken wire using this great Reverse Chicken Wire stencil. Here’s a close-up of the added pattern:
Using glue, I attached my bird collage to the background, like so.
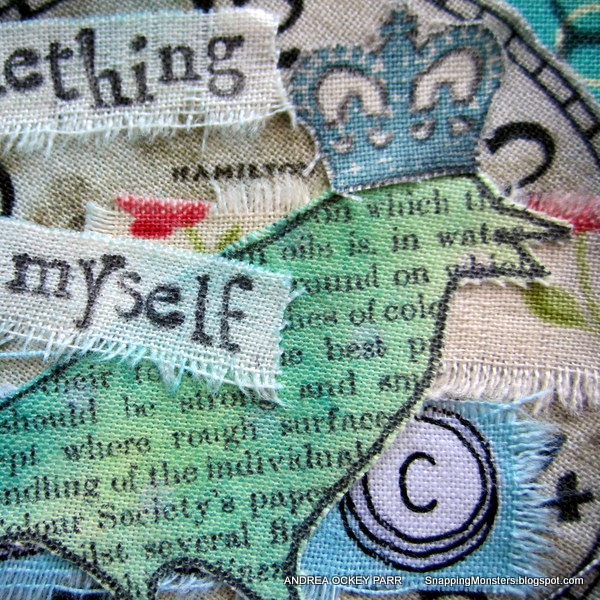
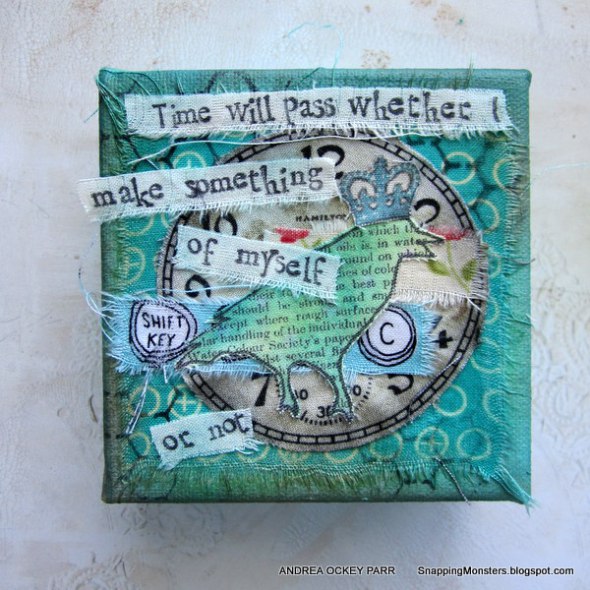
I used the same technique described earlier to stamp out a sentiment only this time I employed the Hero Arts Playful Flower Letters alphabet. The saying was a result of a coworker’s comment to me. He was debating about whether or not to go back to school. He said something like, “In another two years, I’ll probably still be sitting at this desk, so I might as well have a degree at the end of it because two years is going to pass either way.” That idea really stuck with me because time does march on and it’s up to us to decide what we have become by the end of it. So I tried to capture that sentiment with my word strips. Here is the final project:
Adding ink to fabric is so incredibly easy and adding fabric to art opens up a whole new world of possibilities. I know fabric can seem scary sometimes, or at least patterns can, but I’m just grateful that I realized you don’t have to be a sewing expert to play with fabric.

I have read this twice now, and I’m SUPER inspired to get out fabric bits and do more with fabric + ink. Thanks to Andrea for such a fantastic tutorial – she makes it all seem so easy! I do so love getting these looks into the creative processes of our team.
Oh and hey, now it’s your turn! Join us in this week’s challenge! For the full rules, read the “challenge rules” posted in the side-bar here on our blog, and be sure to enter the challenge in the post below this one.
Challenge Badge

Spotlight Badge


Beautiful! I love how you mix the bits of fabric with the inking and color. Very inspiring indeed! I just purchased a few yards of muslin and can’t wait to start using it!
Hi Andrea, I am a huge fan of your work and I always love your use of fabrics . Love how you add colour and layers of fabrics together,everything works beautifully together . Your pieces look so tactile. Tracy x
Wonderful results! Love your use of fabric and inks together and all achieved without the aid of a sewing machine..
I have always wondered what your process is like for the amazing things you do with fabric. Thanks so much for sharing it!!!
Andrea’s tutorial is amazing! So clear and easy to understand. The photos are awesome and her finished projects are too cute! LOVE it! <3 Candy
Well, aren’t you just CLEVER!? LOVE these projects! The tag is amazing, and what bird DOESN’T deserve a crown? Great mix of soft and strong!
Oh wow! I love/hate sewing. I love making dresses for my daughter, I hate having the sewing machine and overlocker on my kitchen table for days on end. I made a dress for her with a bird appliquéd on once. Doing craft on material looks like fun. It gives me more ideas for her dresses. Thank you for showing us. This is her dress, I know I’m bragging a bit but I still love that dress and am sad that she grew out of it so fast.
http://soniasscrapbooking.blogspot.com.au/2012/06/dress-inspired-by-scrapbooking.html
I LOVE this! You are so Clever!! Thank you for sharing your secrets. :)
Well, Andrea, personally I love your new sewing style! Brilliant!!
pretty amazing. i love the sentiment you used to tie this together.
Beautiful project Andrea! Love the pretty color palette! Thanks for sharing your creative process!
What a fantastic project! Sometimes I add a little touch of fabric in my projects, but I’m not good at sewing! You are very special! This work really struck me, it’s amazing how you have given life to all the elements you used, together make a truly unique piece! Thank you for sharing with us your art! BArbarayaya
Great to see how you work on fabric! Learn a little bit every time; still new things to try! Thanks and inky greetings, Gerrina
Great projects! Love ’em. Thanks so much for this post full of info! I learned a lot and will definitely be trying my hand at working with stamping fabric and adding it to my cards. :D
Oh my! Loooove these projects, they are right up my alley. I am definitely going to use some fabric on my next mixed media project, thanks so much for sharing!
I have never tried them. I will give it a whirl.
This is fabulous Andrea! Great tutorial and so many special touches. Love your finished projects and the happy colours you always use. Thank you for the inspiration!!
fabulous canvas Andrea! Love combining inks, stamps and paint to fabric.
Thank you, thank you, thank you!!! I’ve have started to play with cheesecloth and muslin because I love the effect and texture of fabric on papercrafts.
I have used Ranger Archival and Distress IP’s to stamp with.
I now know that I can try and do more – a completely inspirational post that felt like it was written just for me – ty lovely peeps! x
Wow… this is such a great tutorial. Thank you for sharing. :)
A great reminder to spread our wings! Love the designs and effects.
This is a great tutorial! I am not a great seamstress myself, although my grandma was a dressmaker of bridal wear!!! I love fabric, though! I do use it in projects, but now you’ve given me the confidence to be more ‘out there’ with my fabric work and not blush at my inability with patterns. I think it’s probably some kind of spatial awareness thing, but Geometry and school needlework totally sapped my confidence too! Thank you, Andrea for restoring it! Julie Ann xxx
I’m generally a fabric-phobic (reduced my needlework teacher to tears at primary school!) so this is really inspiring. Fabulous ideas and tips, thank you so much!
Alison x