Queen Bee Shadowbox with Emma Williams
Hello everyone! It’s Emma here today and I’m sharing a tutorial on how to create a little shadowbox book with a hidden niche inside.
I love to make shadowboxes and for me, it’s always such fun to see how you can use dies in a different way and for this project, I did exactly that and used them to create this 3D box.
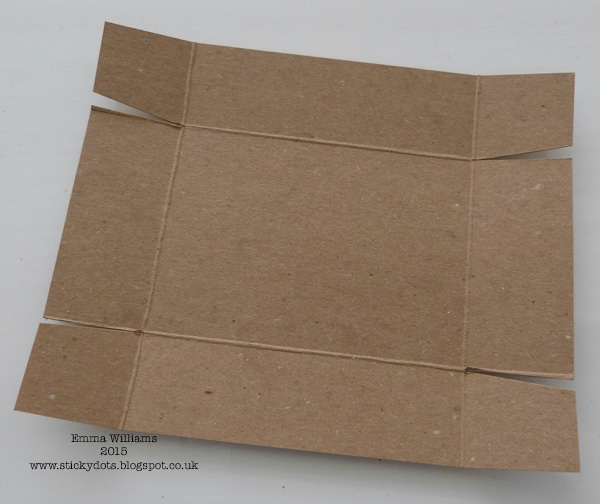
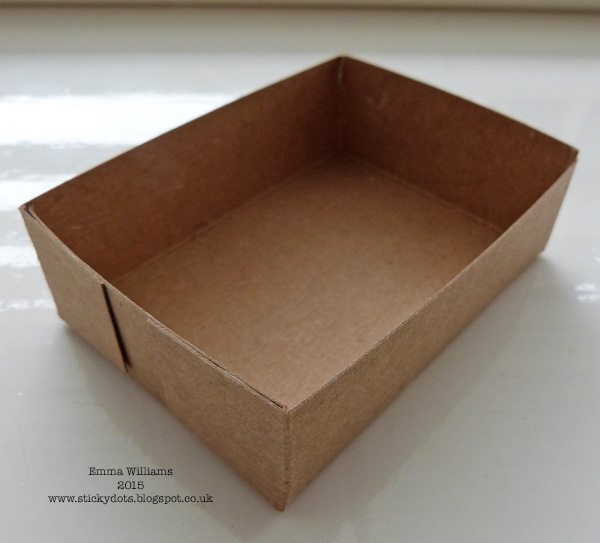
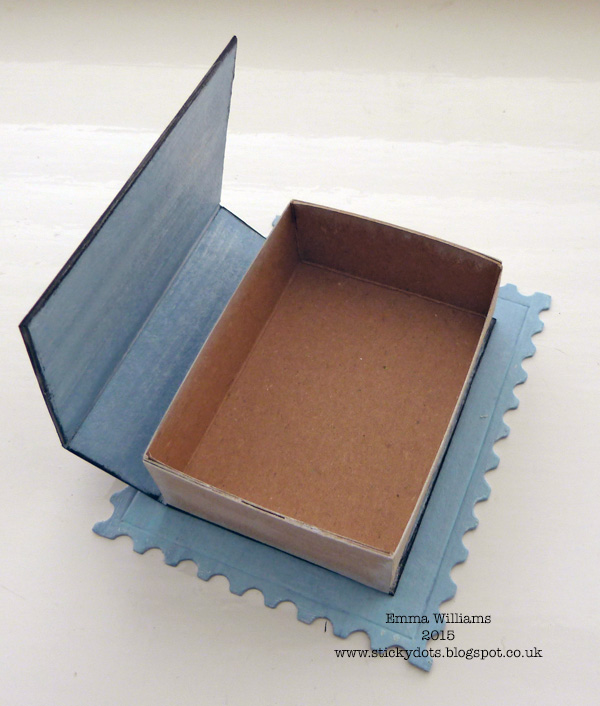
To begin with I cut a piece of kraft card to measure, 15.5 x 13cm. Measure 3cm from each edge and score vertical lines around each side of the card. Fold along the score lines. To form the side tabs for your box and with the card placed horizontally in front of you, cut a small section of the card away, following the horizontal fold lines of each corner, as shown in photo.
Apply adhesive to each tab.
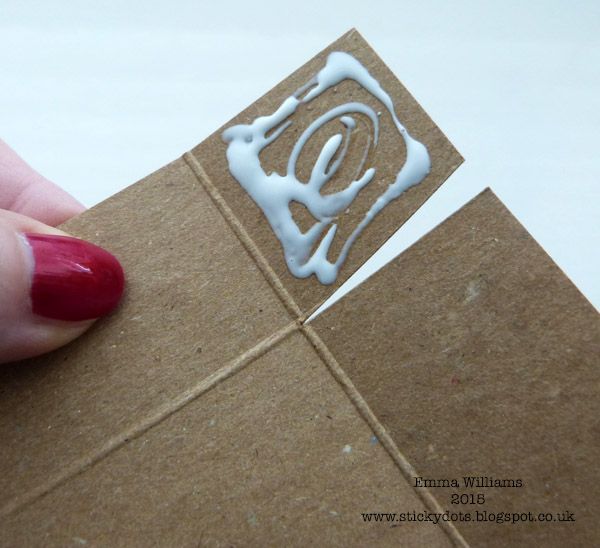
Attach the tabs to the sides of your box to form your basic box shape.
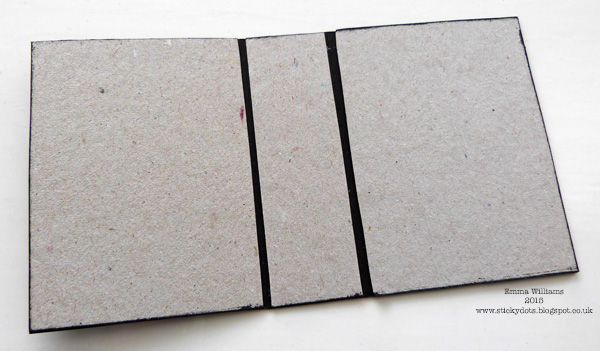
To create the cover, cut two pieces of chipboard to measure 9.5 x 7cm and a third piece to measure, 9.5 x 3cm. Attach the chipboard onto a piece of card stock, 17.5 x 9.5cm, leaving a narrow gap between each piece. Score between the chipboard pieces and then fold along the scorelines to create the cover.
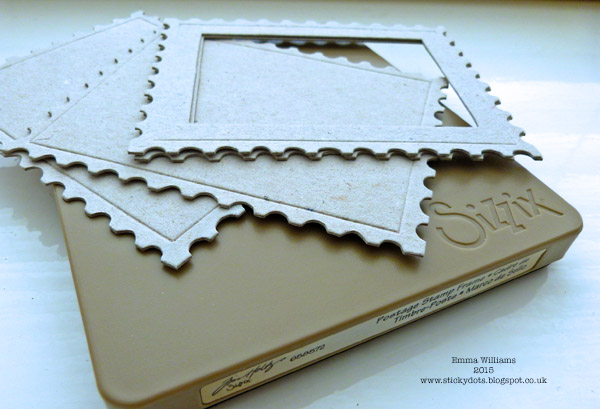
Using the Sizzix Postage Stamp Frame die by Tim Holtz, die cut two complete shapes from chipboard before placing the largest of the Movers and Shapers Sized Rectangle die inside the Postage Stamp Frame die to die cut a frame from a further piece of chipboard.
Apply a coat of Gesso to both sides of all your chipboard pieces, including the die cut shapes and the chipboard cover. Allow the Gesso to dry before painting the pieces using Stormy Sky, Tumbled Glass and Picket Fence Distress Paint. Blend the paints together to give a wood effect to your pieces. Set aside to dry.

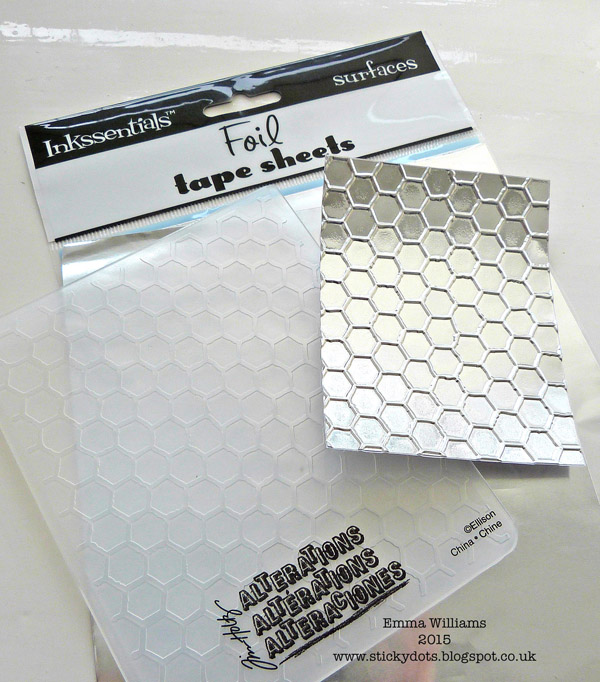
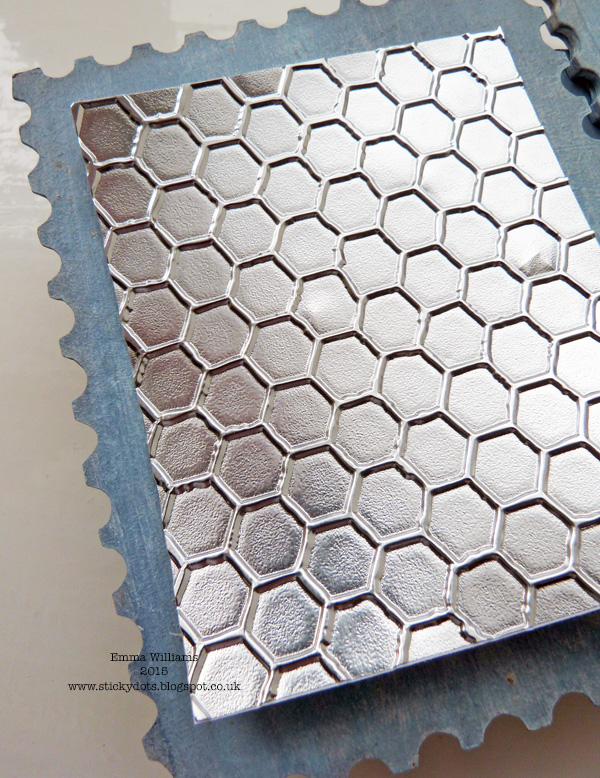
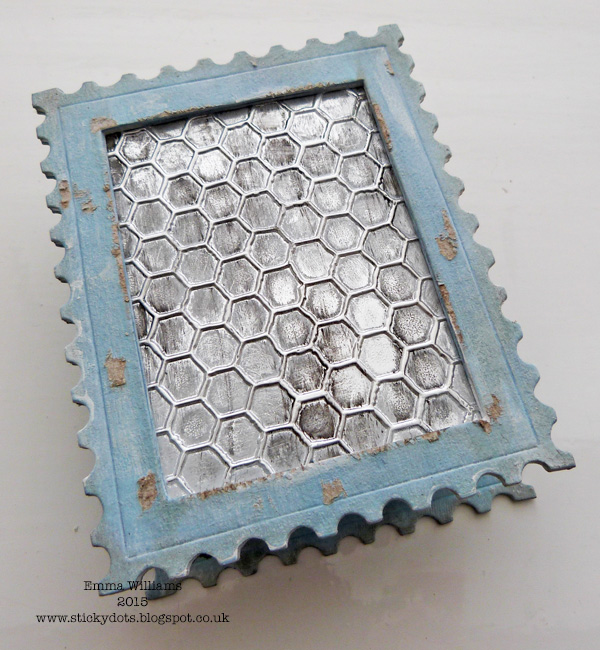
Cut a piece of Metal Foil Tape and emboss using the Honeycomb Texture Fade.
Adhere the embossed foil onto one of the solid die cut Postage Stamp shapes.
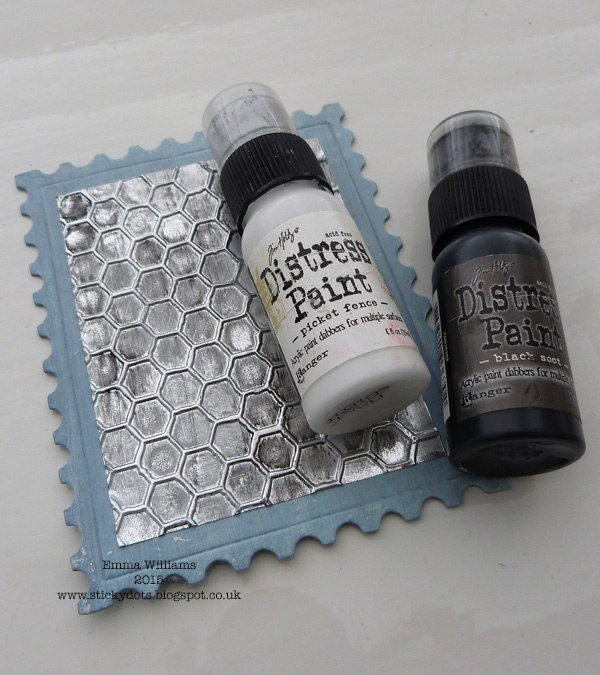
Apply small amounts of Black Soot and Picket Fence Distress Paint to the embossed foil and allow the paint to become tacky but not dry before using a kitchen towel to remove some of the paint from the surface to leave a distressed look to the foil.
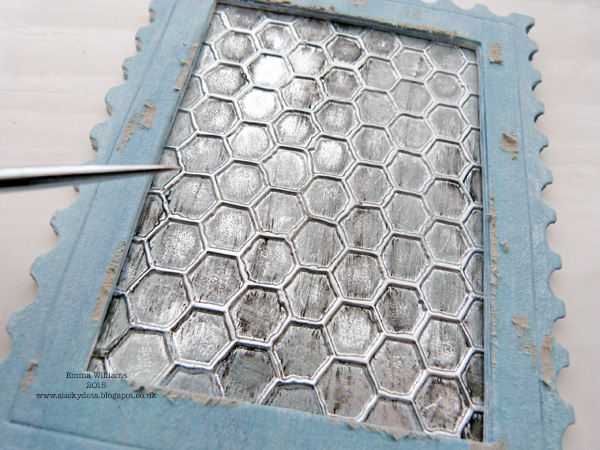
Place the die cut Postage Stamp frame over the top of the foil, aligning the frame with the layer underneath. Use a sharp tool to scratch away some of the paint to reveal the chipboard underneath which will give a worn look to the frame. Ink the edges of the frame with Walnut Stain Distress Ink.
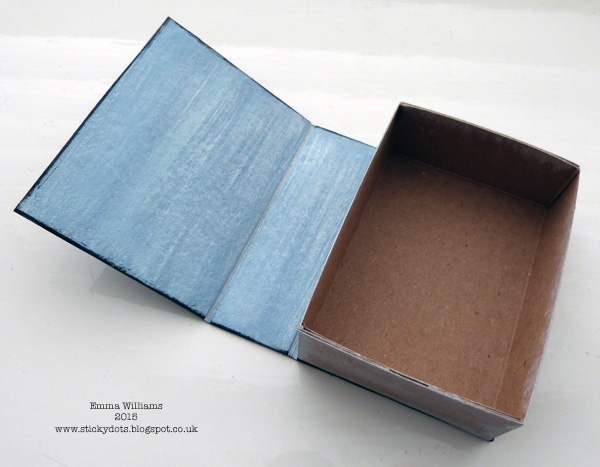
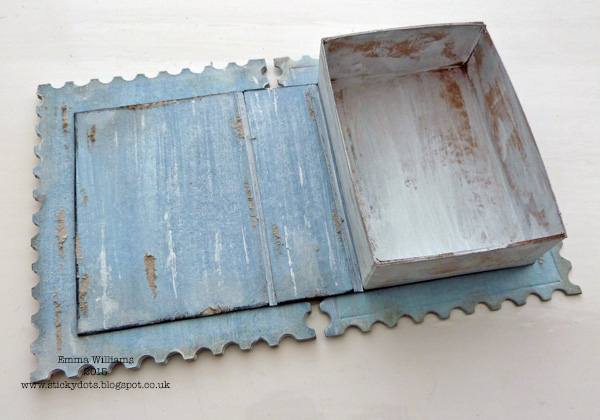
Attach your box to the inside of your painted chipboard cover.
Adhere the complete box to the second of the painted Postage Stamp chipboard shapes.
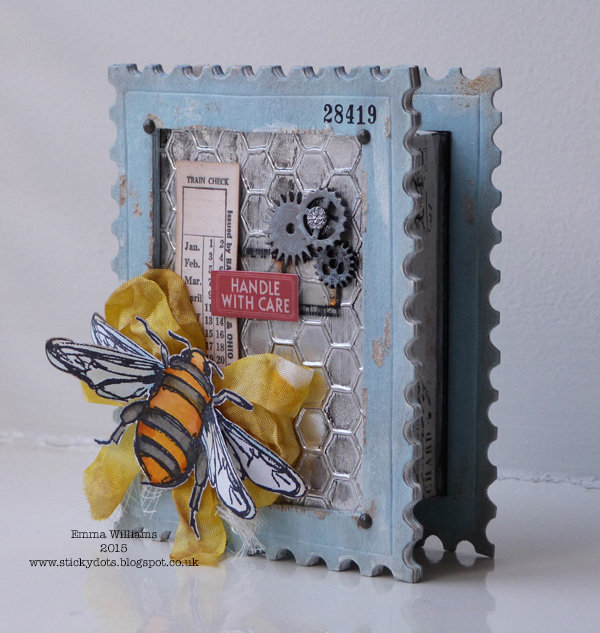
Attach the frame section onto the front of the box, aligning the front and back die cut shapes, so that they match perfectly and the shadowbox will stand alone.
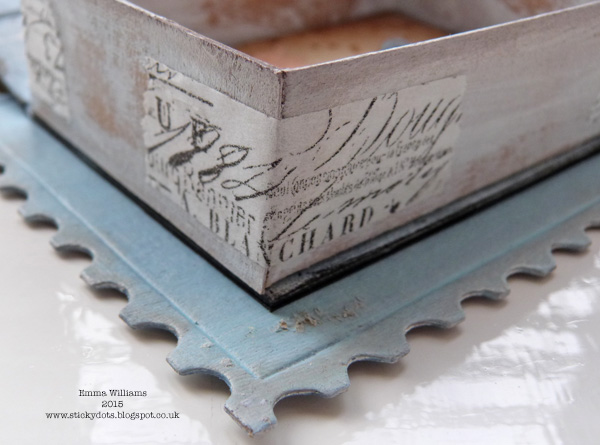
Paint the inside and outside of the kraft box with a diluted wash of Picket Fence Distress Paint. Don’t cover the box with white paint as you want a rough distressed feel to the card. As before on the cover of the box, distress the inside using a sharp tool to scratch the surface of the paint. You have now completed the basic box shape for your project.
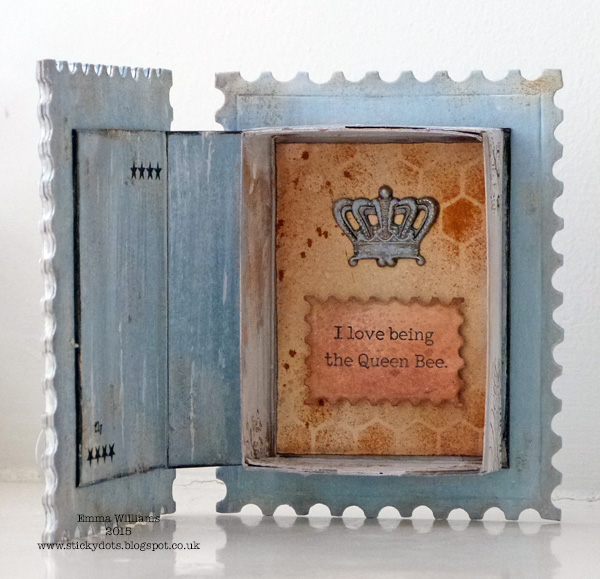
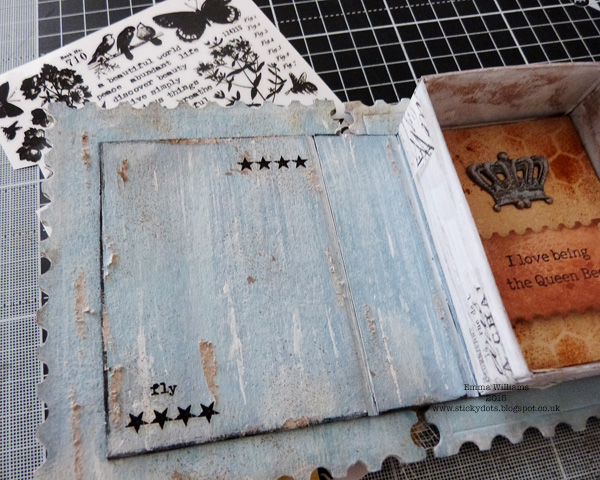
To decorate the inside, cut a piece of Manila card to measure 9 x 6.5cm. Ink the card using Brushed Corduroy and Old Paper Distress Ink. Place the Honeycomb Layering Stencil over the top of the inked card and attach the Wild Honey Distress Marker Pen into the Distress Marker Spritzing Tool and spritz the colour through the stencil. Attach the inked card to the inside of your box.

Using the Postage Stamp shape die from the Tim Holtz Labels Thinlits die set, die cut a second piece of inked Manila card stock. Take the quote stamp from Dina Wakley’s Scribbly Insects stamp set and ink with Jet Black Archival Ink. Stamp the quote in the centre of the die cut shape and attach to the inside of the box using foam pads.

Add a small amount of Weathered Wood Distress Paint to the surface of the metal crown charm from the Regal Adornments set.
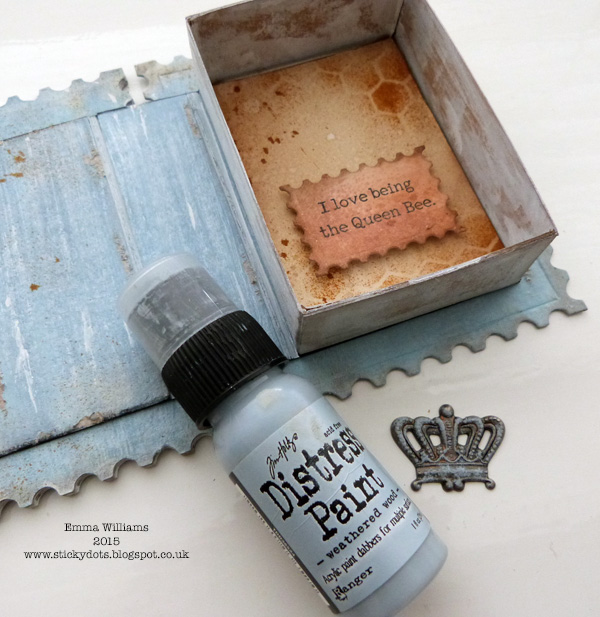
Attach the charm on the inside of the box, placing it above the stamped quote.

Apply small amounts of torn Tissue Tape around the outsides of box to strengthen the joins.
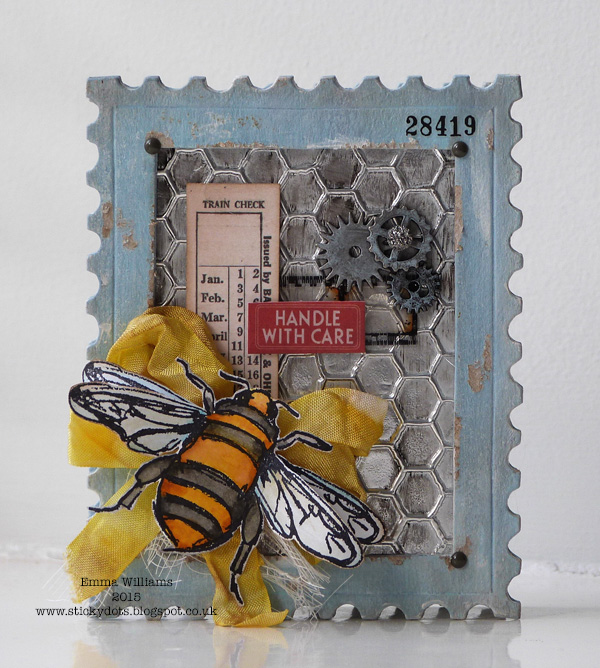
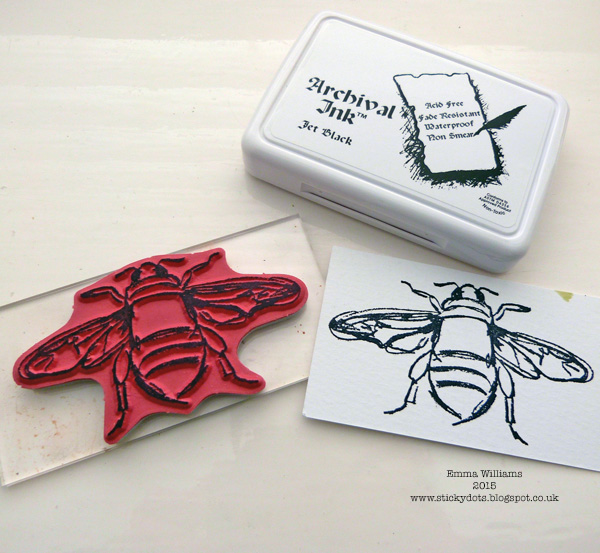
To complete your box, all that’s left is to decorate the outside and for this, start by inking the Scribbly Bee image from Dina’s stamp set with Jet Black Archival Ink and stamping it onto the smooth side of Ranger watercolour card.
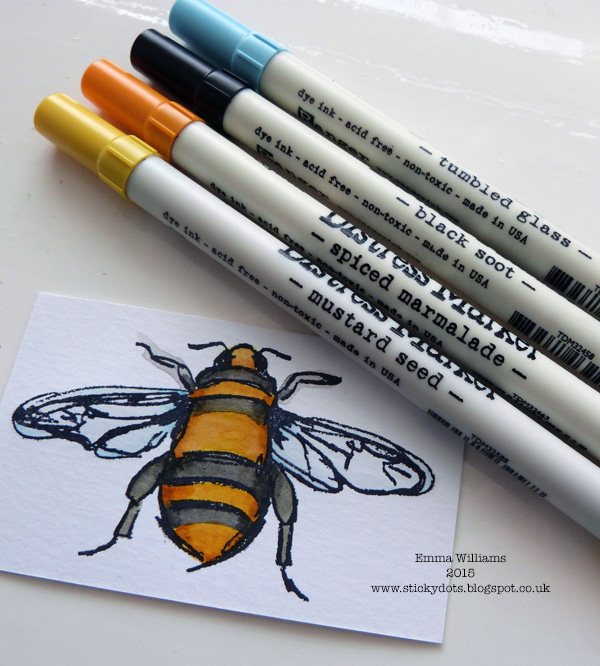
Apply the following colours of Tumbled Glass, Spiced Marmalade, Mustard Seed and Black Soot Distress Marker Pens onto your craft sheet and watercolour the stamped image of the bee by picking up the ink from the sheet using a water brush. Once the image is completely coloured, cut around the outline of the bee. At this stage, I stamped a second image of the bee but cut away the body to leave just the wings which I then layered underneath the first stamped image, to create a more realistic look to the bee.
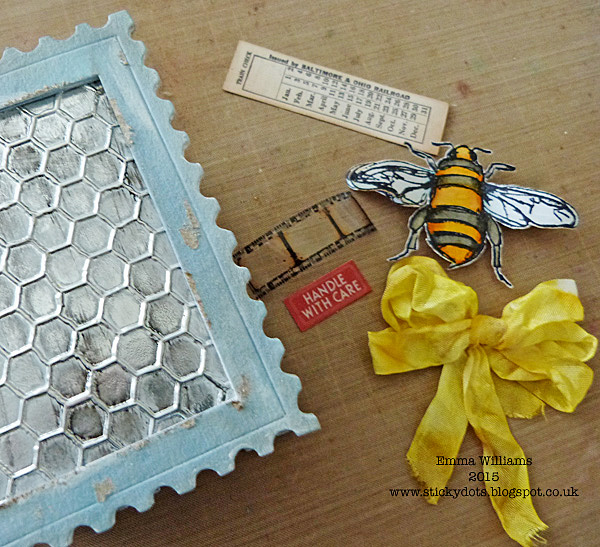
Colour some Crinkle Ribbon by applying Wild Honey and Squeezed Lemonade Distress Stain to a craft sheet and spritzing the stain with a light misting of water before adding the ribbon to pick up the colour. Whilst heat drying the ribbon, dab it lightly with small amounts of Frayed Burlap Distress Ink.

Tie the dyed ribbon into a scruffy bow and together with some Ephemera, the stamped bee and some film ribbon, attach these elements onto the front of your box.
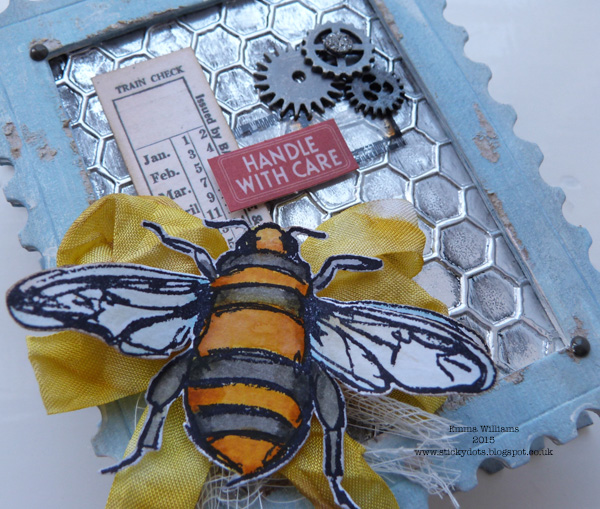
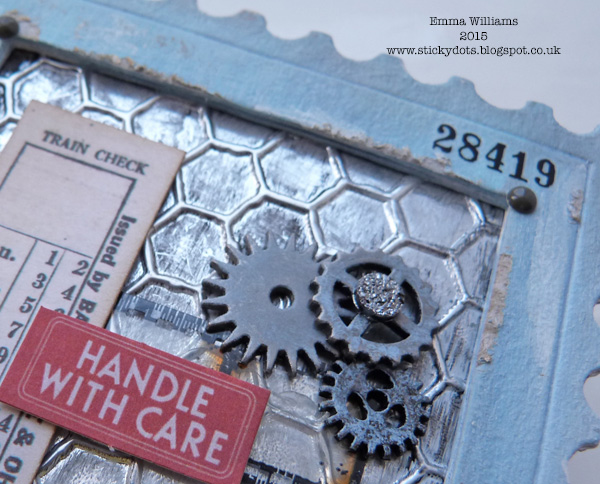
Add some Sprocket Gears to the arrangement, layering a small crystal gem over the top. Add Enamel Dots to each of the corners of the box
Finally, to complete the box, I added various Remnant Rubs to the inside and the outside.
I hope you enjoyed this tutorial and that it’s inspired you to look at dies in a different way.
Supplies:
Surfaces: Chipboard, Ranger Manila Cardstock, Ranger Metal Foil Tape, Kraft Card, Ranger Watercolor Paper
Dies and Texture Fades: Postage Stamp Frame Die by Tim Holtz, Sizzix Labels Thinlits by Tim Holtz, Sizzix Sized Rectangles Movers & Shapers Die by Tim Holtz, Sizzix Bubble and Honeycomb Texture Fade by Tim Holtz
Stamps: Scribbly Insects by Dina Wakley
Ink: Jet Black Archival Ink, Brushed Corduroy, Old Paper, Walnut Stain, Frayed Burlap
Pens: Wild Honey, Spiced Marmalade, Mustard Seed, Black Soot, Tumbled Glass
Distress Stains: Squeezed Lemonade, Wild Honey
Paint: Weathered Wood, Stormy Sky, Black Soot, Picket Fence, Tumbled Glass
Embellishments: Tim Holtz Idea-Ology: Emporium Ephemera Pack, Mini Sprocket Gears, Sprocket Gears, Film Ribbon Strip, Crinkle Ribbon, Regal Adornments, Tissue Tape, Remnant Rubs. Prima Epiphany Crystals. My Mind’s Eye Enamel Dots
Tools: Big Shot, Craft Sheet, Brushes, Distress Marker Spritzer Tool, Blending Tool, Honeycomb Layering Stencil, Tim Holtz Detailer Waterbrush

Wow! So many fantastic possibilities- and perfect for this week’s challenge! Now it’s your turn! Join us this week in the challenge and show us how you’re inspired by the letter B.
Challenge Badge

Spotlight Badge


lovely piece Emma, love the dimension and the Queen Bee sentiment on the inside is perfect . Hugs x x x x
Gorgeous make, Emma. TFS step by step…this is a great inspiration!
Wow! What a fabulous project. So many gorgeous little details. Thanks so much for showing us how to do this.
Hugs,
Snoopy :D
This BEE likes this Bee-utiful creation.
Melissa
“Sunshine HoneyBee”
I love this! TFS Emma!
Fabulous! shadowbox Emma . Love the colours n the hidden extra! Thx so much for sharing n the great tutorial too . xx
Love this! Great tutorial.
have just been reading this. brilliant work lovely lady xx
Great shadowbox, I love it! Thank you for the instructions, they are very clear.
Wonderful! I think I have many of those items and can improvise for the rest to try to recreate this!
Wonderful projects Emma! As always your tutorial is so beautiful, the box is stunning! BArbarayaya
Beautiful project Emma. Love all the details. Thank you for a great step by step tutorial. Might just have to have a go at making a shadow box.
Brilliant and beautiful!
Wow, what a project! Thanks!!
This is just amazing! Thank you so much for sharing it.
Wow…what an awesome project. Thank you for sharing!
what a FABULOUS project and tutorial Emma-gorgeous!! Thank you!
That is beautiful Emma! Thank you so much for sharing how you created it with us too – I love it Karen x
What a beautiful creation…
So absolutely clever
LOVE this! My favorite part is the embossed foil!! So amazing! TFS!
This is fabulous! Gorgeous tutorial! The foil honeycomb is genius!
Oh my gosh, where to begin?! Absolutely adore your Queen Bee shadow box, so many wonderful details and textures and love the fun sentiment inside! Thanks so much for your great tutorial.
This is so amazing, love all the details!
I always love your work, Emma, and this piece is fantastic! I really adore the sophistication mixed with the clever wit of loving to be the queen bee! Well done, yet again!
This is amazing, Emma! Love the tutorial and your style is absolutely stunning! Hugs, Sandra
Bee-utiful project Emma ;) Love all the embossed detail and painted pieces! Thanks for sharing your creative process!
Awesome project!!
Such a beautiful creation! Love it! :)