Yippee for Yana Feature: Shading Solid Stamp Images with Ink Pads
Hi friends! Thanks for tuning in today! We’re back with the latest installment of Yippee for Yana! In this card, Yana is showing the process of shading solid stamp images with ink pads! Be sure to read on and watch the video for more details! Enjoy!
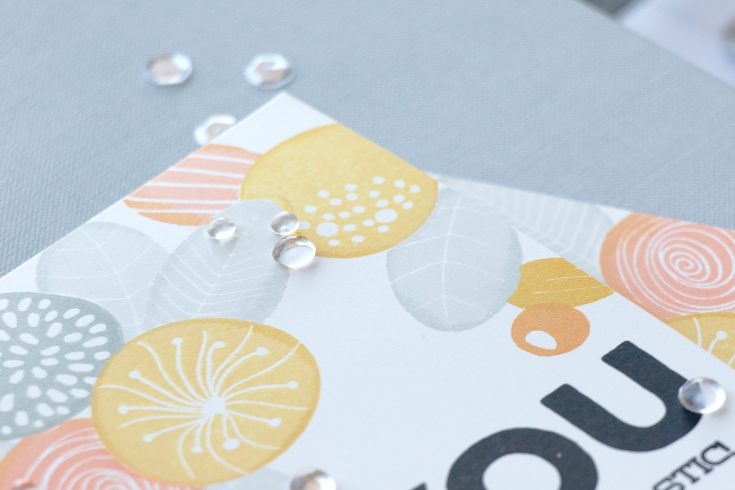
Hi everyone, this is Yana Smakula and I’m excited to bring you another episode from my by-monthly “Yippee For Yana” video series! In today’s video I’m showing how to add shading and dimension to solid stamped images with the help of inks.
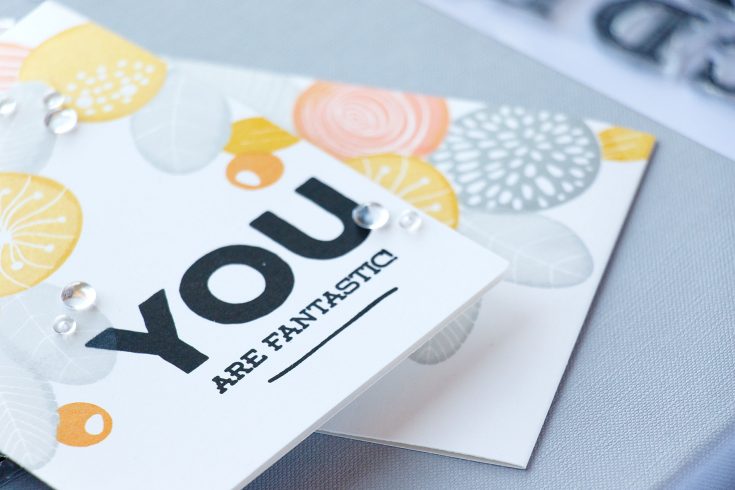
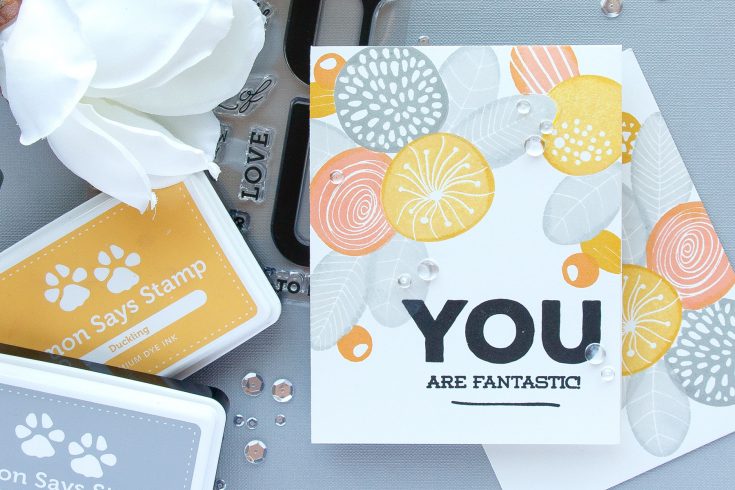
I started working on my card by stamping a big bold sentiment that reads “You Are Fantastic” in black ink. The sentiment comes from Simon Says Stamp Big U Words stamp set and features a lot of messages you can pair with the word “you”. The line under the sentiment is actually a stem from a floral set from Altenew called Simple Flowers.
When it comes to stamping cards like this one color combo is very important and it’s essential to pick a nice mix of colors for great results. I am using yellow, orange and gray. For each color I have a lighter and a darker shade ink pad. There’s Duckling and Sunshine for my yellows, Apricot and Orange Slush for the orange and 3 shades for the gray – Fog, Smoke, and Cobblestone.
The trick here is to stamp the same image multiple times, 2 or sometimes 3 or even 4 times in the same spot and thus using a stamp positioner such as MISTI is crucial to have great results.
I inked up my flower using light yellow shade and stamped it onto my card base placed inside the MISTI. To add some depth to my flower I darkened the edges and keep the center light. I used a dark yellow shade and inked up just the edges of the stamp and stamped it. Finally I stamped the same image once again (for the third time) using the lightest ink color. This helped the ink blend a bit and create a slightly smoother transition of color.
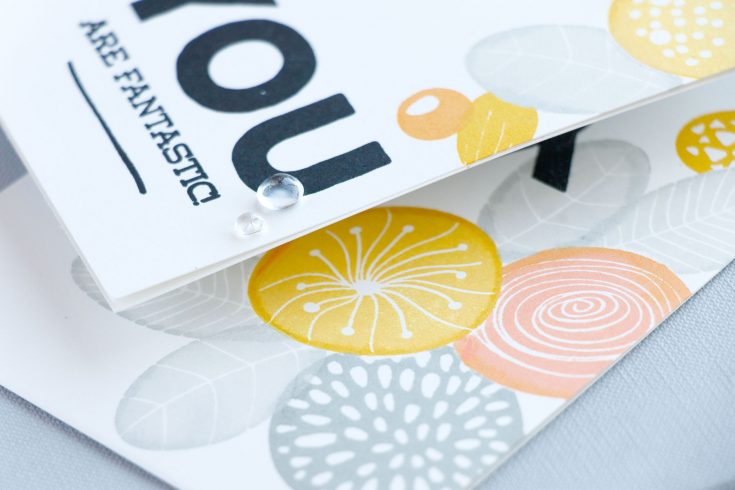
Keep in mind you can use this technique with many other floral stamps sets, the key here is using solid images. Have fun stamping!
Watch the video:
Supplies:
Thanks for reading and thanks to Yana for being our guest! Mark your calendars for the next Yippee for Yana feature on March 21st!
Blog Candy Alert!! Follow our blog via email and comment on this post for a chance to win a special blog candy!
Congrats! Blog Candy Winners!
From: Studio Monday with Nina-Marie: Stamp Layering with Pantone Green: Ericka Strange!
From: Walk on the Wild Side Journal Page: Gail Anderson!
From: Amore Laura Fadora Feature: Sending Big Hugs!: Kristie Maynard!
From: Art Journaling with Shari Carroll: Pocket Collage: Berina Febin!
From: Exploring the New Distress Oxide Ink Pads!: Christine Kosmak!
Please email [email protected] with your mailing address (if applicable), the name of the blog you won from, and the prize you won to claim your prize!



Love this! Stoked to try it asap! Dying to get my hands on a MISTI! There is a Tim Holtz stamp positioner that is much cheaper. Is it a good one? I have watched other product comparisions but find nothing about pros and cons of the Tim Holtz version. Have you heard any feedback on it? I cant afford more than one and want to ensure i will love the one I buy.
Thanks!
Steph
This card is great! Have thought about layering the inks; but wasn’t quite sure how to go about it until now! Most importantly, how can you not love a blog post titled Yippee for Yana!! Thanks again for sharing your talents.
Love this technique
Amazing card!Thank you for sharing
Sure a cool technique
Watching a video always helps see the concept and steps to fabulous ideas!
I love that technique and card. The colors are fabulous!
Wonderful technique, thank you for sharing it in a video.
Lovely card! This is a cool technique.