One Stamp Five Ways: Spring Flowers 4
Hi friends! Can you believe it’s August 31st?! I sure can’t!!! Please join me in welcoming back the always inspiring Suzy Plantamura with her monthly blog installment of One Stamp Five Ways; celebrating the MANY unique looks you can get with one stamp set!! Red on and enjoy!
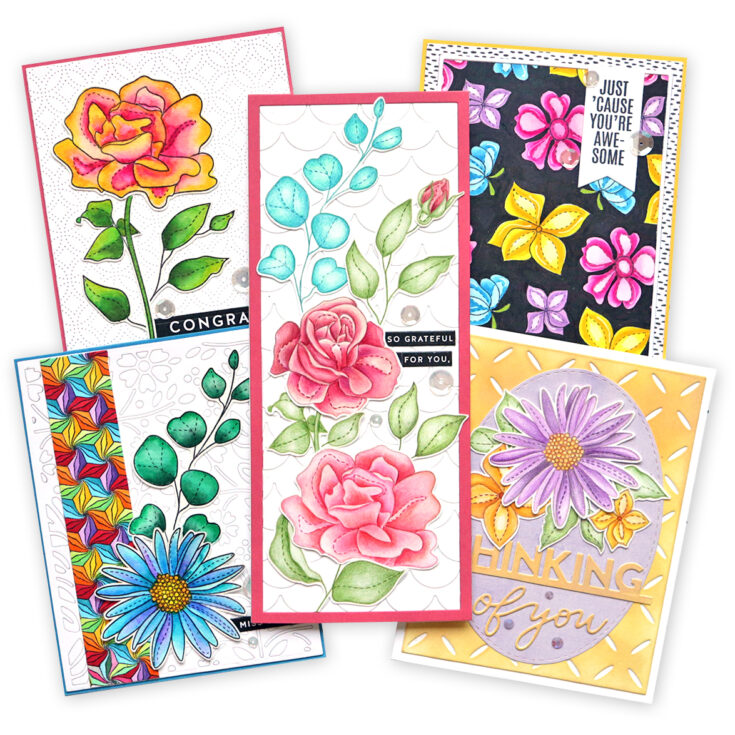
Hello Simon Says Stamp friends! I’m happy to be guest posting today with one of my favorite flower stamp sets called Spring Flowers 4. I have a “one stamp, five ways” post to share with you using these delightful blooms.
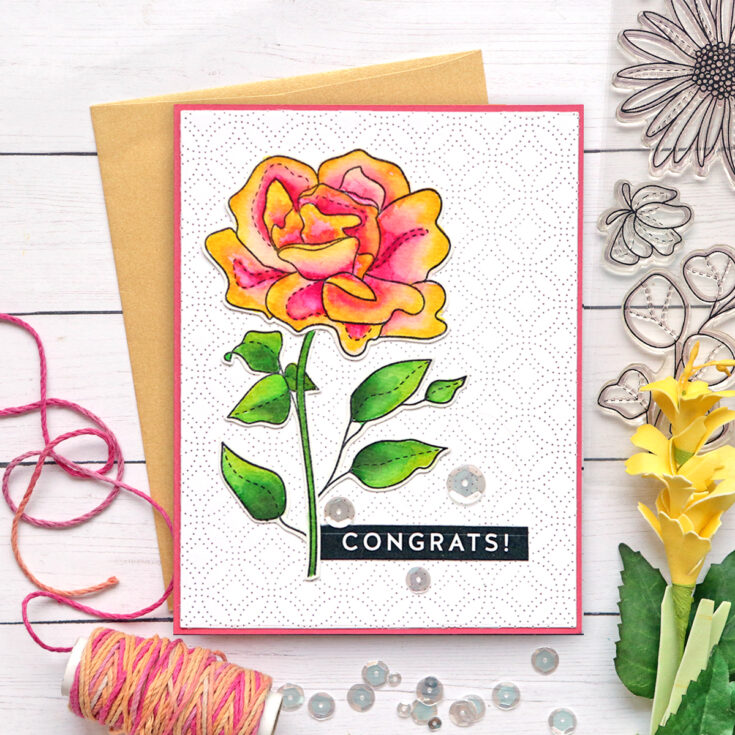
This card has a little secret on it – a sneak peek of a new product that will be released tomorrow as part of Stamptember. I used it for the background of this card, but we will leave it unnamed for now! I attached it to my favorite color of cardstock – Lawn Fawn Guava.
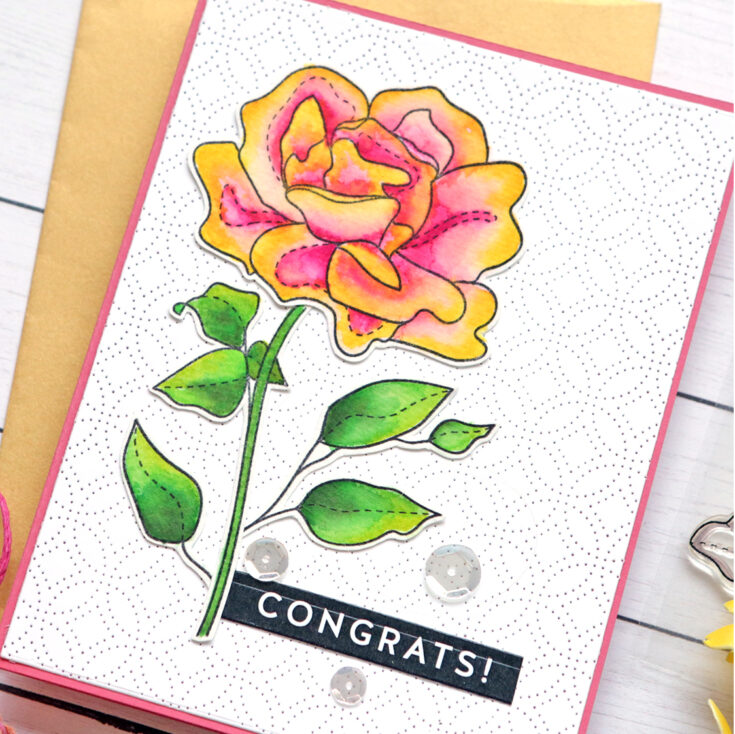
I stamped the flower and leaves from the Spring Flowers 4 stamp set with SSS Intense Black Ink on Arches Cold Press watercolor paper. I watercolored them with Karin Brush Markers which is why they are so intense! I die-cut them out and attached them to the front of the card. I had to trim some of the leaves to fit around the main stem. I added a greeting using the easiest method ever, the preprinted Reverse Mom Days sentiment strips. I used one of the SSS Sentiment Strip Dies to die-cut around it. I then added some PPP sparkling clear sequins around the sentiment.
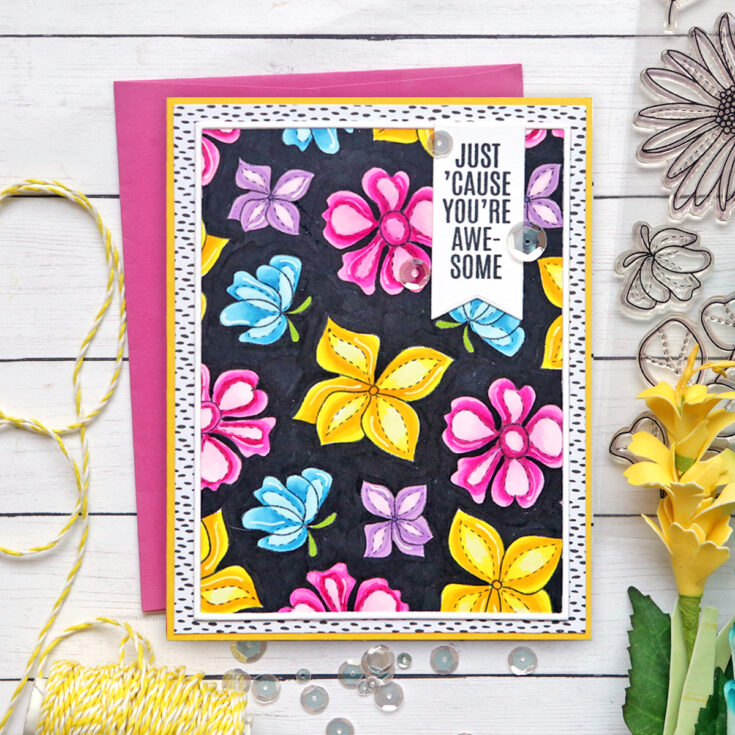
I started this card by stamping the smaller flowers in the Spring Flowers 4 stamp set with black ink on white cardstock. I then colored them in with lots of bright Copic Markers. I colored the background with a black Copic marker. I then die-cut this piece with the second largest die from the SSS A2 Rectangle Frame dies. I die-cut a white frame as well and glued that over the colored piece.
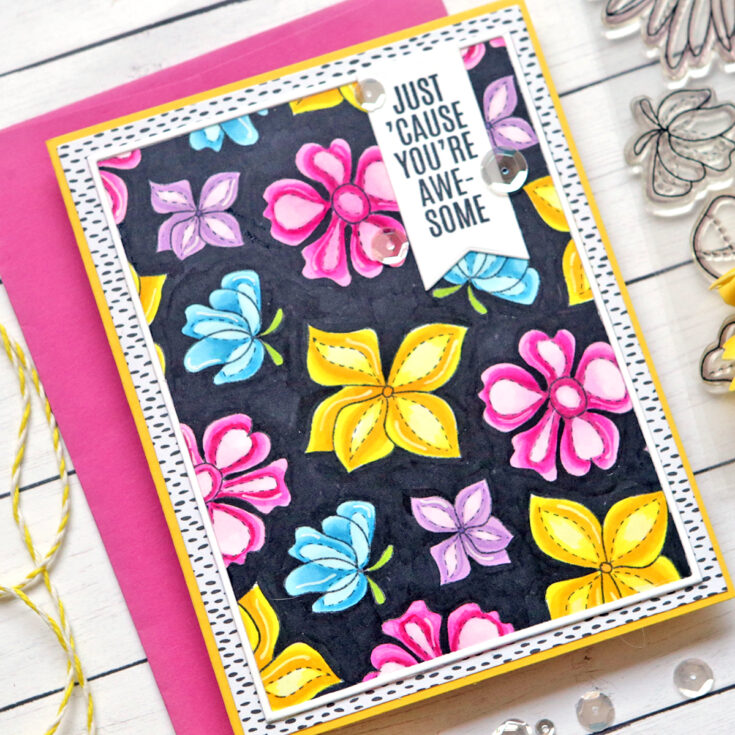
I love diving into my patterned paper collection. I found this one with black designs on a white background, but I’m not sure what 6×6 paper pad it came from. I attached a piece of that behind the card front and then attached it all to a yellow card base. I stamped a sentiment from the Just Because Word Mix 2 stamp set on a banner from the Word Mix 2 Wafer dies (I love how these stamps and dies work together!). I added some sparkling clear sequins.
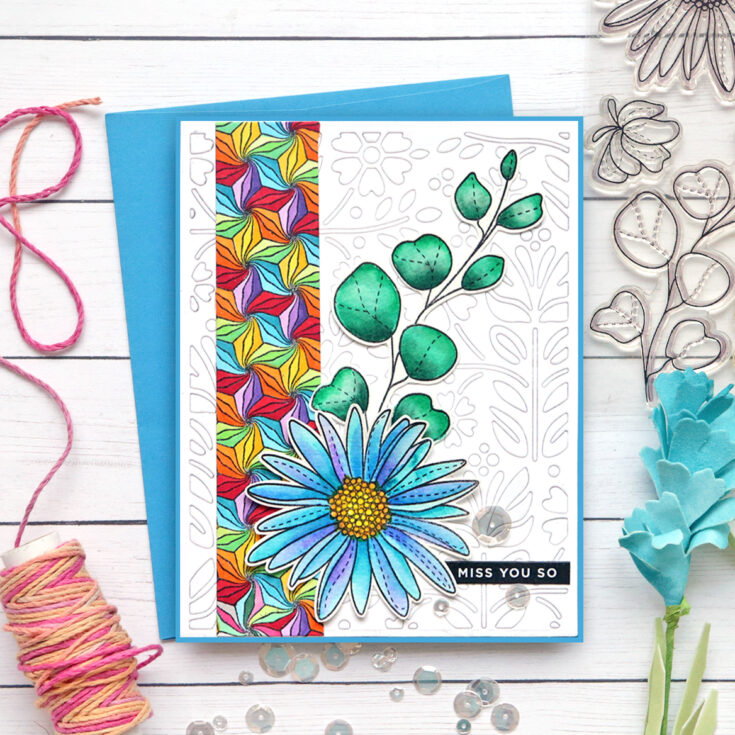
I started this card with the Folk Dance Wafer Die die-cut from white cardstock and attached to a blue card base. I often stamp and color the 6×6 cling stamps as they are more fun that a detailed coloring book! When I use them on cards, I cut off the extra and save it for other cards. This piece along the left side of this card is from the Poinsettia background cling stamp. I colored it with Copics and finally found a use for it! I layered that over the background on the left side.
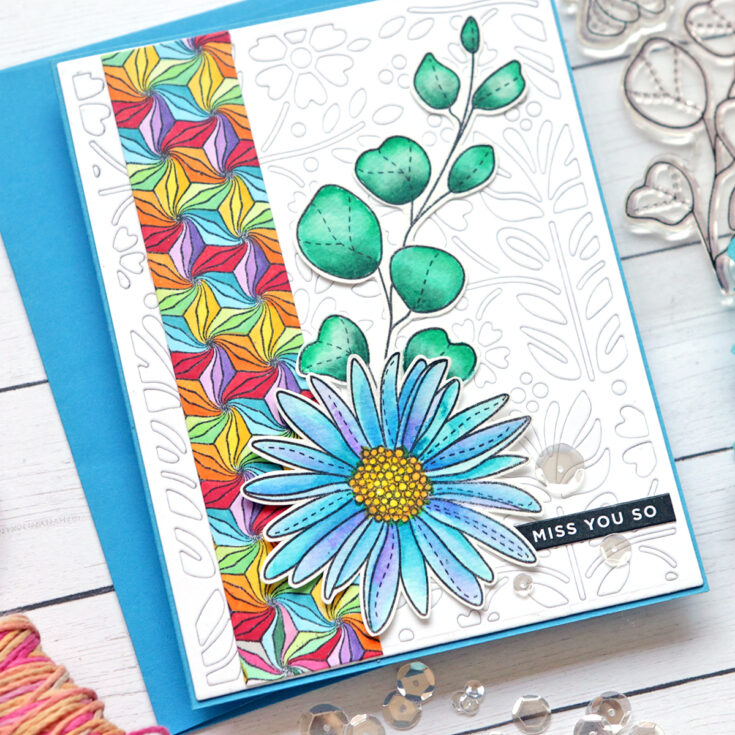
I stamped the flower and leaf sprig from the Spring Flowers 4 stamp set on watercolor paper with black ink. I colored them in with my Karin watercolor brush markers. I layered them over the front of the card. I added a small greeting from the Sentiment Strips Reverse Miss You preprinted greetings (sooooo easy!). I used the SSS Sentiment Banners to die-cut it. I added some sparkling clear sequins.
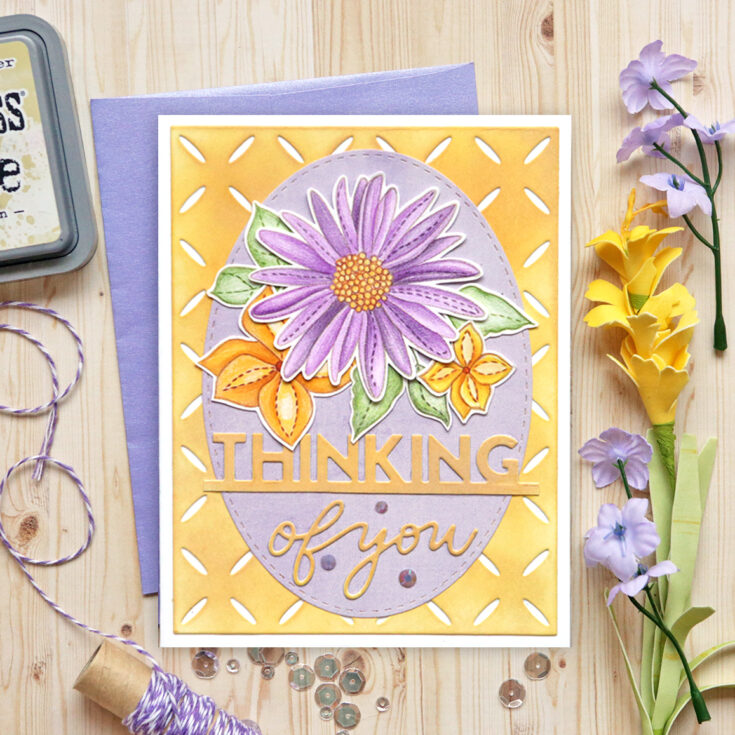
I die-cut the SSS Diamond Pattern wafer die and the Thinking of You Line die from white cardstock. I rubbed Antique Linen Distress Oxide Ink over both. I attached the diamond pattern die to the front of a white card base. I then die-cut a SSS Stitched Oval Die from lavender patterned paper from my stash. I attached that centered over the background.
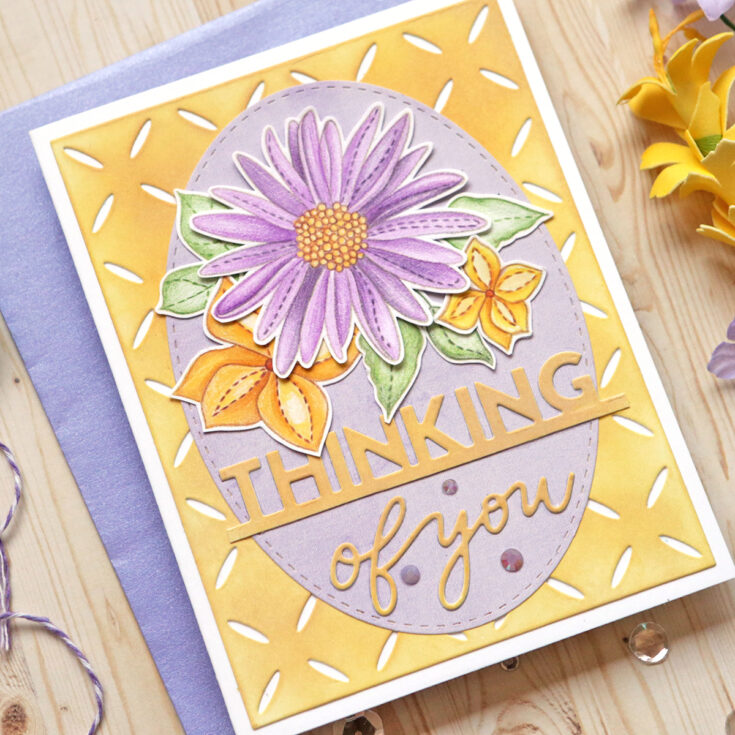
I then stamped the flowers and leaves on white cardstock with MFT Natural Ink. I colored them in with colored pencils, which gives you such a soft look. I attached them to the top of the oval and the Thinking of You to the bottom of the oval. I added some Pansy Purple jewels.
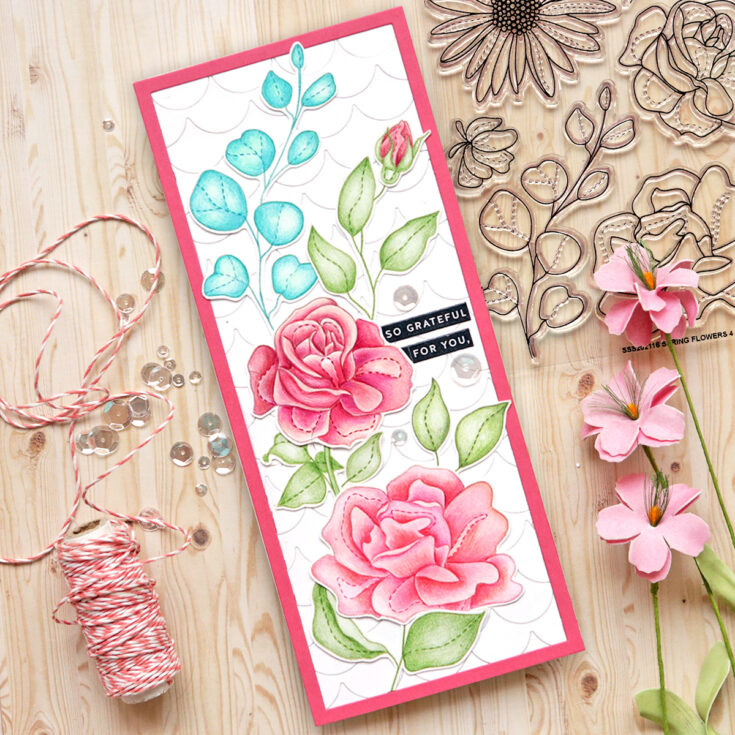
I wanted to make a vertical slimline card with these leaves and flowers since the leaves fit that size well. I started by die-cutting the largest Scallop Border die multiple times. I attached those pieces to the front of the card running vertically. I trimmed off the edges and added a Hello Bluebird frame from Lawn Fawn Guava Cardstock.
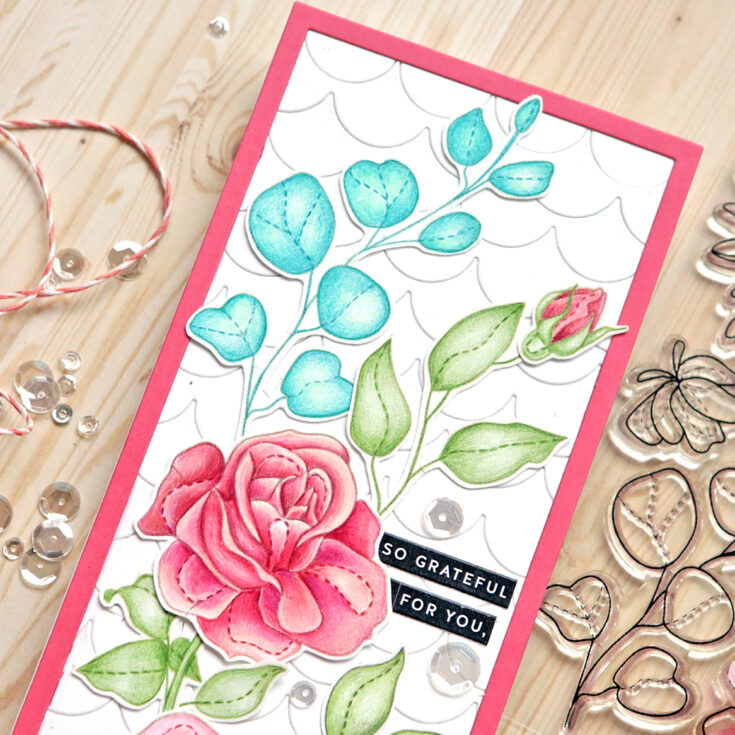
I stamped all of the images from the Spring Flowers 4 stamps on white cardstock with MFT Natural Ink. I colored them with colored pencils and die-cut them out. I arranged them over the front of the card.
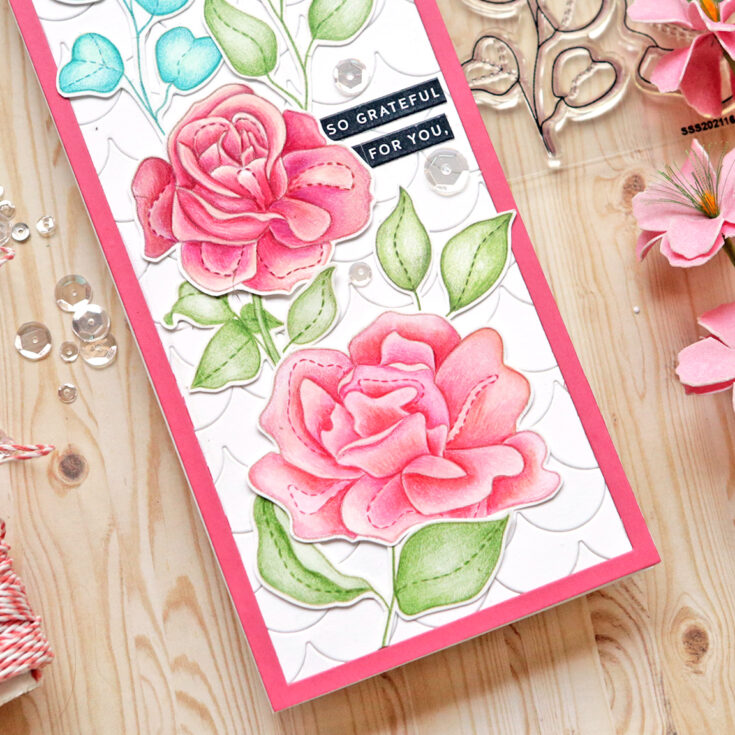
I added a sentiment die-cut with the SSS Sentiment Banner dies from the preprinted Sentiment Strips Reverse Mom Days sheet. I cut that in half and placed it on the left side of the card tucked under the flower. And then I finished it the way I seem to finish every card, with 3 sparkling clear sequins!
I hope you enjoyed this “one stamp, five ways” post using the beautiful Spring Flowers 4 stamps. I have a series of these posts on my blog if you would like to see more. I love thinking of different ways to use my stamps so I get my money’s worth out of each one! Thank you so much for visiting today and stay well my friends! Xoxo Suzy
SUPPLIES:
|
Thanks so much for stopping by, and thanks to Suzy for being our guest!


Wow!!! Amazing cards!!! Sooo colorful and all soooo different!!
Beautiful cards Suzy, thanks for the inspiration!
Beautiful cards so colorful! Thank you for sharing.
So pretty and colorful.
Lovely cards, each so unique. Especially like how you used the poinsettia background stamp to create the rainbow colored pattern strip. tfs-stay well.
These are so so pretty
Each card is so different and absolutely beautiful! WOW!! What amazing cards
So beautiful!
So beautiful. So pretty.
So pretty and love the idea of using one stamp and making many different cards so that you get more use out of them. Thank you.
such gorgeous cards