One Stamp, Five Ways: Plantiful Puns
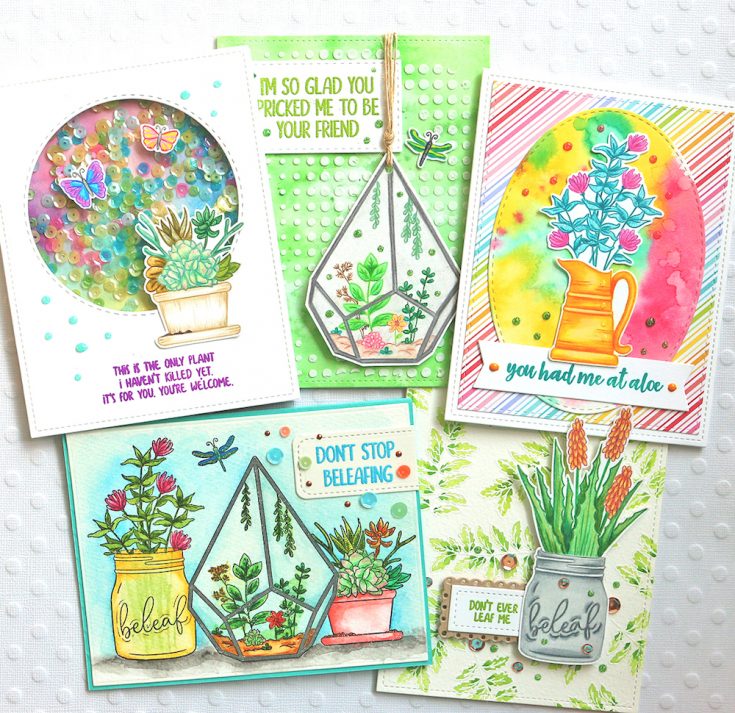
Hi stamping friends! I’m super excited to share my “one stamp, five ways” guest post with you today because I am using the all-new super trendy super cool stamp set called Plantiful Puns. Have you seen this stamp set? It is SO cute and making five cards with it was a plentiful pleasure (haha). So let’s get started!
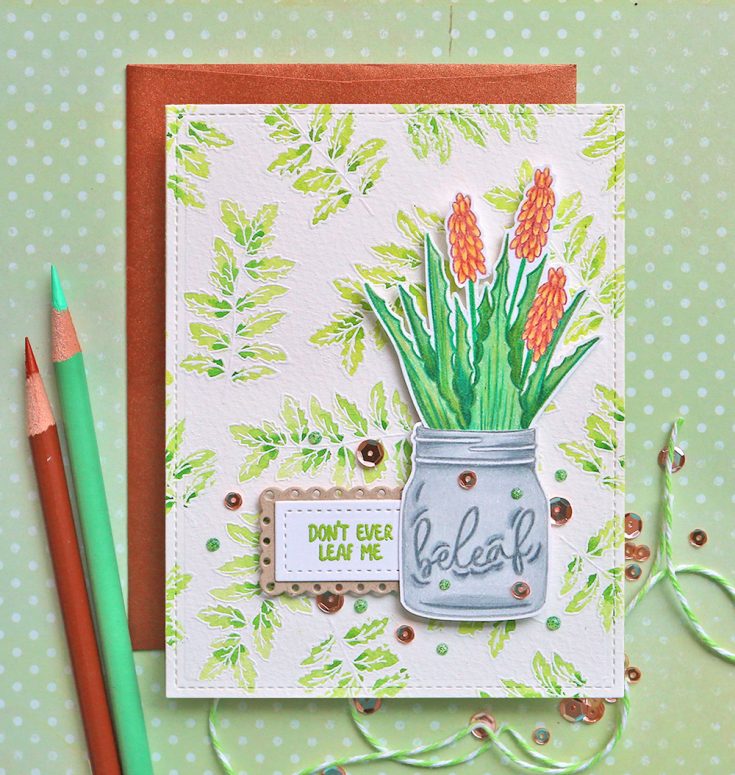
I usually make a random stamped card when I do a “one stamp, five ways” post. This is my random stamping technique, but I changed it up and only used one of the stamps instead of all of them. I picked the leaves as they could stand alone without a vase and they would make a perfect background for one of the plants in a vase.
Here are some tips I used when creating this card:
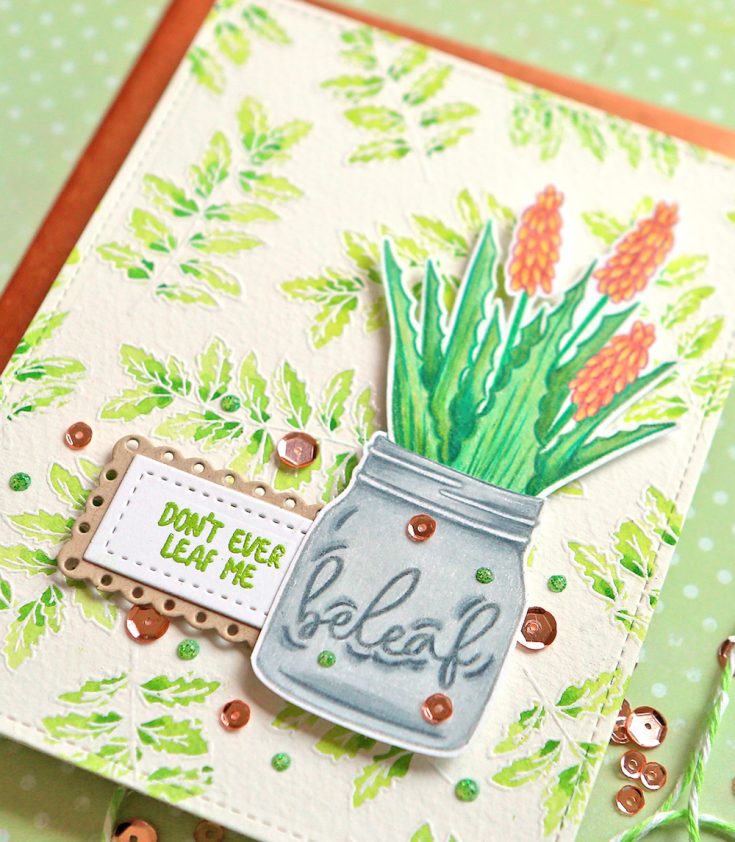
• When painting the leaves, use a wet Sap Green on all of the leaves and then add Hookers Green to just the inside of the leaves to shade
• I used Arches Cold Press watercolor paper for this one as it has a more beige finish to it instead of the pure white of Ranger watercolor paper; I decided to leave the background around the leaves not painted as I thought it looked nice this way (more simple)
• I thought the Lawn Fawn Scalloped Rectangle Die looked really cute framing the small rectangle die (from PPP Storybook 3 Die); when you are stamping a small salutation, frame it as I did so it doesn’t get lost on the card
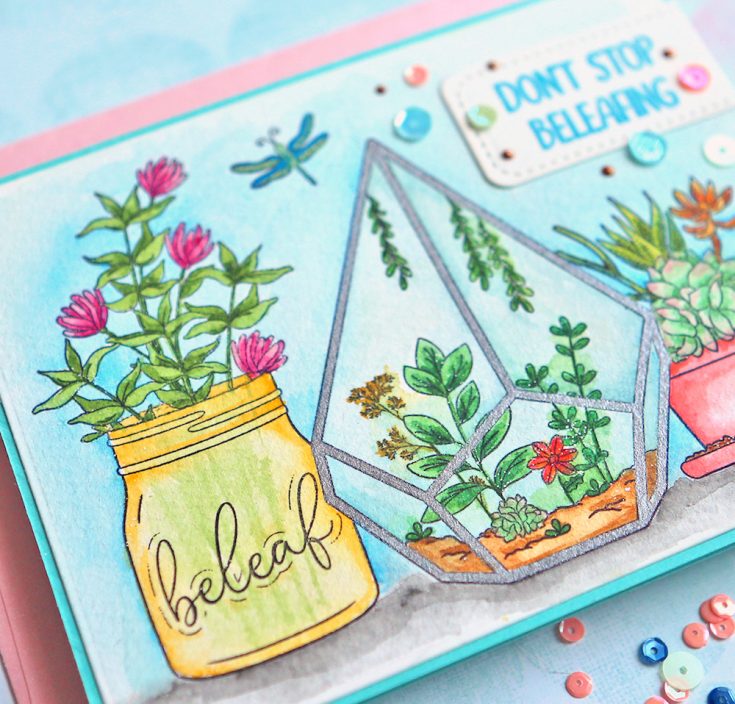
• Stamp your images in a natural color ink (I use MFT Natural Ink) so you can outline them with colored pencils; I outlined the word “beleaf” on the jar with a grey pencil
• Add both sequins (rose gold) and Tonic Nuvo Drops (meadow green glitter) around your salutation
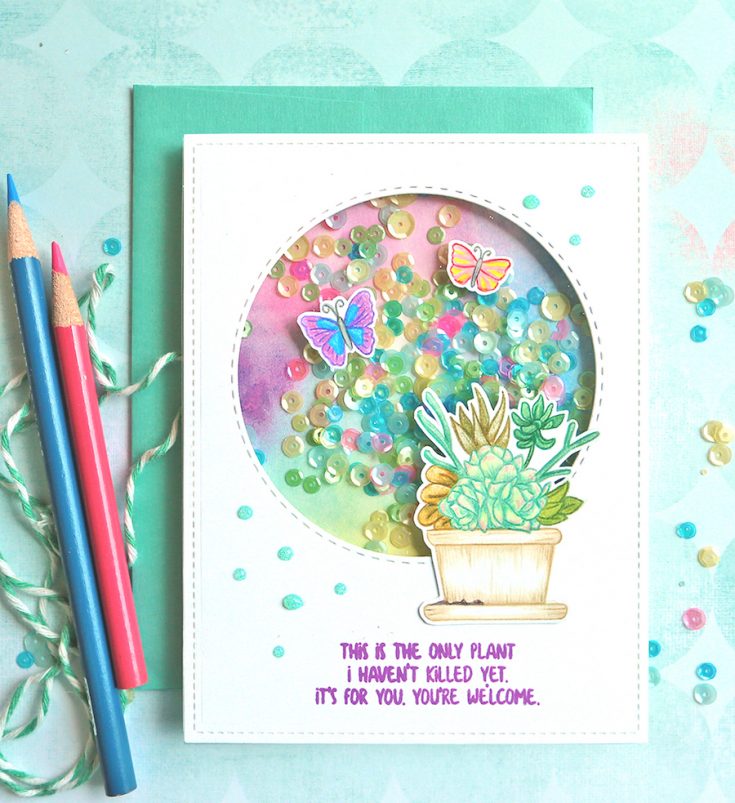
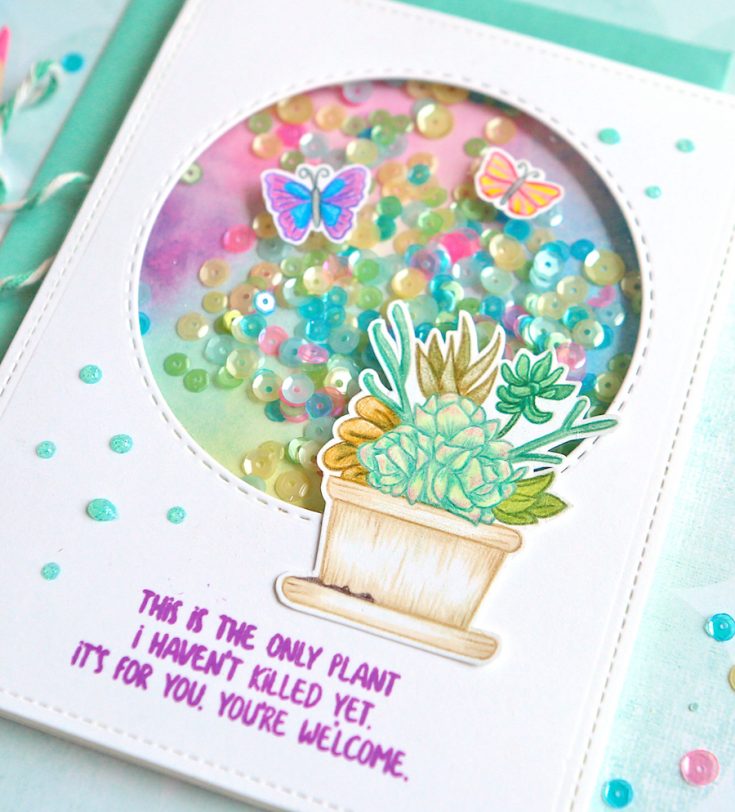
Another type of card I always include in these posts is a shaker card as they are so much fun to make and give-a-way! I used a patterned paper I had leftover from the June Card Kit for the inside of the shaker window. If you didn’t have this paper, you could create a watercolor background instead with mixed shades of purples, greens, and blues.
Here are some tips for this card:
• Use the SSS Stitched Circle Dies to create shaker windows
• Include lots of colors of sequins in your shaker window – I used a mix by SSS called Pool Party and included some Moss Green sequins also
• I used Copic Markers for the base color in the pot, but then I colored the rest of the image and shaded the pot with Prismacolored pencils; I got these for Christmas and I use them constantly to color now!
• If you have a small font in your salutation as I do here, use a bright color of ink so it pops (I used Hot Mama which is about as bright as you can get!)
• Add stamped images to the top of the shaker window as I did with the butterflies
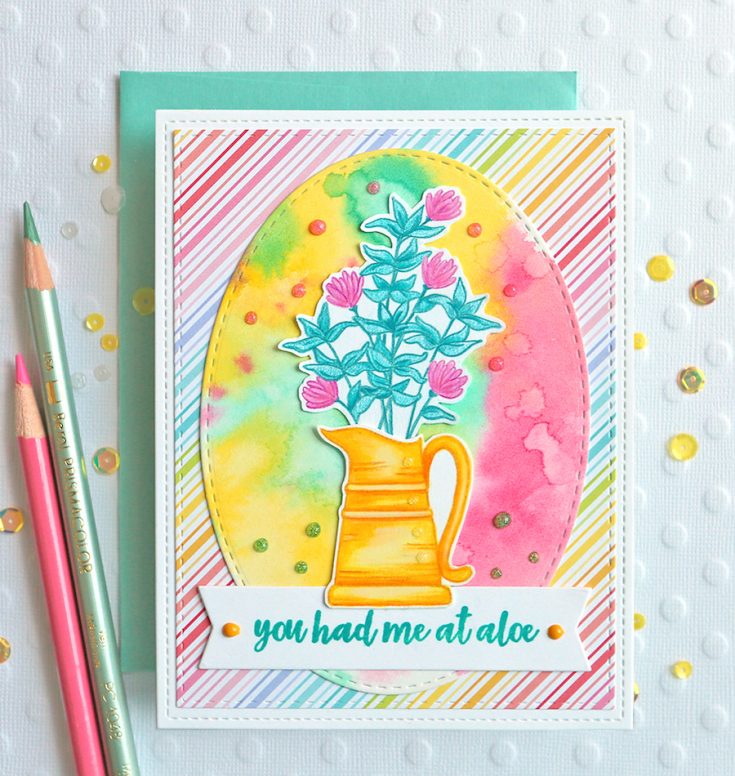
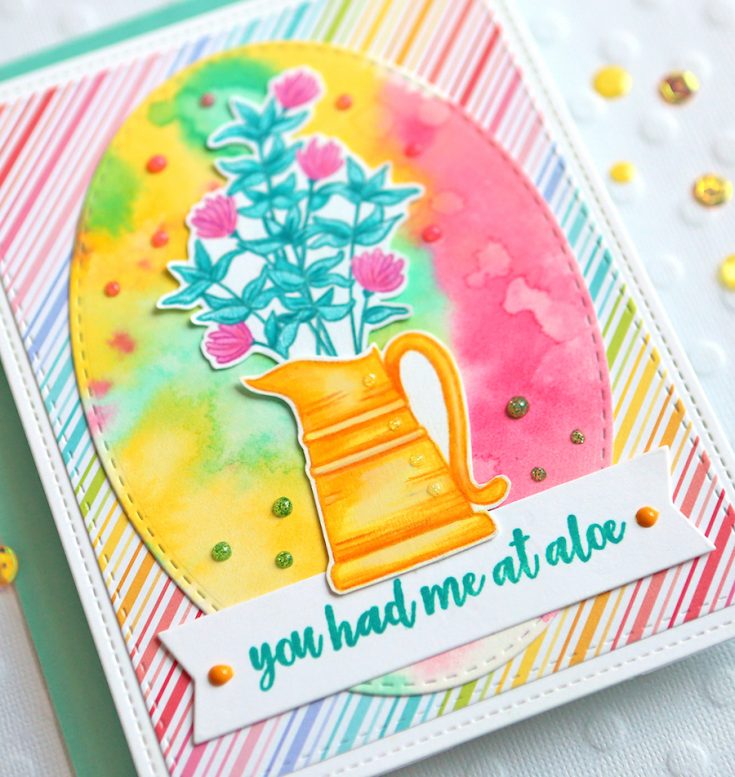
Of course, I had to include a really bright card as color is my best friend when I create! I created the background for this card with an SSS Stitched Oval and then watercolored it with Distress Inks. I dropped the color in and then splattered some water on it to create a splotchy effect. I thought it looked perfect over a paper I had leftover from the May card kit by Lawn Fawn.
Here are some tips:
• When watercoloring with Distress Inks, add water droplets with your paintbrush and then wipe the water off with a paper towel to add “bleached” splotches
• Stamp the salutation on a white cardstock banner and then add some Tonic Nuvo Drops to both ends instead of sequins (this draws the eye to the salutation)
• Use Tonic Nuvo Drops in different colors to match areas of the background – I used all glitter drops
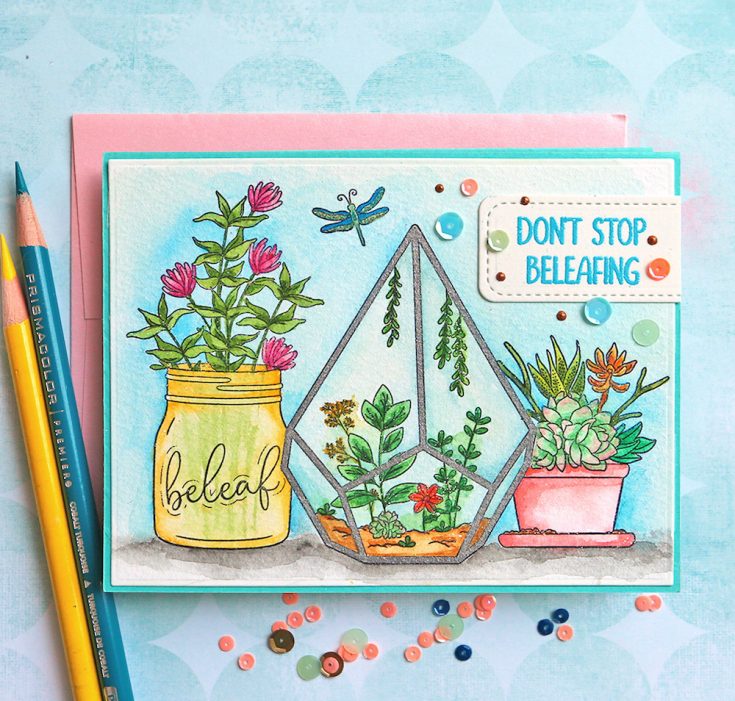
I wanted to create a one layer card, but I messed up. Three times. This is my third attempt – hahaha. But as I told you last month, I always try to fix my mistakes so my card doesn’t go to waste. I wanted to block areas of the stamps so I could have them overlap in one layer. That part worked, but I stamped it all with Memento Ink which runs when you watercolor over it! I remembered to use SSS Intense Black Ink the next time as it works with both Copics AND watercolors! I also messed up when I stamped the salutation – it wasn’t straight. So I covered it with it stitched rectangle on the final card.
Here are some tips for this card:
• When creating a one layer card, use post-it- notes or just scrap paper to cover areas of the stamped images to layer things behind other things
• Wipe off some of the ink off the stamp in areas that overlap (you can see I did this on the top of the coral pot on the right, but I didn’t get enough ink off so you can still see a light line of it)
• For the silver around the framed potted plant stamp, you can use a silver opaque watercolor or a silver glitter pen
• If you mess up stamping a sentiment as I often do, stamp it again on a stitched rectangle or oval; if it hangs over the edge, just trim it to fit – make your mistakes work for you!
• To paint the background, add water around the images and then add paint just close to the image and let it move outward.
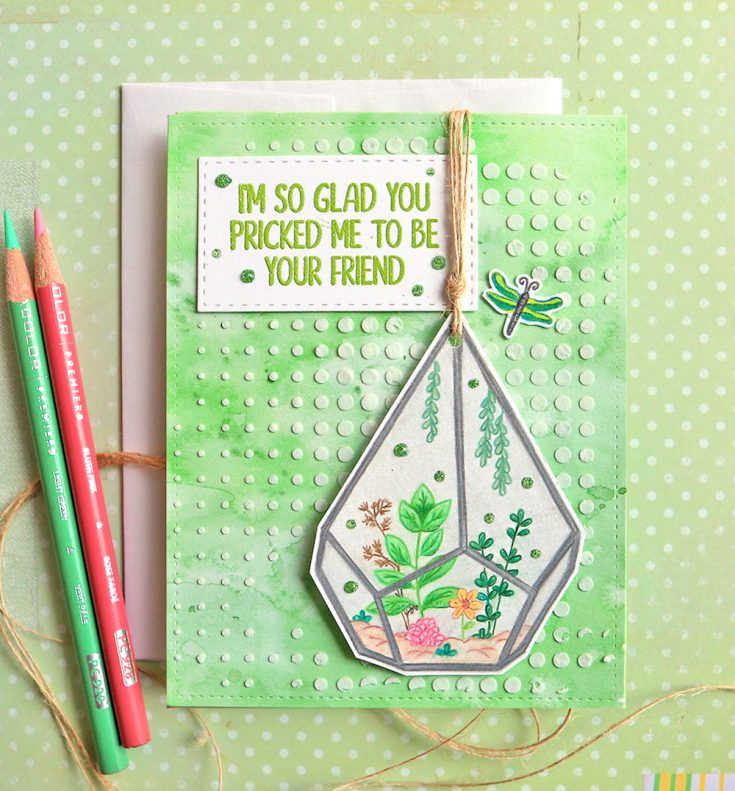
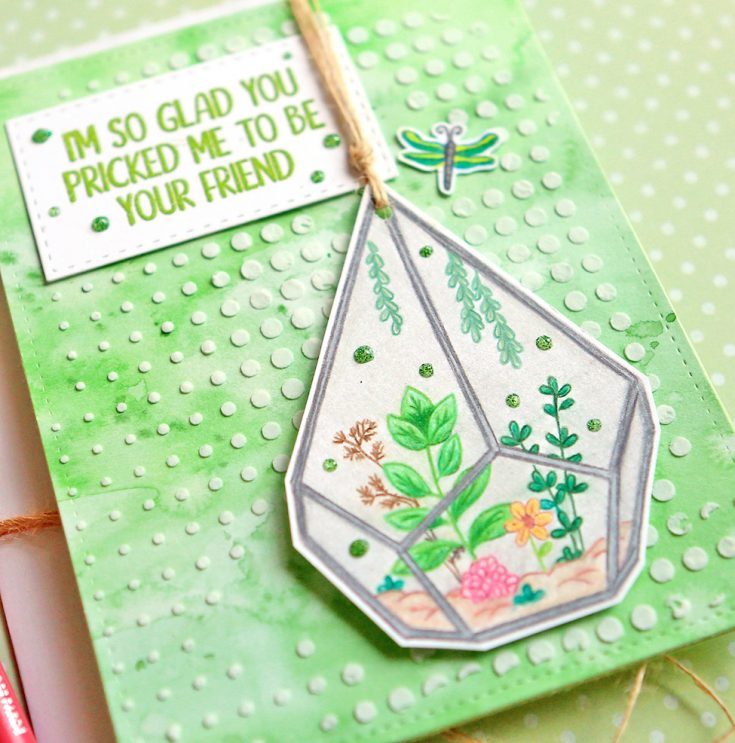
I gotta be honest – I don’t LOVE this card as green is my least favorite color. Unless I am in Kauai as I was a couple weeks ago and then it becomes my most favorite color! I’ve told you in a past post that I often watercolor backgrounds with different colors of watercolor to keep in my stash to use for future card backgrounds. I had this piece of green paper, but I wanted it to have more texture and be more interesting, so I added some Texture Paste over it using the Tap Dance stencil. I love the random dots in this stencil and I thought it made the background much more fun!
Here are some tips:
• Texture paste is a must-have in your card making supplies; I usually add color to it with Distress Inks, but for this card, it worked perfectly in white as it comes; use a palette knife to apply it over the stencil
• I thought this pot looked like the type you would hang, so I punched a hole in the top and hung it on my card with hemp twine tied in a knot
• One more time on my usual tip – have a bunch of pre-die-cut stitched rectangles to use for salutations (this one is from the SSS Stitched Rectangle dies)
• When painting watercolored one color backgrounds for your cards, splatter some paint over your wash so you get splotches of darker color
Thank you so much for joining us on the SSS Blog again today. I love being the guest designer as I always hope to inspire you to try new things with your cards. If you challenge yourself to make 5 cards with a new stamp set, you will think of out of the box ways to use it and get your money worth from it! I hope these tips and techniques helped to get you motivated to use your stamps in more ways! Happy stamping! Suzy
SUPPLIES:
|
Thanks so much for stopping by and thanks to Suzy for being our guest!

Blog Candy Alert! Follow our blog via email and comment on this post for a chance to win special blog candy!
From: Interactive Cards by Jess: Kissing Critters Pivot Card: Anastasia M.!
From: Around Town Featuring Sugar Pea Designs!: Cathy Lillie!
From: Doodling with Debby: Watercolored Die Cuts: Patricia Wilson!
From: Screen Time Interactive Reveal Wheel Card: Mirella Rogan!
Please email [email protected] with the name of the blog you won from, the prize you won, and your address (if applicable) to redeem your prize(s)!



Awesome cards, Susy, and a big thank you for all the wonderful tips!
Cute and clever cards!
I especially like the terrarium. The plants look amazing
love your cards Suzy. now we need to see some more examples with the feathers and miracles stamp sets. thanks as always for sharing.
Awesome cards, I especially love the shaker card!
Very punny cards.
What a fun stamp set, cute cards too. I already follow by email.
Love the bright, fun colors and designs.
These are some really colorful and awesome cards. I loved them all, the green one too! Lol! :)
Love “snarky” sentiments.
Great cards. thanks for sharing
txmlhl(at)yahoo(dot)com
so many fun cards!
I love all of the cards today. Flowers and plants always make me happy.
Fun cards!
Wonderful set of cards!! :)
Great cards…I love puns!
Beautiful Cards!
Your cards are awesome, a lot of inspiration for me. Great tips at the end as well. I am new to papercrafting so all tips are appreciated :).
This set is so much fun
Beautiful set of cards, very whimsical! It’s hard to create 1 card with a stamp set, nevermind 5 that are so different and unique in their own way! Thanks for the inspiration!
Beautiful cards and love all the different ways you used the stamps. Thanks for sharing.
Linda D.
What a star you are, Suzy. Because this was a mainly plants set, I had it in my head that it would be mostly green, but I love the full rainbow of colors you have included in these cards. I wouldn’t have thought to go fully chromatic like this, but you did an amazing job! Thanks for the inspiration!
Beautiful cards and very “punny” sentiments!
Each card is so beautiful and colorful, I love them all!
So many different looks & I love them all!
Great colours; love the fresh look of all these cards!
That is a great set and love the puns. Great ideas, thanks.
Love these pretty colourful cards. My favourite is the shaker.
These are such great cards … this is my favourite kind of post with multiple cards from one set!
Very fun I love punny cards!