MME Advent Calendar

Hi Bloggers! Happy Monday to you! With Thanksgiving right around the corner we REALLY cannot ignore that the holiday season is literally upon us. That being said, I’m so thrilled to welcome Danni Reid to our blog for her first guest designer post! She created this totally gorgeous Advent calendar with primarily My Mind’s Eye products, and I can’t stop looking at the close up photos and all the fantastic detail.
Advent starter ideas:
|
|
|
 |
 |
 |
Prepare your eyes for a FEAST. (Before you feast on Thursday ;))
Enjoy!
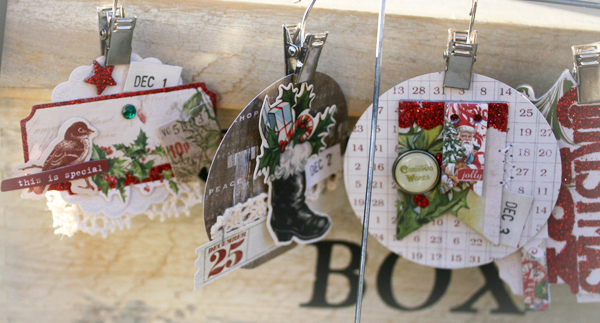
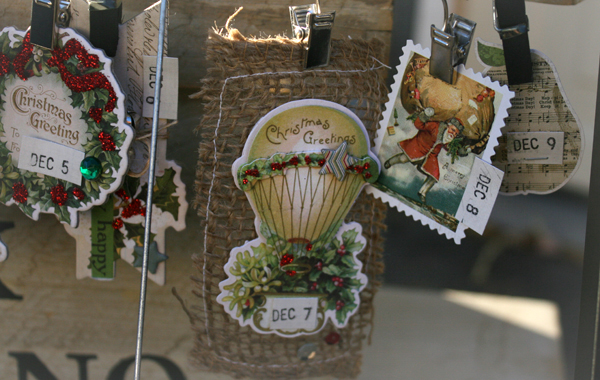
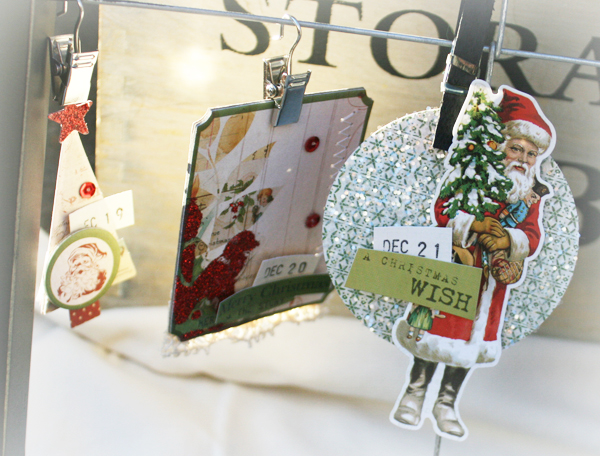
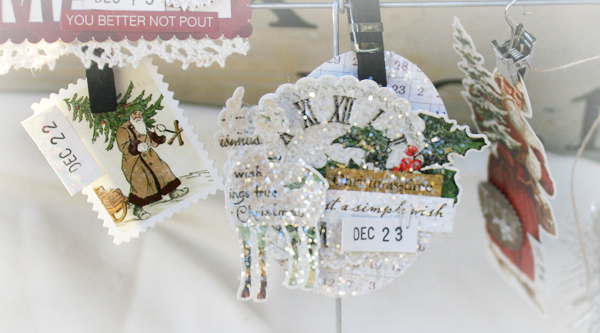
To start the Christmas season, I always start with getting my Advent calendar ready. It feels so exciting adding the dates and seeing how many days there are left until the big day (eeeeek). I was inspired to create this year’s Advent calendar once I saw the gorgeous MME Vintage Christmas line (full disclosure, I am on the DT) However, my feelings about this line are not reflected by my DT position rather the beauty of the images, embellies and papers. They are so glittery, and with absolutely rich colors & patterns that make you swoon.
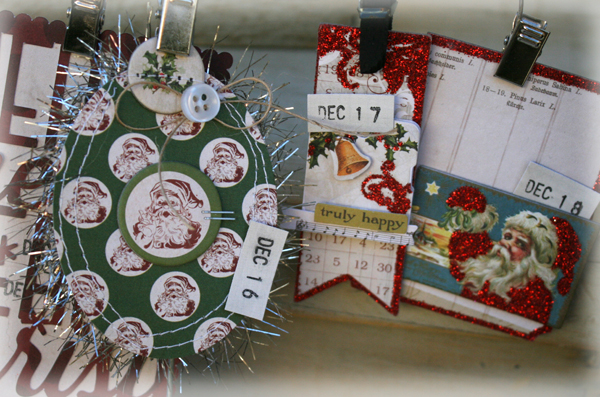
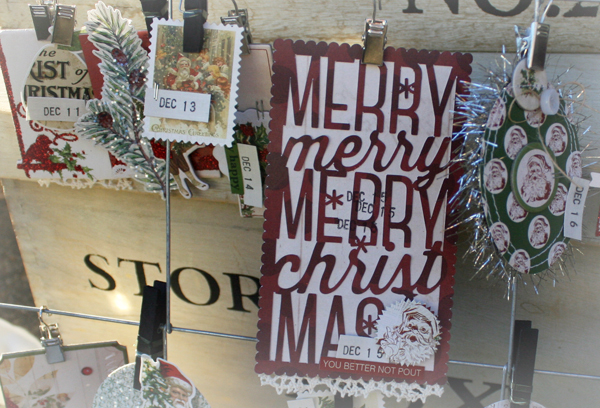
I remembered seeing the most beautiful frames at Pier One and decided it would be fun to incorporate a lot of the MME Vintage stickers and embellishments into the Advent countdown. I picked up a frame and soon got to work. When I looked up from my project, I could not believe the glitter, the gorgeous images and patterns, and how happy it made me. I can’t wait until we begin the countdown now, it’s sure to be fun to pull the clips down until the big day.
I hope you are inspired to create one for your home and family this season.
Bonus Designer Tips:
If you would like to use the chipboard or cardstock stickers on your advent calendar without making them too large, you can remove the adhesive by coating it with baby powder and removing excess.Alternate the larger stickers or die-cuts with smaller so as to draw the eyes in to all the details.
SUPPLIES:
 |
 |
 |
 |
 |
 |
 |
 |
 |
 |
|
 |
 |
+ (add a black clip frame!! ;))
Thanks so much for reading today and thanks to Danni for being our guest!

Blog Candy Alert!! Follow our blog via email and comment on this post for a chance to win a special blog candy!
Congrats! Blog Candy Winners:
From: Holiday Series with May Flaum: Part Two: Debs!
From: Penny Black Ornamental Noel: Memoriesbymanda!
From: Debby Hughes Dazzles Again!: Barb!
Please email me ([email protected]) with your mailing address and the name of the blog you won from to claim your prize!


This is so fabulous! Love seeing all the different advent calendars this time of year!
Great project.
How creative and Christmasy! I absolutely love it! Thanks for all the inspiration.
Those are adorable!
Absolutely inspiring project. So creative and doable. Thanks.
I love advent calendars! So much fun to count down the days. Danni’s calendar is very special.
This is fantastic, there’s so many amazing details in this, my goodness! So much talent! :D
Tanya xx
Neat Advent calendar! ~God bless~
Neat advent calendar! Like all of the MME products and design. Nice presentation on the window, as well. Thx for the opportunity to win some candy. :)
Wow! I love Danni’s twist in the traditional advent calendar. Thanks for the inspiration.
What a FABULOUS idea! I love this calendar! So much inspiration!! Thanks SO MUCH for sharing!
What a cute advent calender! I love all the little details!
Great project. You can change embellishments each year (or even during the month) if you want something different.
Great project. So many different tags and ideas.
This is amazing – just the cutest thing.
isoscia at aol dot com
I like how the items are clipped on and on a wire. Very striking.
These are so awesome. I love how you show where we can get supplies. And, I love how you add all the great tips too. Thanks for sharing!
What a great advent calendar.
What a lovely project! TFS!
Love this take of a Advent Calendar. Gorgeous MME papers.
What a lovely project!
This is terrific–very beautiful and what a fun project!
Brings back memories when I was a kid!
I love MME and this is such an awesome project in so many ways! The layering is awesome and you gotta love all the shimmer and shine! Thanks so much for sharing!
Beautiful project! and the frame looks like it would be easy to reuse too.
Absolutely incredible. What a keepsake.
What a beautiful advent calendar!
Wow !! this is absolutely gorgeous !!!
Hugs from France
Lunéa♥
Congratulations to Danni for her first guest design! This project is so GREAT and with so many beautiful details I can’t imagine how much work this needed!!! Thank you for sharing!