Did You Know? Fun Facts and Crafty Tips! January 2019 Edition
Hello friends, it’s Nina-Marie here with you today, bringing you the latest installment of our Did You Know series!
If this is your first time seeing this feature, each month we will be bringing you fun facts, creative tips and even crafty hacks about your favorite supplies and brands; you can then use these awesome tips that you learn in your next crafting projects! Are you ready to learn some fun tricks? Keep on reading!
GO PRESS AND FOIL MACHINE
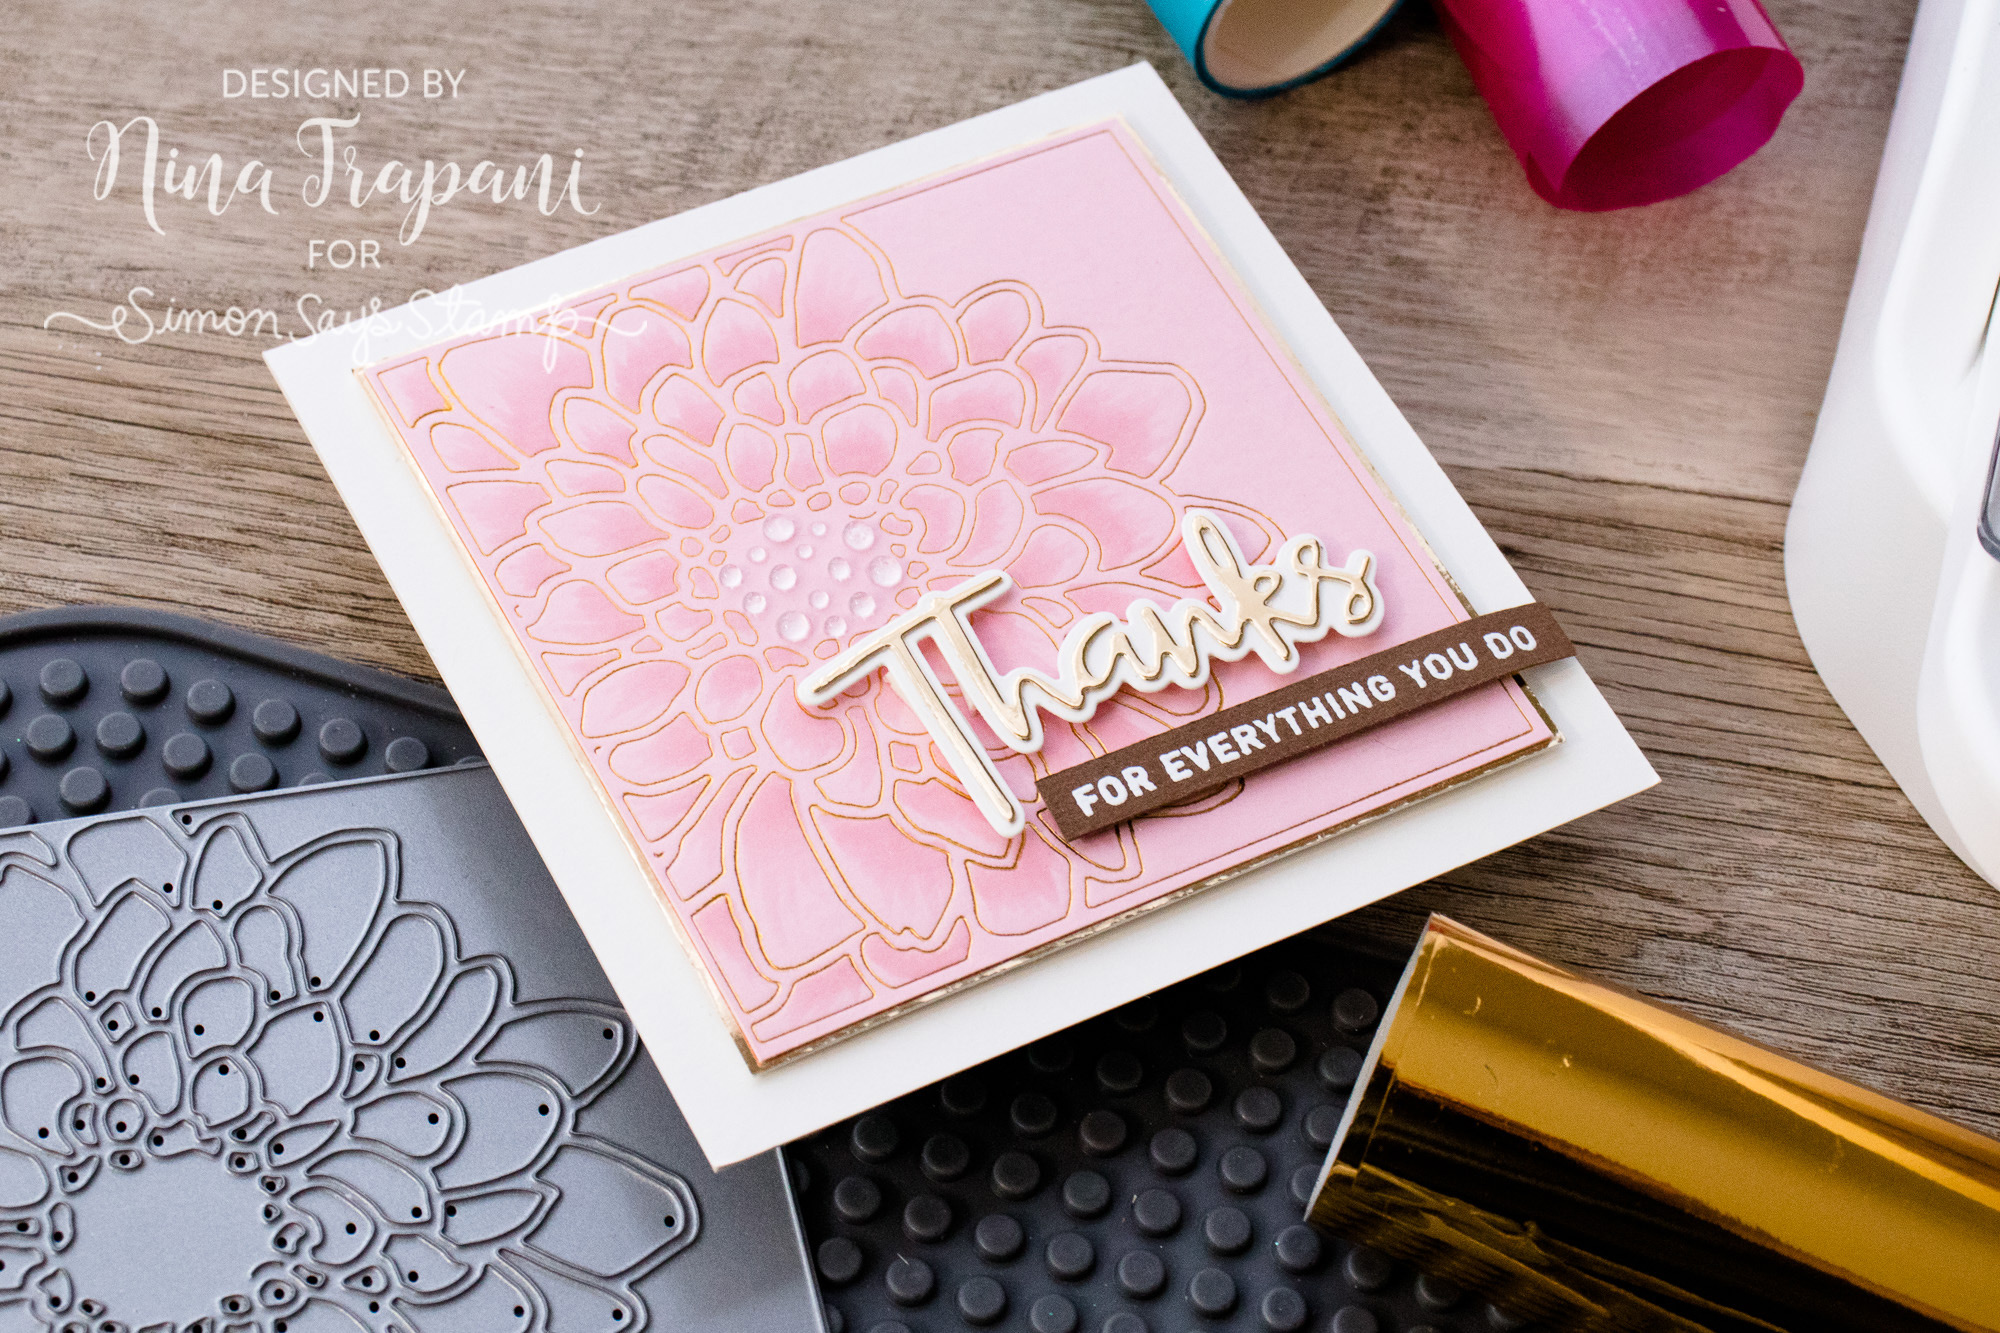
Foiling is a creative and unique way to add shine to your crafting projects! Couture Creations are the innovators of the popular Go Press and Foil machine. This alternative foiling tool eliminates the need for toner-based images and instead relies on hot foil stamps, pressure and heat to transfer a specialty foil to any paper surface.
One of the coolest features about this machine is that it also allows you to use your wafer-thin dies for foiling! Because dies are made from the same material as the hot foil stamps (steel), you can achieve even more creative results!
TIM HOLTZ PAPER DISTRESSER
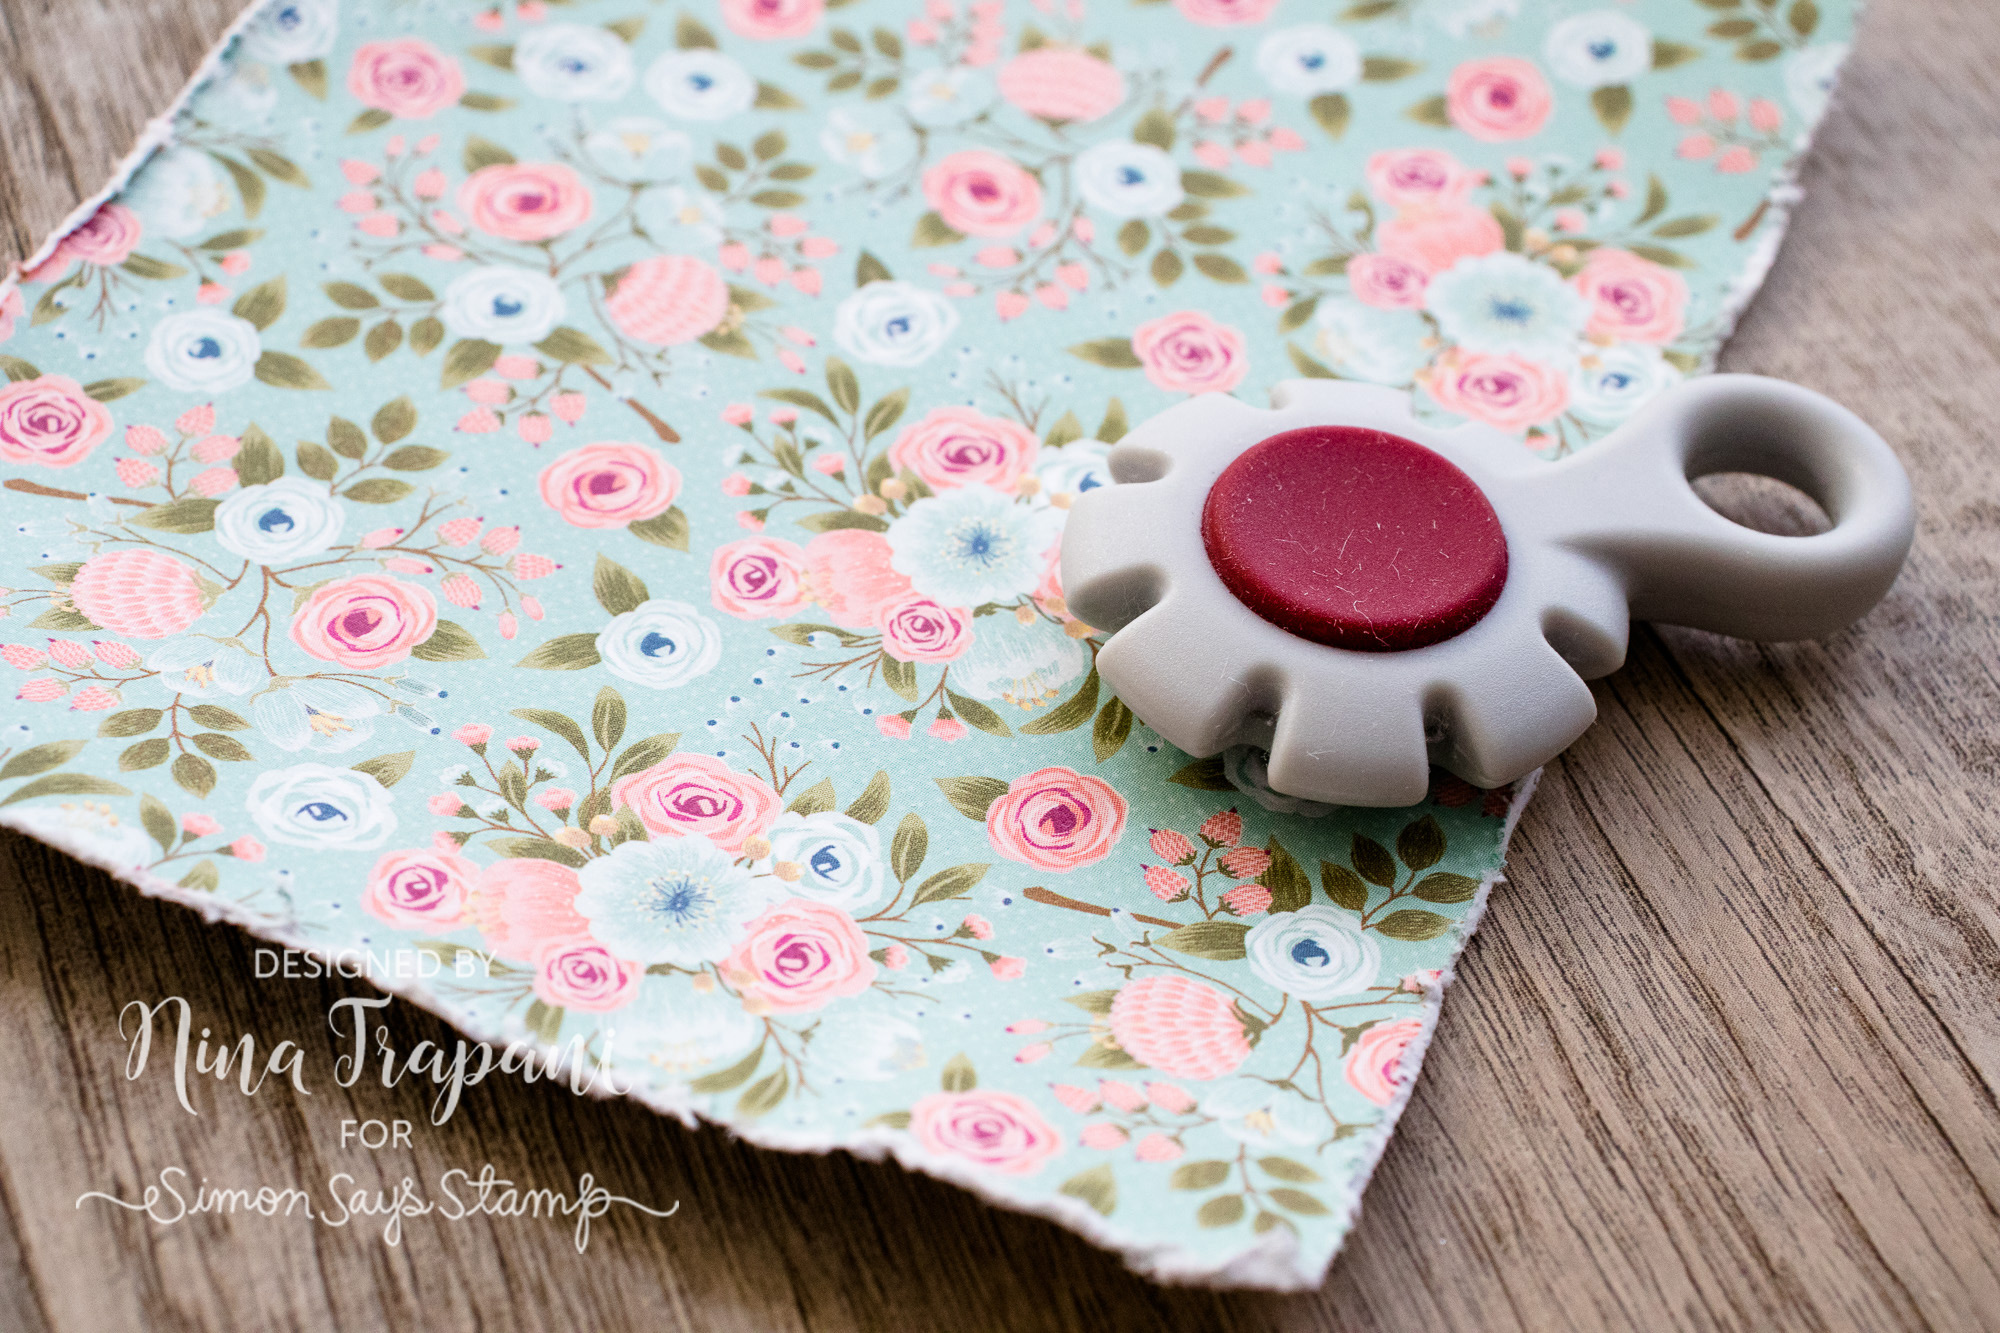
You may or may not be a mixed media crafter, grunge-style artist or distress junkie, but that doesn’t mean a distressing tool can’t be put to good use in your crafting projects! Have you ever tried out the Tim Holtz Paper Distresser? If you love the look of handmade paper, then you’ll want to look into this small but handy tool!
Did you know that you can create soft edges with the blades that are safely tucked into this tool? When paper is rubbed against the blade, it softens the edges, emulating that gorgeous, handmade paper (I personally love this technique on floral projects)!
SAKURA WHITE GELLY ROLL PENS
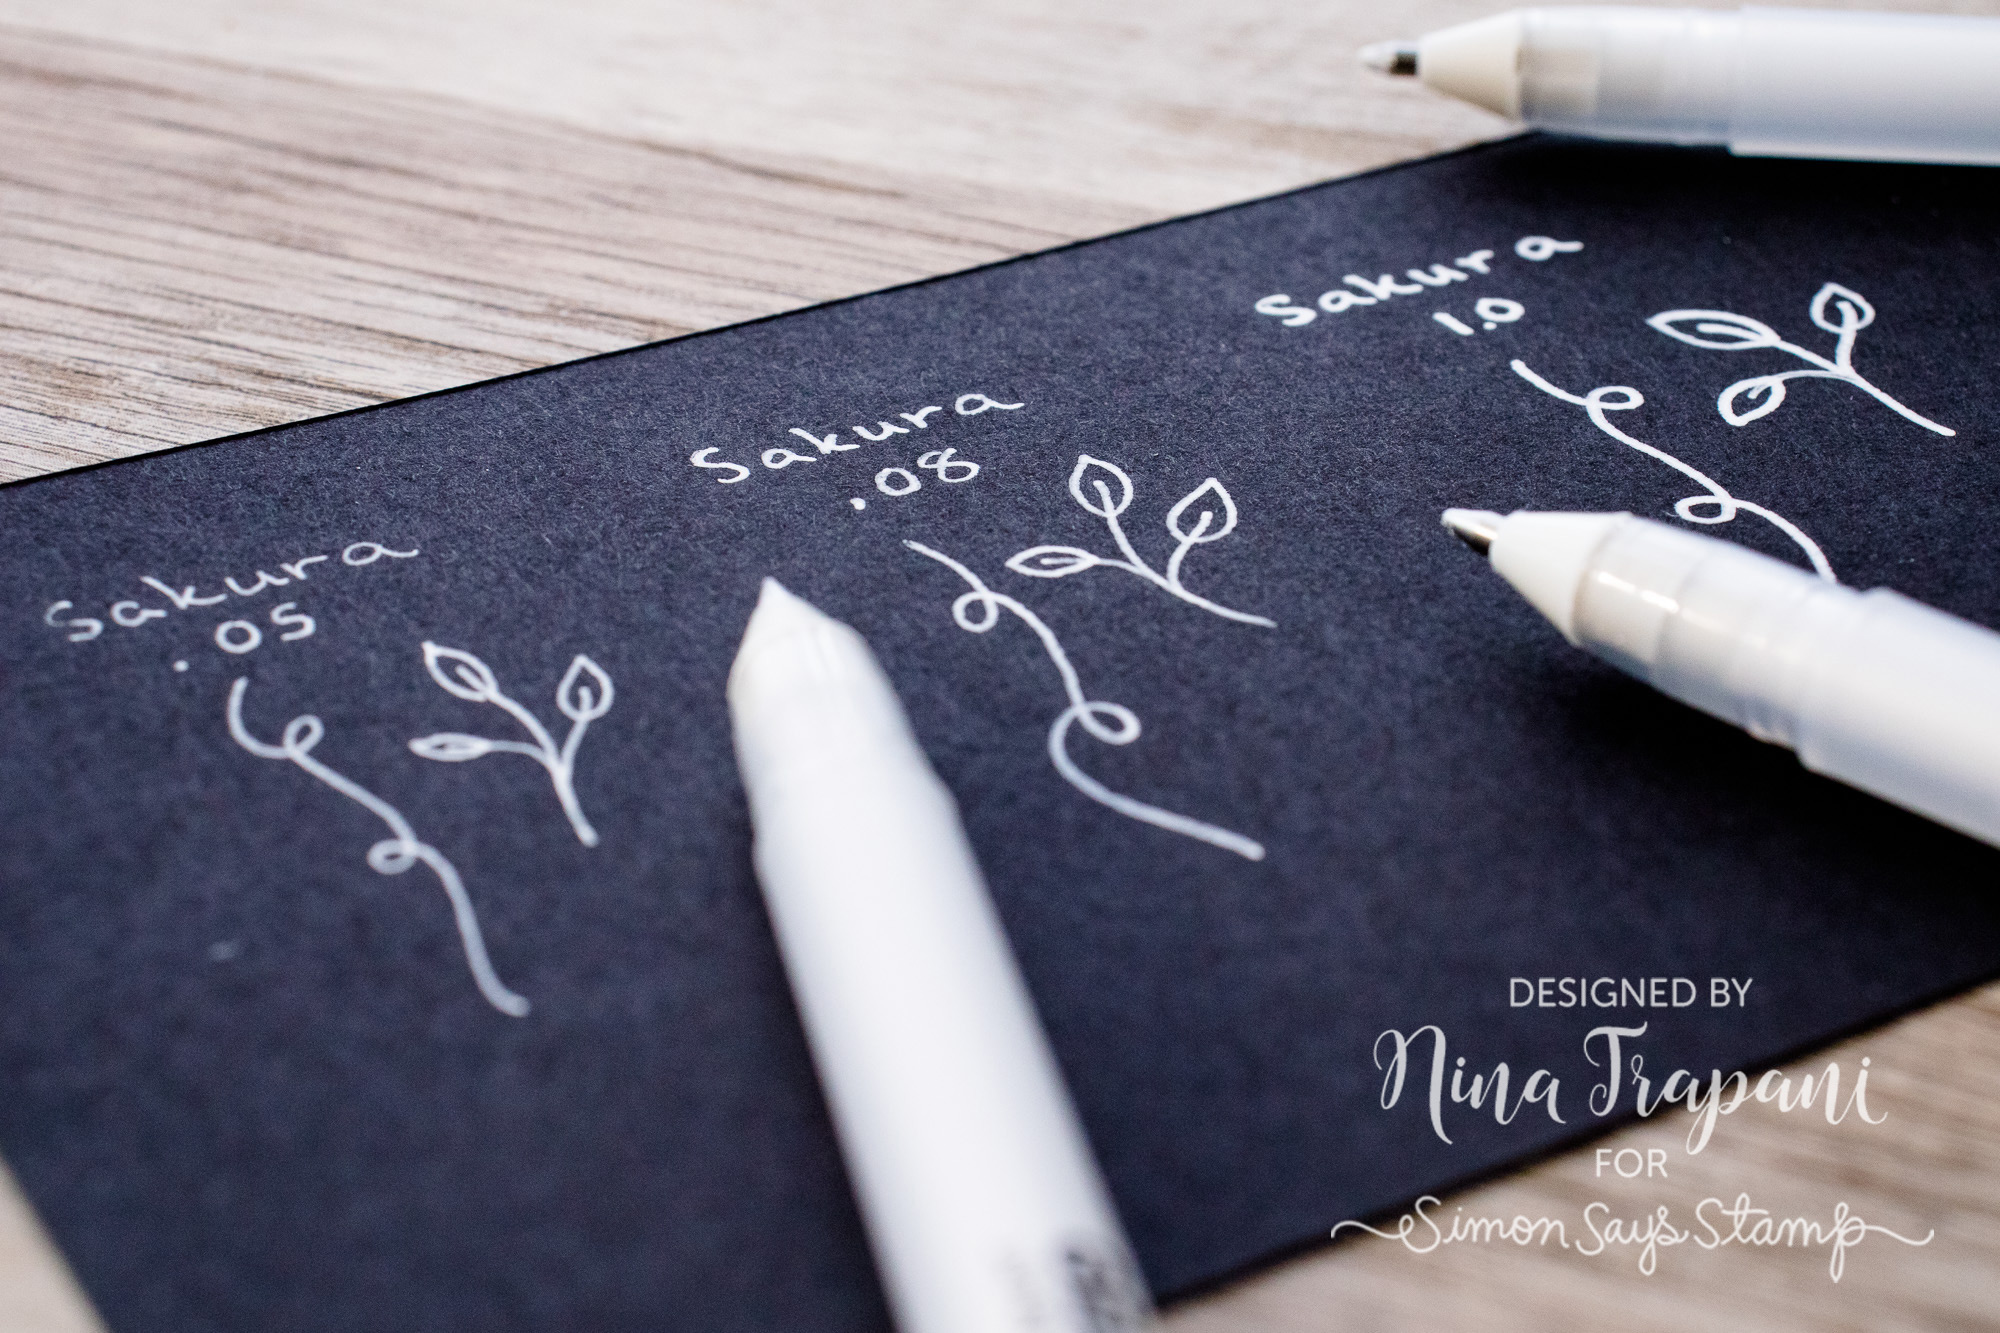
Sometimes we want to add white pen details to a project, and having the *write* pen (pun intended!) makes a world of difference! When it comes to opacity and nib size, the Sakura White Gelly Roll Pens are a great go-to! Did you know that they come in 3 different size nibs; fine, medium and bold? And the pens have great opacity on light and dark colored papers, inks, marker coloring and more!
ALTENEW COLORLESS BLENDER
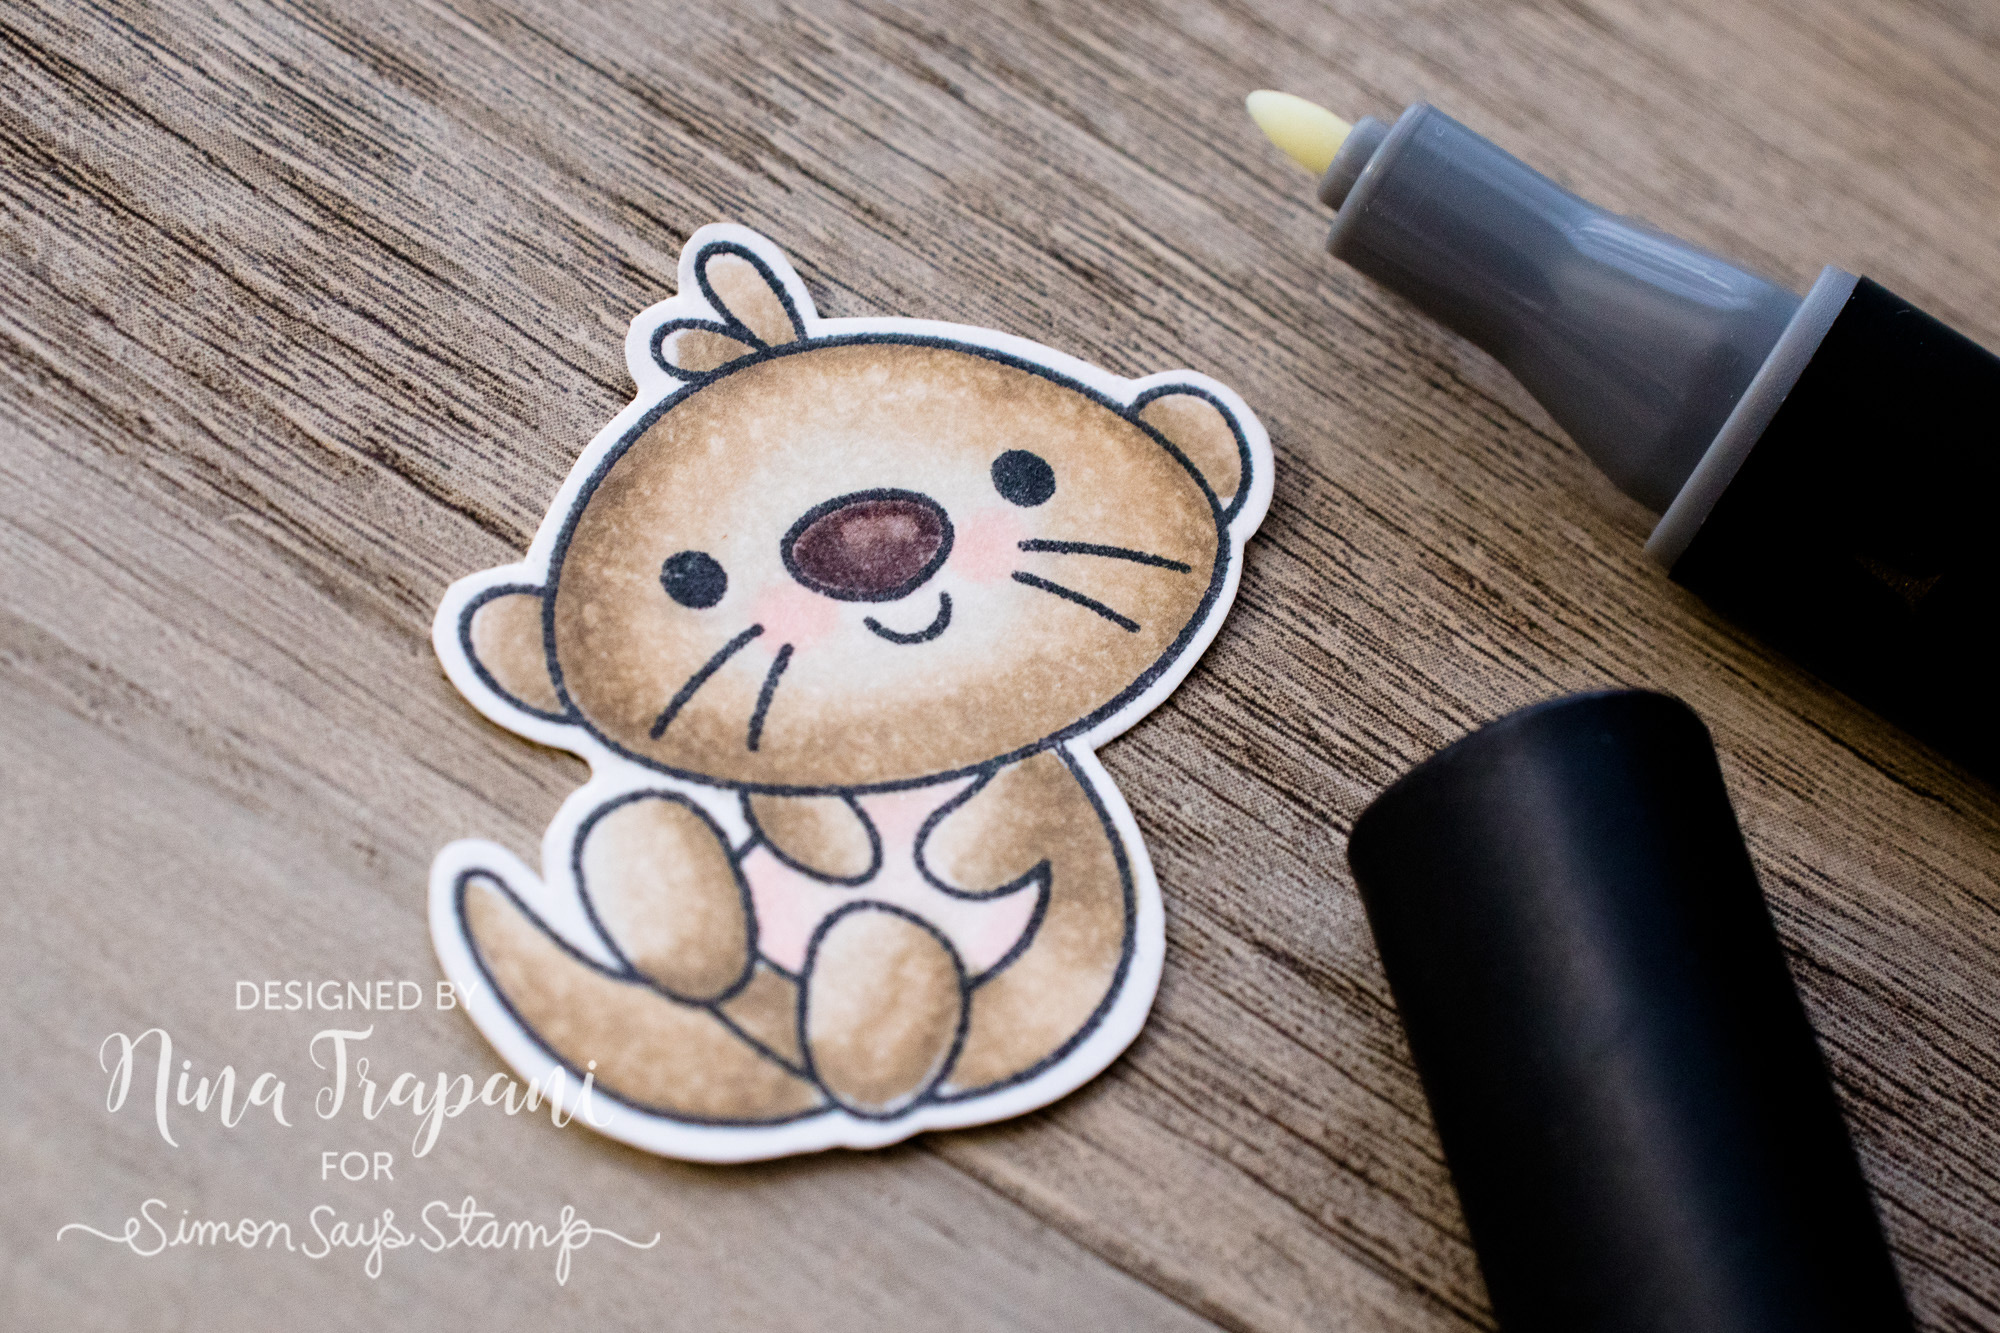
If you color with alcohol-based markers, you know how handy it is to have a colorless blender around! The Altenew Colorless Blender marker has two nibs; a brush for blending, and a bullet nib! Did you know that the oh-so-handy bullet nib is PERFECT for creating textures, patterns, hightlights and much more? YES!
See how I used it on this Copic colored, So Pun Friends otter? After coloring, I used the Colorless Blender’s bullet nib to add a stippled texture to his body, and a shiny highlight on his nose! The small size of the bullet nib makes this marker ideal for stamped images!
PERFECT PEARLS + GLOSSY ACCENTS = MAGIC
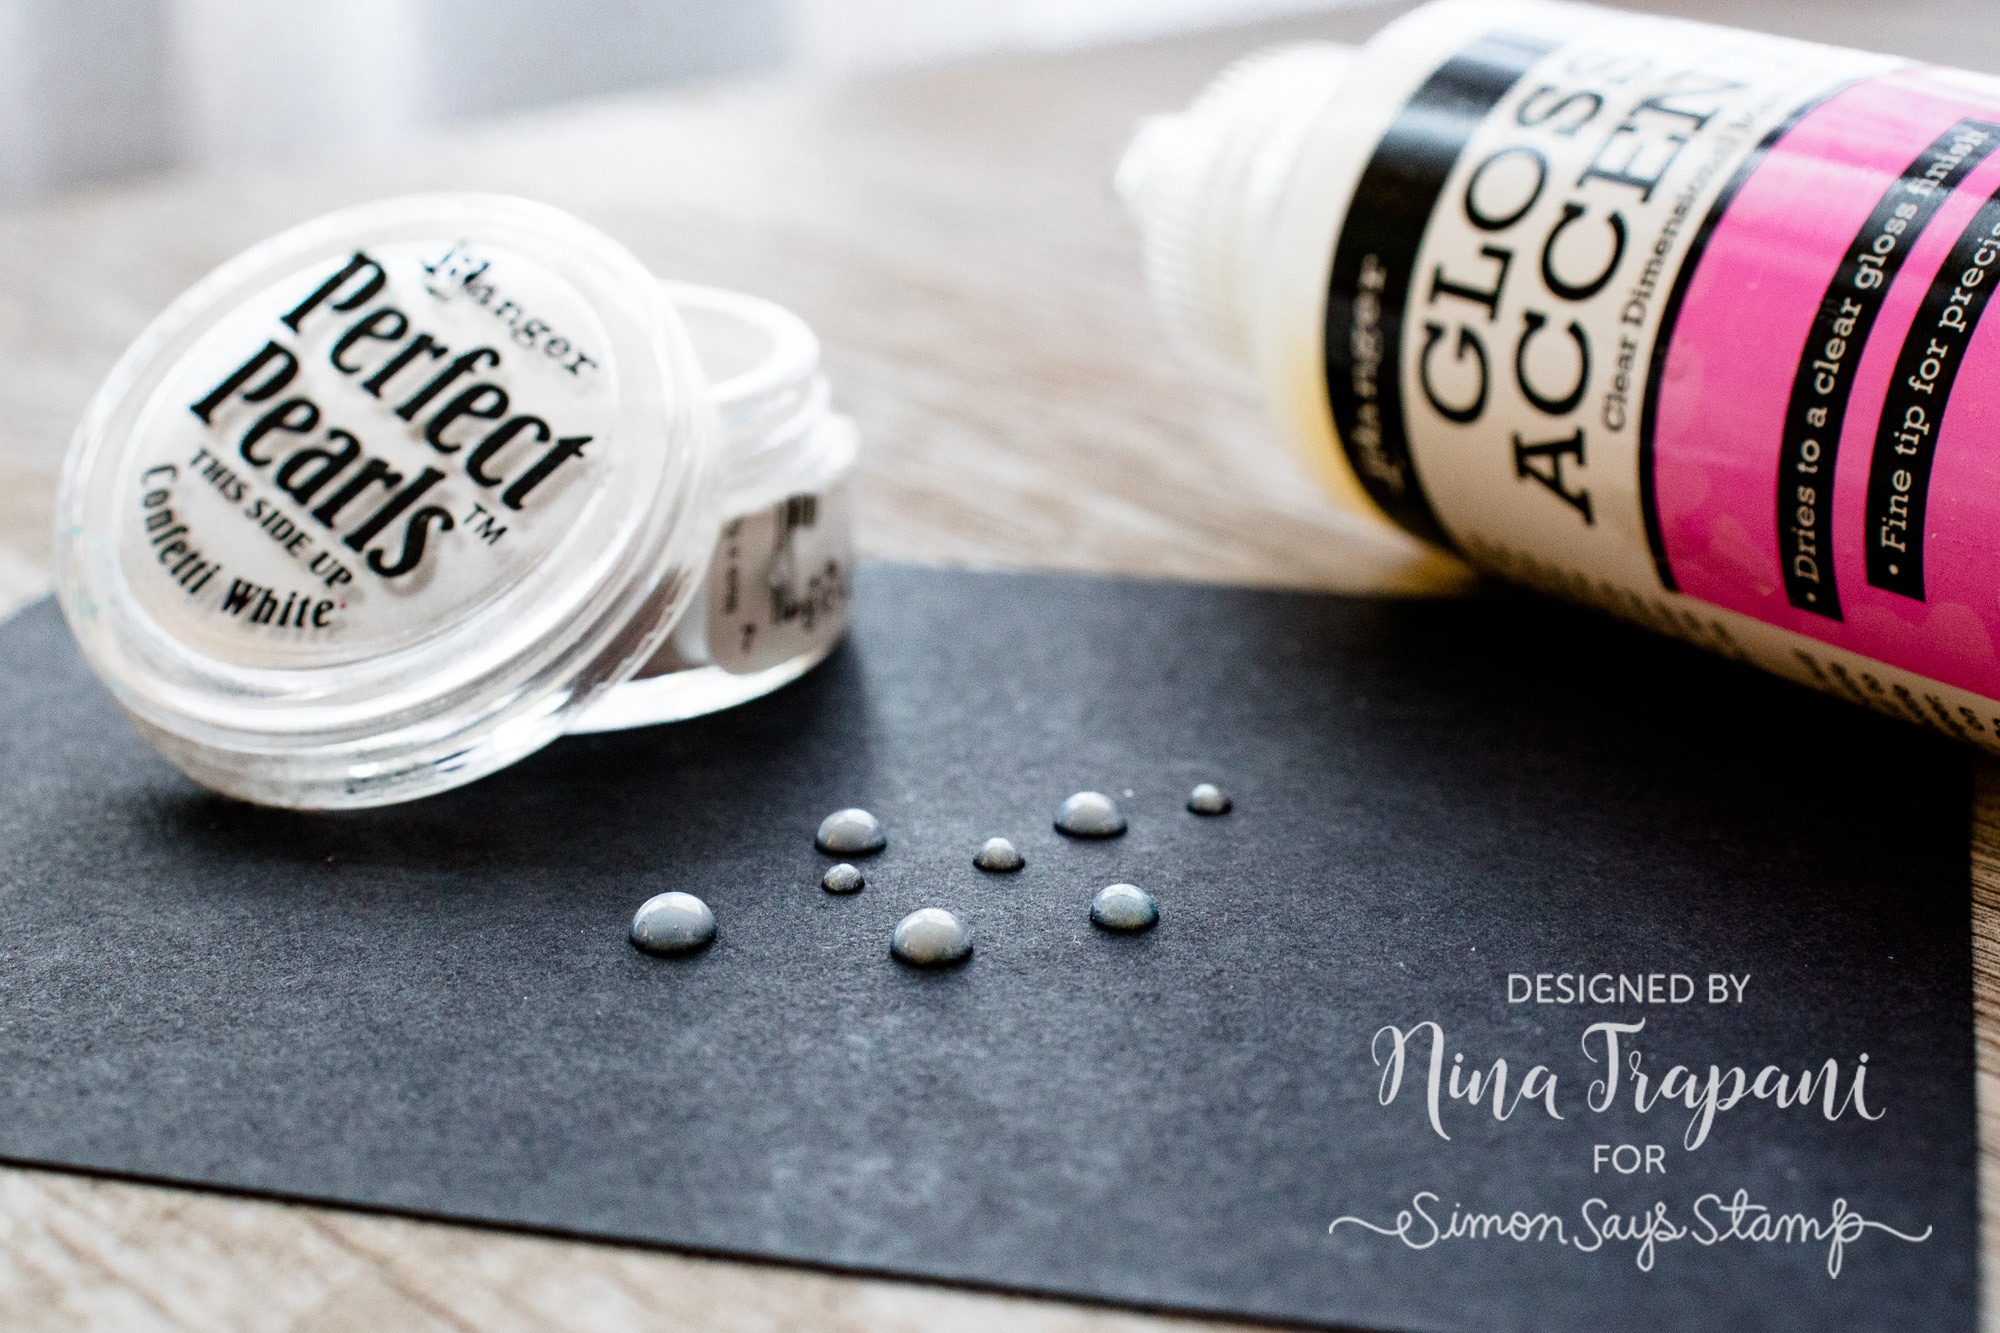
There are so many ways you can use Perfect Pearls for a classy, pearlized shine. But did you know that you can mix it with Glossy Accents to create a DIY pearlized adhesive?
Start by filling an empty glue bottle with both Glossy Accents and Perfect Pearls powder; you can use as little or as much as you like, but it will create unique results depending on how much Perfect Pearls powder is added. If you use just a small amount, your resulting pearlized adhesive is going to be more translucent and not overly shimmery. The more powder you add, the more your adhesive will have a pearlized finish; it will also be more opaque.
After your Perfect Pearls are added to the Glossy Accents, replace the nozzle of your now-filled bottle and shake well. This will mix the adhesive and powder together. Now you are ready to use this on your next project! It can be used in any way you normally would use Glossy Accents; the only difference is, now there is a pearlized finish to it! The results are very elegant and beautiful!
KOKUYO LONG DOT LINER
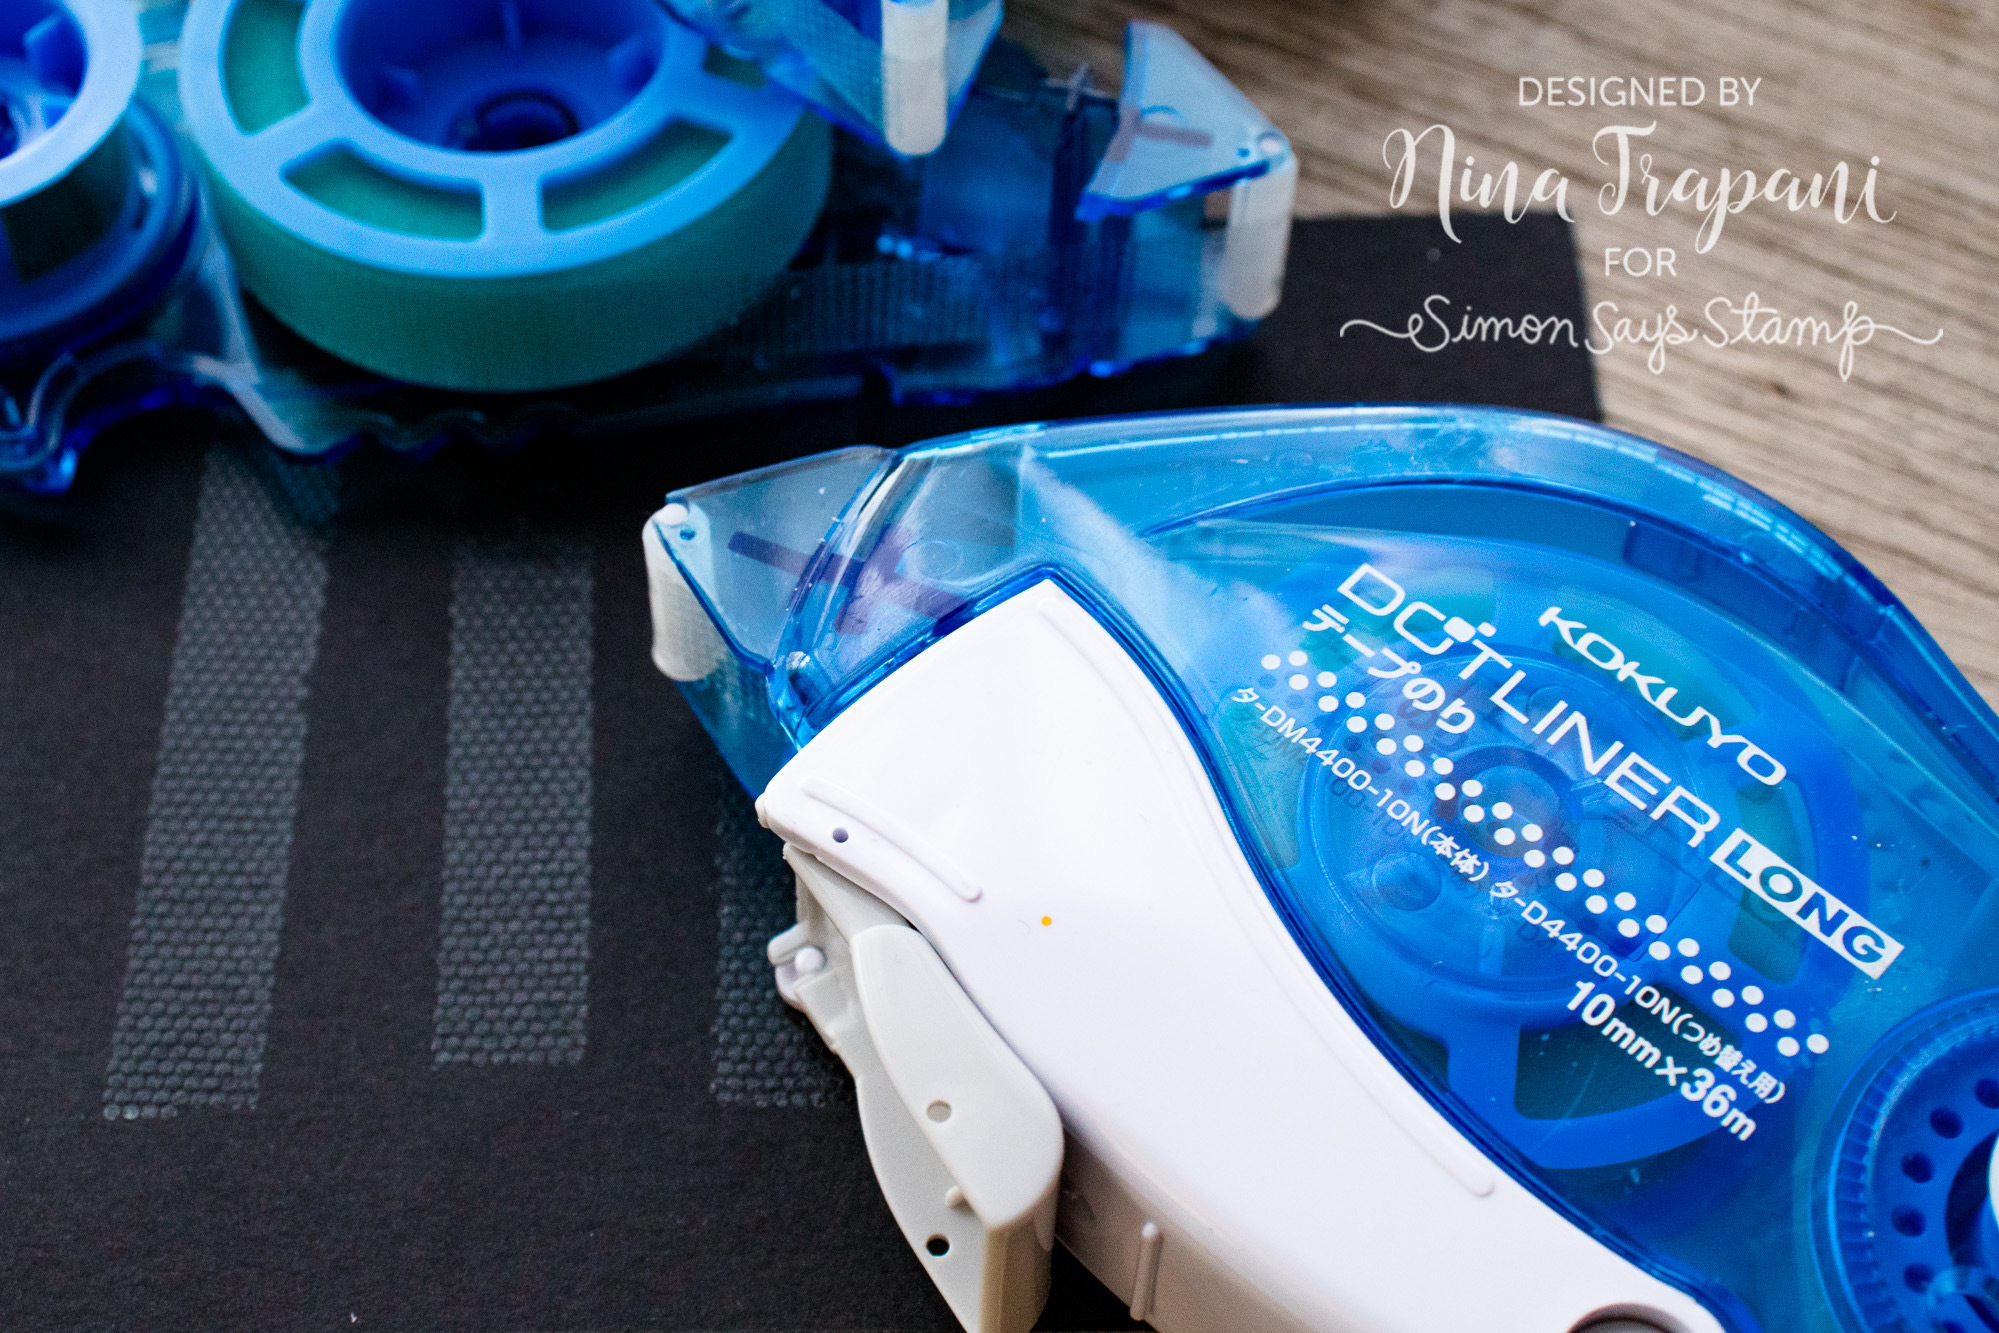
Speaking of adhesives… did you nkow that the Kokuyo Dot Liner is an excellent, strong bonding adhesive? And did you you also know that it even gives you a bit of margin for error? Sometimes we add adhesive in the wrong area, or at the wrong time during the creation process; trust me, it happens to all of us! What’s handy about the Kokuyo is it’s ability to be removed. If you accidentally got adhesive somewhere you did not want it to be, simply take your finger and rub the adhesive off! The dots begin to roll together and gently peel off your cardstock. Problem solved!
Note that this is not a repositionable adhesive however; once you’ve two pieces together, attempting to take them apart will result in you most likely ripping your project. This is a strong-hold tape runner once it has been permenantly bonded with another piece of paper. This Dot Liner is also refillable.
We hope you have enjoyed this month’s installment of Did You Know?! Tune in again next month for a brand new edition of this fun series!
SUPPLIES
|



THANK YOUSO MUCH for the tips. Love the one about the little otter and the colourless marker. I’m no Sandy Alnock or Nina-Marie Trapain, so that tip will be invaluable when I’m trying to get a more natural, or furry look on animals. Loved all the other tips too. You’re a gem. TRS.
So sorry, didn’t realised I’d made a typo. Trapani. So sorry Nina-Marie. Bev.
Great tips…Thanks for sharing. I am going to have to do some more resarch on the Go Press and foil machine.