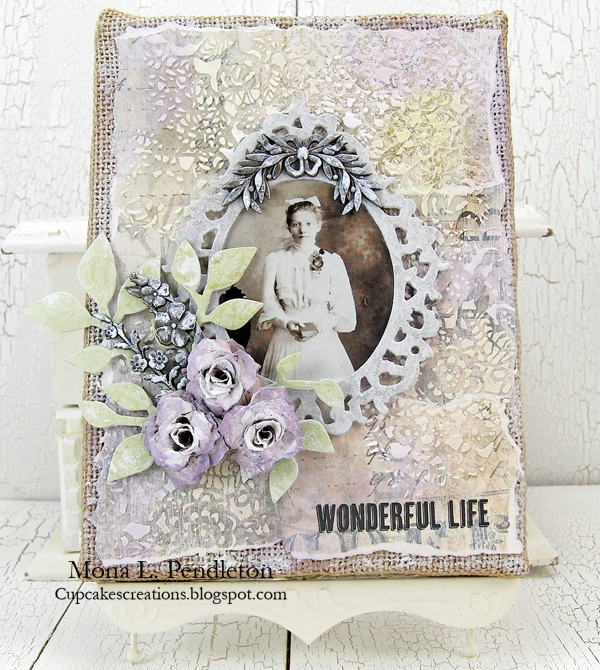
Collaged, Stenciled, & Inked
Hi readers! Happy Thursday to you! I’m pleased to welcome back Mona Pendleton as a guest on our blog! She demonstrated below in a very lovely way how you can combine stencils in a collage with a mixture of colors! To see how she got this fabulous outcome, read on!
Enjoy!
Steps to create a beautiful collaged, stenciled and inked background:
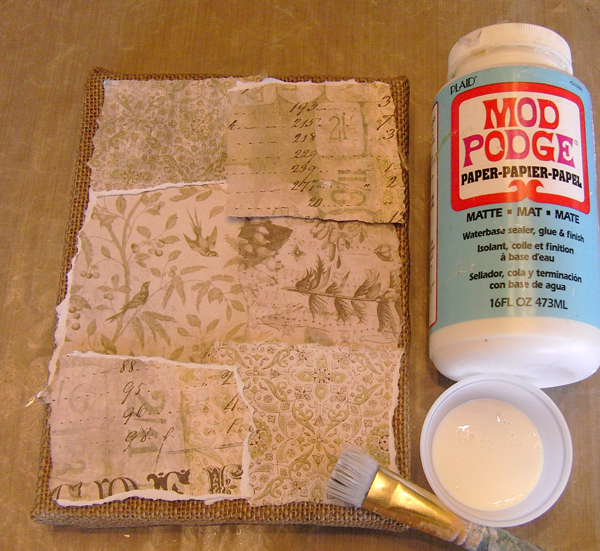
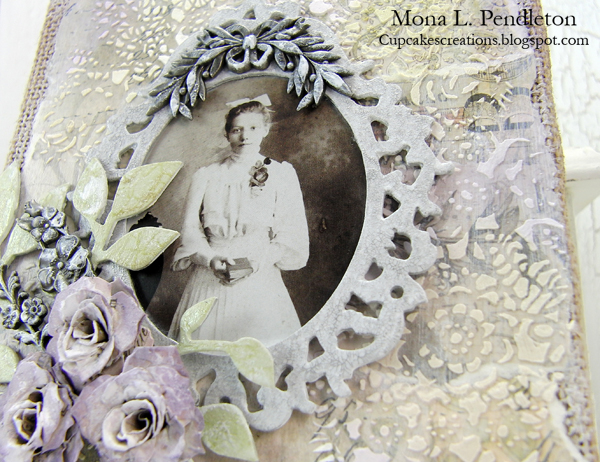
Step 1: Adhere collage of papers to surface.
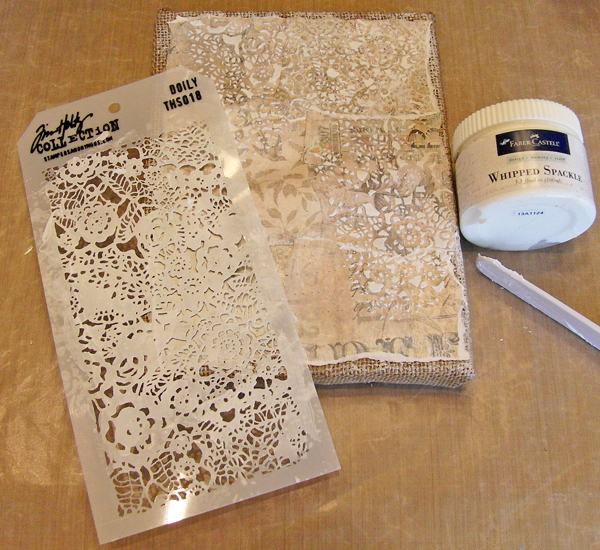
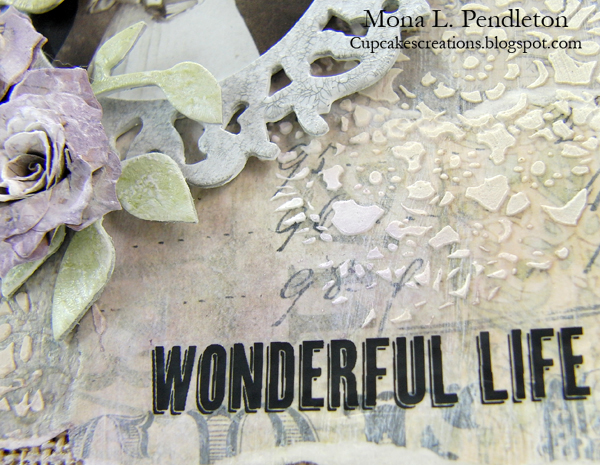
Step 2: Apply texture to background using Whipped Spackle and a stencil.
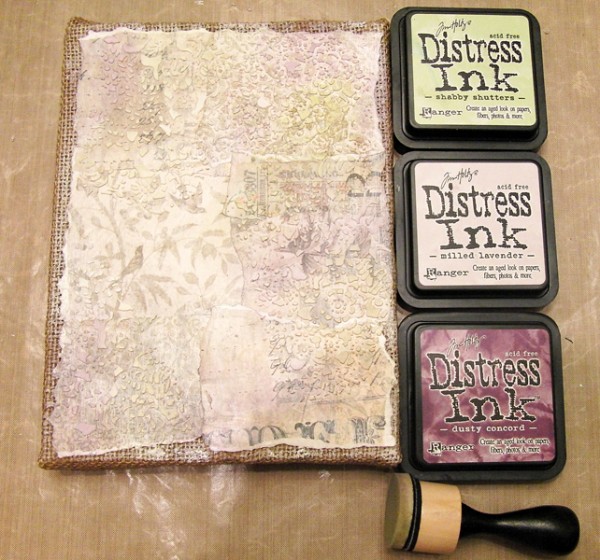
Step 3: Once dry, randomly apply Distress Ink colors of choice to background.
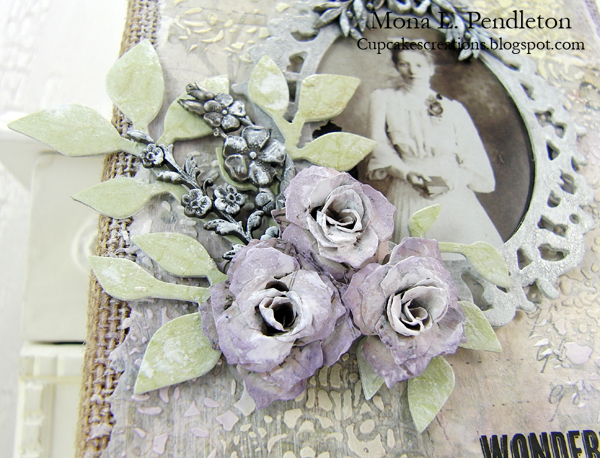
Step 4: Embellish as desired.
SUPPLIES:
 |
 |
 |
 |
 |
 |
 |
 |
 |
 |
 |
 |
 |
 |
 |
 |
|
 |
 |
 |
 |
Thanks for reading today and thanks to Mona for being our guest!
Blog Candy Alert!! Follow our blog via email and comment on this post for a chance to win a special blog candy!

Congrats! Blog Candy Winner!
From: Thank You For Being A Friend!: Carla Hundley!
Please email me ([email protected]) with your mailing address and the name of the blog you won from to claim your prize!


So beautiful. The texture is amazing. I love the stencil work. Michelle t
WoW!! SO BEAUTIFUL Mona!! I LOVE everything about this!! THAANKS for sharing and have a FABULOUS WEEK!! =)
How beautiful. How do you think of these things. I already follow by email.
What Mona presented were simple techniques but how she put them together was beautiful!
Beautiful creation. Thanks for the step by step. I follow the blog by email.
Love the texture and color!
Very lovely and soft collage, love the texture the spackle gives.
So delightful, love the stencil background
This is so pretty! Thanks so much for showing the technique on how to do this too! Congratulations to the blog candy winner!
Beautiful, love the colors and flowers!
This project is so stunning. I love this lace stencil by Tim Holtz. I will put it on my wish list.
Beautiful results with this technique.
Beautiful project!!! So elegant!
Mona always has my jaw on the floor & she’s done it again! This is truly a masterpiece!
LOVE the way Mona collaged the BG, added texture and ink, and then embellished. Her flowers are GORGEOUS and so it this creation!
STUNNING!
Mona, just lovely!
Awesme creation very inspiring and thanks for the discount
Absolutely gorgeous card and great technique!
Very elegant!
So gorgeous! I love the whole process!
~God bless~
gorgeous texture… love that stencil!
This is beautiful! And thank you for showing how you made it! I need to add some of these products to my shopping cart!
what a great collage canvas! like all the details.
stamping sue
http://stampingsueinconnecticut.blogspot.com/
It’s amazing how the stencil added so much punch to this already beautiful project.
What a beautiful way to feature an old picture.
love what Mona did with this project. Thanks for the step by step instructions.
VERY nice! Whipped spackle?? Didn’t know there was such a thing. May have to get some of that!
Just gorgeous, love this technique.
Whipped Spackle? Great name. Off to check it out
amazing tutorial, fanstic project! I love it!
beautiful and delicate great job congrats
Wow! This is a beautiful work of art!
Love the background, cool
Awesome project!
Mona is one of my favorite artists, she does such beautiful work and this piece is no exception! LOVE!
So beautiful – just lovely!!!
I love the colors and softness of the project. Beautiful!
This is a beautiful project. Thank you so much for the step-by-step :D
Oh yes I know Monas work, and as usual, she´s done an outstanding job here too, and this is truly awesome work. I love it.
this is not only a gorgeous stencil, but a beautiful card with such amazing details. thank you for sharing!
It’s absolutely gorgeous! Love the layering and flowers!
Gorgeous. Love the soft colors.
Gorgeous canvas !! Thanks a lot for the tut !
SIMPLY STUNNING!!!
THANK YOU for sharing your creative inspiration and tutorial Mona :)
Absolutely gorgeous project! TFS :)
Wow! Beautiful project!
This is super! Great techniques and super result!
OMG, that is so gorgeous!
Gorgeous! The texture added so much more depth to the card.