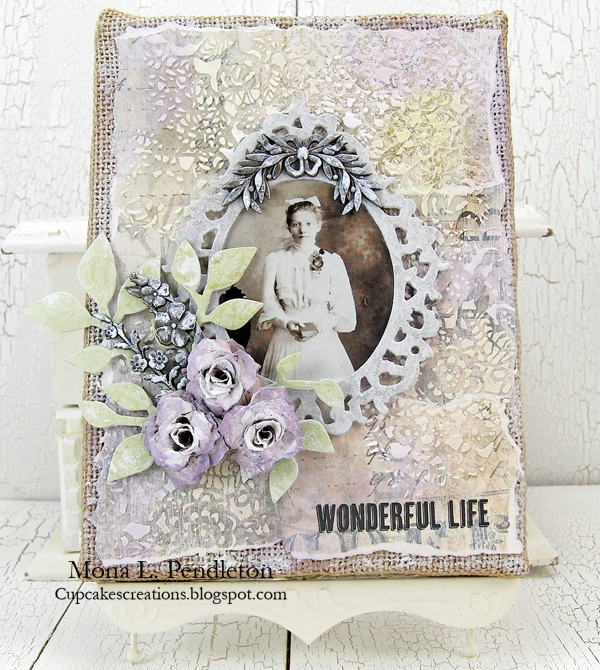
Collaged, Stenciled, & Inked
Hi readers! Happy Thursday to you! I’m pleased to welcome back Mona Pendleton as a guest on our blog! She demonstrated below in a very lovely way how you can combine stencils in a collage with a mixture of colors! To see how she got this fabulous outcome, read on!
Enjoy!
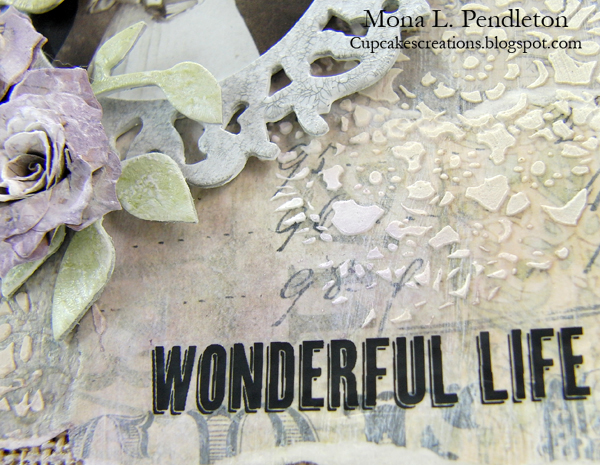
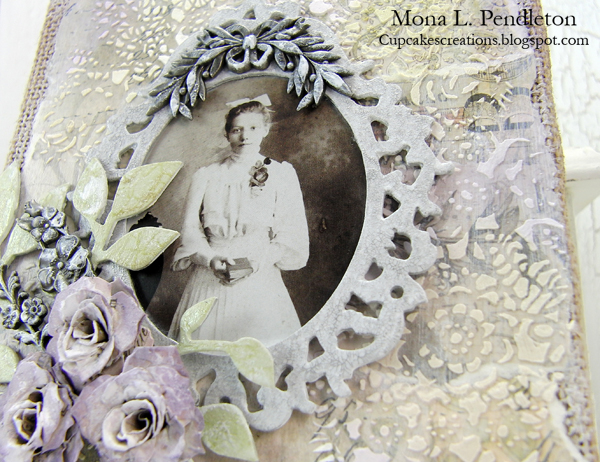
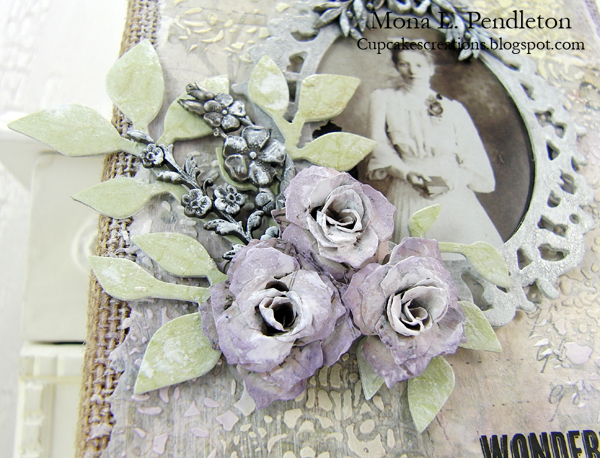
Steps to create a beautiful collaged, stenciled and inked background:
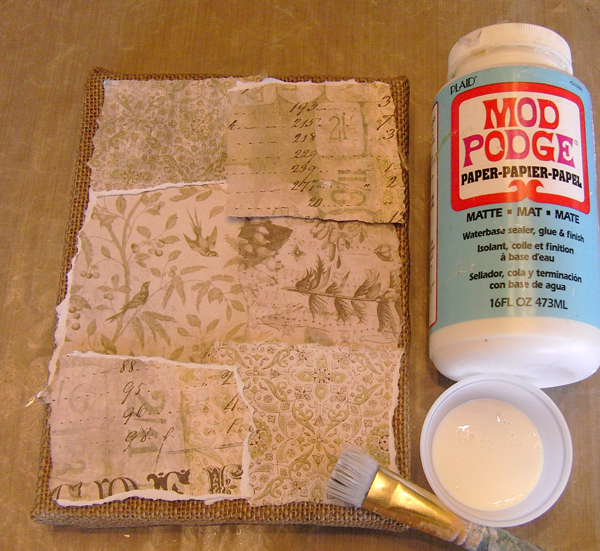
Step 1: Adhere collage of papers to surface.
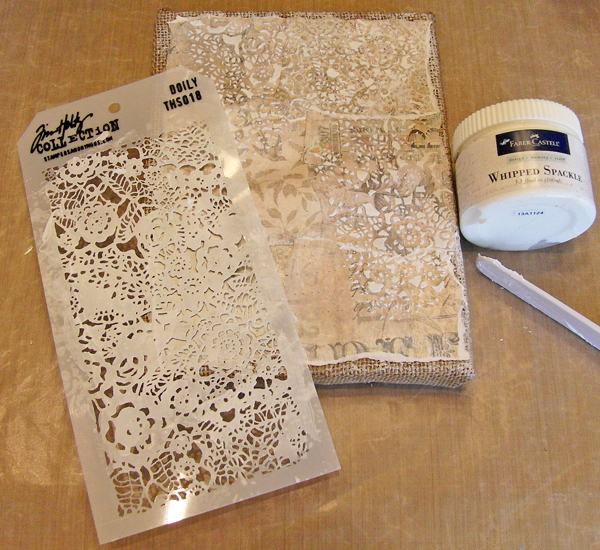
Step 2: Apply texture to background using Whipped Spackle and a stencil.
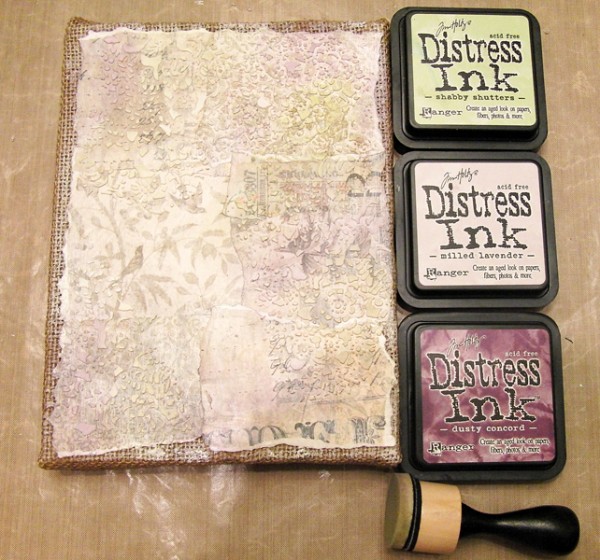
Step 3: Once dry, randomly apply Distress Ink colors of choice to background.
Step 4: Embellish as desired.
SUPPLIES:
 |
 |
 |
 |
 |
 |
 |
 |
 |
 |
 |
 |
 |
 |
 |
 |
|
 |
 |
 |
 |
Thanks for reading today and thanks to Mona for being our guest!
Blog Candy Alert!! Follow our blog via email and comment on this post for a chance to win a special blog candy!

Congrats! Blog Candy Winner!
From: Thank You For Being A Friend!: Carla Hundley!
Please email me ([email protected]) with your mailing address and the name of the blog you won from to claim your prize!


Mona is the queen of shabby chic, everything she makes is gorgeous
I love how SSS brings us talented artists and new techniques. Lovely.
Wow, this is gorgeous! Love your beautiful style! Thanks for this amazing tutorial!
What a great collage! Love vintage! Inspiring! Thanks for sharing!
Very nice techniques.
Love this idea and that doily stencil too! Thanks for sharing how you made this. Wonderful! Thanks for sharing.
Katie B.
This canvas is so BEAUTIFUL! I have a few of Tim’s dies and embellishments to make something similar…thanks for the inspiration!
Gorgeous!
What’s great idea to use Modge Podge with a stencil. I will have to try that.