Autumn Metal Birdhouse
Hi readers! Happy Thursday to you! I hope your week is going splendid so far! I’m happy to have guest designer Sharon Laakkonen back on our blog to share this fun fall project featuring lots of fun things from Prima!
Enjoy!
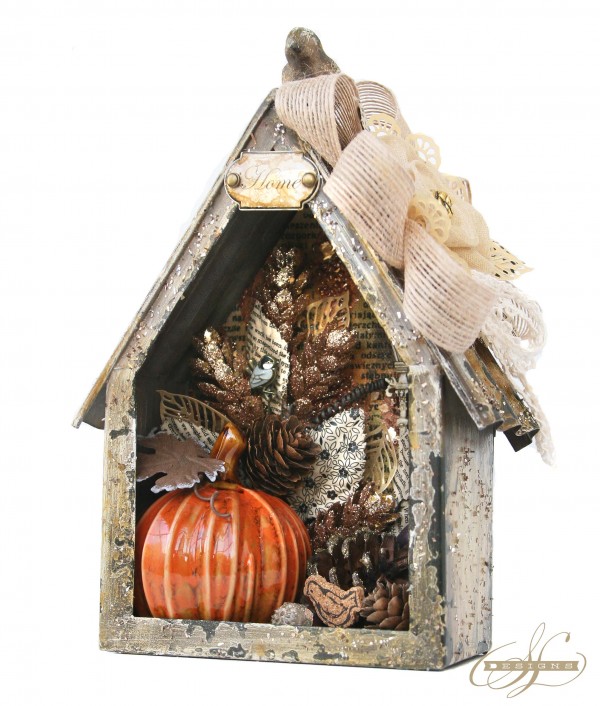
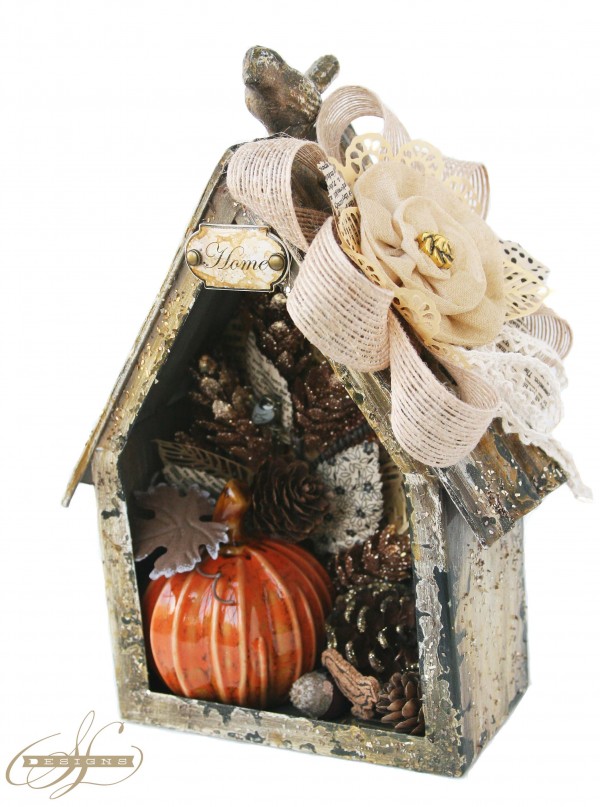
Create a shabby-chic piece filled with fall touches for your home! This project is simply a blast to put together, and you’ll have a home decor piece you’ll treasure forever. Since the ceramic pumpkin can be removed, you can easily swap it out for a framed photo, or other accent, to customize for your home and your style.
Instructions:
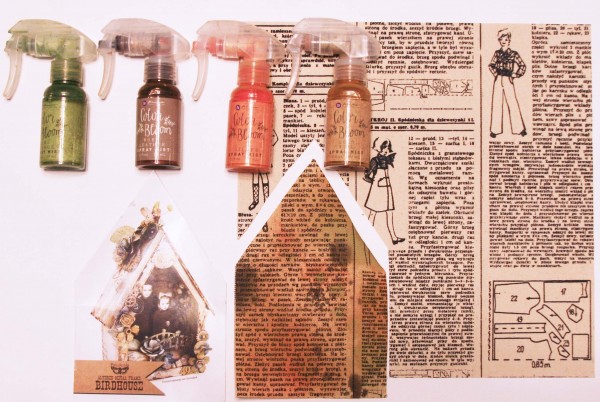
Note: Spray all metal pieces (Finnabair metal house and Ingvild Bolme pieces) with Gold Foil, Worn Leather, and Antique Gold sprays. Dry.
Step 1: Cut Finnabair resist canvas sheet using metal birdhouse insert as template. This will cover the inside back of the birdhouse. Spray with Color Bloom Sprays: Gold Foil, Lime Wedge, Gilded, And Worn Leather. Dry.
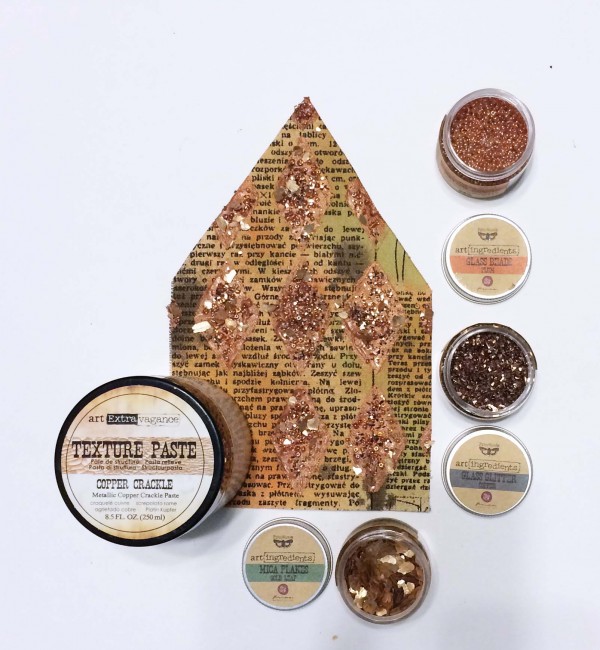
Step 2 Using diamond stencil, add Copper Crackle Paste over canvas by pouncing with a brush. While paste is still wet sprinkle randomly with Mica Flakes, Glass Beads, and Glass Glitter. Dry and glue sheet to inside of birdhouse.
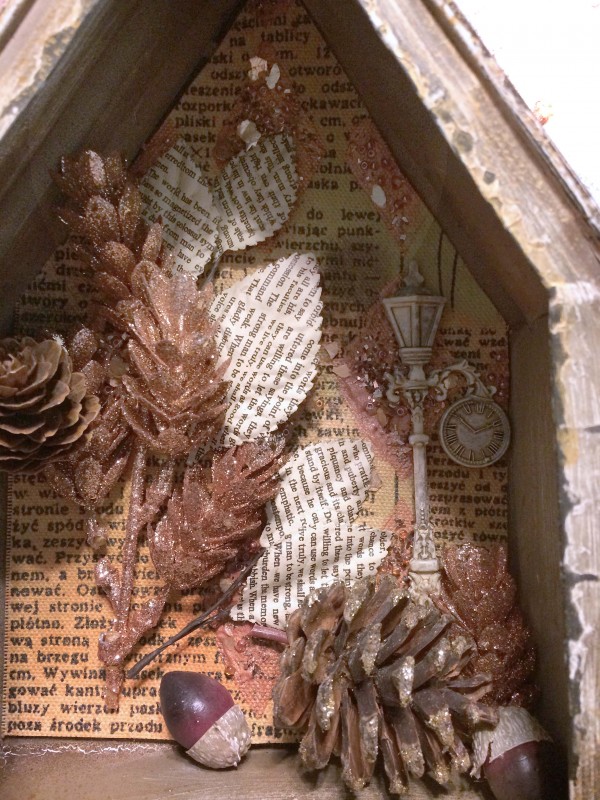
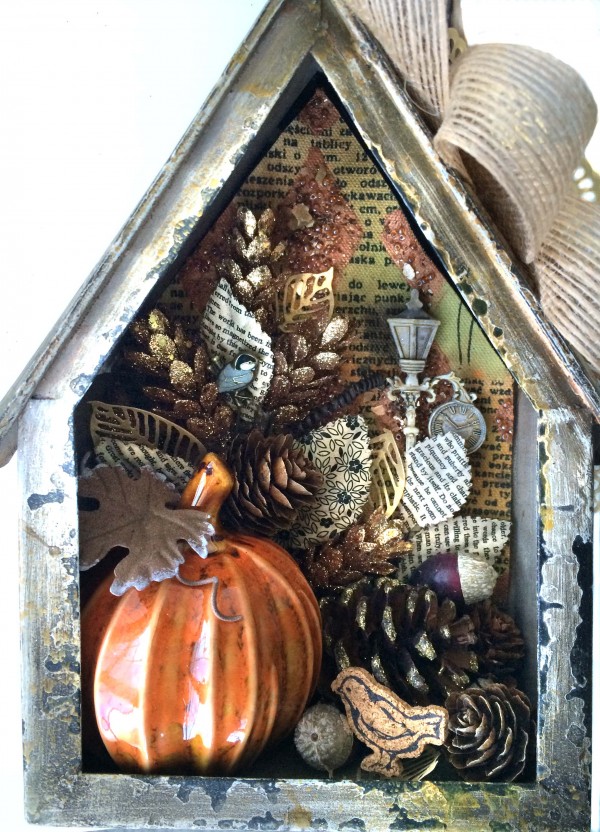
Step 3 : Adhere branches, pine cones, acorns, vines, & metal lamp post to inside of birdhouse with Fabri-Tac adhesive or hot glue. Make it nice and full! Leave room in the bottom left corner for your pumpkin!
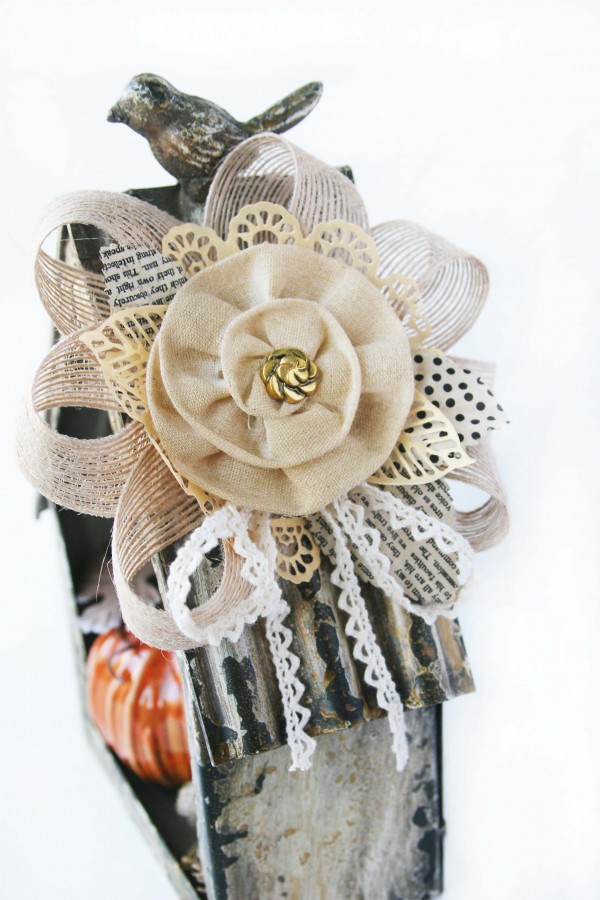
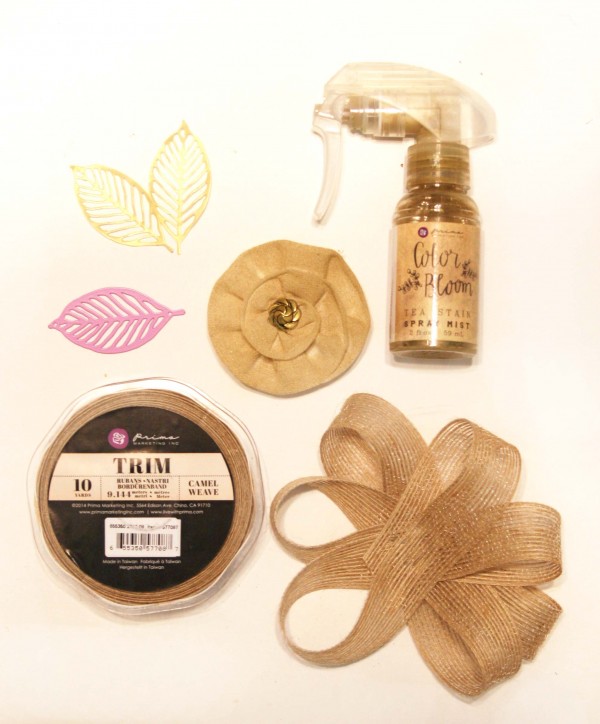
Step 4 Color canvas flower with Tea Stain spray. Cut 4-5 gold leaves with Prima Leaf Die and gold paper. Create bow with Prima trim. Staple bow together with Tiny Attacher.
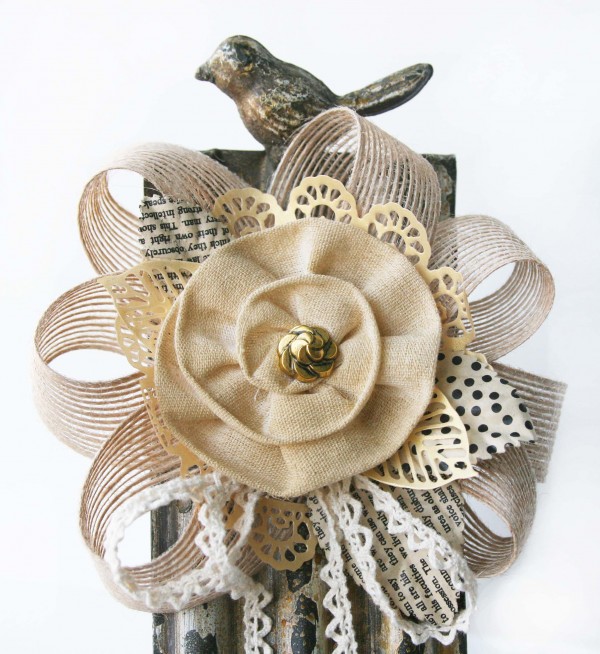
Step 5 Cut Gold Doily with Prima doily die and gold paper. Layer on bow. Top with flower, leaves, and lace trim. Adhere to top right side of birdhouse with strong adhesive.
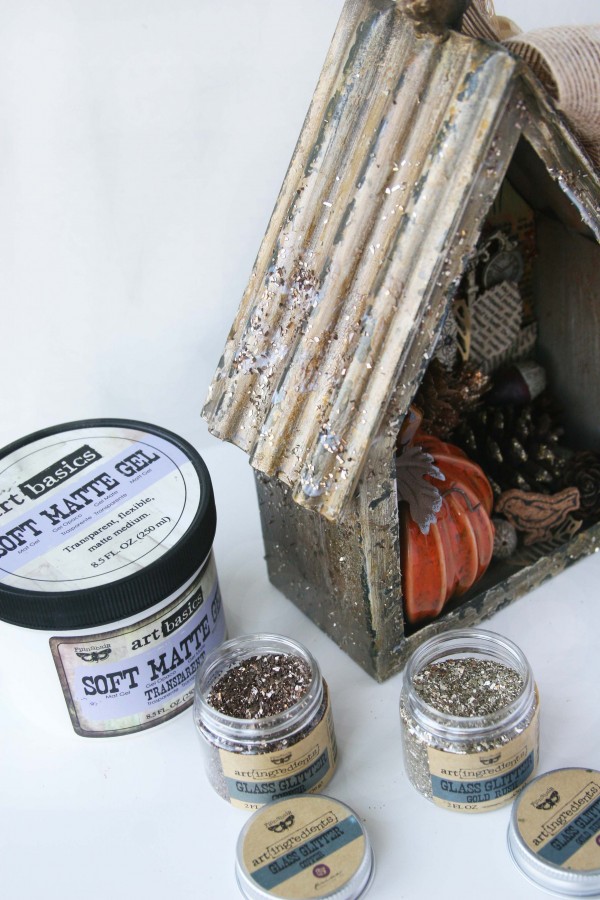
Step 6: Seal birdhouse with light coat of Finnabair Matte Gel. While still wet sprinkle with Gold and Copper Glass Glitter. Dry.
Finishing Touches: Attach “Home” metal plate to top of birdhouse. Stick in a metal bird pin and cork bird sticker. Tuck gold leaves in to fill empty spots.
Supplies:
Thanks for reading today, and thanks to Sharon for being our guest!
Blog Candy Alert!! Follow our blog via email and comment on this post for a chance to win a special blog candy! 
Congrats! Blog Candy Winners!
From: YOU Make Me Smile: Vicki Smith!
Please email Samantha ([email protected]) with your mailing address (if applicable) and the name of the blog you won from to claim your prize!



Love it!
I’m in love with birdhouses and this has to be my favorite! Outstanding job!!
Oh, what a gorgous vintage project!!! Thanks for the input and the tutorial!
Beautiful bird house. That would make a special gift for someone that collects bird houses. (My Aunt) :)
Lovely birdhouse. Beautiful shabby chic project.
Jaw dropping gorgeous!
So lovely!
Wow! Absolutely sunning! x
I love your bird your bird house it is Beautiful! Thank you for sharing that!
This is so impressive and so beautiful!!
Amazing….so beautiful! TFS
Very nice. Those products look like a lot of fun :)
Absolutely stunning and so much detail. Congrats on a beautiful project.
It’s beautiful and full of textures to represent Fall!
Cute project!!!!!
Awesome! Thanks for the inspiration!
Wow, such a Beautiful work of art! Love all the textures and colors you used!
Awesome birdhouse!
OMG !! This is gorgeous ! I love the pumkin !
Hugs from France
Lunéa♥
Wow what a fab work of art!
Your piece is just stunning Sharon! I want one!!
Did not know where the glass glitter was for and how it looked used. Thanks for showing on this great house!
incredible project! looks like so much fun to put together!
What a beautiful project!
I have to try this.
Fabulous project – thank you for the step-by-steps :)
Lovely bird house…..
Fabulous birdhouse! If you had this in the form of a kit, I would purchase it immediately… maybe two!
What a cool project.
I like the vintage look of this and all the layering inside
the bird house. Like the lace and ribbons.
Just breathtaking!
I’ve not yet dabbled in 3-dimensional things like shadowboxes, but this birdhouse is making me want to! :)