Flower Burst Tutorial with Emma Williams
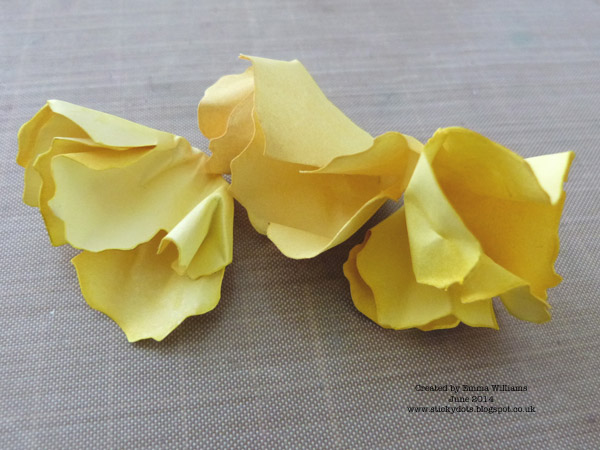
Hello everyone! It’s Emma here and I’m going to take you through a few steps of how I made this project that I’m sharing with you all. I love making paper flowers and I’ve lost count of the amount of times I’ve been asked, “how do you get them looking so realistic?”
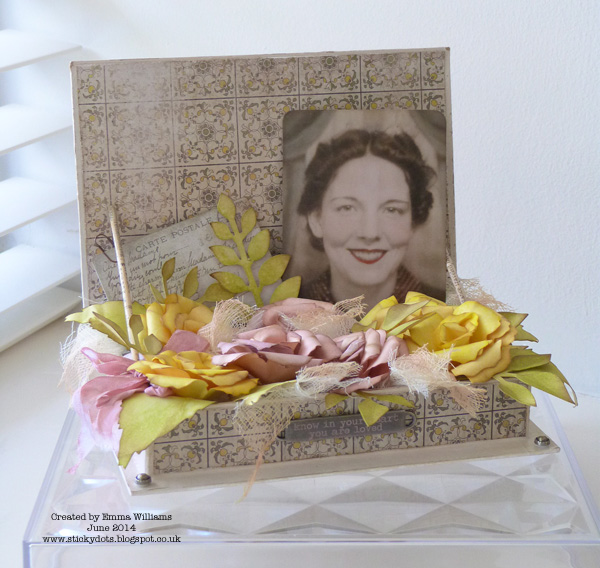
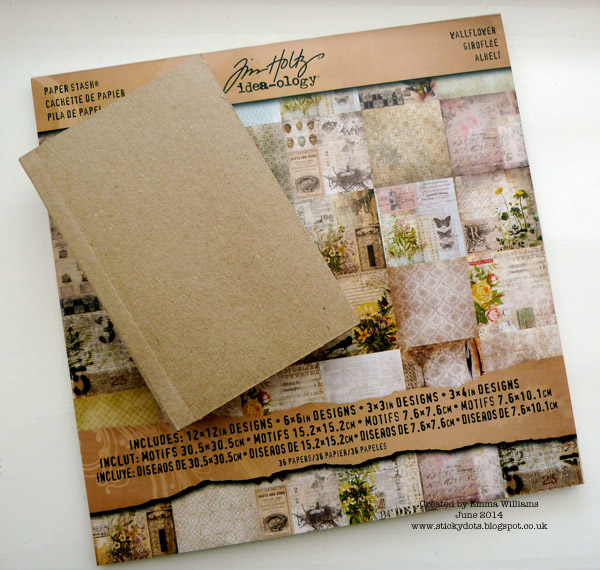
Today, I wanted to make the main focus of my tutorial all about the flowers and to show you, just how I do create those paper roses. But the real inspiration behind this piece, came from Tim Holtz’s gorgeous Wallflower Paper Stash and the beautiful vintage sepia images from the Found Relatives Portraits and with that in mind, I thought it would be wonderful to make a memory box using these gorgeous products and combining it with my roses.

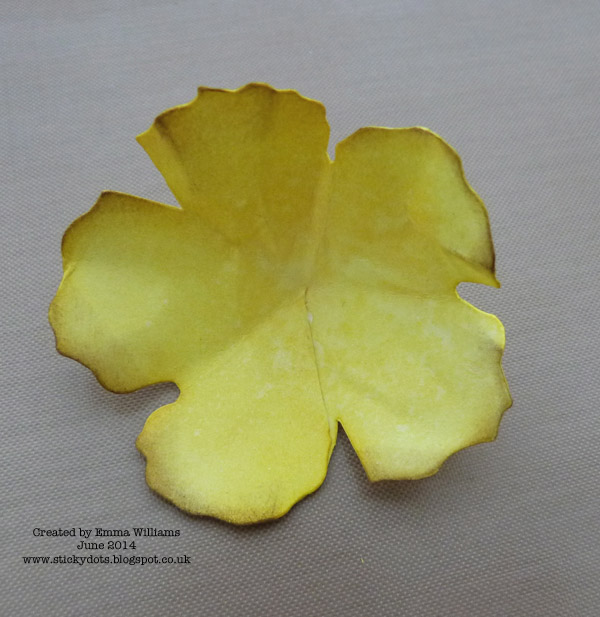
To begin with, I die cut all the petals from lightweight cardstock using the smallest flower shape on the Jumbo Tattered Florals die. To create one dimensional bloom, you will need to die cut three separate petals. For this project, I made seven roses and die cut 21 shapes.
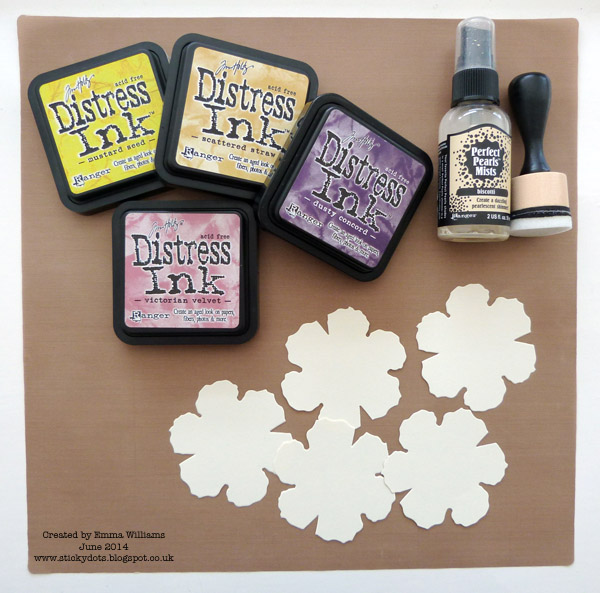
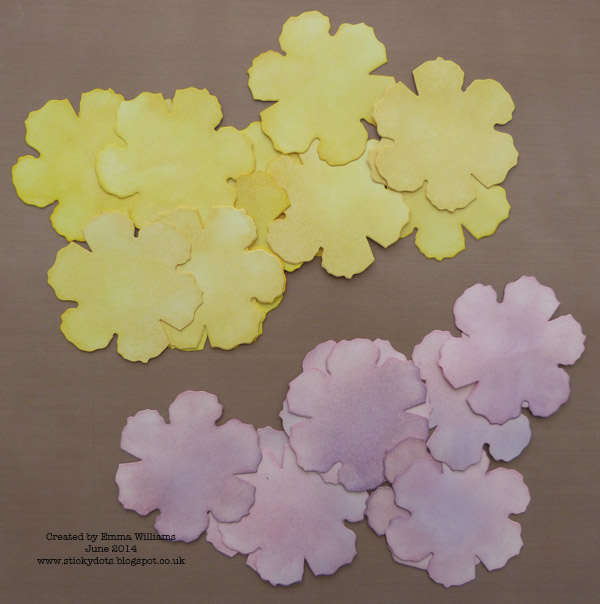
Ink the die cuts with Mustard Seed, Scattered Straw, Victorian Velvet and Dusty Concord Distress Inks, blending the coordinating inks together with a blending tool. What’s fun about using Distress Inks, is that you can use the colour that matches your project and create a perfect co-ordinated look.
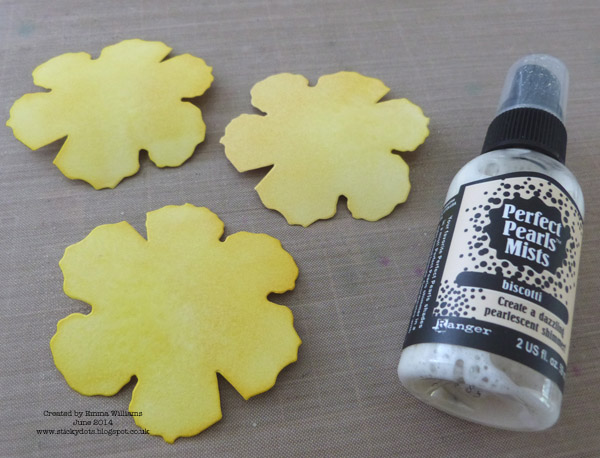
Spritz each of the inked petals with Biscotti Perfect Pearls Mists.
Then, whilst the paper is still damp from the mist, scrunch each of the shapes, breaking down the fibres of the papers which will help to manipulate the paper when it comes to shaping the flower later. Leave to dry or if you’re a little bit impatient like me, dry with a heat tool.
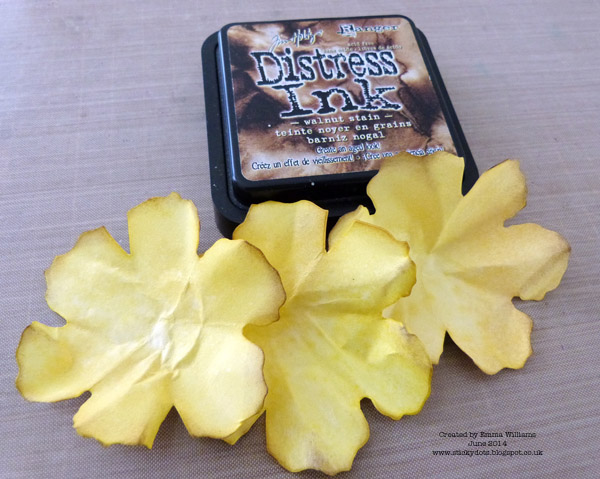
Lightly ink the edges of each die cut petal with Walnut Stain Distress Ink.
To create the dimension of the flowers, begin by folding each Tattered Floral die cut horizontally, folding them in-between each section of each petal to obtain the centre point of your die cut flower.
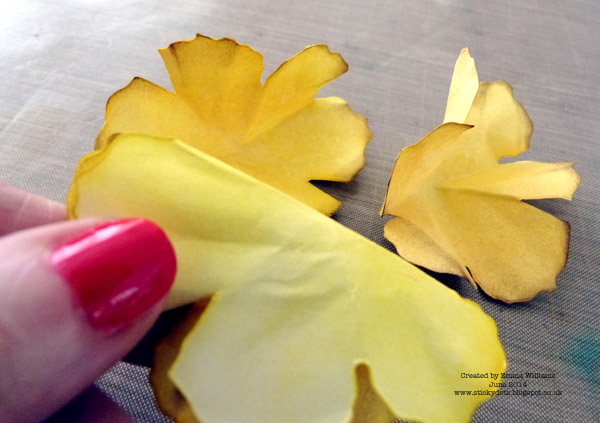
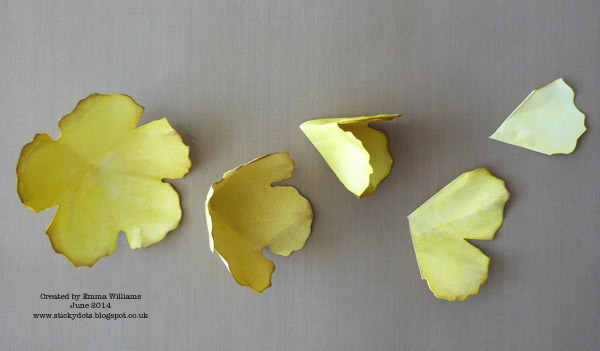
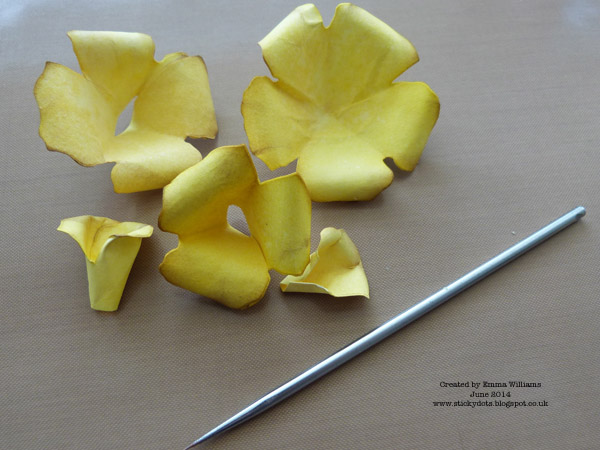
Take one of the die cuts and cut down one of the folded lines, cutting towards the centre point that you obtained by folding the flower in the previous stage. On the second die cut flower, cut along two of the folded lines to remove one section of the petal completely and on the third die cut flower, cut down to the centre point, to remove two of the petals. At this stage do not throw anything away, you will need all five pieces to create your rose.
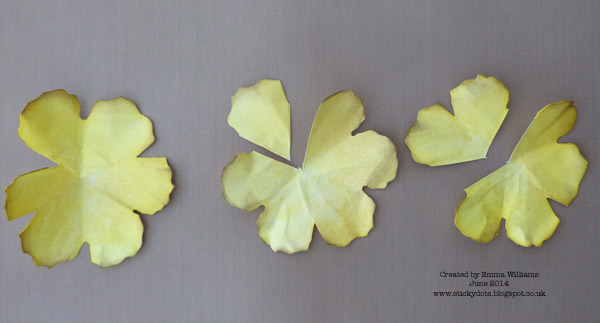
Dab a small amount of strong adhesive glue onto one of the petals and bring the next petal over and attach to the glued area, to form a cup shape.

Repeat this with the next two sections of the die cuts. You will now have three cup shapes and two smaller sections of petals.
On the fourth section, add a small piece of tape along one side of the petal.
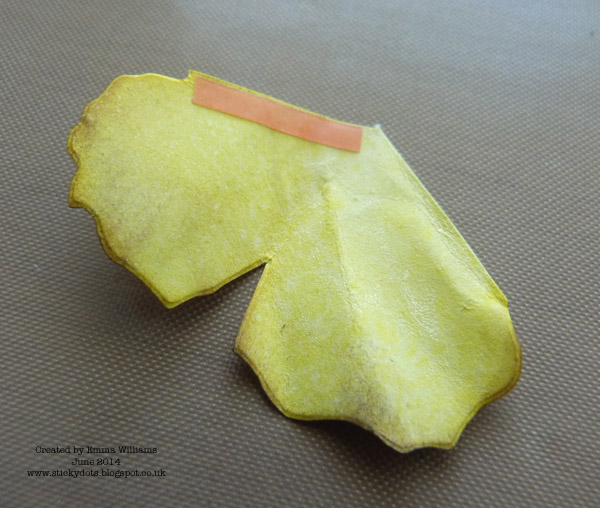
Curl the petal to form a small cone and stick.

Snip off the points of all five pieces…
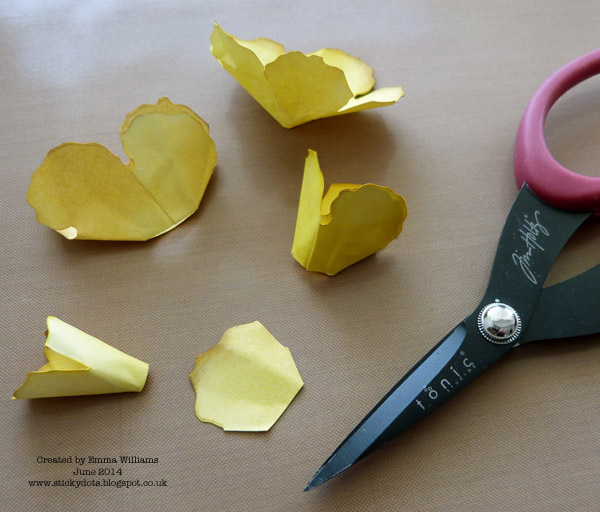
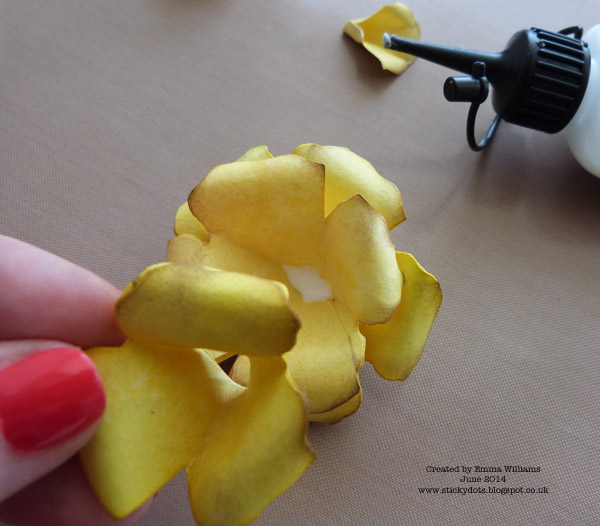
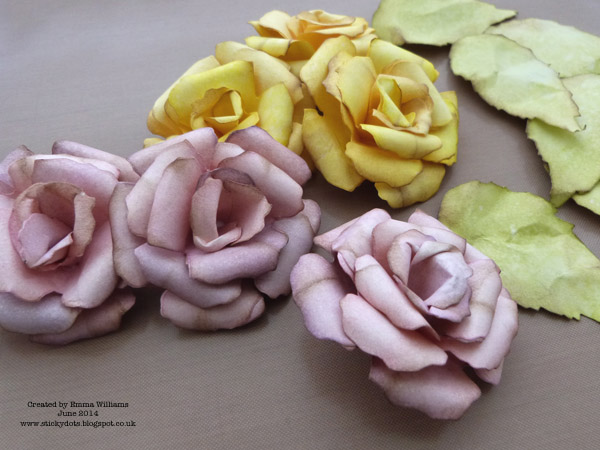
…before curling and shaping each of the petals to make a realistic looking flower.
Add a small amount of glue in the centre of the largest section of your rose and then begin to layer up the flower, by placing each section inside the previous one, starting with the largest and working down to the smallest which will form the centre.
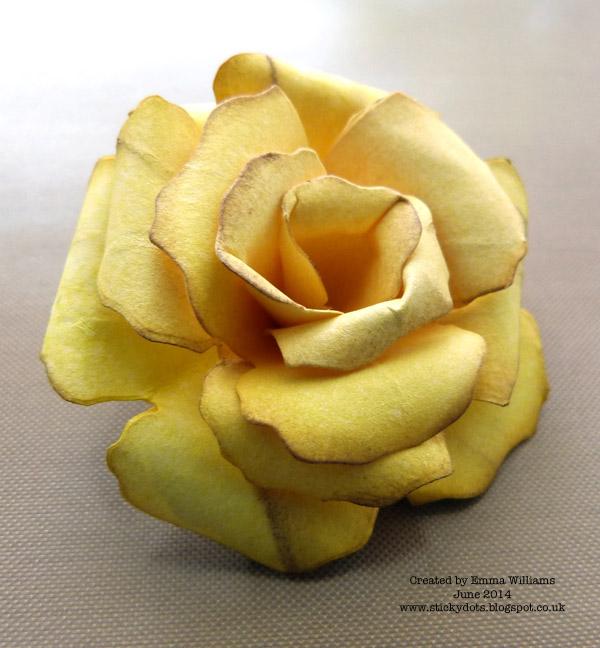
Once all the layers have been added, you will now have one complete flower. Repeat the stages above, using all the remaining inked die cut flower shapes to create a further six dimensional roses for your box.
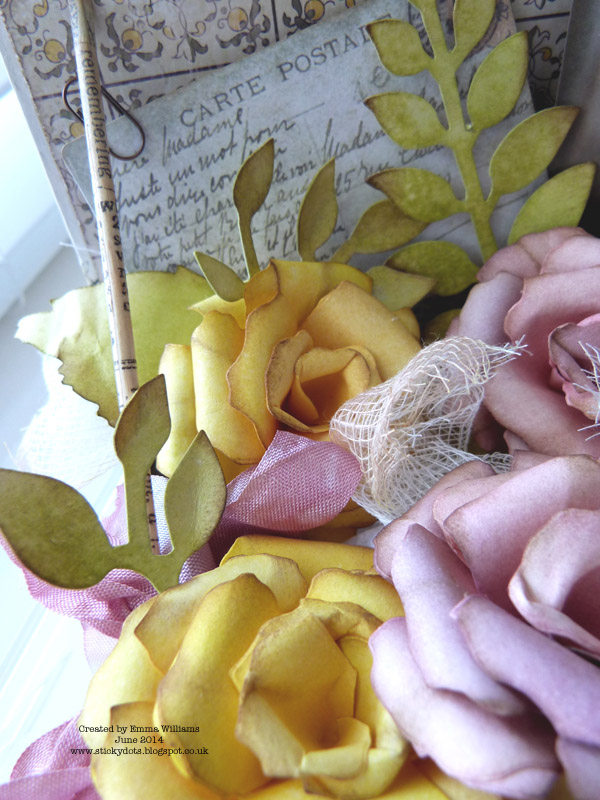
Die cut some leaves using the Jumbo Tattered Florals die and foliage using the Garden Greens die. Ink all the pieces with Peeled Paint and Shabby Shutters Distress Ink and then spritz with Biscotti Perfect Pearls Mist. Scrunch up all the inked die cut leaves whilst still damp and then unfold. Leave to dry.
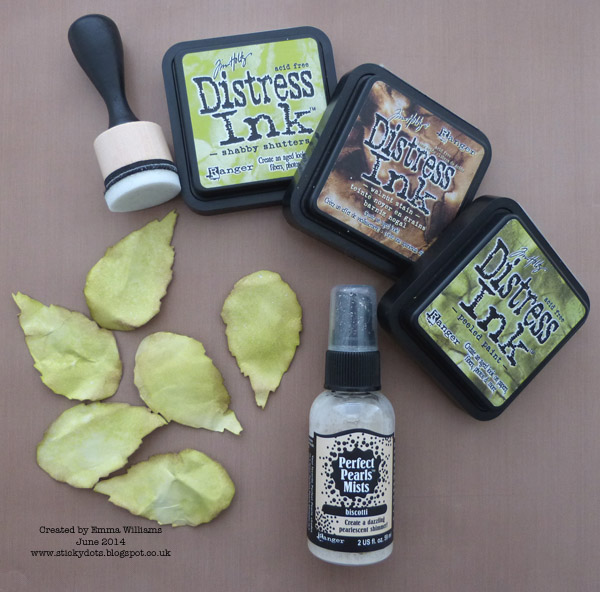
You will now have all your inked roses, leaves and foliage to use inside the box.
For the actual box, I altered a chipboard box that I’ve had in my stash for ages, which was absolutely perfect for what I needed.
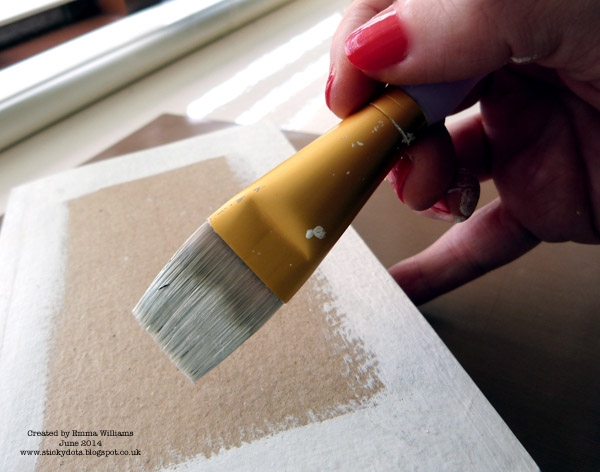
I gave the areas that were going to be seen a coat of Gesso, before painting them with Nougat PaperArtsy Fresco Finish Paint and adding layers of Tissue Tape to the opening seams to strengthen the hinged part of the box. I then used Tim’s Sanding Tool to remove some of the paint to give an extra shabby look.
Using papers from that gorgeous Wallflower Paper Stash, I measured and cut the paper to size to cover the inside and the base section of my painted box and attached each piece using Glue N’ Seal.
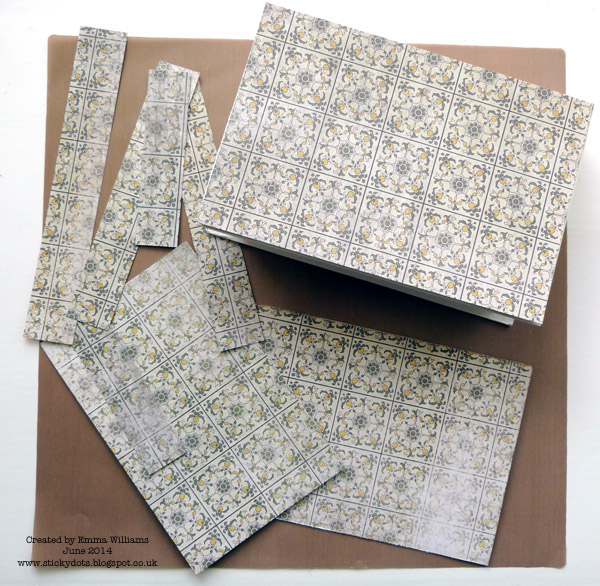
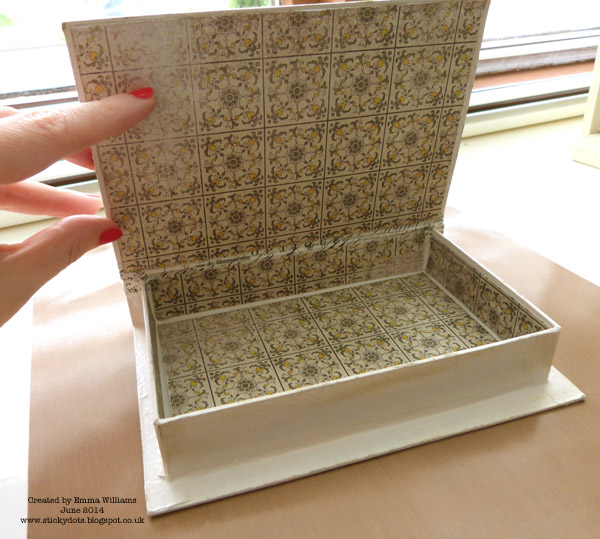
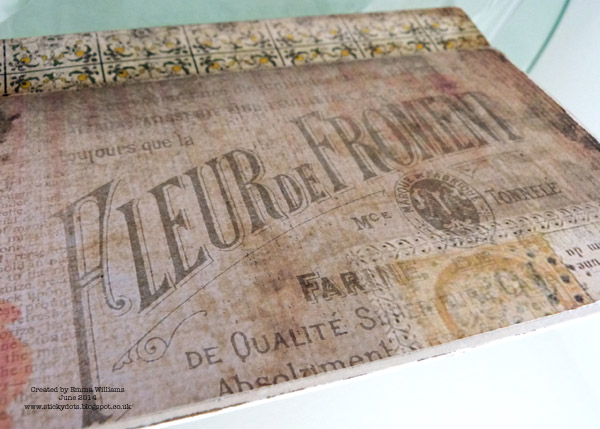
I added a coordinating piece of paper from the stash to the top of the box, then inked and sandpapered all edges of the paper, inside and out to give a distressed, vintage look.
I now needed to make sure that the lid of my box would stay open and after a bit of thought, I came up with the idea of using BBQ skewers covered in Tissue Tape and they worked perfectly.
As a final finishing touch, I added some small domed shape metal studs onto each of the worn, distressed corners.

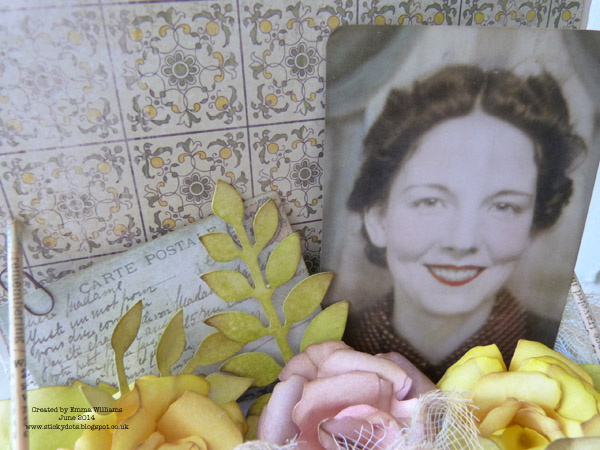
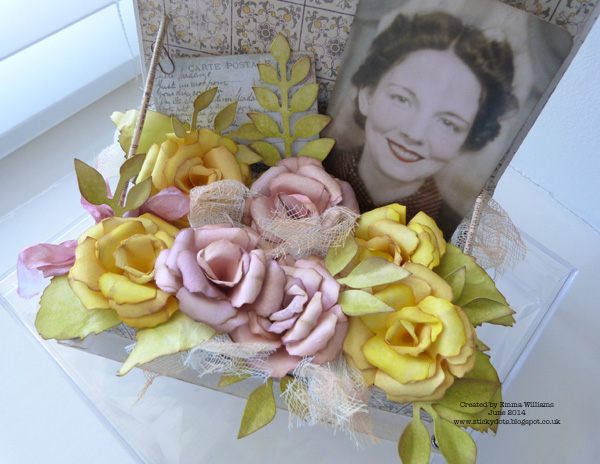
Now, it’s time to fill the box and for this, you could use anything, even personalise it with your favourite photos but for me, I wanted to use my favourite image from the Found Relatives pack, which I placed into the box with a postcard, from the Idea-Ology Thrift Shop Ephemera Pack.
I arranged all my inked die cut roses, leaves and foliage in and around the box, together with some cheesecloth that I stained with Tea Dye Distress Stain and added some Crinkle Ribbon, dyed with Victorian Velvet Distress stain and tied into a shabby bow.
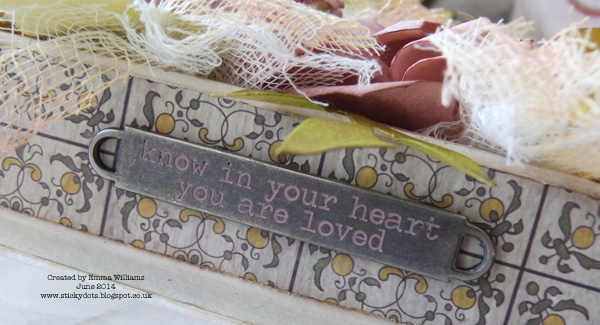
The final piece to add, which I placed on the front of the box, was an Idea-Ology word band which I painted with Victorian Velvet Distress Paint over the surface.
I really hope you’ve enjoyed today’s tutorial and I hope you’ll enjoy making these flowers just as much as I do!

Thank you Emma for the inspiring tutorial! Now it’s your turn – join us this week in the challenge!
Challenge Badge

Spotlight Badge


Oh, this is BEAUTIFUL! I love it. Thank you for the tutorial on the box and flowers, will save it.
Emma I’m totally speechless! love love love these flower, your project is fabulous! BArbarayaya
Wow, this is a gorgeous piece Emma! Love your flowers!
Even with all the magic explained, this is still an illusion that will always amaze me, Emma. You are the Paper Flower Queen.
This is beautiful!!! Thanks for the tutorial! Probably the simplest i’ve seen. already made a couple.
Thanks so much
Absolutely stunning Emma xx
Stupendous! Love it. Thank you for the wonderful tutorial. X
Just gorgeous Emma! Thanks for the flower tutorial.
So glad I zoomed over from Facebook. These are fabulous and your tutorial is so clear. Thank you very much for sharing, Emma. Julie Ann xxx
so beautiful i am going to make something like that for my mommy
Totally amazing box and flowers Emma and the colours are beautiful
Shirley
How gorgeous! And a great tutorial, thank you.
Alison x
What a lovely make and tutorial Emma! Thank you!
Those flowers are stunning and the memory box with the photo is just gorgeous!
this is an amazing job, thanks for this amazing tutorial!
Holy awesome tutorial, Bat-girl! The flower and your whole vintage box are lovely!
Emma this is so beautiful, your flowers are stunning. Thank you so much for sharing how you made them, Cathy x
GORGEOUS project and excellent tutorial! I always love to see flowers in this style, so it was wonderful to see such a great step-by-step of the process.
WOW – thanks for sharing Emma – will go and give this a try xx.
Love it Emma. Your flowers are fabulous. Love all the delicate tones. Hugs Helen x
stunnung Emma xxx
Great tutorial and beautiful project.
WOW…amazing tutorial and beautiful finished project. Super inspiration!
This is an absolutely stunning project and great tutorial, thanks
Beautiful flowers – thanks for the step by step tutorial – love the results!!
Love this creation. A must make for my mum.
This project is gorgeous! Such talent! I just cannot say enough.
Gorgeous flowers, love them. Thanks for the inspiration
stunning project!
This is beautiful Emma! Love your gorgeous roses and the altered box is so very pretty.
Love you beautiful creation, Emma. Your handmade roses are amazing! :)
Fabulous picture tutorial! I must try that – my die is sadly neglected!
You make your roses just like Tim did in thistutorial!
Pretty box!
The flowers are pretty. I have die cut these flowers but not tried this. Will give it a try.
Melissa
“Sunshine HoneyBee”
Wow….what a stunning and beautiful keepsake. Thank you for sharing the tutorial. Hugs, Antoinette
Wow, Emma! Stunning creation! These flowers are so gorgeous! The look almost real! Love it! Hugs, Sandra
Gorgeous project Emma! Lovin’ all the beautiful blossoms! Thanks for sharing your creative process!
Wonderful….so very pretty.
WOW! this is most impressive!!!