It’s hip to be SQUARE!
Hi friends! Happy Monday! I’m excited to welcome back co-owner of Newton’s Nook and Mama to Newton the cat, Jen Jackson as our special guest! She has made two vibrant and beautiful cards to share! Read on and enjoy!

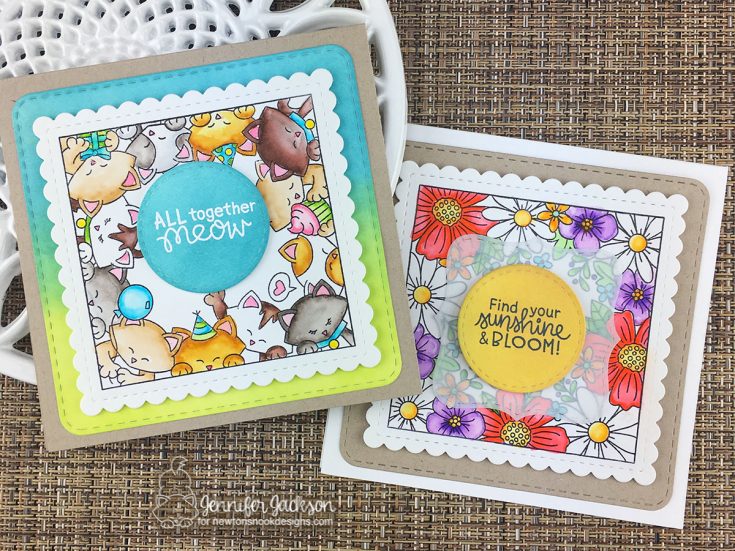
Hello! This is Jen from Newton’s Nook Designs and I’m super excited to share some cute square cards with you today! I’m featuring our two new square designs, Newton’s Block Party Stamp Set and Floral Fringe Stamp Set. Both of these new sets also work perfectly with the new Frames Squared Die Set.
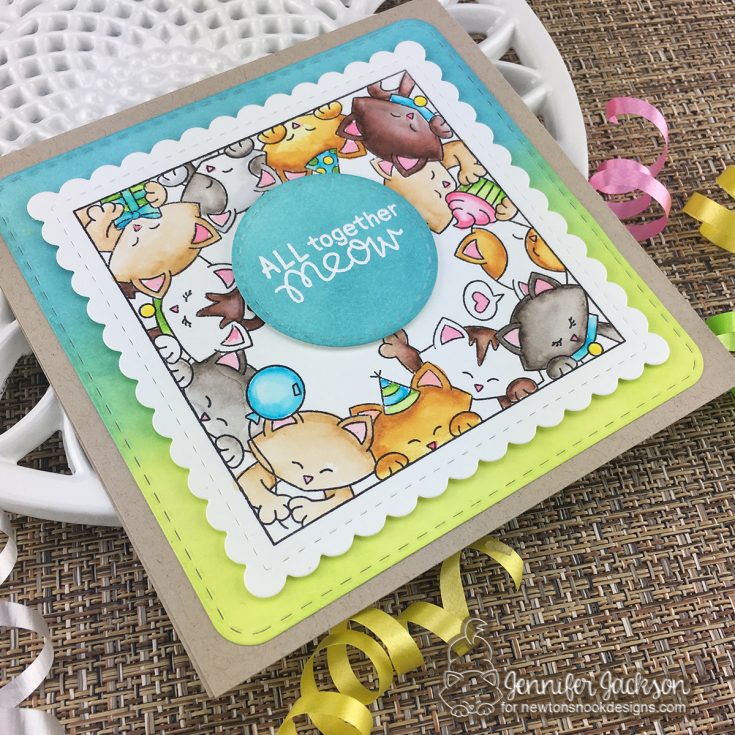
I am having so much fun with these new products! For my first card I created a kitty birthday card using the Newton’s Block Party Stamp Set. This set is so purr-fect for cat themed birthday cards! It has kitties all around the edge that are SO fun to color and a bunch of fun birthday and kitty themed sentiments that fit in the middle of the big image!
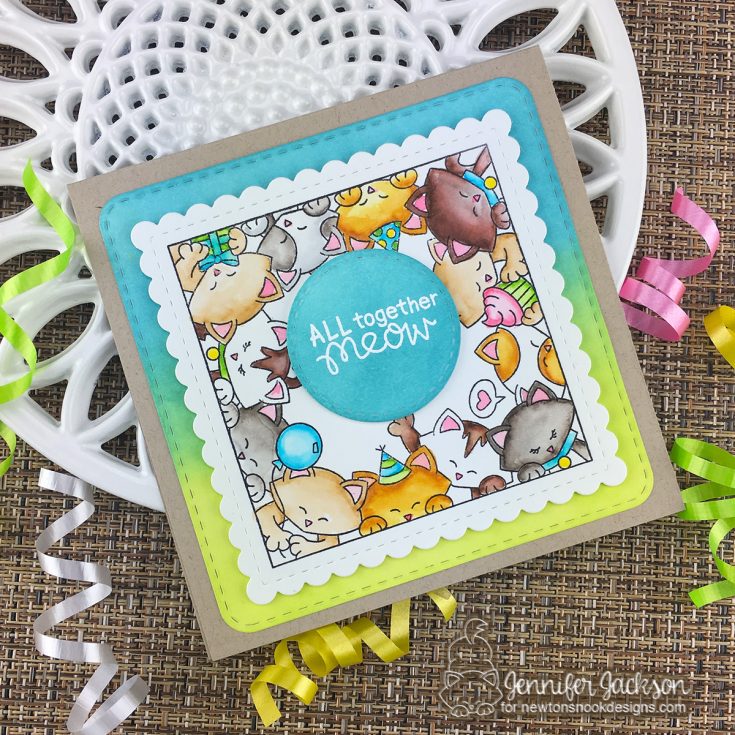
I knew I wanted to use watercolor markers so I stamped the image onto Strathmore Bristol paper using Archival Jet Black Ink which is my go-to waterproof ink. I colored in the image using Zig Clean Color Real Brush Markers. I usually color around the edge with the color I’d like to use and then pull the color into the center using a Tim Holtz watercolor brush filled with water. I colored the kitties neutral browns and grays and then added pops of teal, lime green, yellow and pink for their accessories. I cut the image out using the die from the new Frames Squared Die Set that has a scalloped edge and stitching too. Then I
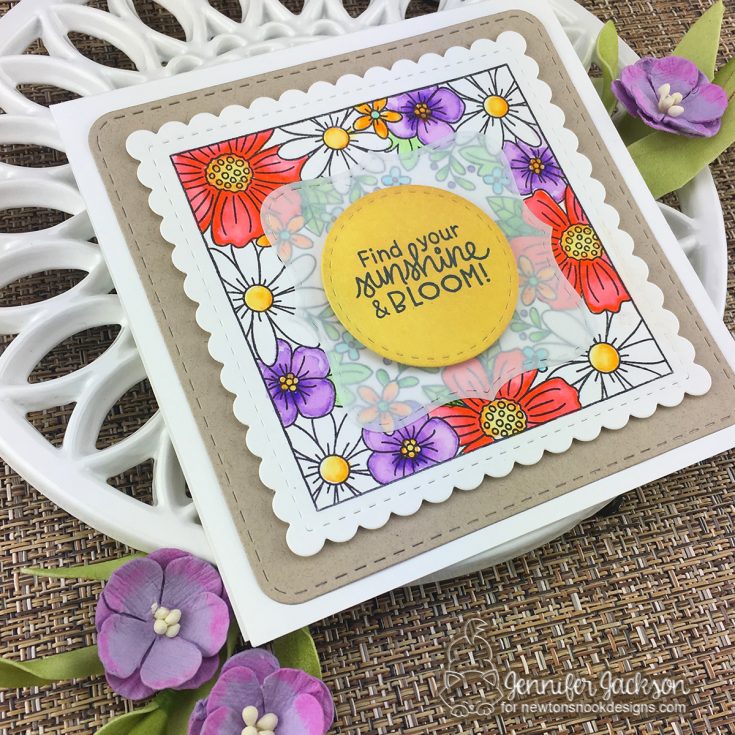
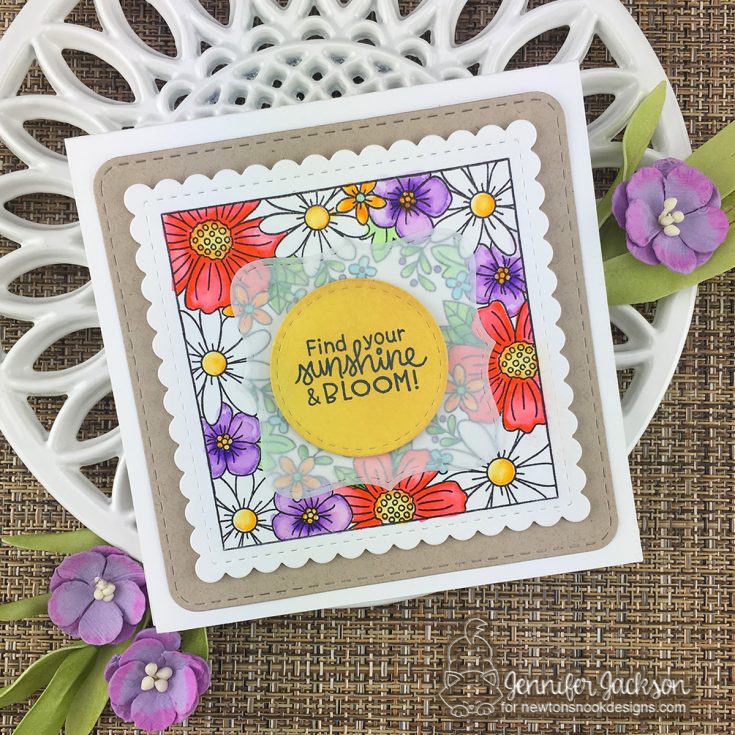
For my second card I created the card in nearly the same way but this time it has a fun floral theme. I used the image of flowers around the edge from the Floral Fringe Stamp Set, stamping it onto Strathmore Bristol paper using Archival Jet Black Ink. I also colored these pretty flowers with the Zig Clean Color Real Brush Markers. I just love how bright and pretty these watercolors are! I cut the image out using the scallop edged square die from the new Frames Squared Die Set. Then I used the small decorative square from the Frames Squared Die Set and cut it out of vellum. For the center, I cut the stitched circle from the Frames Squared Die Set out of Neenah Solar White Card Stock and made it yellow using Fossilized Amber Distress Oxide Ink with a mini ink blending tool. Once it was dry I stamped the “Find your sunshine & bloom” sentiment from the Floral Fringe Stamp Set. It was hard to choose which sentiment to use since this set has a such a nice variety of sentiments that all fit inside the center of the floral edge! Everything was adhered together using a Kokuyo Tape Runner and some 3M Foam Adhesive to add dimension to the layers. I created a 5″ square white card base using Neenah Solar White Card Stock.
I had so much fun making these cards and I hope you enjoyed them! I do also want to mention that the images and the scalloped edge frame do fit on a standard A2 sized card too if you prefer to make your cards that size.
I hope you have been inspired to make some lovely square cards of your own!
SUPPLIES:
|


Thanks so much for stopping by and thanks to Jen for being our guest!

Blog Candy Alert!! Follow our blog via email and comment on this post for a chance to win special blog candy!
Egg-stra Sweet Tabletop Decor!

Hello crafty friends, its Nina-Marie here with you today! I have an EGG-stra special tutorial for you, featuring some easy-to-create Easter table decor using a few of our Simon exclusive stamps and dies.
These name cards are a fun way to add some handmade flair to your Easter dinner table this year – and simple enough that even kids can help you make them!
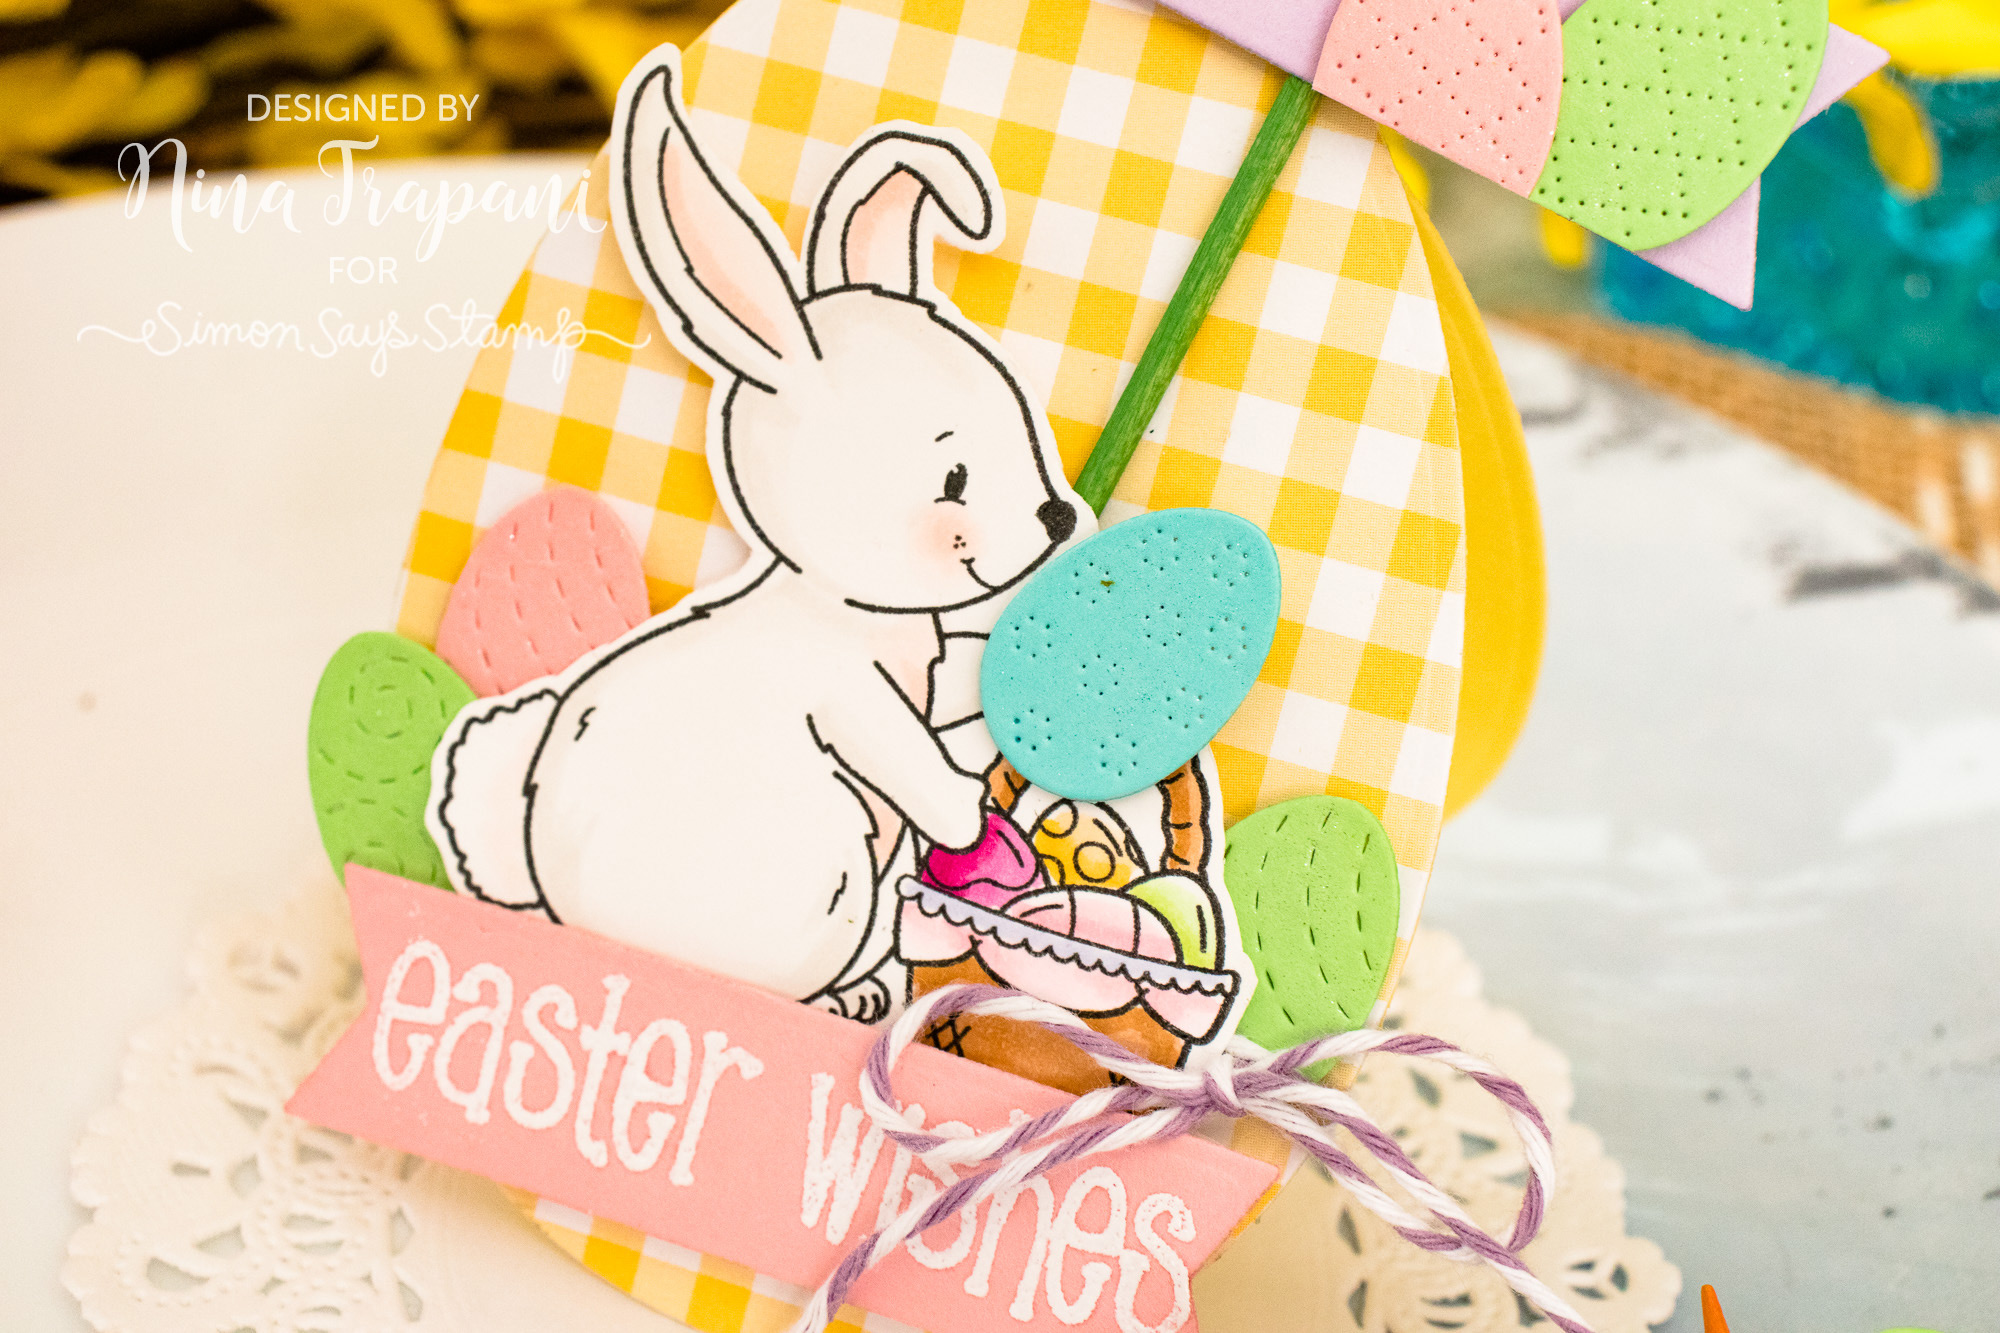
I’ve used our Simon exclusive Eggstra Sweet Easter and Bunny Wishes stamp sets, along with our Nested Egg and Nested Banners die sets. They are also paired with the Poppy Stamps Folk Decorated Eggs.
Using the Nested Egg die set, I built top folding, shaped cards which are decorated with eggs and images from the bunny stamp sets I mentioned.
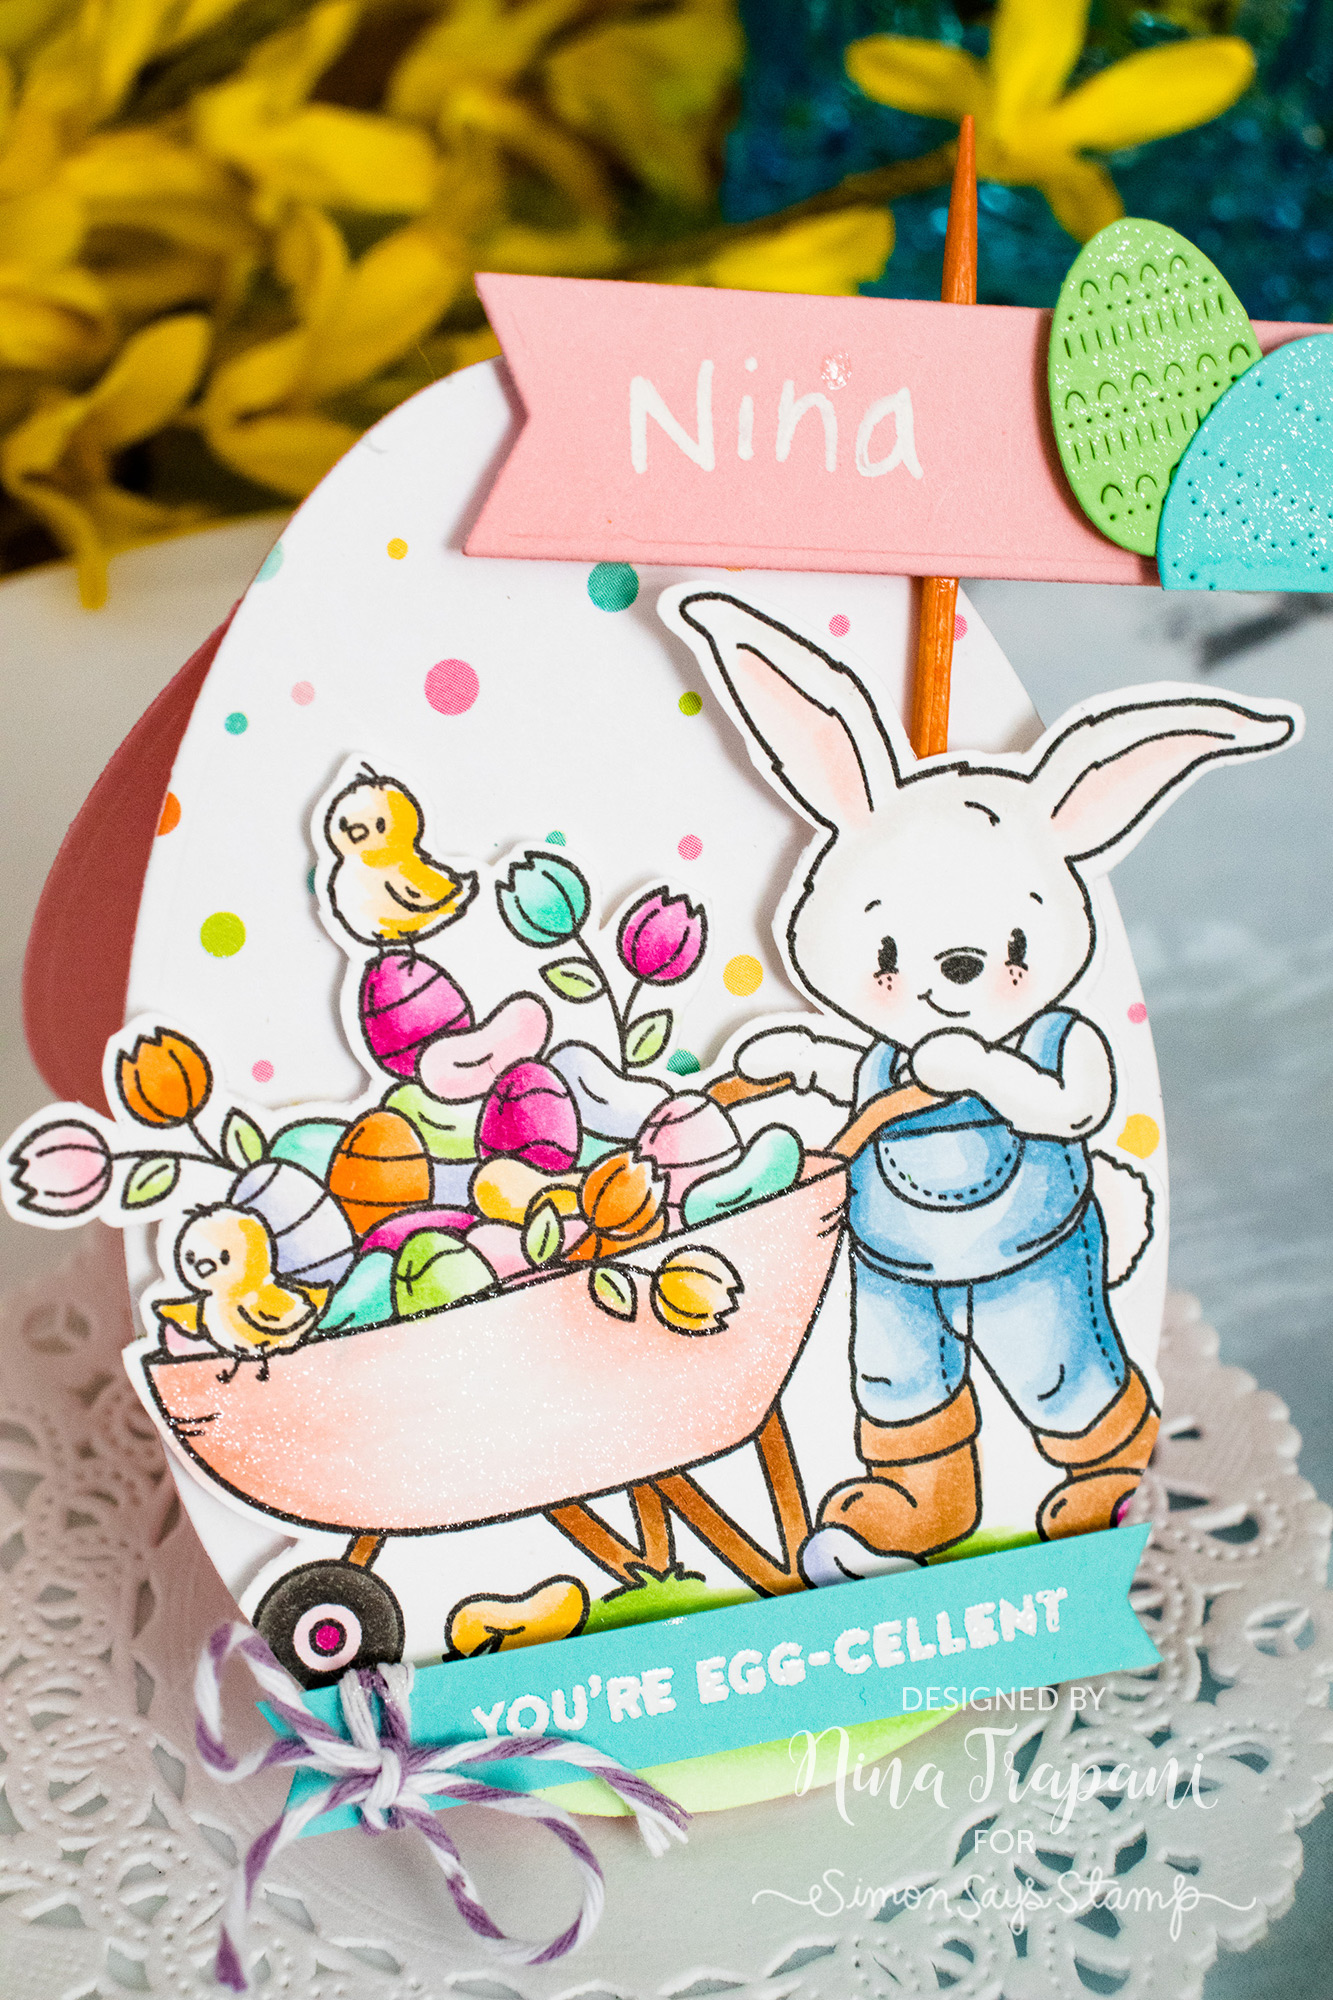
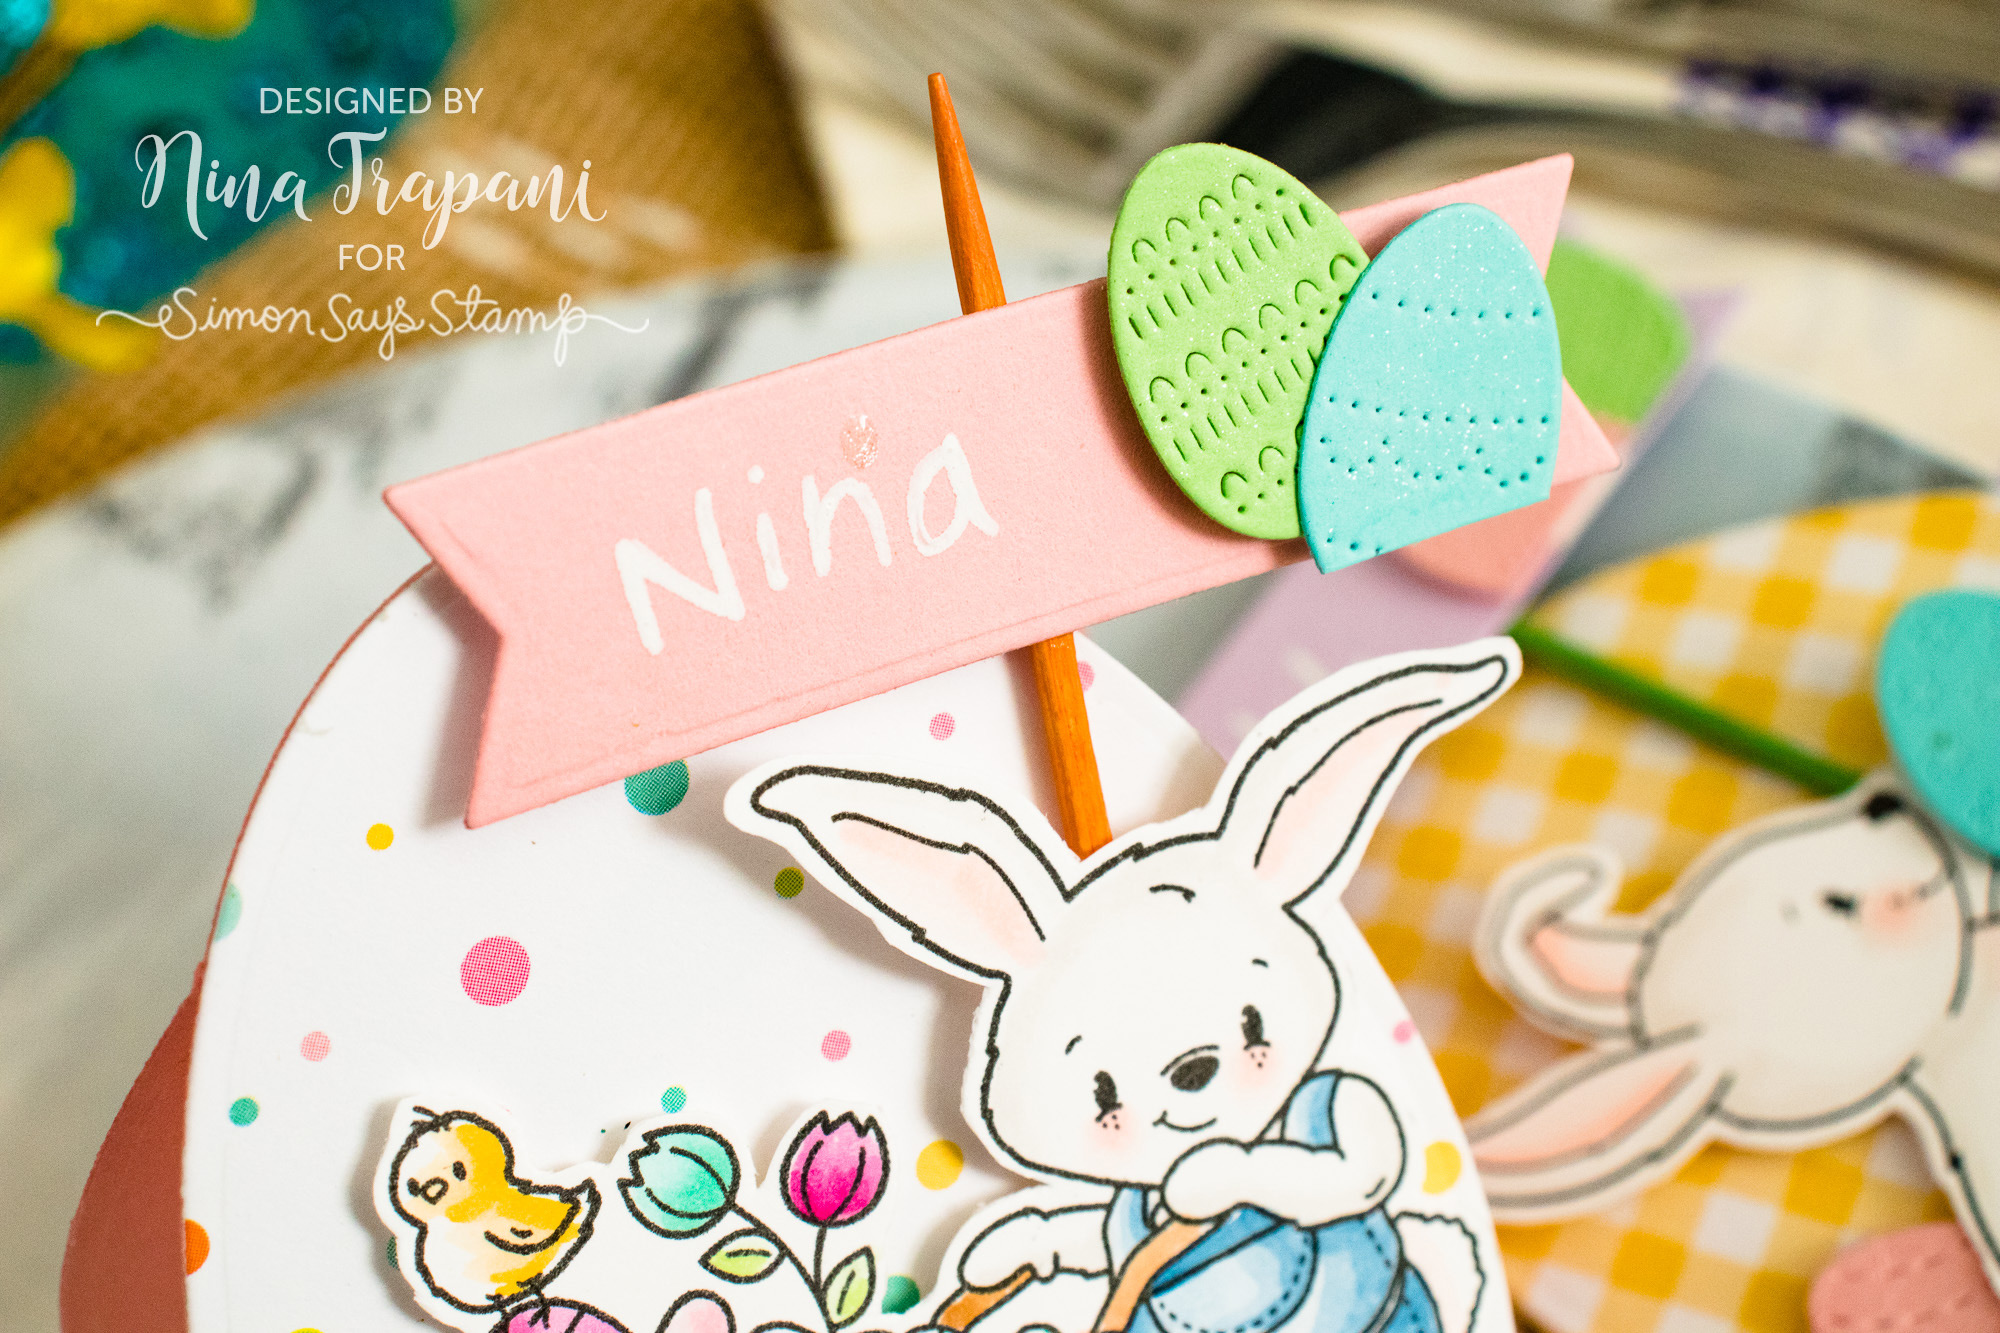
I also made toothpick name banners which look adorable peeking up from the eggs! The banners are decorated with colored die cuts from the Poppy Stamps Folk Decorated Eggs set.
These decorative egg-shaped name tags would be so much fun to put at each table setting for your upcoming Easter dinner; I hope you will try this idea out for yourself!
Thanks so much for visiting today; I will be back again next week with a brand new Studio Monday tutorial for you!
WATCH THE VIDEO
SUPPLIES
|


Blog Candy Alert!! Follow our blog via email and comment on this post for a chance to win special blog candy!
Blog Candy Winners!!
Mini Journal Book with Shari Carroll: Karthikha Uday!
Amore LauraFadora: Wavy Egg: Super Stick Chick!
Witty Wednesday: Ready for a chuckle?: Donna C!
Our very FIRST Brand of the Month: Art Impressions!: Teresa Godines #6857!
One Stamp, Five Ways: Geometric Patterns: Tara Prince!
Art Journaling by Vicky Papaioannou: Creativity Takes Time: Heather Mills!
Amore LauraFadora: You Got This: lee!
Heffy Doodle Snail Mail!: Tanja Gross!
Work It Wednesday March 2019: Spring Flowers!: Maureen Reiss!
Interactive Cards by Jess: Hidden Shadow Box Card: Subhashini!
LOVE, Forever and Always: Alcohol Pearl Inks: Nancy Dempsey
Bold & Bright Inspiration from Jill Foster & Penny Black!: ionabunny!
Did You Know? Fun Facts & Crafty Tips! March 2019 Edition: Chandhini!
Please email [email protected] with the name of the blog you won from, your prize(s), and your address if applicable!
Mini Journal Book with Shari Carroll
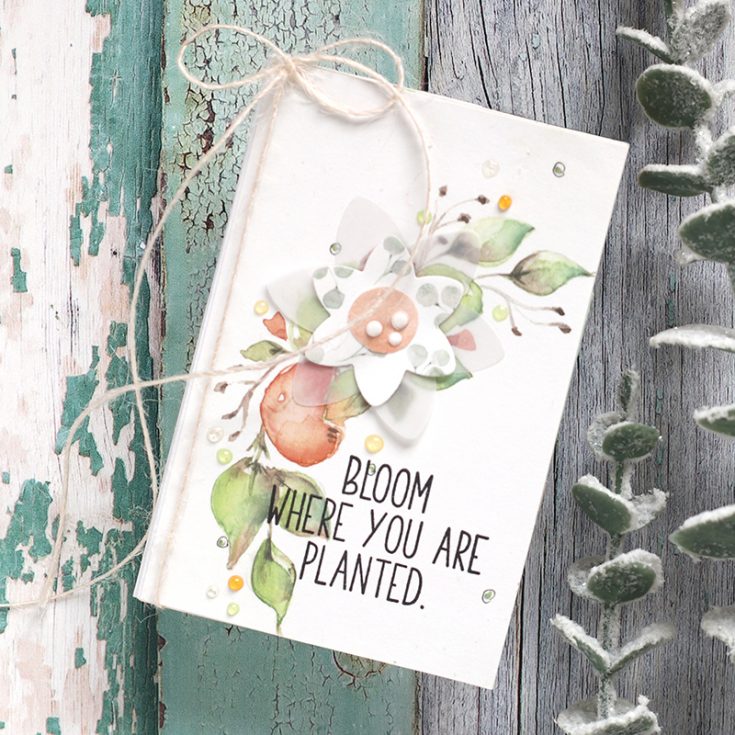
Welcome to the blog everyone!! It’s Shari here with a twist on an art journal idea. I’ve created a mini book that can be used as a travel journal or even a multi page card.
I’ve discovered this beautiful Shades of Love paper from Moda Scraps that goes really well with the stamps and dies for each page on my book.
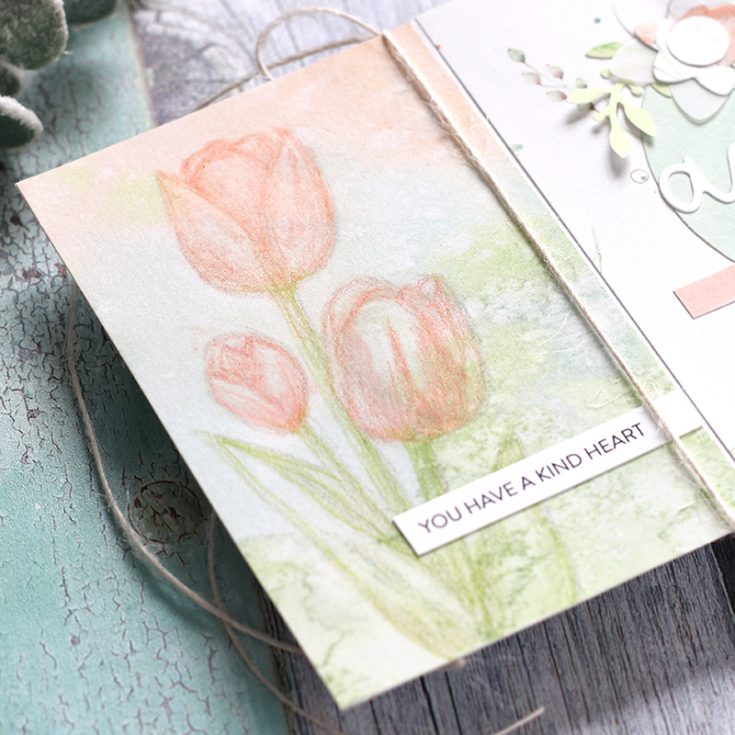
I’ve done a little coloring with PrismaColor pencils.
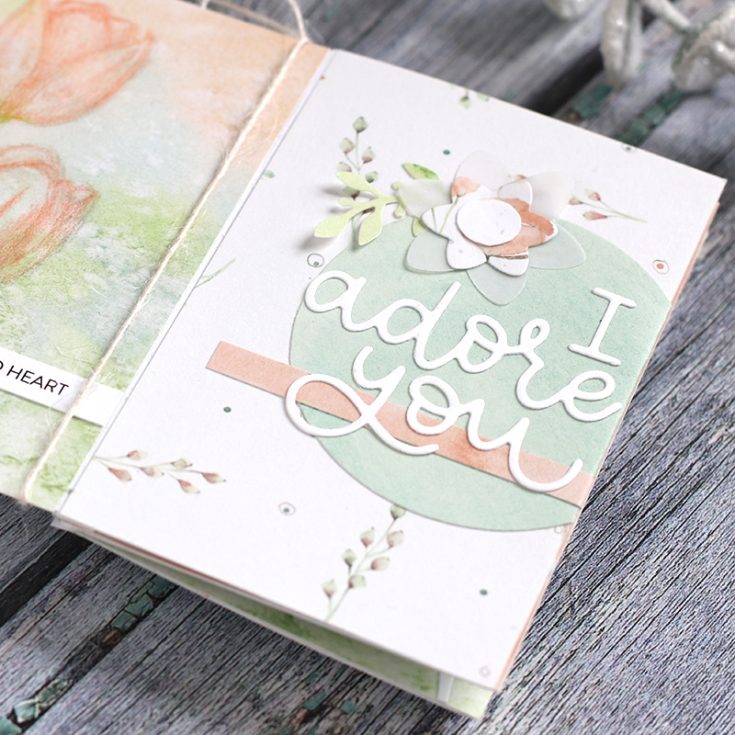
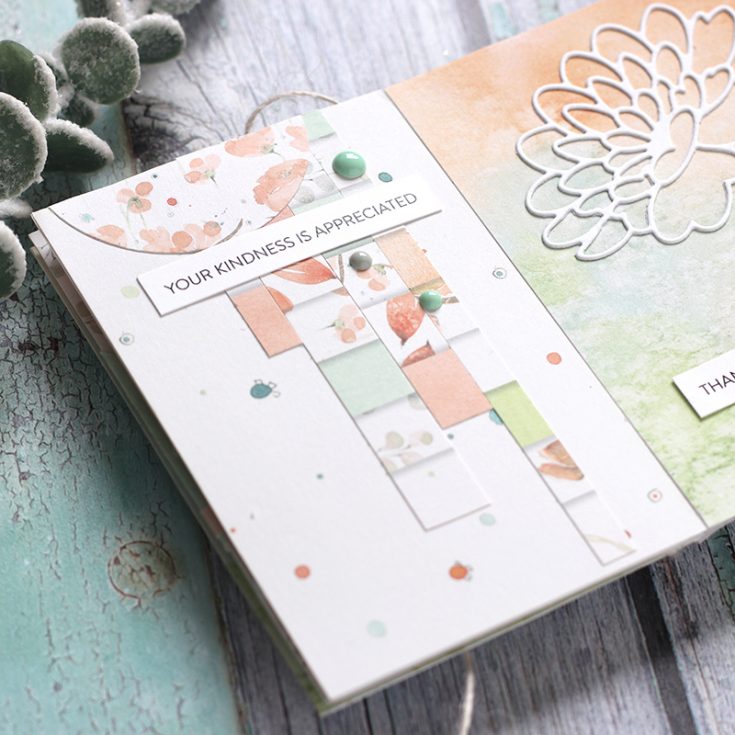
I used a die cut sentiment mounted onto a circle and adorned with flowers.
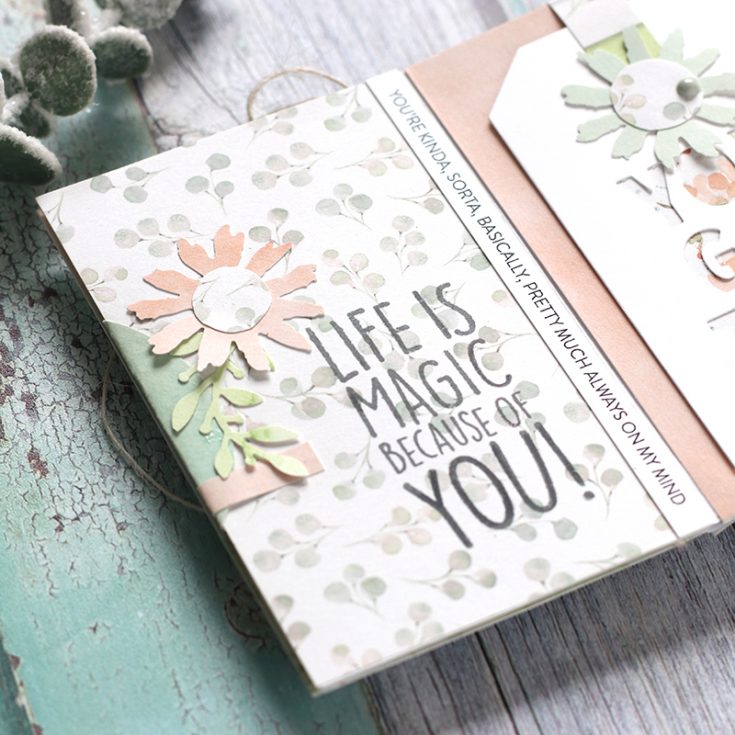
And, I stamped on pattern papers and added a vertical sentiment.
Then I backed a word die cut tag with pattern papers.
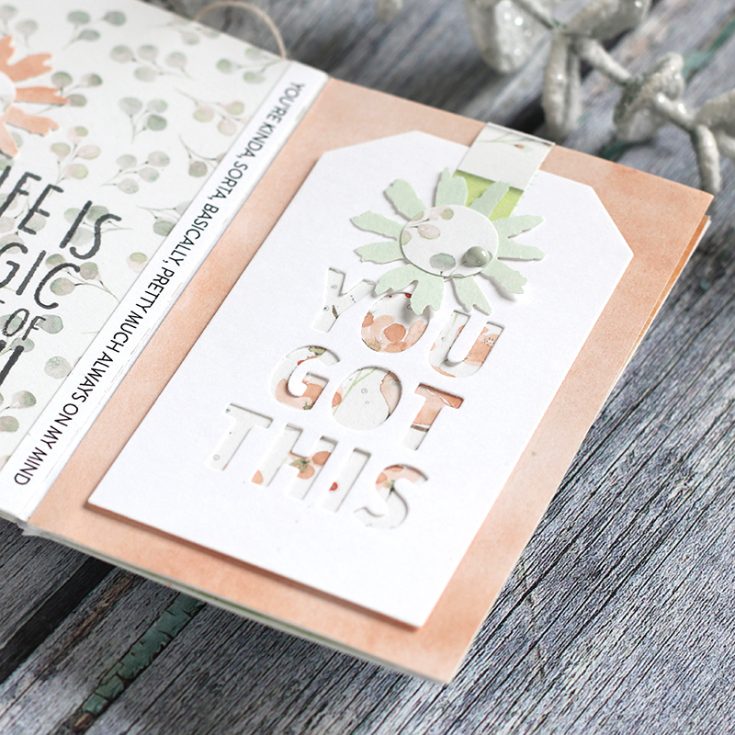
Also, I cut strips of papers to create an interesting arrangement.
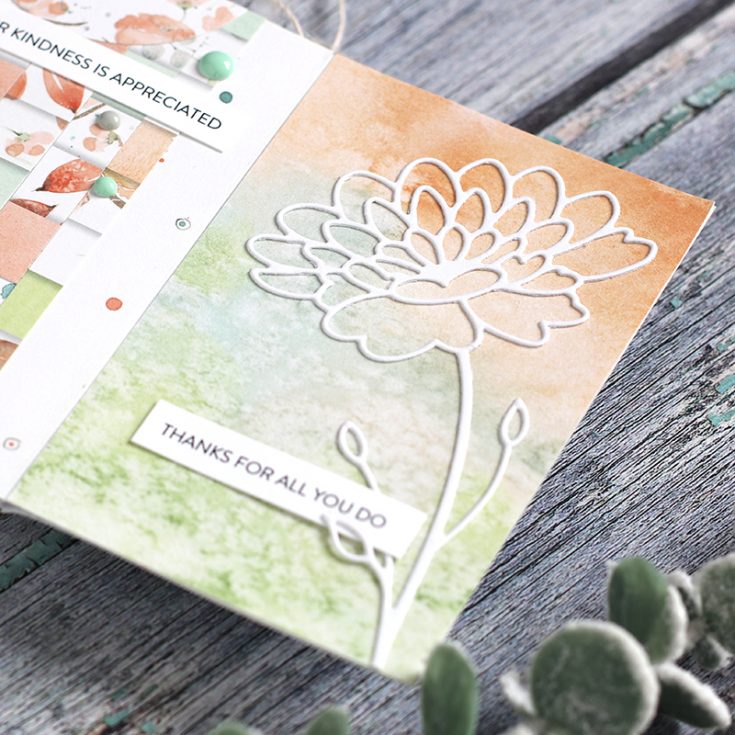
And finally, I added a simple die cut flower with a sentiment strip.
I hope I’ve sparked some inspiration to get you going on a simple mini j
Blog Candy Alert!! Follow our blog via email and comment on this post for a chance to win special blog candy!
|


