Doodling with Debby: Watercolored Ice Cream Sundae
Hi friends! Happy Saturday! Please join me in welcoming special guest Debby Hughes for her monthly installment of Doodling with Debby. You’ll want to learn all the details on how she made this gorgeous tempting treat! Enjoy!
Hello, it’s Debby here. My love of watercoloring is still going strong and so when I see new supplies, I’m always looking for a good image to paint and the Sundae Afternoons set has some great images just perfect for a spot of coloring. Today, in my video, I talk about powering through that ugly phase in a painting which is so common when watercoloring and is a point that a lot of people give up and yet by pushing through and working things out then the end result is something to be happy about.
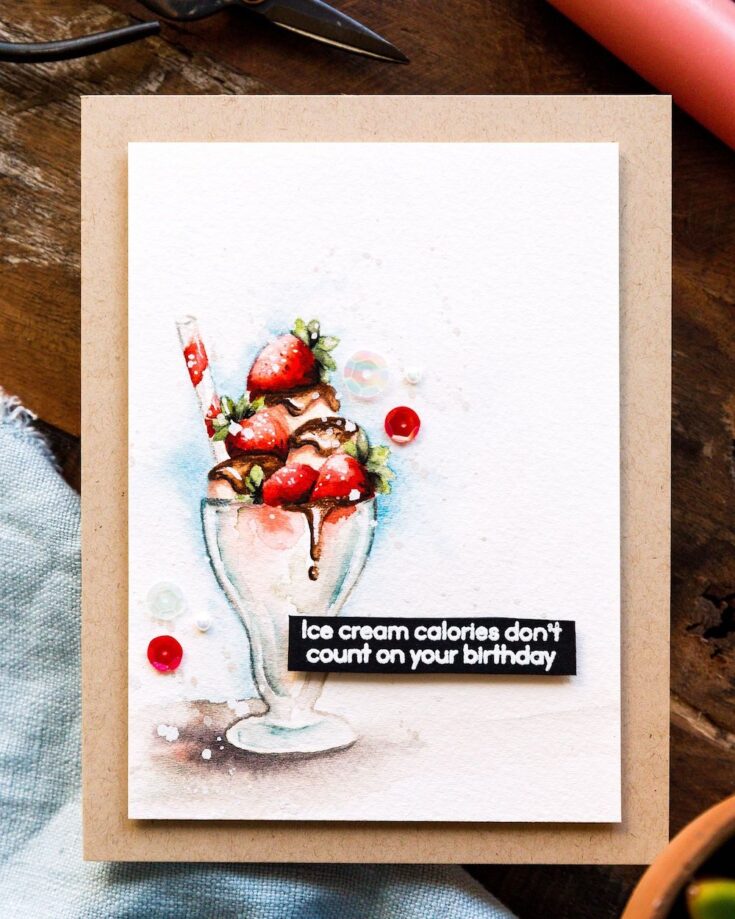
STEP BY STEP HOW TO
- Stamp an ice cream image from the Simon Says Stamp Sundae Afternoons set using Gina K Whisper Amalgam Ink on Fabriano Artistico Cold-Pressed watercolor card.
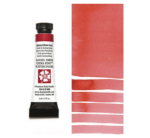
- Watercolor – I used Daniel Smith paints
- Stamp a greeting from the Sundae Afternoons set in clear embossing ink on Black card treated with anti-static powder, sprinkle with white embossing powder and heat emboss.
- Trim the sentiment with a clear, metal-edged ruler on a cutting mat with a craft knife.
- Trim the watercolored panel to fit on an A2 card base cut and scored from Neenah Desert Storm card in the sturdy 100lb weight.
- Add foam adhesive to the back of the panel and adhere to the card base. Use a T-square ruler to aid with placing the sentiment strip on straight, again, using foam adhesive.
- Accent with sequins and eggshell pearls held in place with Gina K Connect glue.
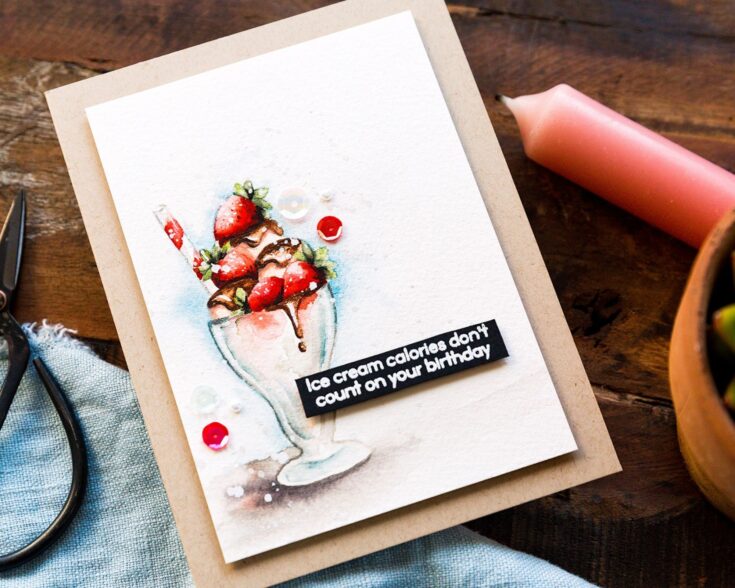
Often, I get to a phase in a painting where I am not happy, commonly referred to as the ugly phase, and I want to put my brushes down and start again. However, from experience, I know that you need to push through this phase.
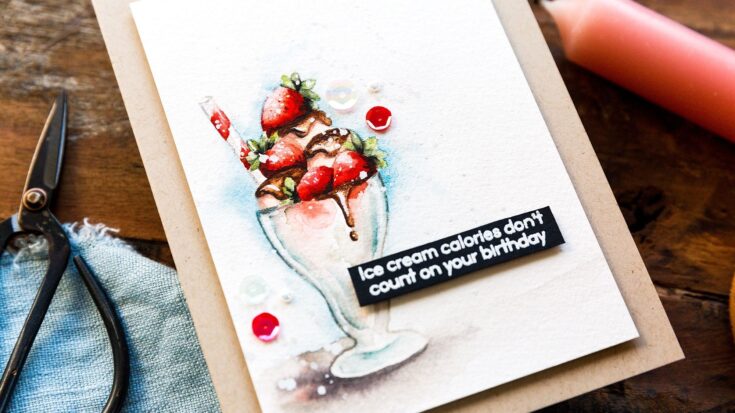
I added a wash of color to ground the image, I went in with more layers to add depth and shadow while maintaining highlights to give that impression of juiciness and shine, I worked on the glass more until finally, things started to come together. Basically, I kept going until I was happy with the end result.
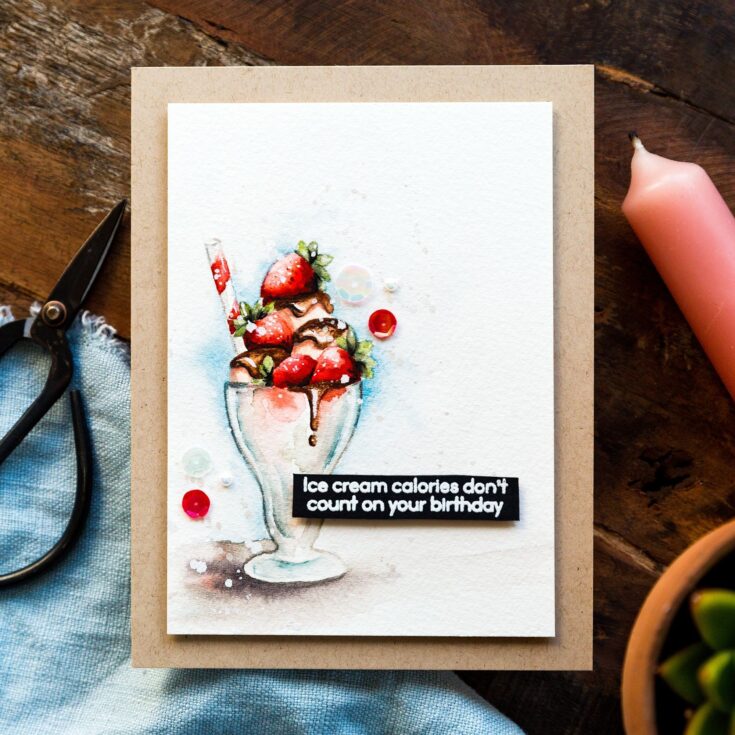
Well, that’s me for this month. I hope you enjoyed this tutorial; you’ll find the video below. Thanks for joining me and I hope to see you next time for Doodling With Debby.
WATCH THE VIDEO:
SUPPLIES:
|
Thanks so much for stopping by, and thanks to Debby for being our guest!
Long Weekend SALE!
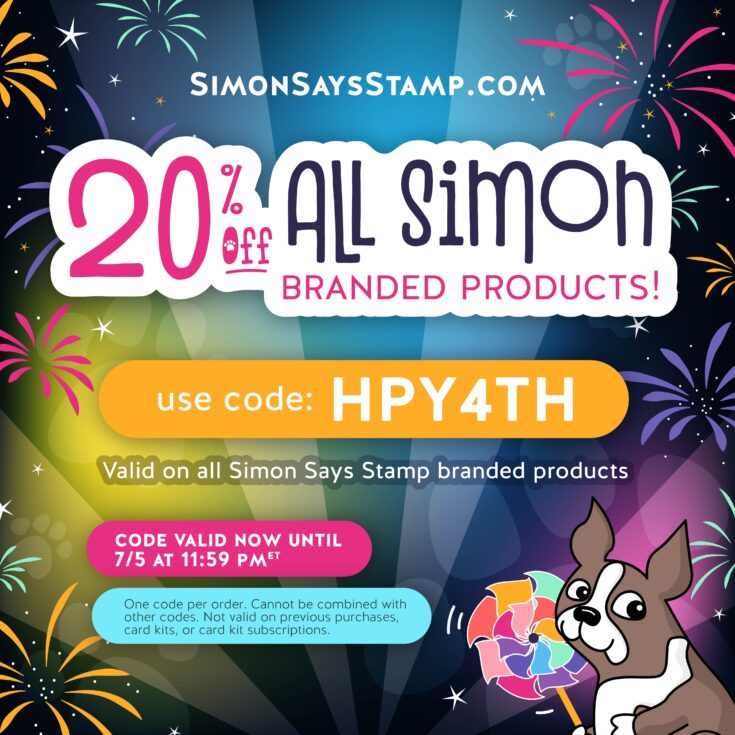
Hi friends! TGIF! Let’s start the LONG weekend off with some crafty shopping, shall we? We are having a very rare 20% off on all of our exclusive products this weekend only when you use code HPY4TH at checkout! Be sure to shop early for the best selection, and enjoy!
Art Journaling with Shari Carroll: Journal Pockets
Welcome, everyone!!! it’s Shari here with another art journaling installment. I’m working on the last signature flap in my Tim Holtz Travel Journal and thought I would do some simple collage using primarily paper products.
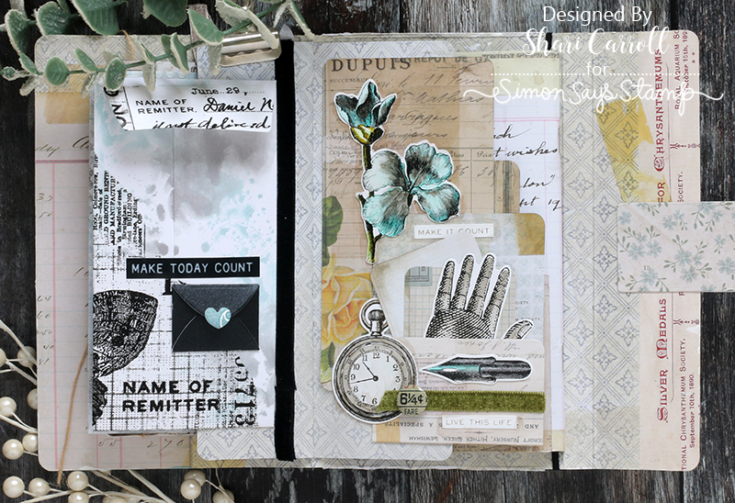
The Tim Holtz Journal cards are perfect for this journal. The longer pieces can easily be turned into pockets to hold some of the smaller cards. Plus, the designs match this journal! I’ve created a pocket on both the front and back of this page to hold cards for my journaling.
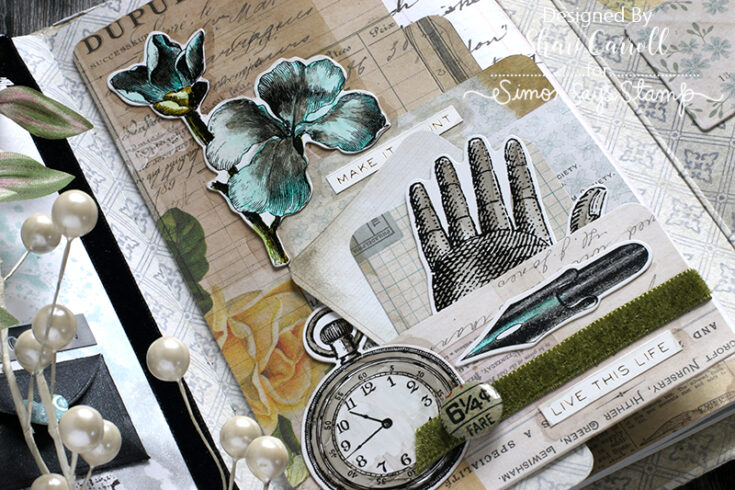
I’ve done some slight coloring onto the Tim Holtz Idea-ology Engraving Layers. There are 76 pieces to play with, I chose them randomly for this page by mixing up flowers, watch, pen nib, and hand. These are great to tuck into the pockets or glue onto the page.
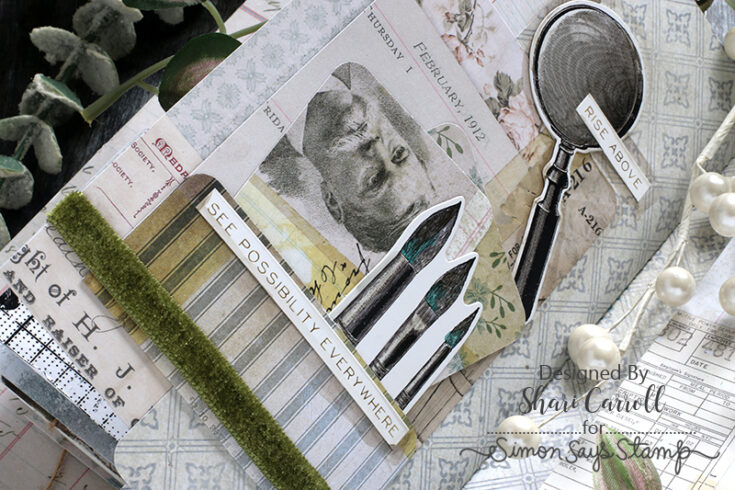
Art journaling doesn’t have to be difficult, messy, or complicated. Try putting together combinations of items that make you happy and enjoy the process!
SUPPLIES:
|


