Layered Stamping + Heat Embossing with Kristina Werner
Hi all! Kristina here. Today I have a fun card for you featuring the Tropical Silhouettes stamp set and lots of stamping!
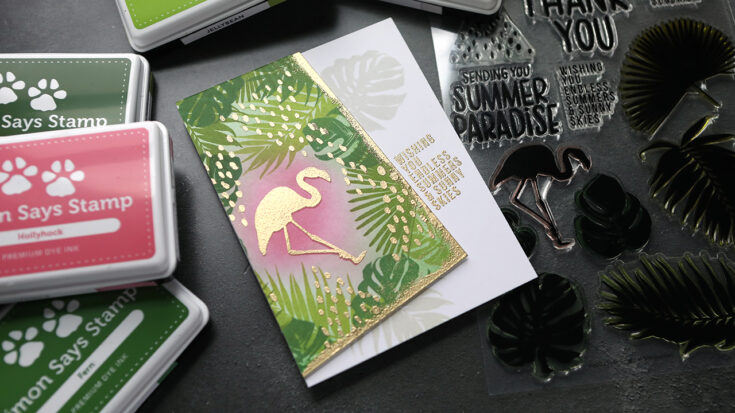
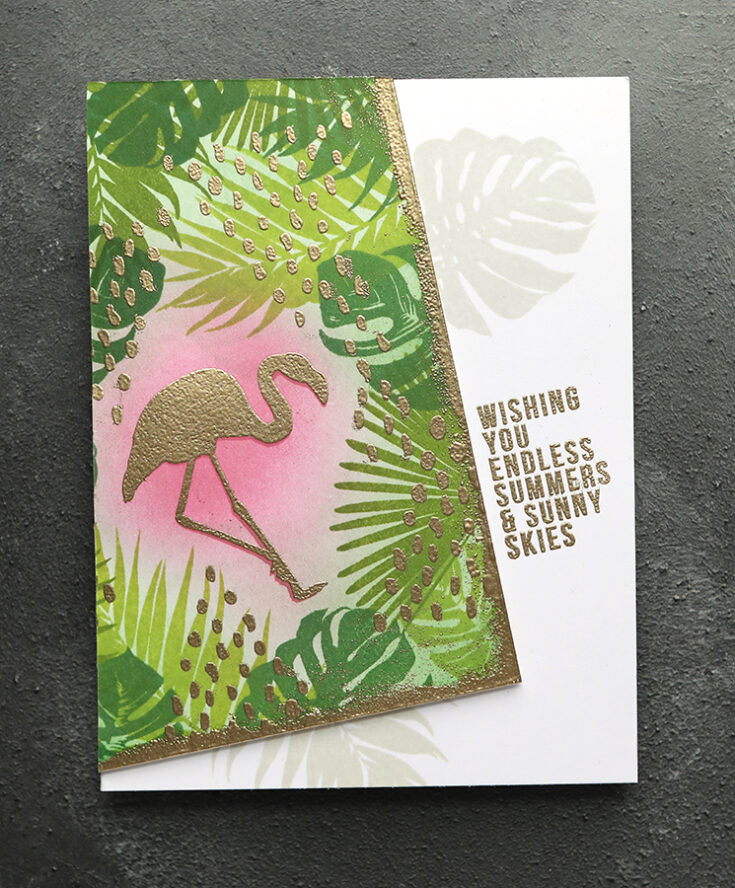
This card is basically a stamped background adhered to the front of a card at a diagonal, with faint stamping coming from underneath the edges. Looks complicated, but it was actually very easy.
I first stamped the background using the Tropical Silhouettes stamp set and four colors of Simon ink: Hollyhock (for the flamingo), Jellybean, Fern, and Leaf Green. I also blended the background a little bit.
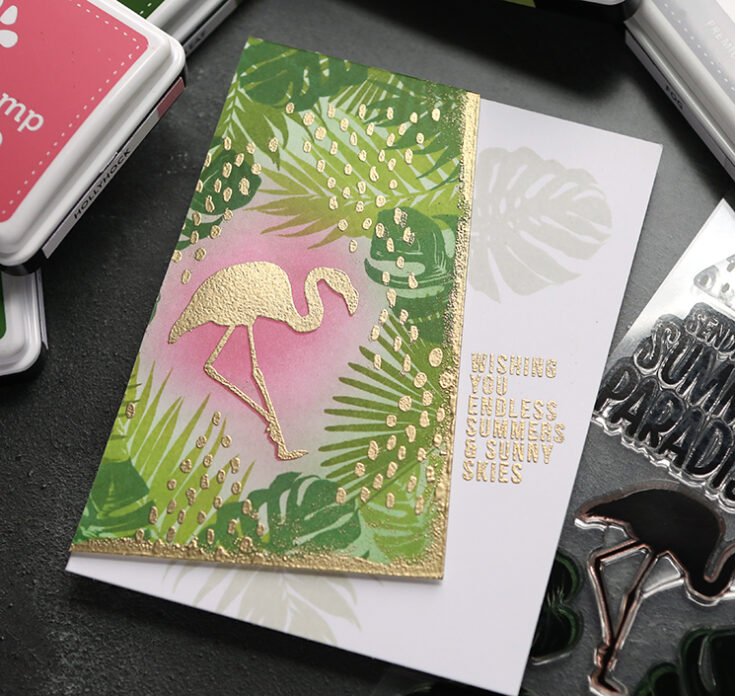
Then I added lots of gold heat embossing. I stamped the dot pattern from the stamp set, the flamingo, and swiped the edges with Versamark to add gold embossing as well.
I placed the stamped and embossed background on top of a white card base just long enough to get placement for the sentiment and the two leaves, then I removed the background. The sentiment was stamped in VersaMark and gold embossed, while the leaves were stamped in Simon’s Fog ink.
I hope you enjoy the video! There are lot of little tips throughout the video, including one on cleaning your stamps super well so you can use light inks with them without color transfer. Enjoy!
Supplies
|


Studio Monday with Nina-Marie: Multi-Color Foiled Birthday Card

Hello there, friends! If you live in the US, I hope your 4th of July was safe and wonderful. I was inspired by the patriotic colors for the 4th to create this sparkly birthday card with some of our Simon branded products!

I used our gorgeous Fading Stars stencil to apply Transfer Gel Duo onto my slimline card. I love this paste because it can be used with or without a laminator. It has a tacky finish, which means it will stick to the foil, and with a bit of pressure, you can transfer the foil onto the paste without needing to add heat from a laminator.
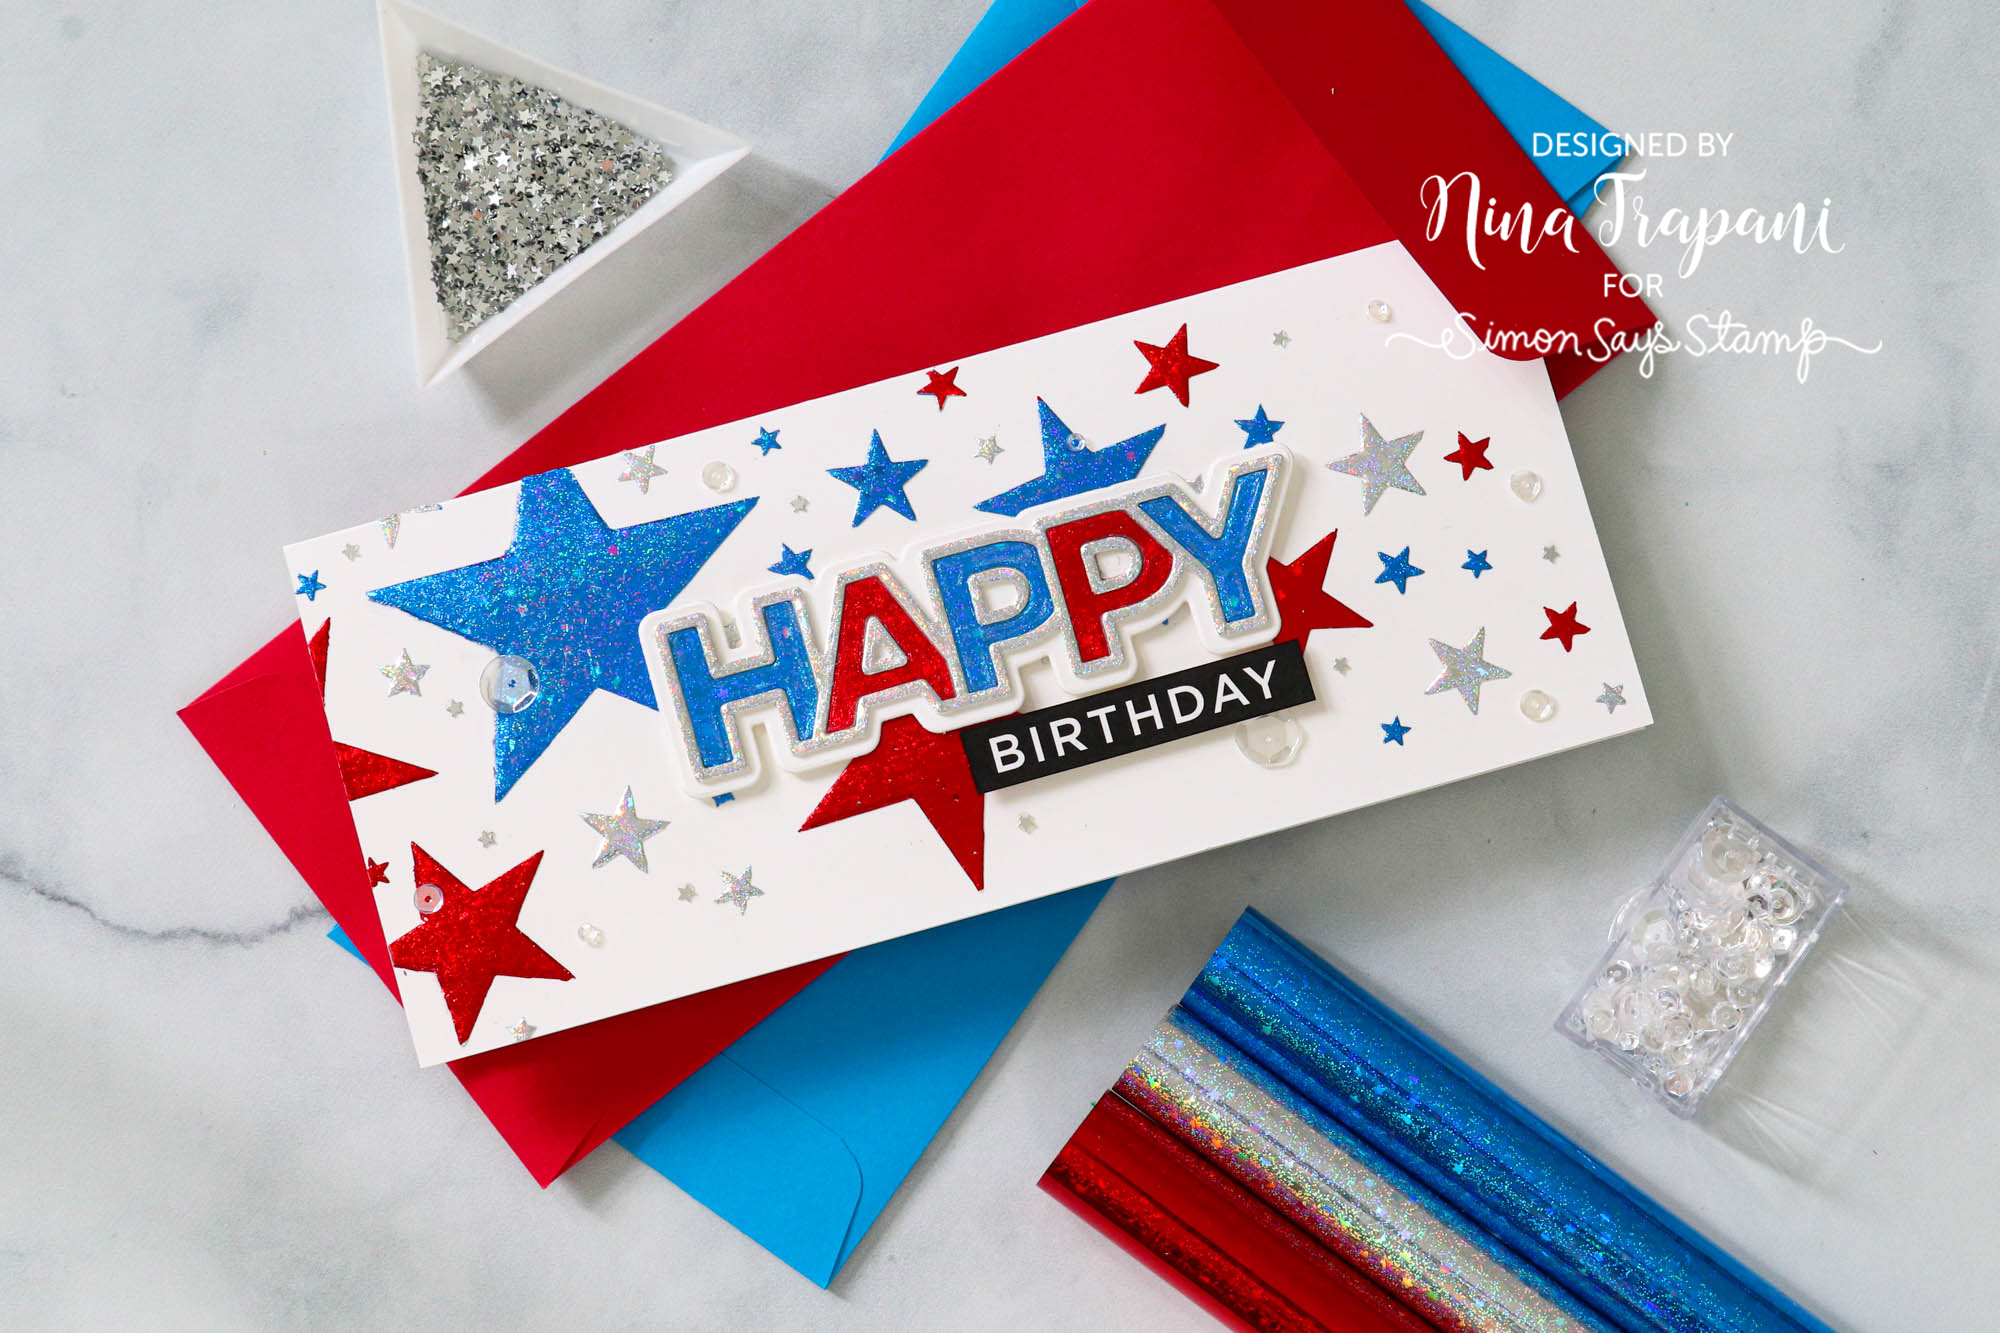
Once the paste dried, I used one of my favorite foiling techniques – multi-colored foiling – to create this “star-spangled banner” effect across the card. The foils I used were from Gina K. Designs.
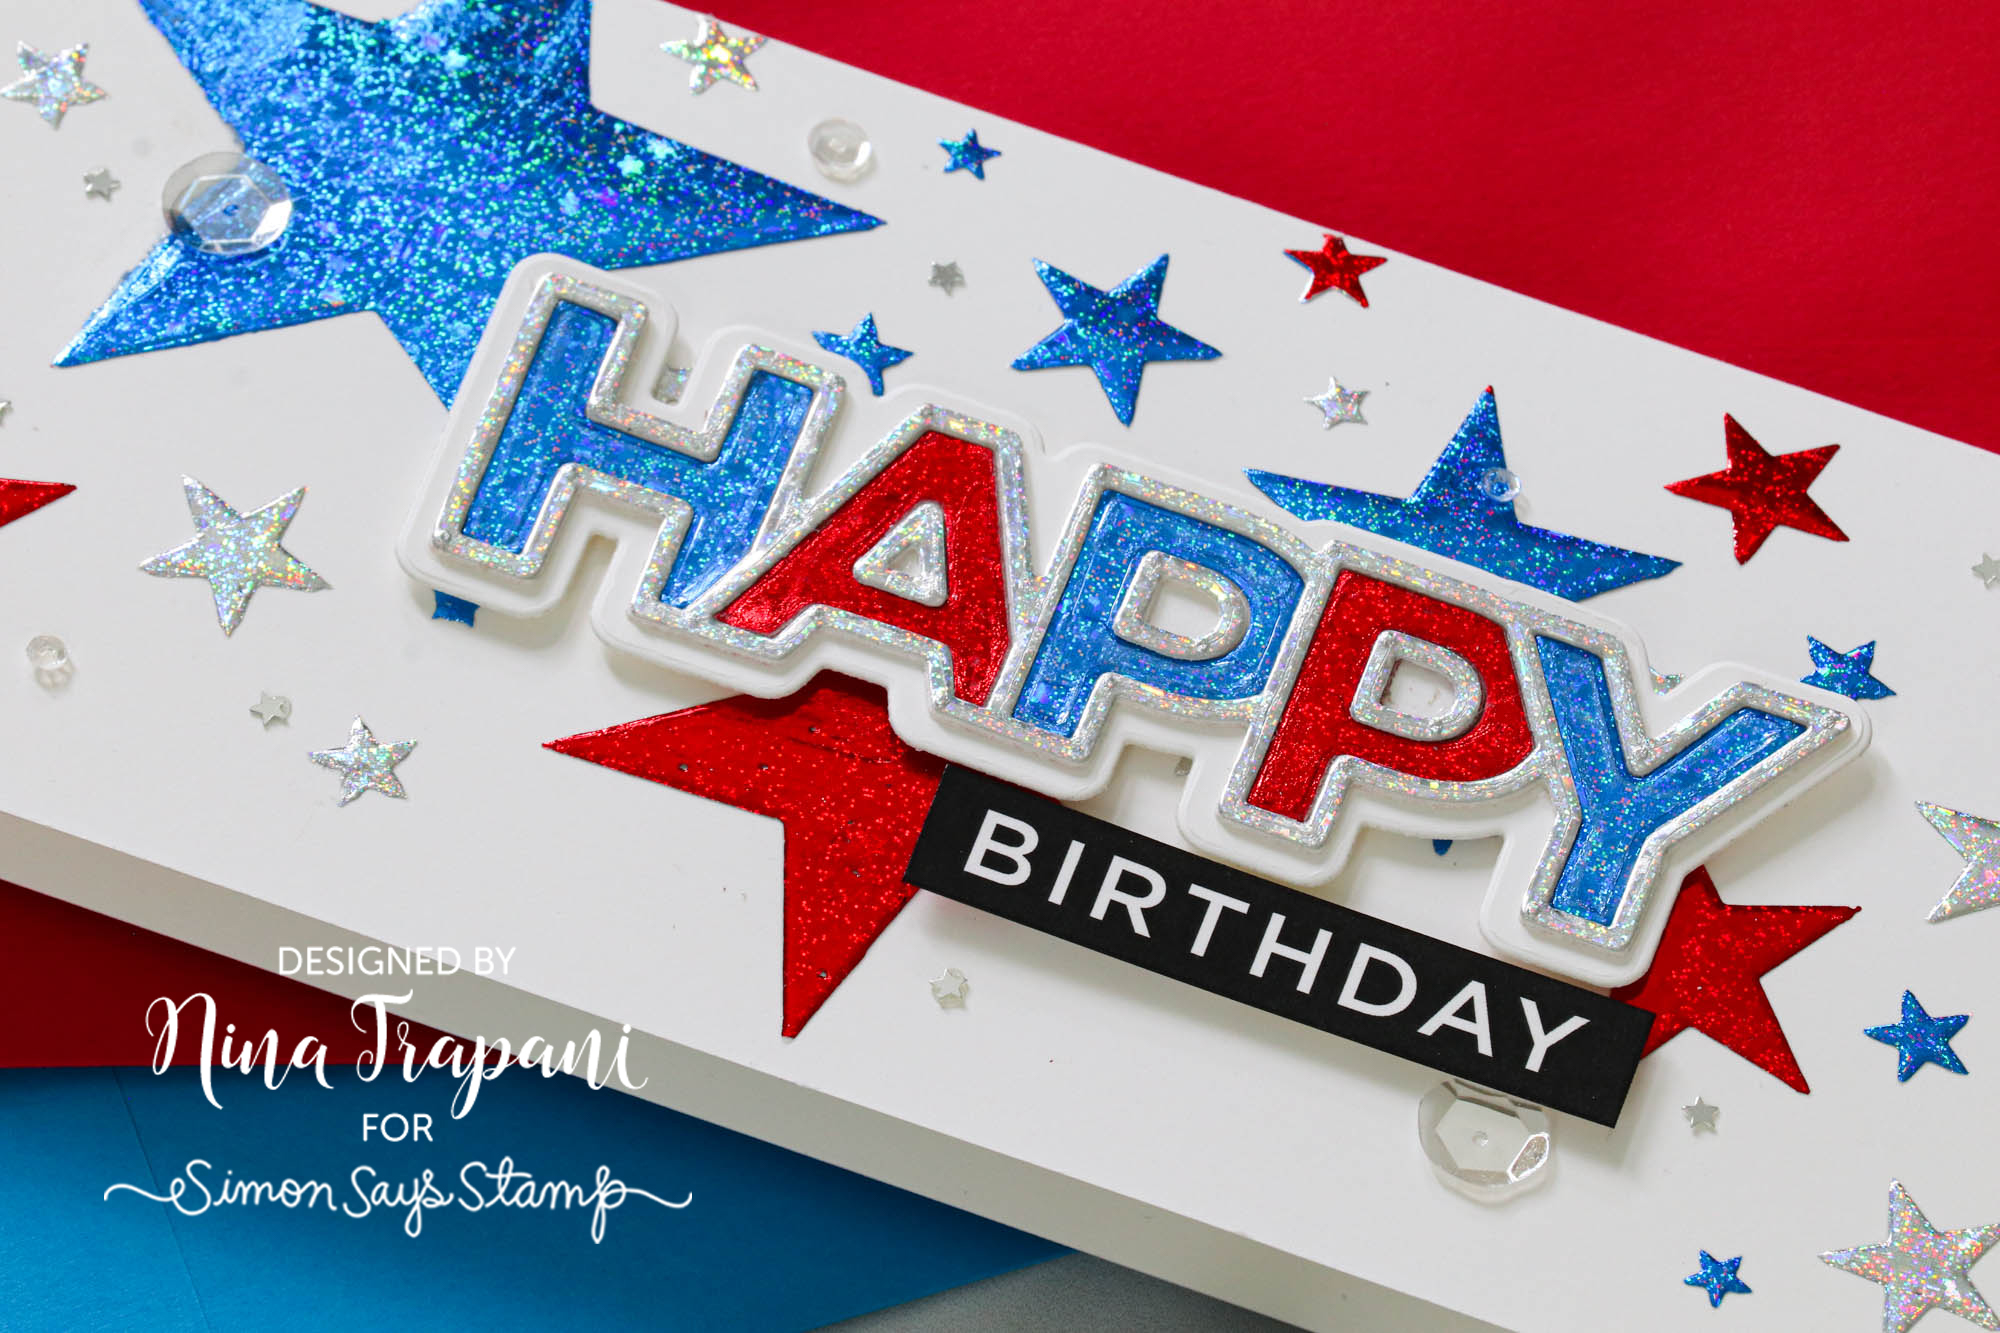
The card is finished up with a happy birthday greeting that I made with our Simon Chunky Happy die and some birthday sentiment strips. A few sequins and star confetti pieces added just a touch more sparkle to complete this festive card!
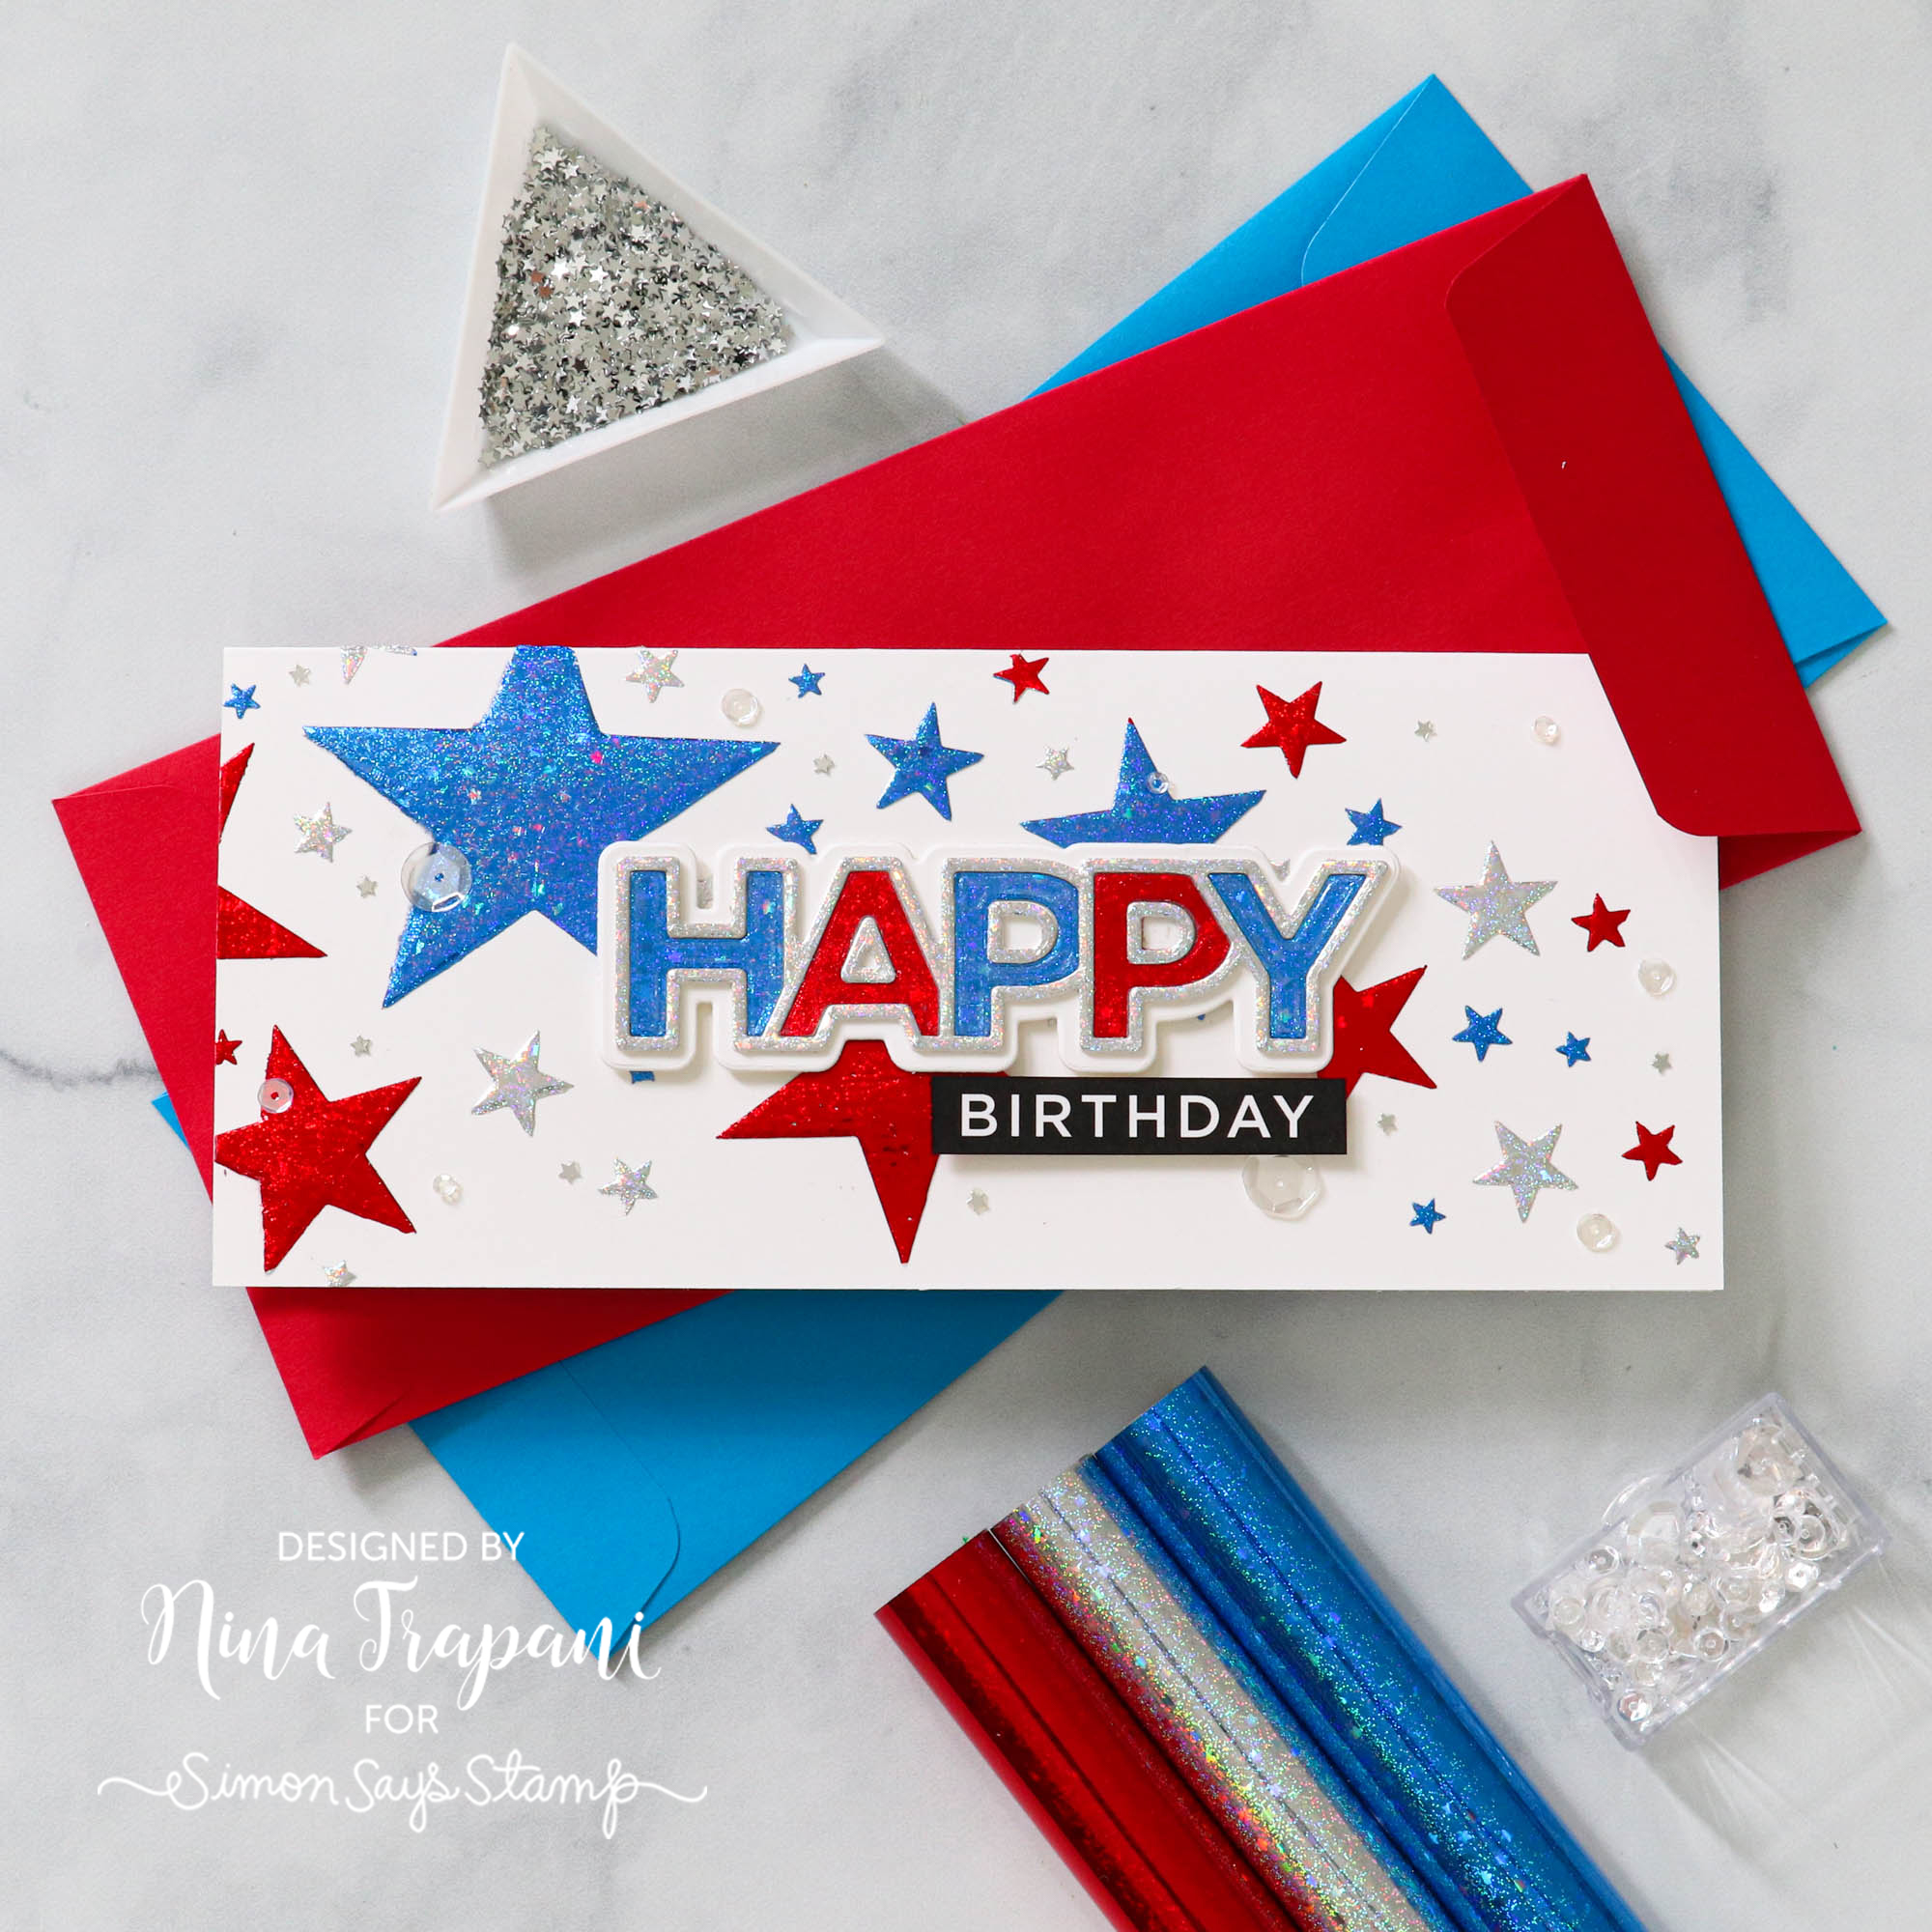
Multi-color foil is such a fun technique that adds a create “wow” factor to your project. Be sure to watch the video to see how I did it!
WATCH THE VIDEO
SUPPLIES
|


Freedom Wall Hanger
Hi friends! Happy Saturday and if you’re stateside, Happy Independence Day! Please join me in welcoming back special guest Anna-Karin Evaldsson in a special patriotic mixed media project! Read on to learn all the details, and enjoy!

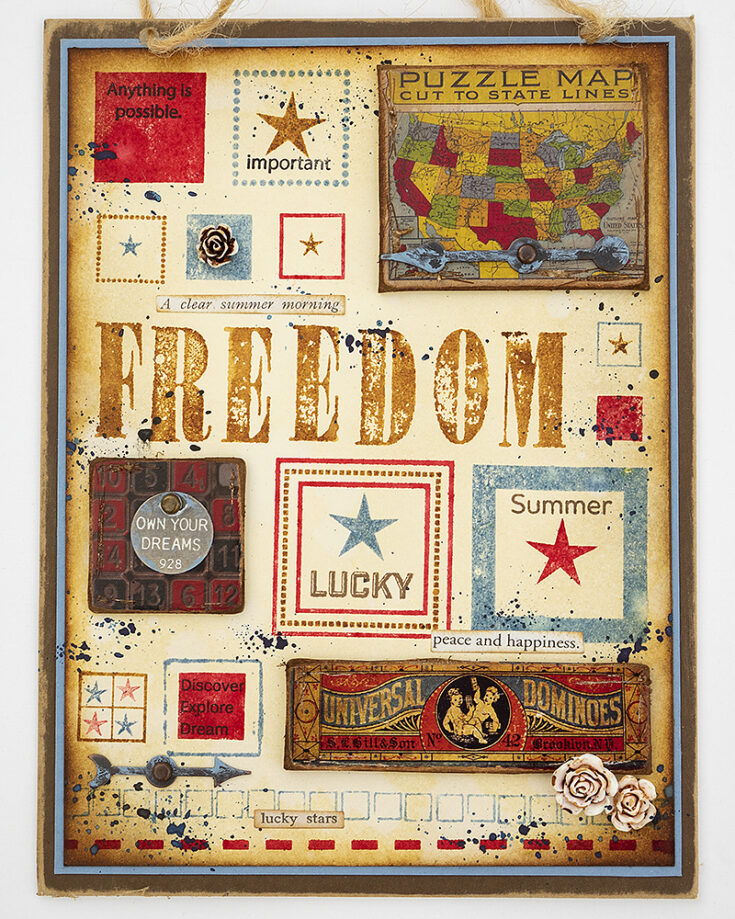
Hi everyone! I am so happy to be here on the blog today to share a red and blue tutorial with a vintage feel to it, using stamps, words and various embellishments. I made a wall-hanger, but the techniques and design are great for cardmaking or art journaling too.
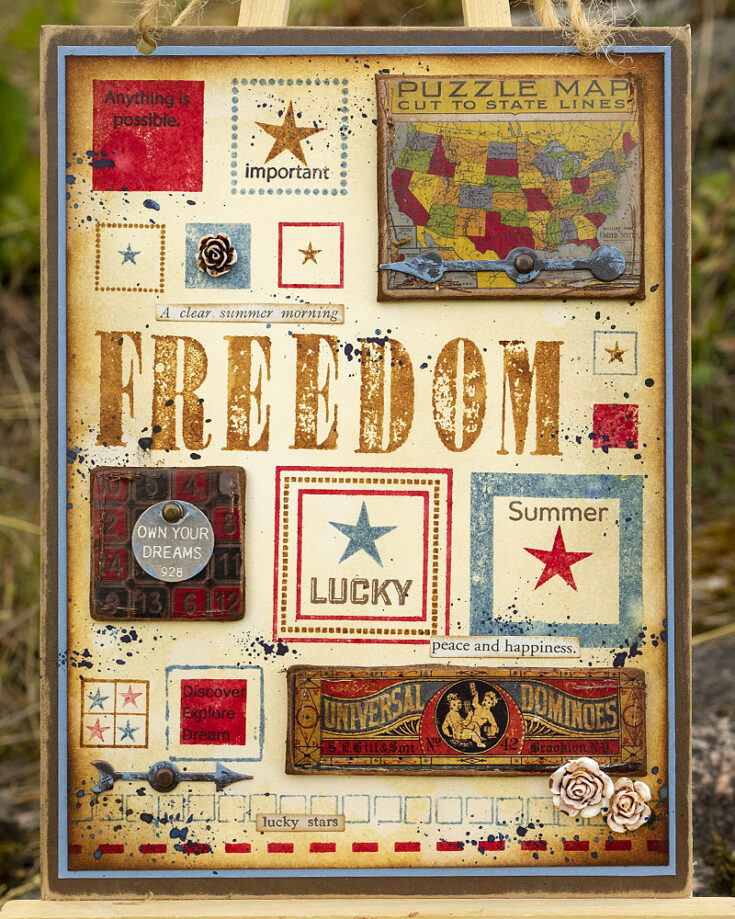
The base of this project is a background design with blocks and squares in various sizes, combined with fun embellishments and lots of words. I always liked a blocked design and how stamped squares can form a “home” for sentiments and embellishments. The squares in the background were stamped with Simon Says Stamp Mix and Match Squares Stamp set, which is perfect for this type of design since the squares can be layered and stamped inside each other for a great effect.
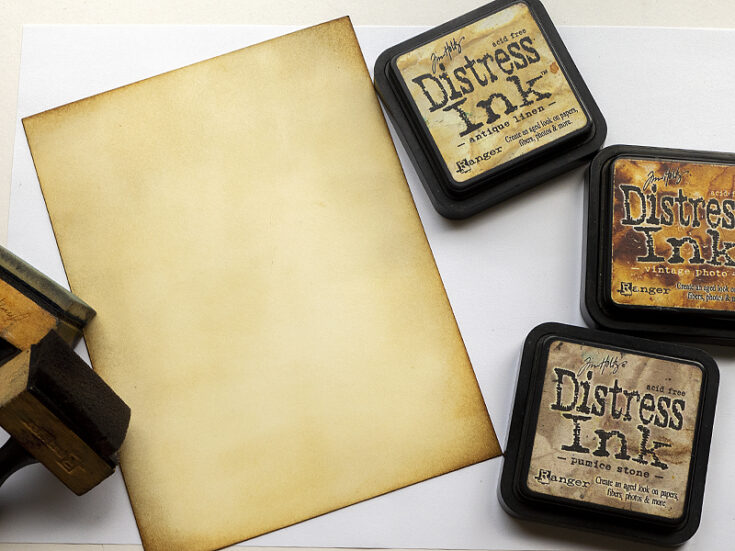
Cut a piece of Ranger Mixed Media Heavystock paper to 5.5 x 7.5 in. Ink with Antique Linen, Pumice Stone and Vintage Photo Distress Ink.

Mist lightly with water and splatter some water on the background too. This gives a soft mottled effect.
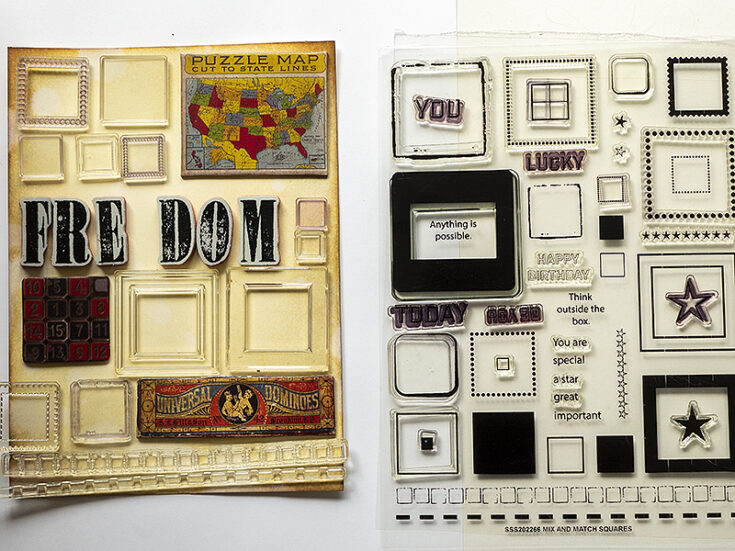
I moved stamps and Tim Holtz Junk Drawer Baseboard pieces around on the background until I was happy with the design. I also placed out the title stamps to make sure that they would fit. When I was happy with the design, I took a photo of it, so that I would remember when doing the stamping.
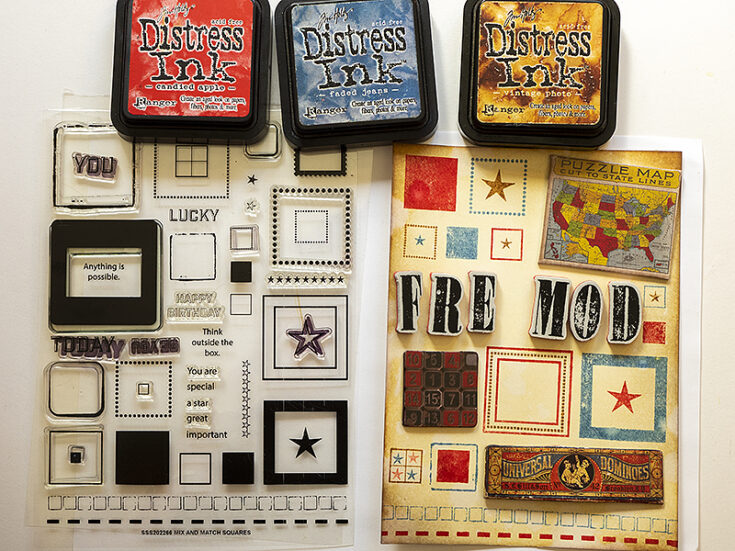
I stamped the squares with Faded Jeans, Candied Apple and Vintage Photo Distress Ink, misting lightly with water before stamping.
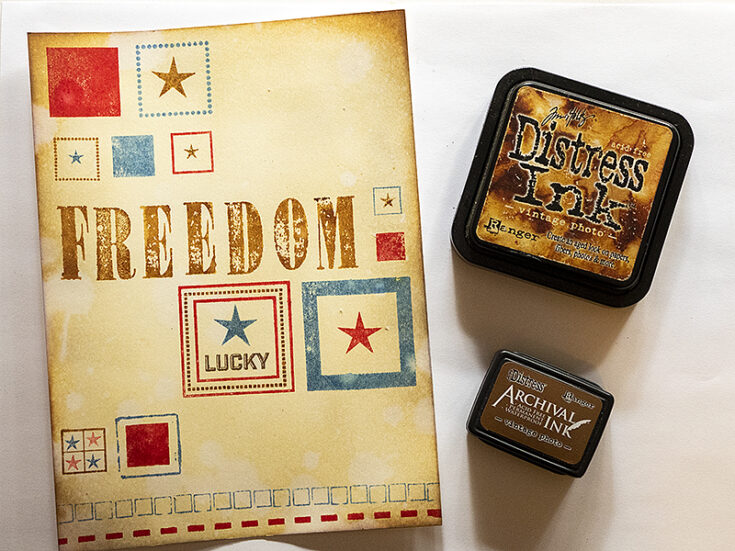
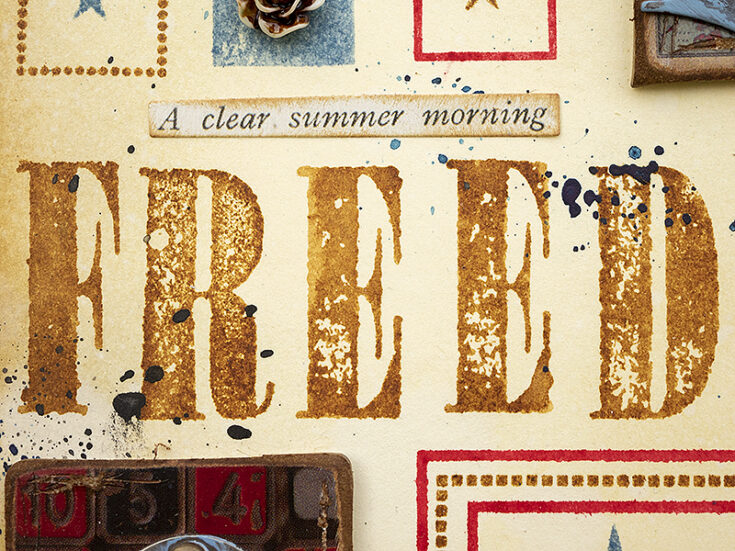
The main sentiment was stamped with Vintage Photo Distress Ink, while the smaller sentiments were stamped with Vintage Photo Archival Ink. That gives a nice distressed look to the main title, while the small words are still readable. Later I added some sentiments stamps with black ink too.
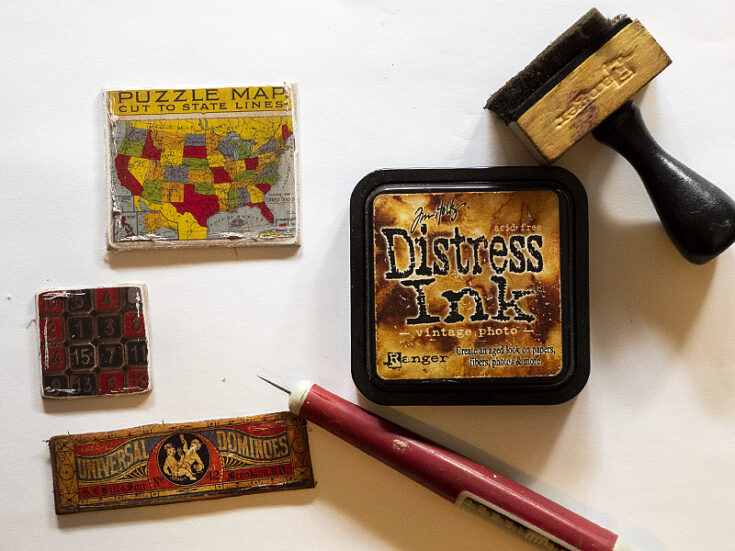
Sand and scratch the edges of the baseboard pieces and then ink with brown ink.
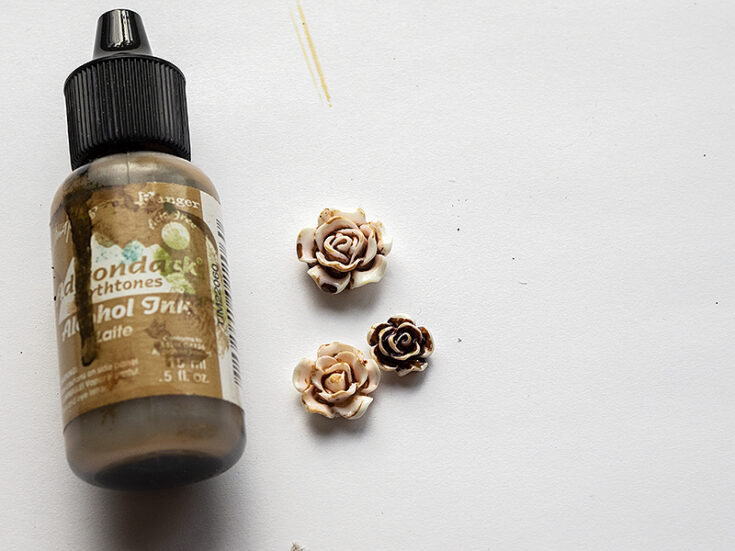
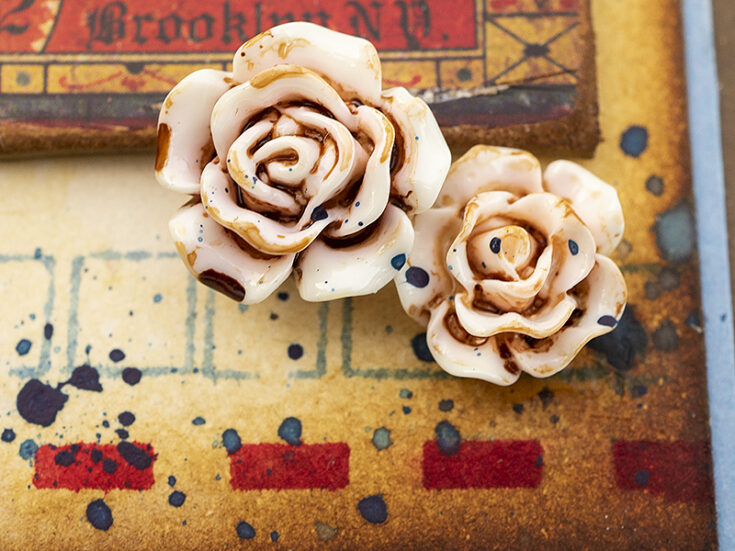
Drip Latte Alcohol Ink on three Heirloom Roses.
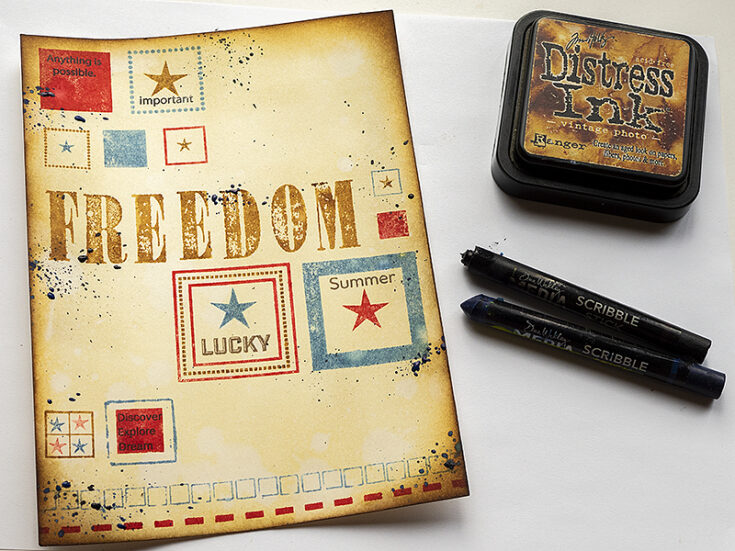
Finally, I inked the edges darker and made splatters with a Black and Night Scribble Stick. Dip the stick in water and flick a paint brush against it. I liked the dark blue Night shade the best, so you might want to skip the black splatters. This is a great, fairly mess-free way of adding splatters.
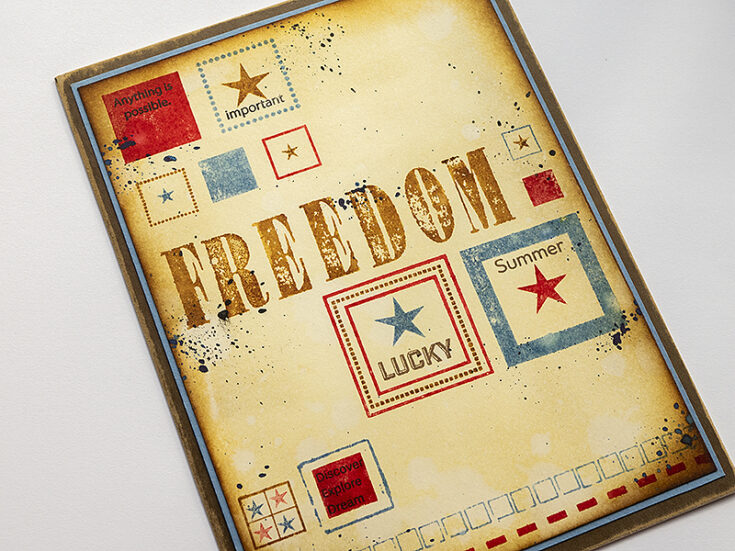
I used Sizzix Little Sizzles Mat Board as my base since it is very sturdy. A Tim Holtz Neutral Kraft-Stock was glued on top, with the edges being sanded. The main panel was matted on Simon Says Stamp Cornflower Blue cardstock.
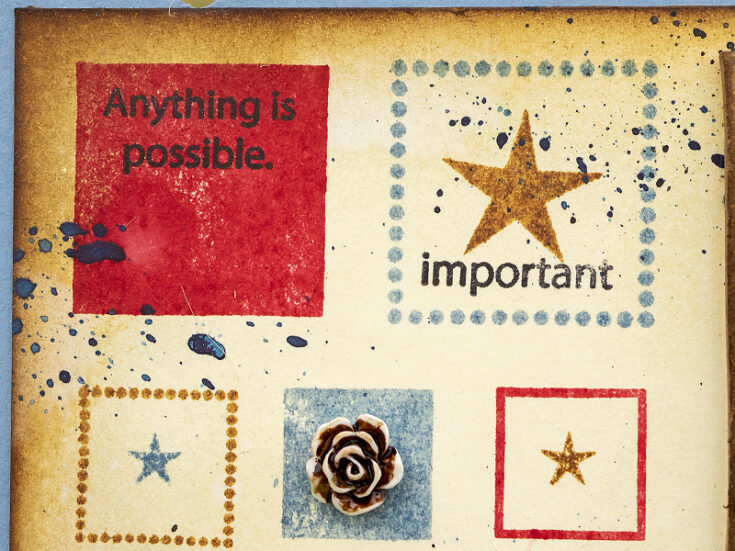
Stamped squares can be “homes” for small embellishments, sentiments and stamps, making them stand out even though they are small.
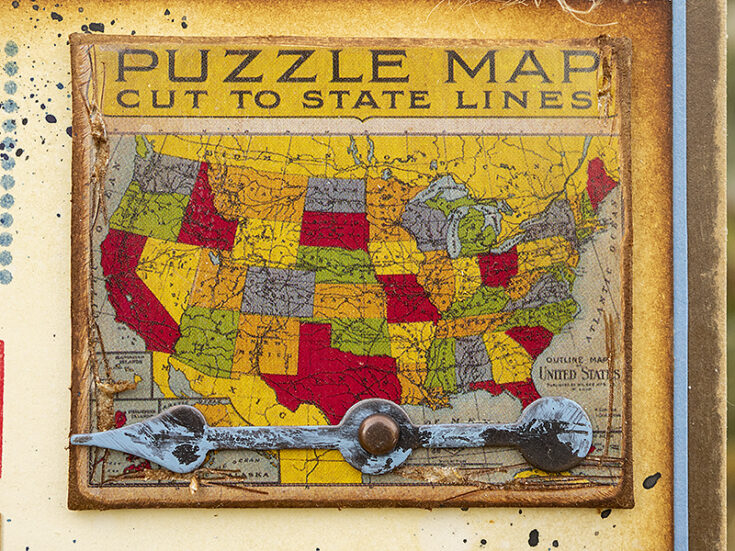
The Game Spinners were distressed with a little Faded Jeans Distress Paint.
I love the distressed look of these Worn Letters. The additional sentiments come from Tim Holtz Clippings Sticker Book.
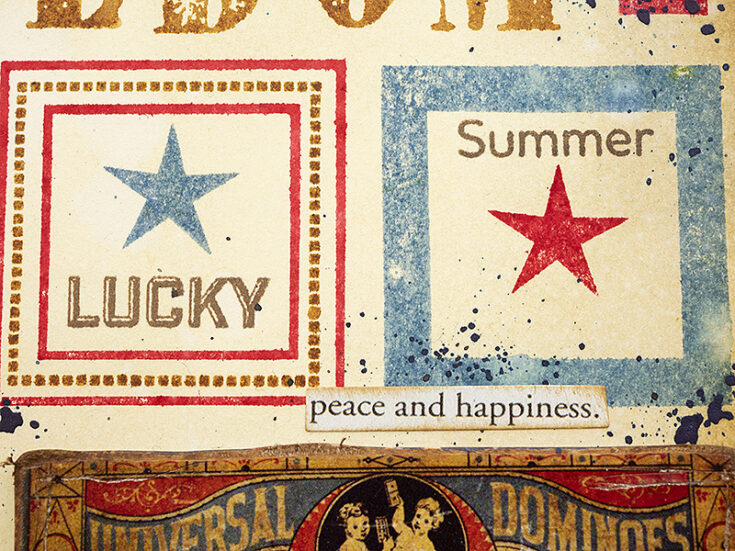
The Mix and Match Squares can be layered and combined in different ways, such as the brown square being stamped inside the frame of the larger red square to the left here.

Discover, Explore, Dream comes from the Simon Says Stamp All Seasons Tree set.
I splattered a little extra with the Night Scribble Stick after gluing everything down.
I hope this tutorial inspired you to do some summertime vintage projects. You can easily change the theme of the panel by using a different title and different colors. Thank you so much for looking! Happy crafting!– Anna-Karin
SUPPLIES:
|


Thanks so much for stopping by, and thanks to Anna-Karin for being our guest!


