Doodling with Debby: Watercolored Ice Cream Sundae
Hi friends! Happy Saturday! Please join me in welcoming special guest Debby Hughes for her monthly installment of Doodling with Debby. You’ll want to learn all the details on how she made this gorgeous tempting treat! Enjoy!
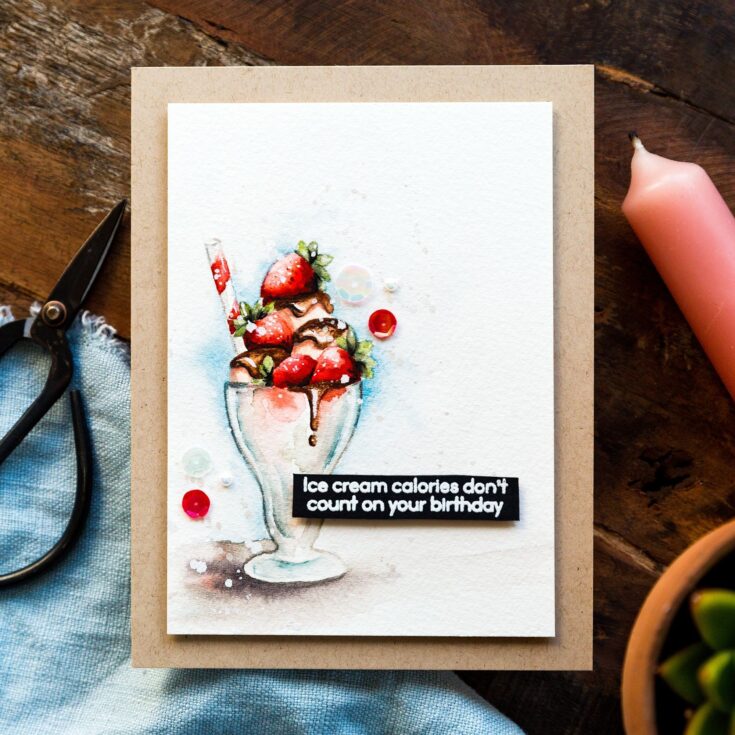
Hello, it’s Debby here. My love of watercoloring is still going strong and so when I see new supplies, I’m always looking for a good image to paint and the Sundae Afternoons set has some great images just perfect for a spot of coloring. Today, in my video, I talk about powering through that ugly phase in a painting which is so common when watercoloring and is a point that a lot of people give up and yet by pushing through and working things out then the end result is something to be happy about.
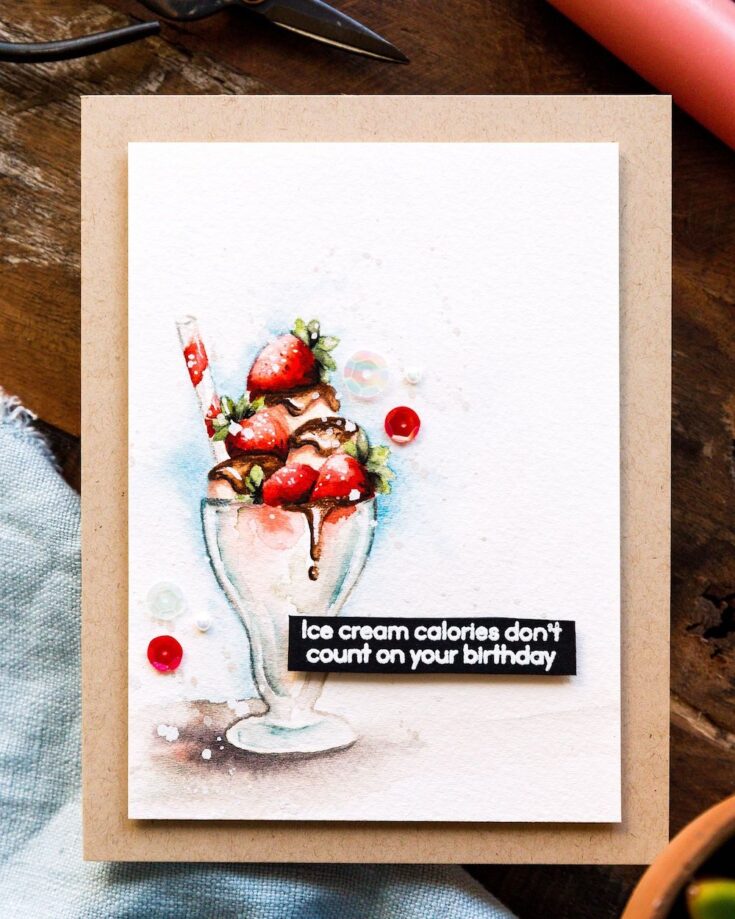
STEP BY STEP HOW TO
- Stamp an ice cream image from the Simon Says Stamp Sundae Afternoons set using Gina K Whisper Amalgam Ink on Fabriano Artistico Cold-Pressed watercolor card.
- Watercolor – I used Daniel Smith paints
- Stamp a greeting from the Sundae Afternoons set in clear embossing ink on Black card treated with anti-static powder, sprinkle with white embossing powder and heat emboss.
- Trim the sentiment with a clear, metal-edged ruler on a cutting mat with a craft knife.
- Trim the watercolored panel to fit on an A2 card base cut and scored from Neenah Desert Storm card in the sturdy 100lb weight.
- Add foam adhesive to the back of the panel and adhere to the card base. Use a T-square ruler to aid with placing the sentiment strip on straight, again, using foam adhesive.
- Accent with sequins and eggshell pearls held in place with Gina K Connect glue.
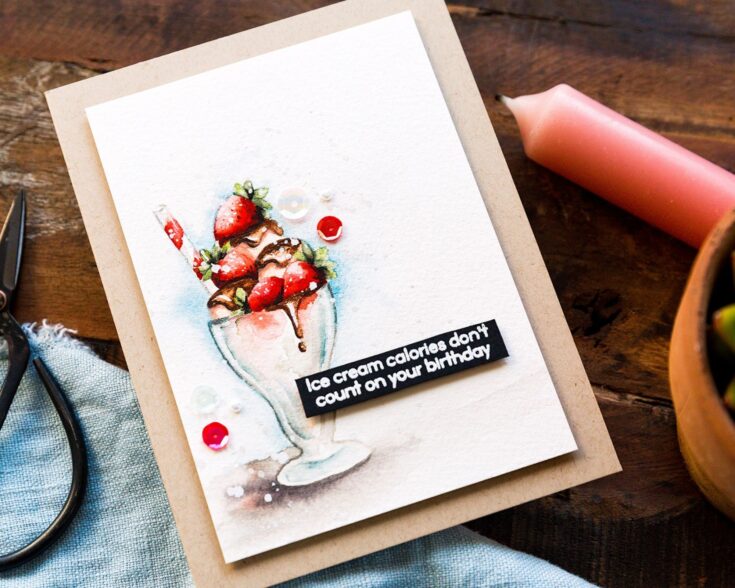
Often, I get to a phase in a painting where I am not happy, commonly referred to as the ugly phase, and I want to put my brushes down and start again. However, from experience, I know that you need to push through this phase.
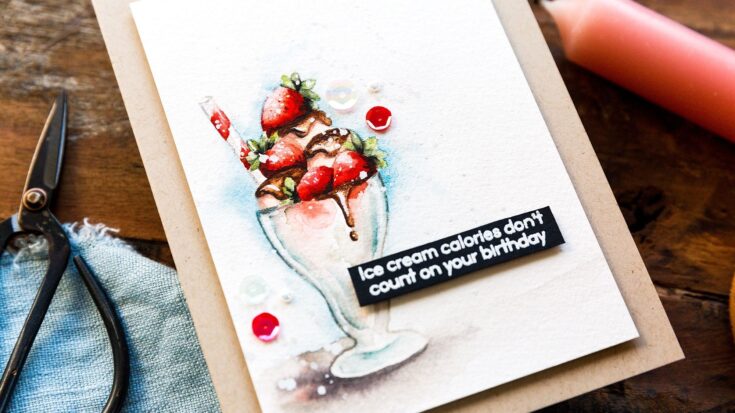
I added a wash of color to ground the image, I went in with more layers to add depth and shadow while maintaining highlights to give that impression of juiciness and shine, I worked on the glass more until finally, things started to come together. Basically, I kept going until I was happy with the end result.
Well, that’s me for this month. I hope you enjoyed this tutorial; you’ll find the video below. Thanks for joining me and I hope to see you next time for Doodling With Debby.
WATCH THE VIDEO:
SUPPLIES:
|
Thanks so much for stopping by, and thanks to Debby for being our guest!




This watercolor image caught my eye right away this morning as I was enjoying “quiet time” with a cup of coffee. Watercoloring is my favorite type of art. I am a beginner and aspire to works like this one. I’ll try to keep pushing through the ugly phase!
The card, your comments, the video and finally the sentiment are all wonderful! Thanks!
I finally learned that there might be an “ugly phase” when watercoloring and you’re right to say continue on. It might not always work out but I find I throw away fewer pieces now! Lol! Thanks for all your tips and inspiration and this card looks beautiful.
Debbie, this looks good enough to EAT! ;)<3
How awesome–makes me want a sundae! Great inspiration as usual Debby!
So pretty!!! Thanks for sharing.
I LOVE how this turned out!!! Thanks for the tip to keep going until it looks how you want it to!! I often rage quit and then come back! lol
I’m drooling here in hot So. Florida – this looks so real and so delicious.
Gorgeous card! Good enough to eat!
This is a great painting. It looks good enough to eat. Thanks for your encouraging words in not giving up. I did a water coloring piece and it looked awful, however, when it dried it actually look acceptable to me. So, you’re right in not giving up. Thank you for your interesting segments.
Beautiful watercolour as always. I’m stuck in the ugly phase, can’t wait to see if I ever make the good stage. Your sunday is good enough to eat x