Lovely Layered Chickadee
Hi friends! Happy Wednesday! Please join me in welcoming special guest Mindy Eggen to our blog! Be sure to read on for all the details and enjoy!
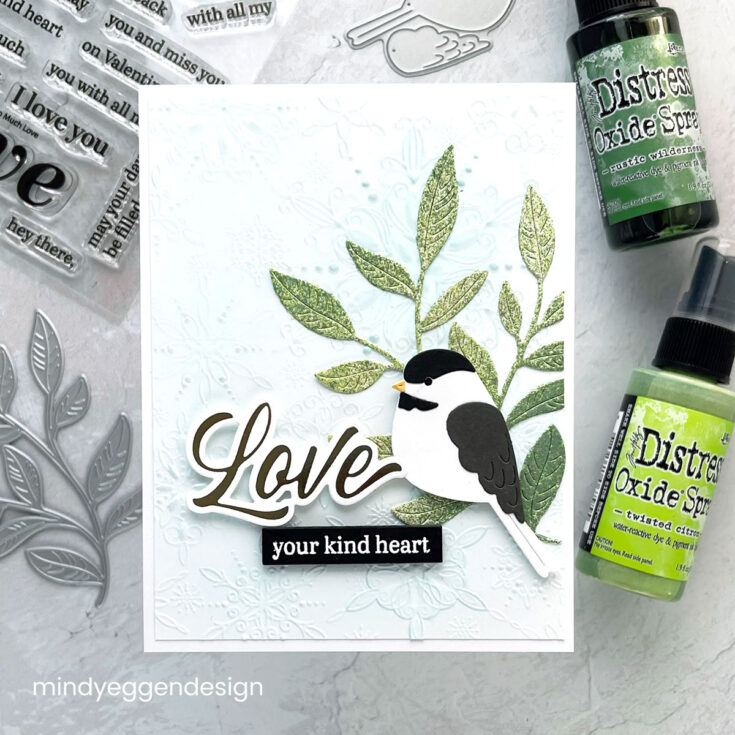
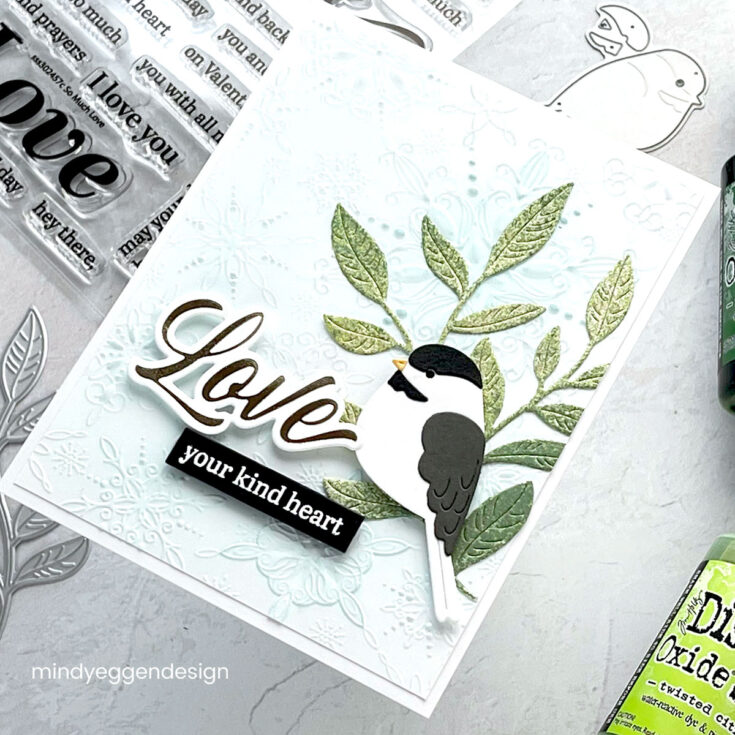
Welcome friends and Happy New Year! I’m so excited to be joining you on the Simon Says Stamp blog today. My card features this adorable Layered Chickadee die which is great for any occasion. I honestly was never a bird person up until the last few years. Now, I have a couple bird feeders right outside my window where I craft.
One thing that I really like about these small layered critters is I can use my scraps of cardstock. Some of the colors I used are Black, White and Storm Cloud cardstock to layer my chickadee. I see these birds all the time at my feeders.
I also thought my chickadee would pair nicely with one of my favorites dies which is the Privet Branch. Using my splat box, I lightly sprayed my die cut piece using Twisted Citron and Rustic Wilderness Distress Oxide Spray. I also added shimmer with the Tarnished Brass Distress Mica Spray.
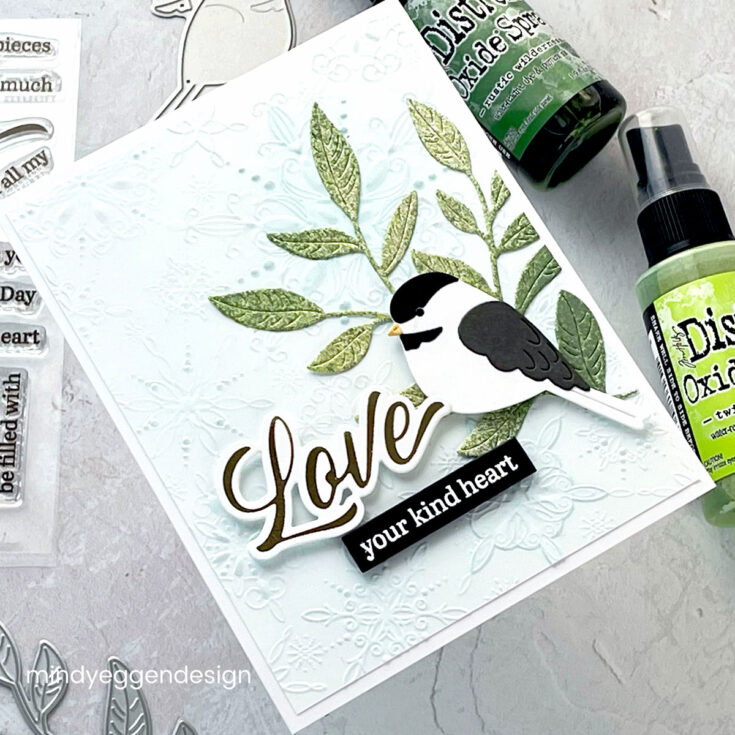
For my background, I used the Filigree Snowflake Embossing Folder to add a bit of interest. I didn’t want the background to over power the image so I just lightly added some blue ink over the embossed design using an Altenew Blending Tool. I didn’t even ink up the brush, I just used whatever ink was left from a previous use.
I have a few hot foiled sentiments stashed in my drawer all ready to go from the Pinkfresh Studio Brushed Sentiments Hot Foil Plate. I paired the brushed sentiment with a smaller sentiment from the So Much Love stamp set. I stamped it in White Pigment Ink, heat embossed with White embossing powder and die cut with the Sentiment Labels die. I love how the black of the sentiment ties in with the Black on the chickadee.
I hope you enjoyed today’s inspiration. I truly enjoyed creating this card and might need to create a chickadee in some rainbow colors just for fun.
Thanks so much for spending time with me today and thank you to Simon Says Stamp for inviting me to their blog. Best wishes in the New Year!
SUPPLIES:
|


Thanks so much for stopping by, and thanks to Mindy for being our guest!
Inspired by Pantone’s Color of the Year Very Peri!
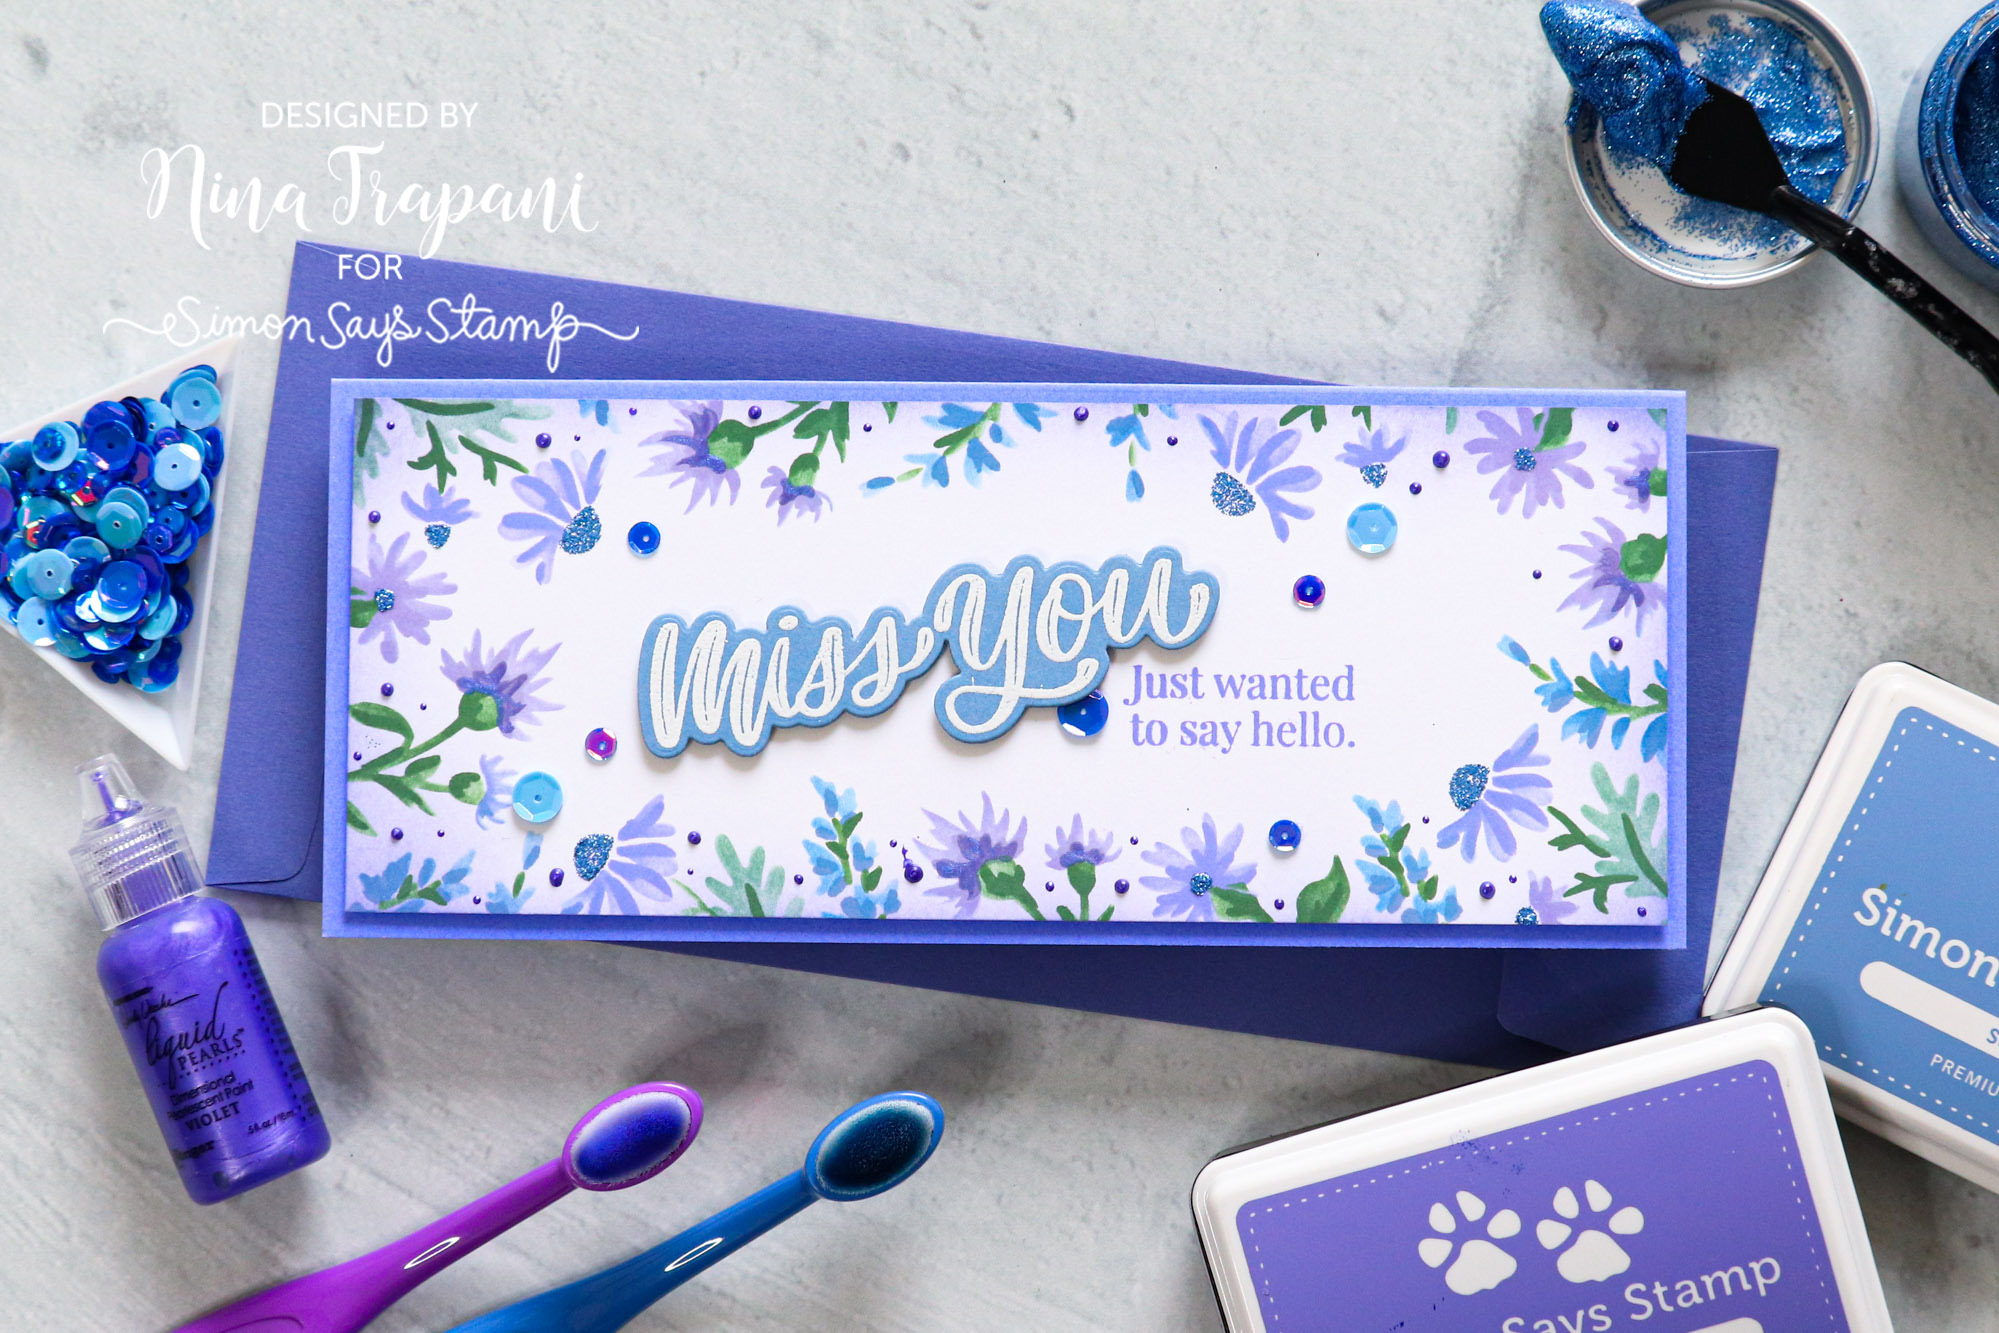
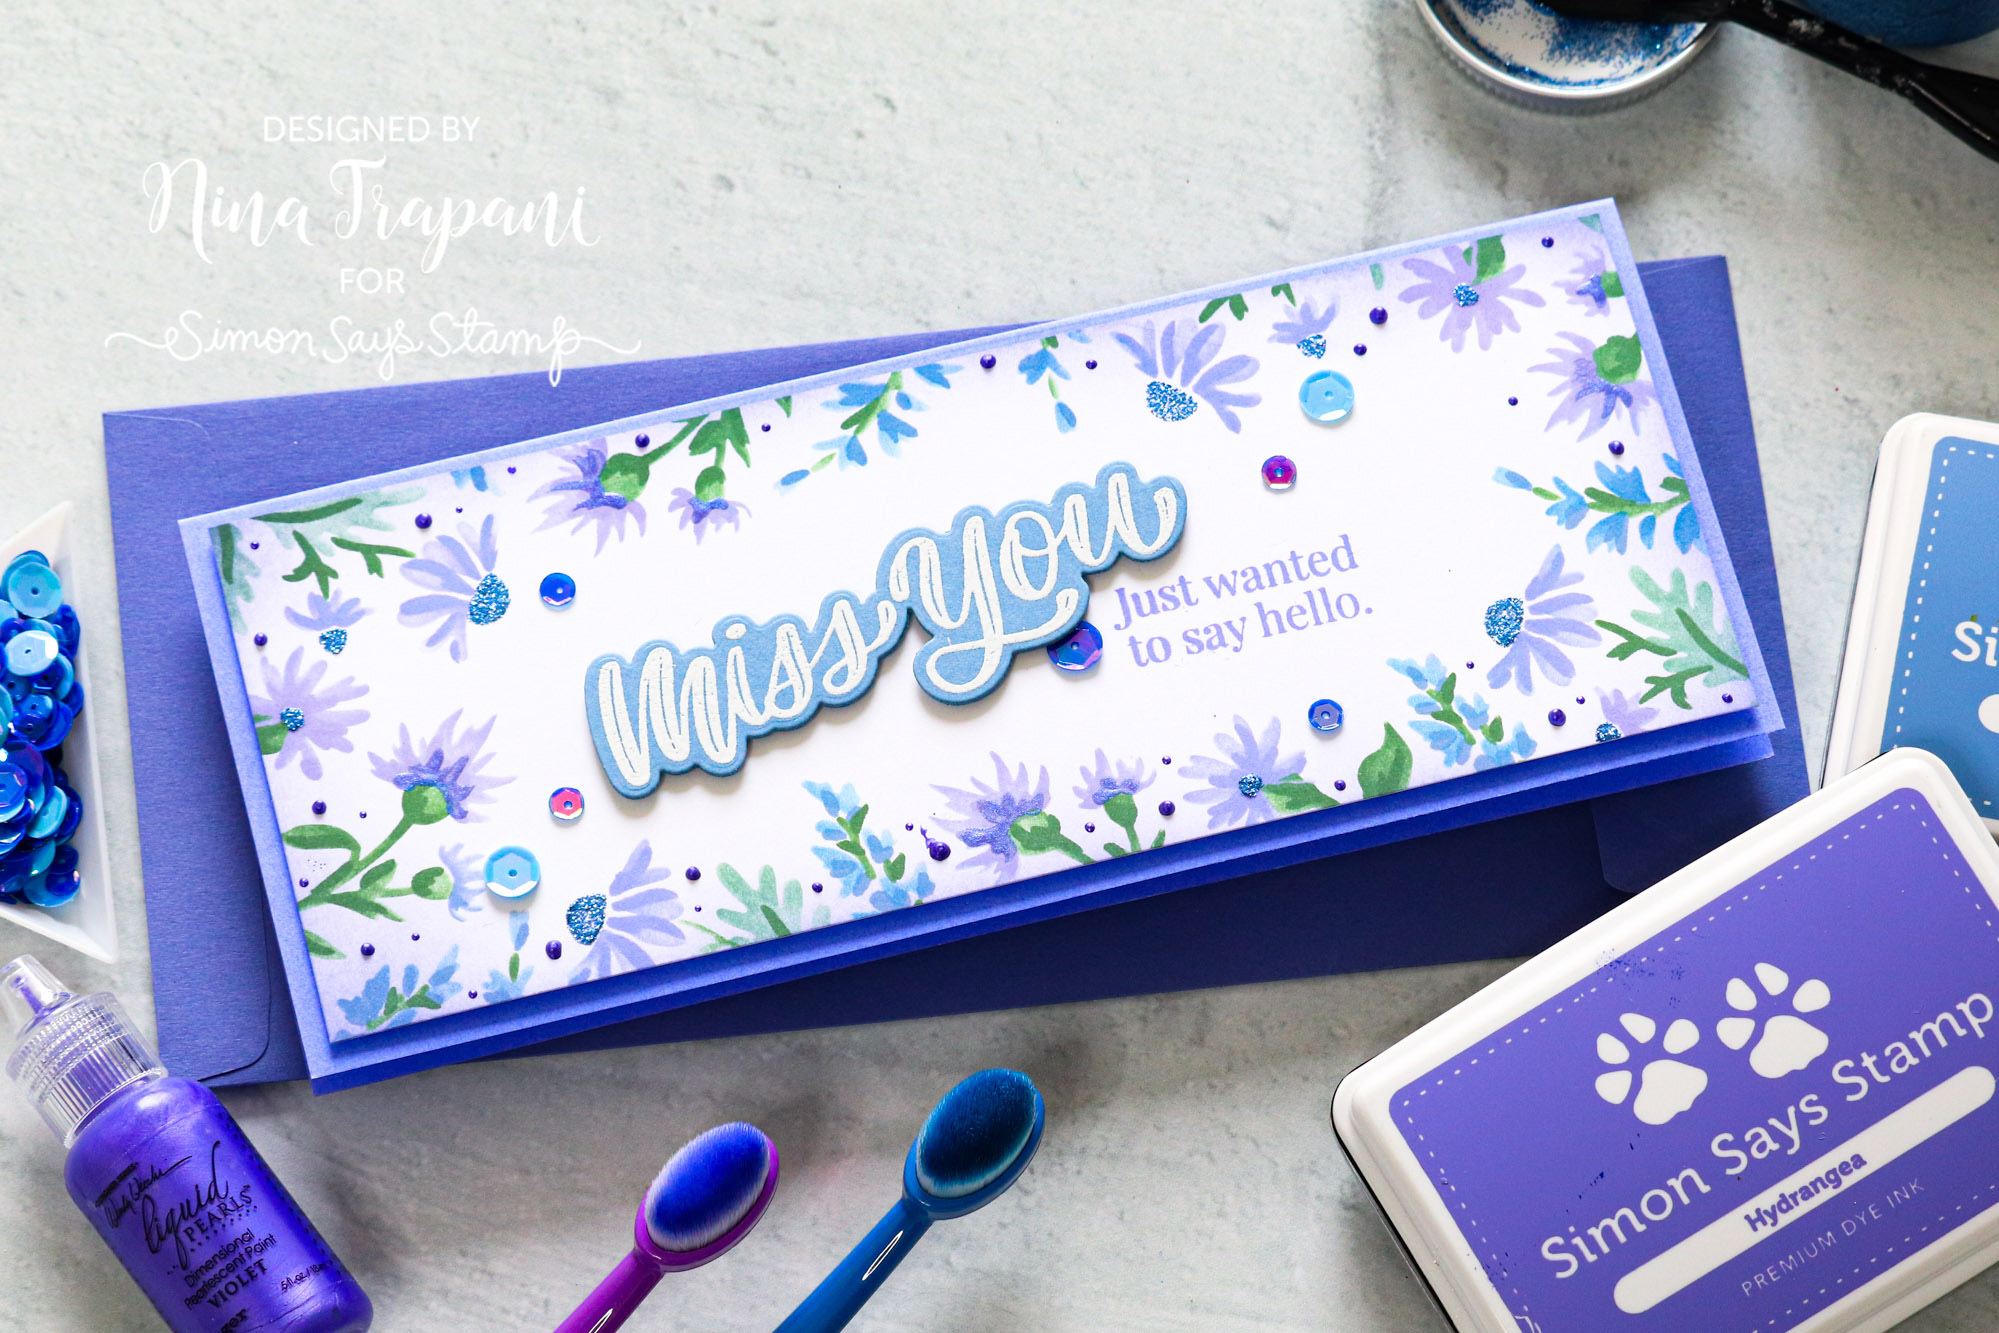
Hello creative friends, it’s Nina-Marie Trapani here with you! Pantone has announced its 2022 Color of the Year, which is Veri Peri! So obviously, periwinkle is the inspiration behind today’s project. I wanted to really highlight the uniqueness of this color; its mystical dance between blue and purple. I’ve used both hues to create this floral slimline card.
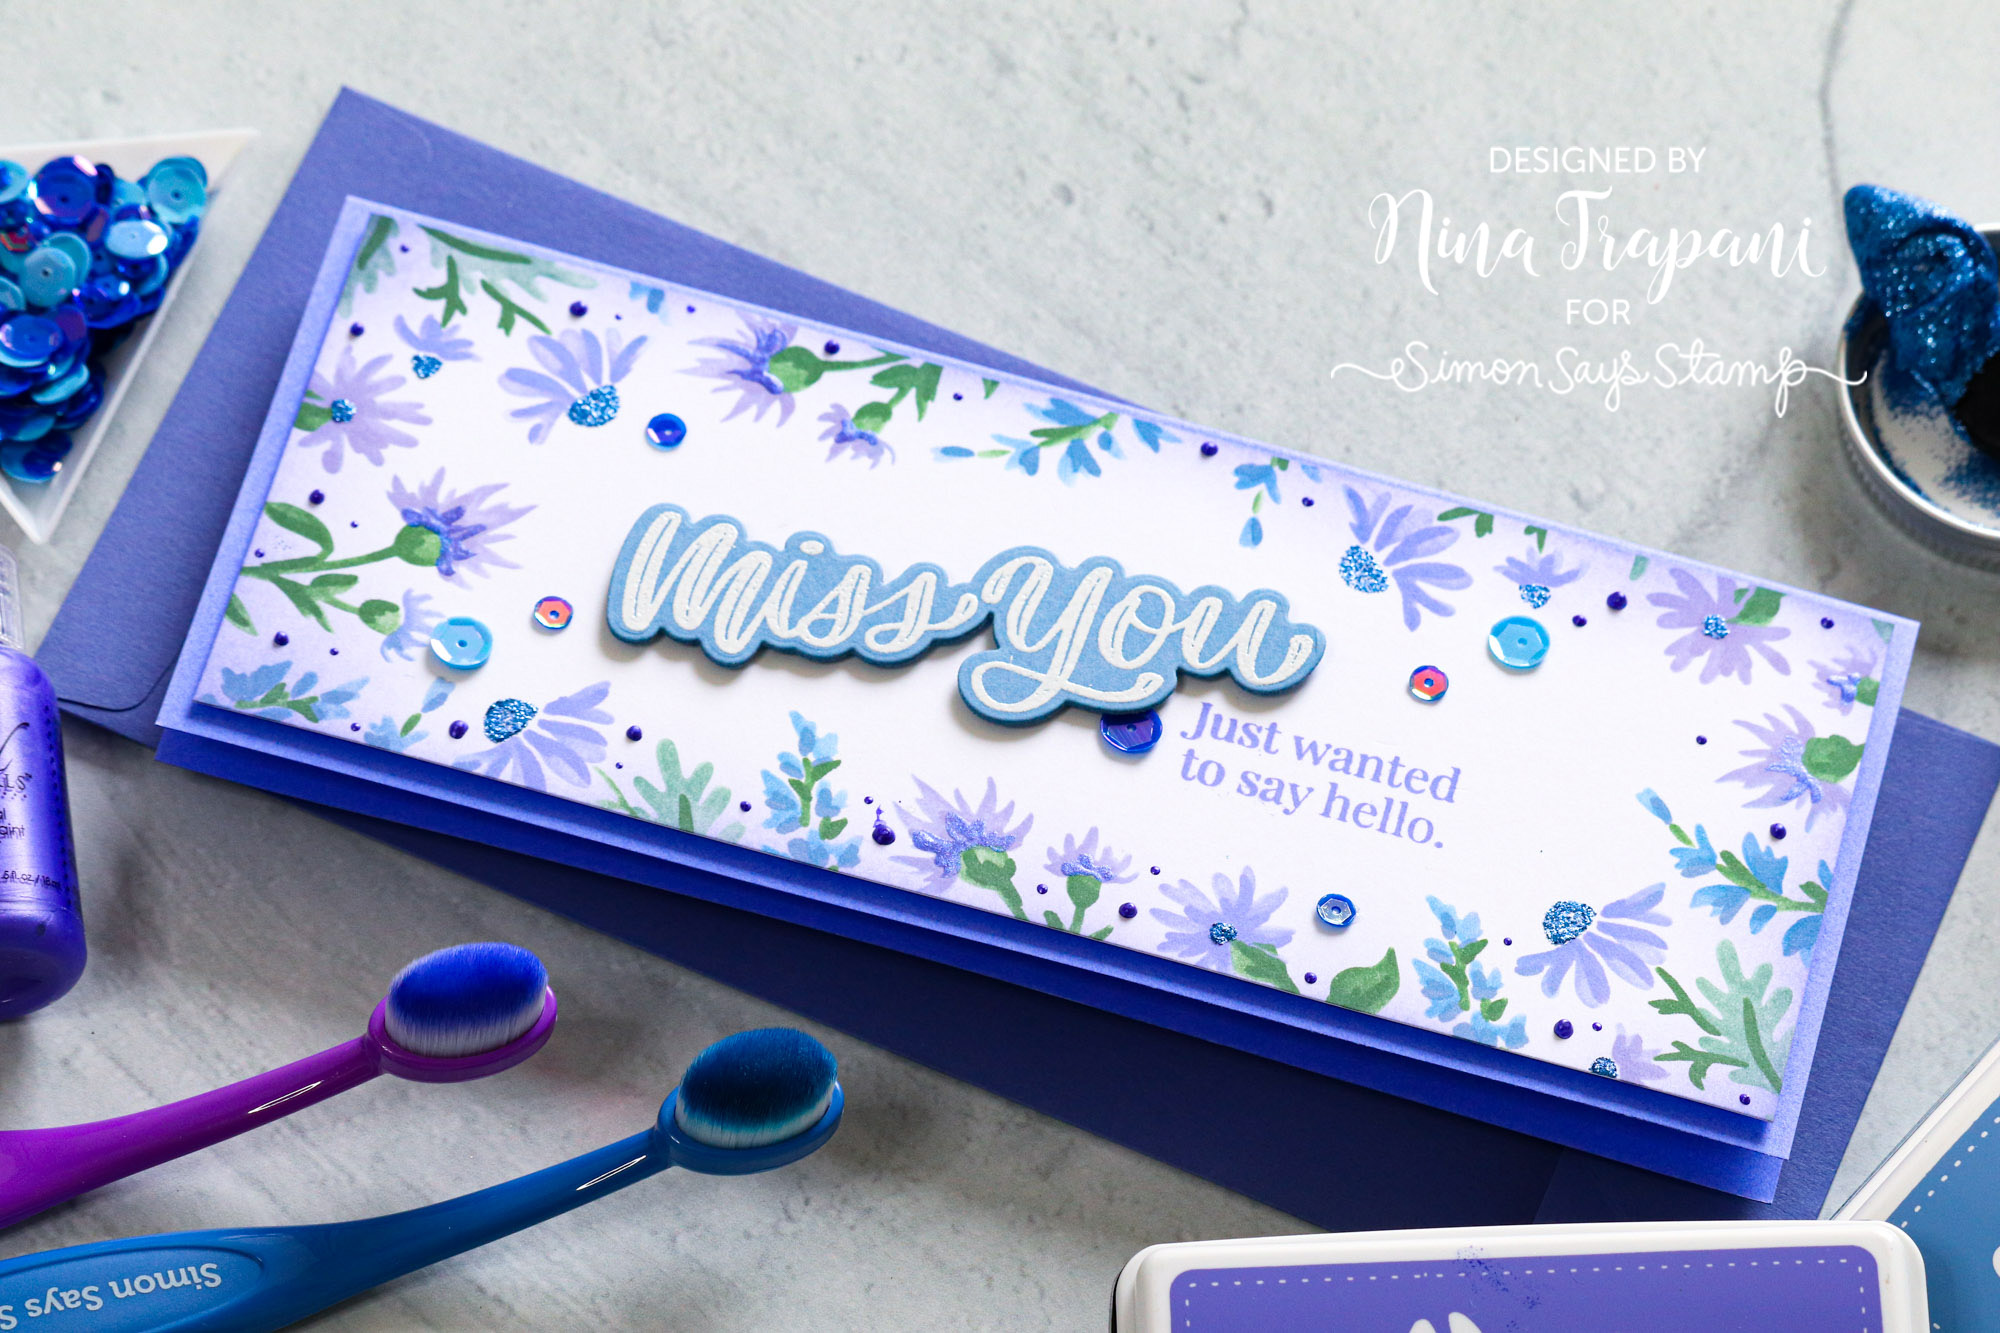
On this card, I used the PinkFresh Studio Daisy Frame stencil set to create a multi-layered design with different shades of ink. For the periwinkle colors, I utilized Simon’s Wisteria, Hydrangea, and Steel Blue inks. I added extra details and embellishments to the stenciling with Brutus Monroe Periwinkle Glitter Glaze and Cosmic Shimmer Reigning Purple Pearl Tints.
There are a pair of greetings stamped in the middle of the card, which are from Simon’s So Talkative and XL Greetings stamp sets. The sequins scattered around the card are from the Night Sky mix.
Want to see more on how I created this card? Be sure to watch the video for all the details!
WATCH THE VIDEO
SUPPLIES
|


Studio Monday with Nina-Marie: Organizing for the New Year!
Hello crafty friends, it’s Nina-Marie Trapani here with you! With the start of a new year, one of my favorite things to do is to freshen up my home (especially my creative space) with a bit of organizing. In this video, I will be sharing five different storage products from Simon and how I use them in my craft room to help keep my space tidy and organized.
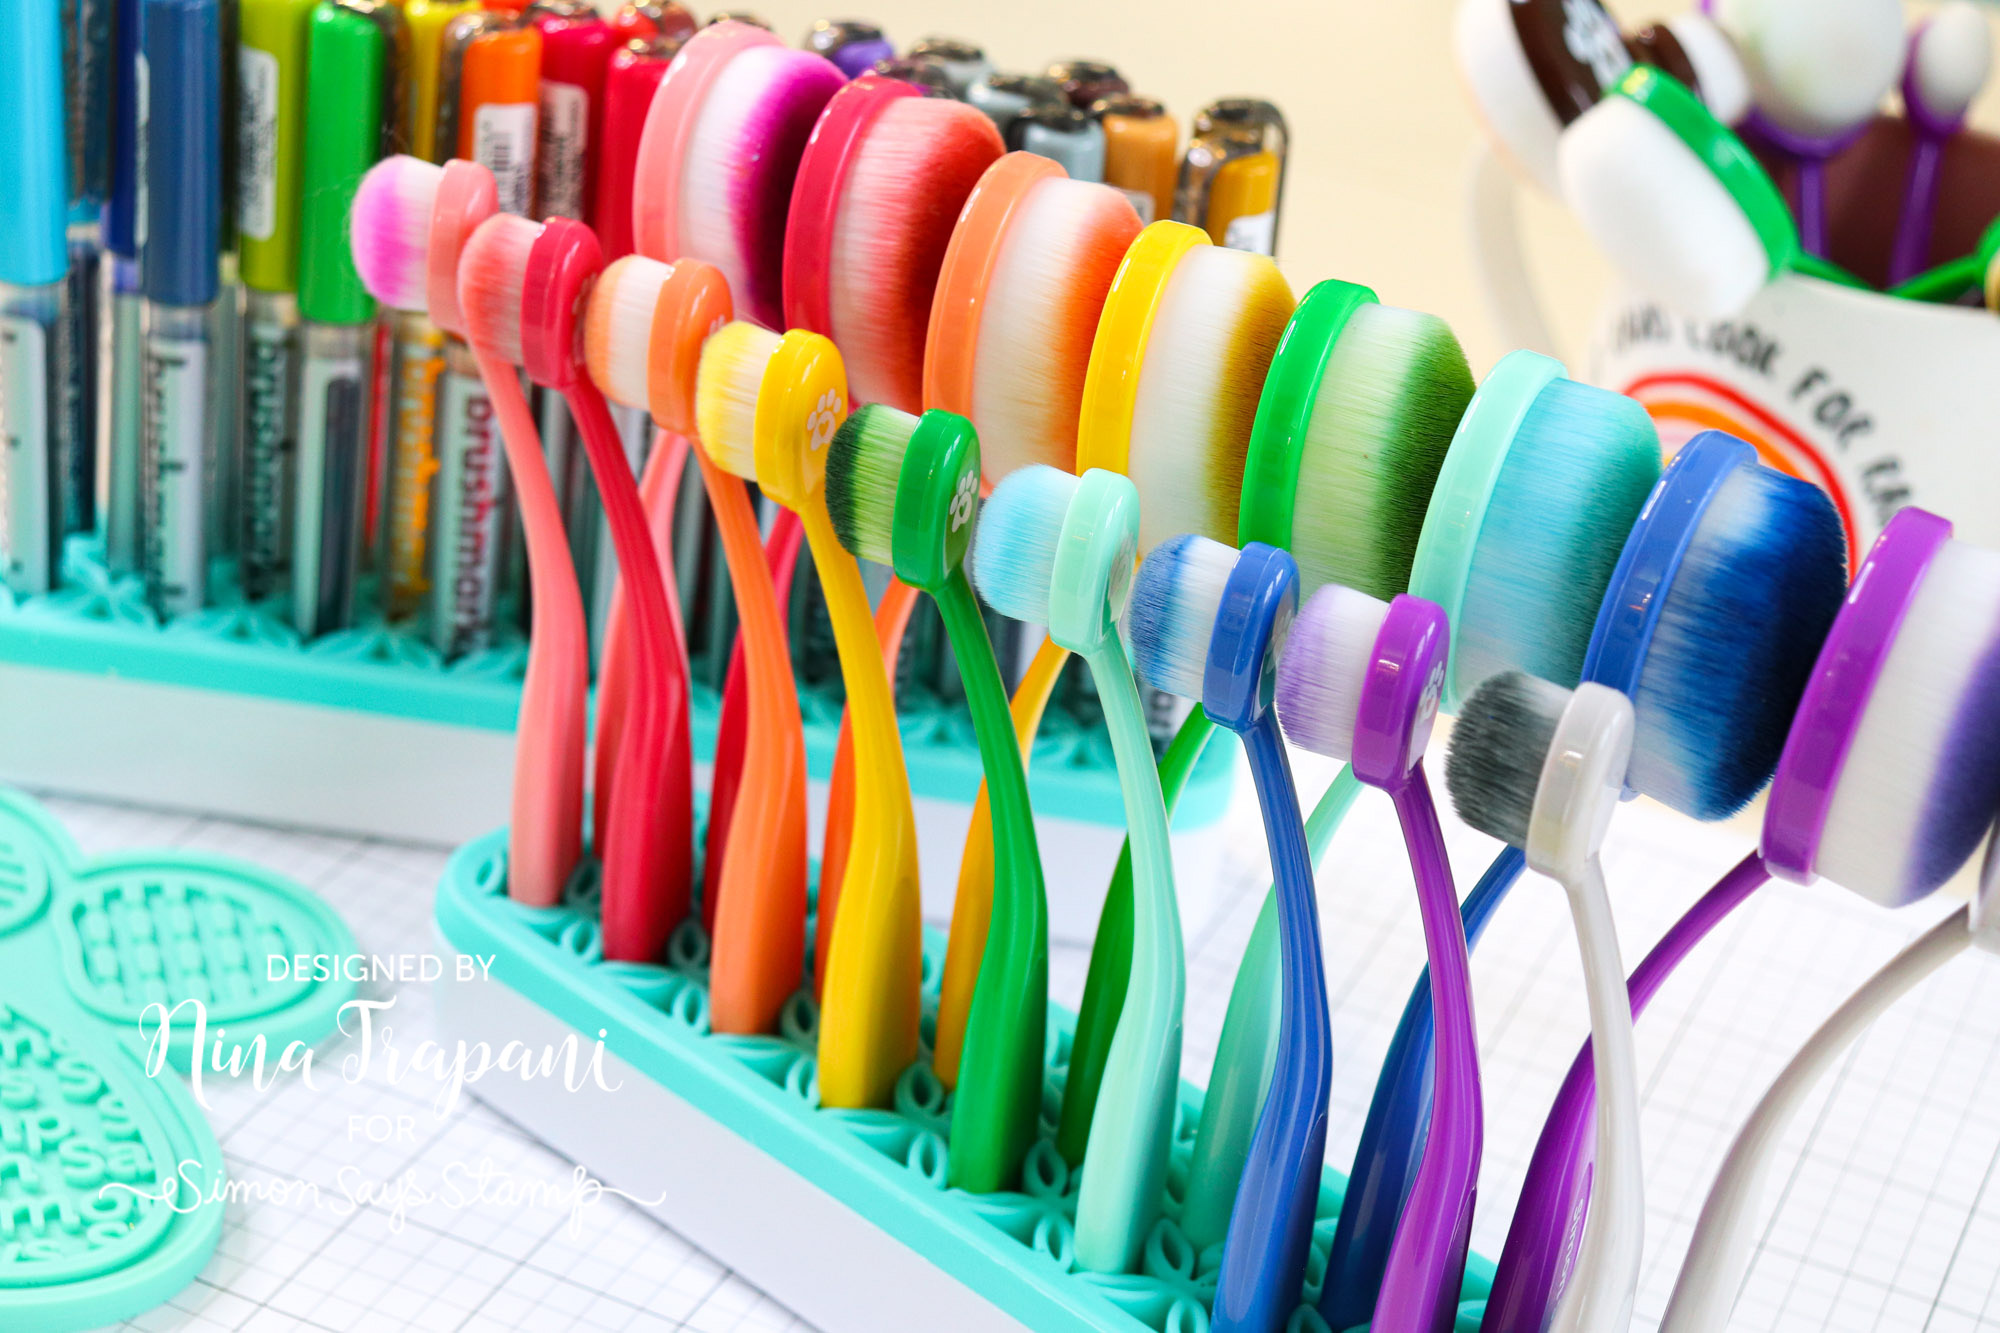
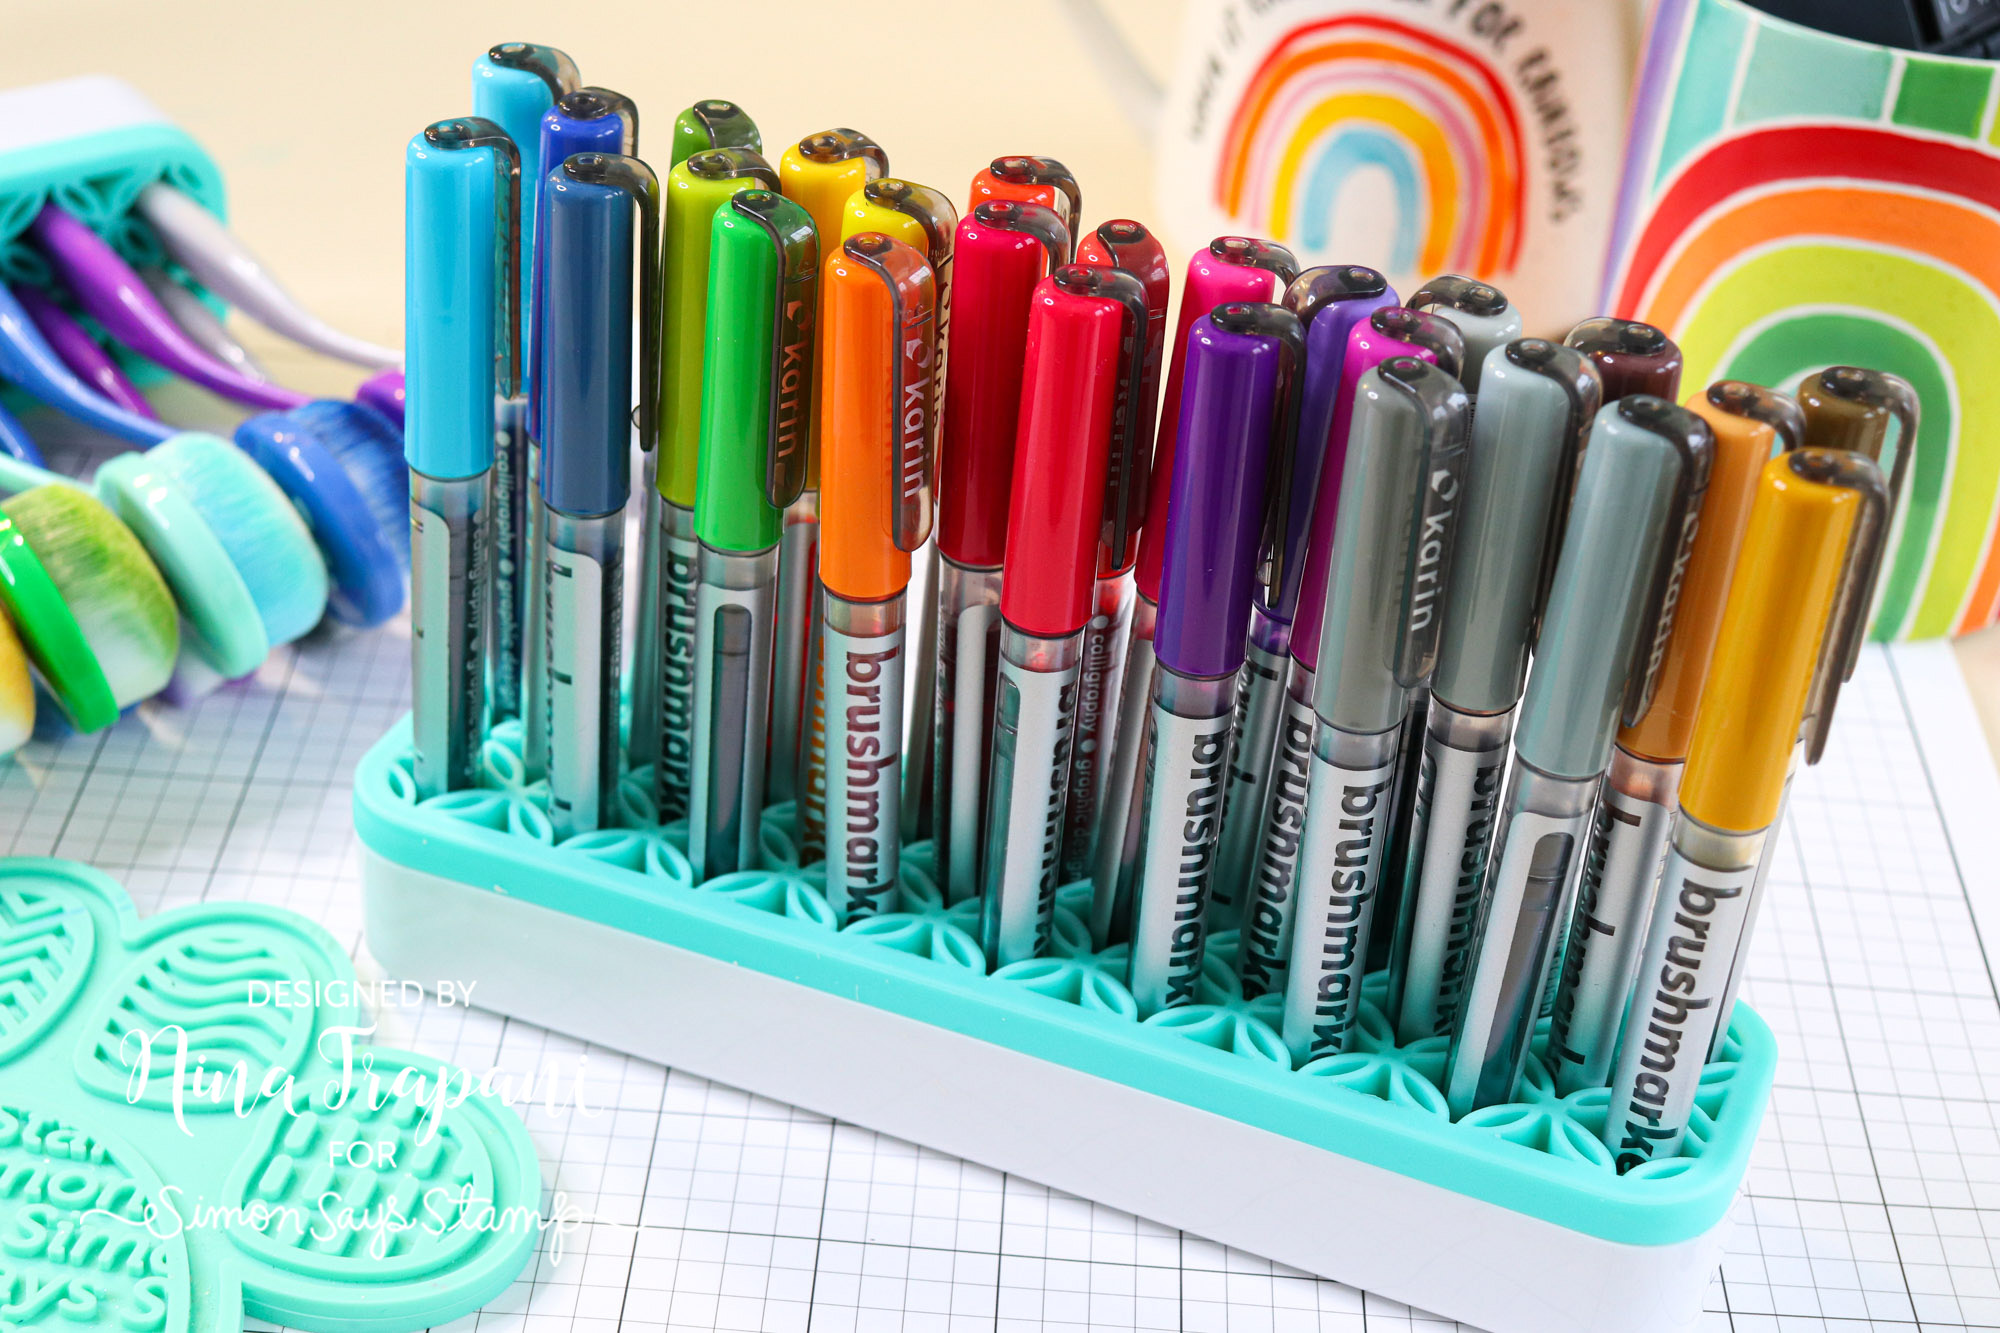
Simon’s exclusive Blending Brush Holder is a must-have on my desk for not only brushes but for many other reasons too! I have multiples of this holder in my space for things like tools and even markers. Karin markers fit beautifully in this holder, keeping them sorted by color and easy to reach for while I color.
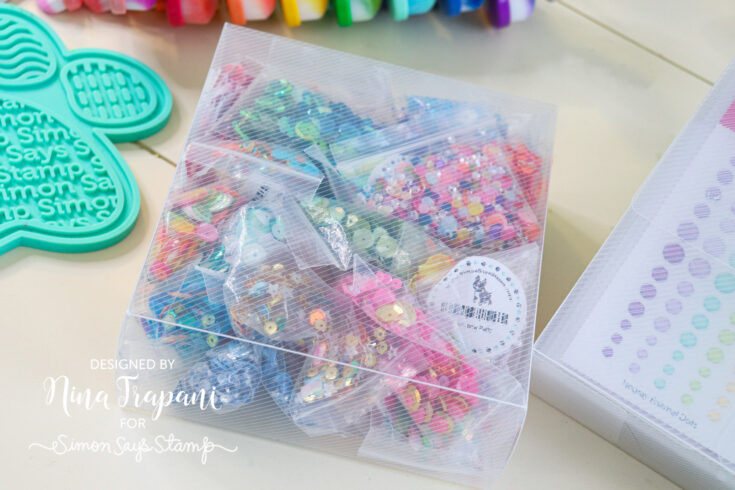
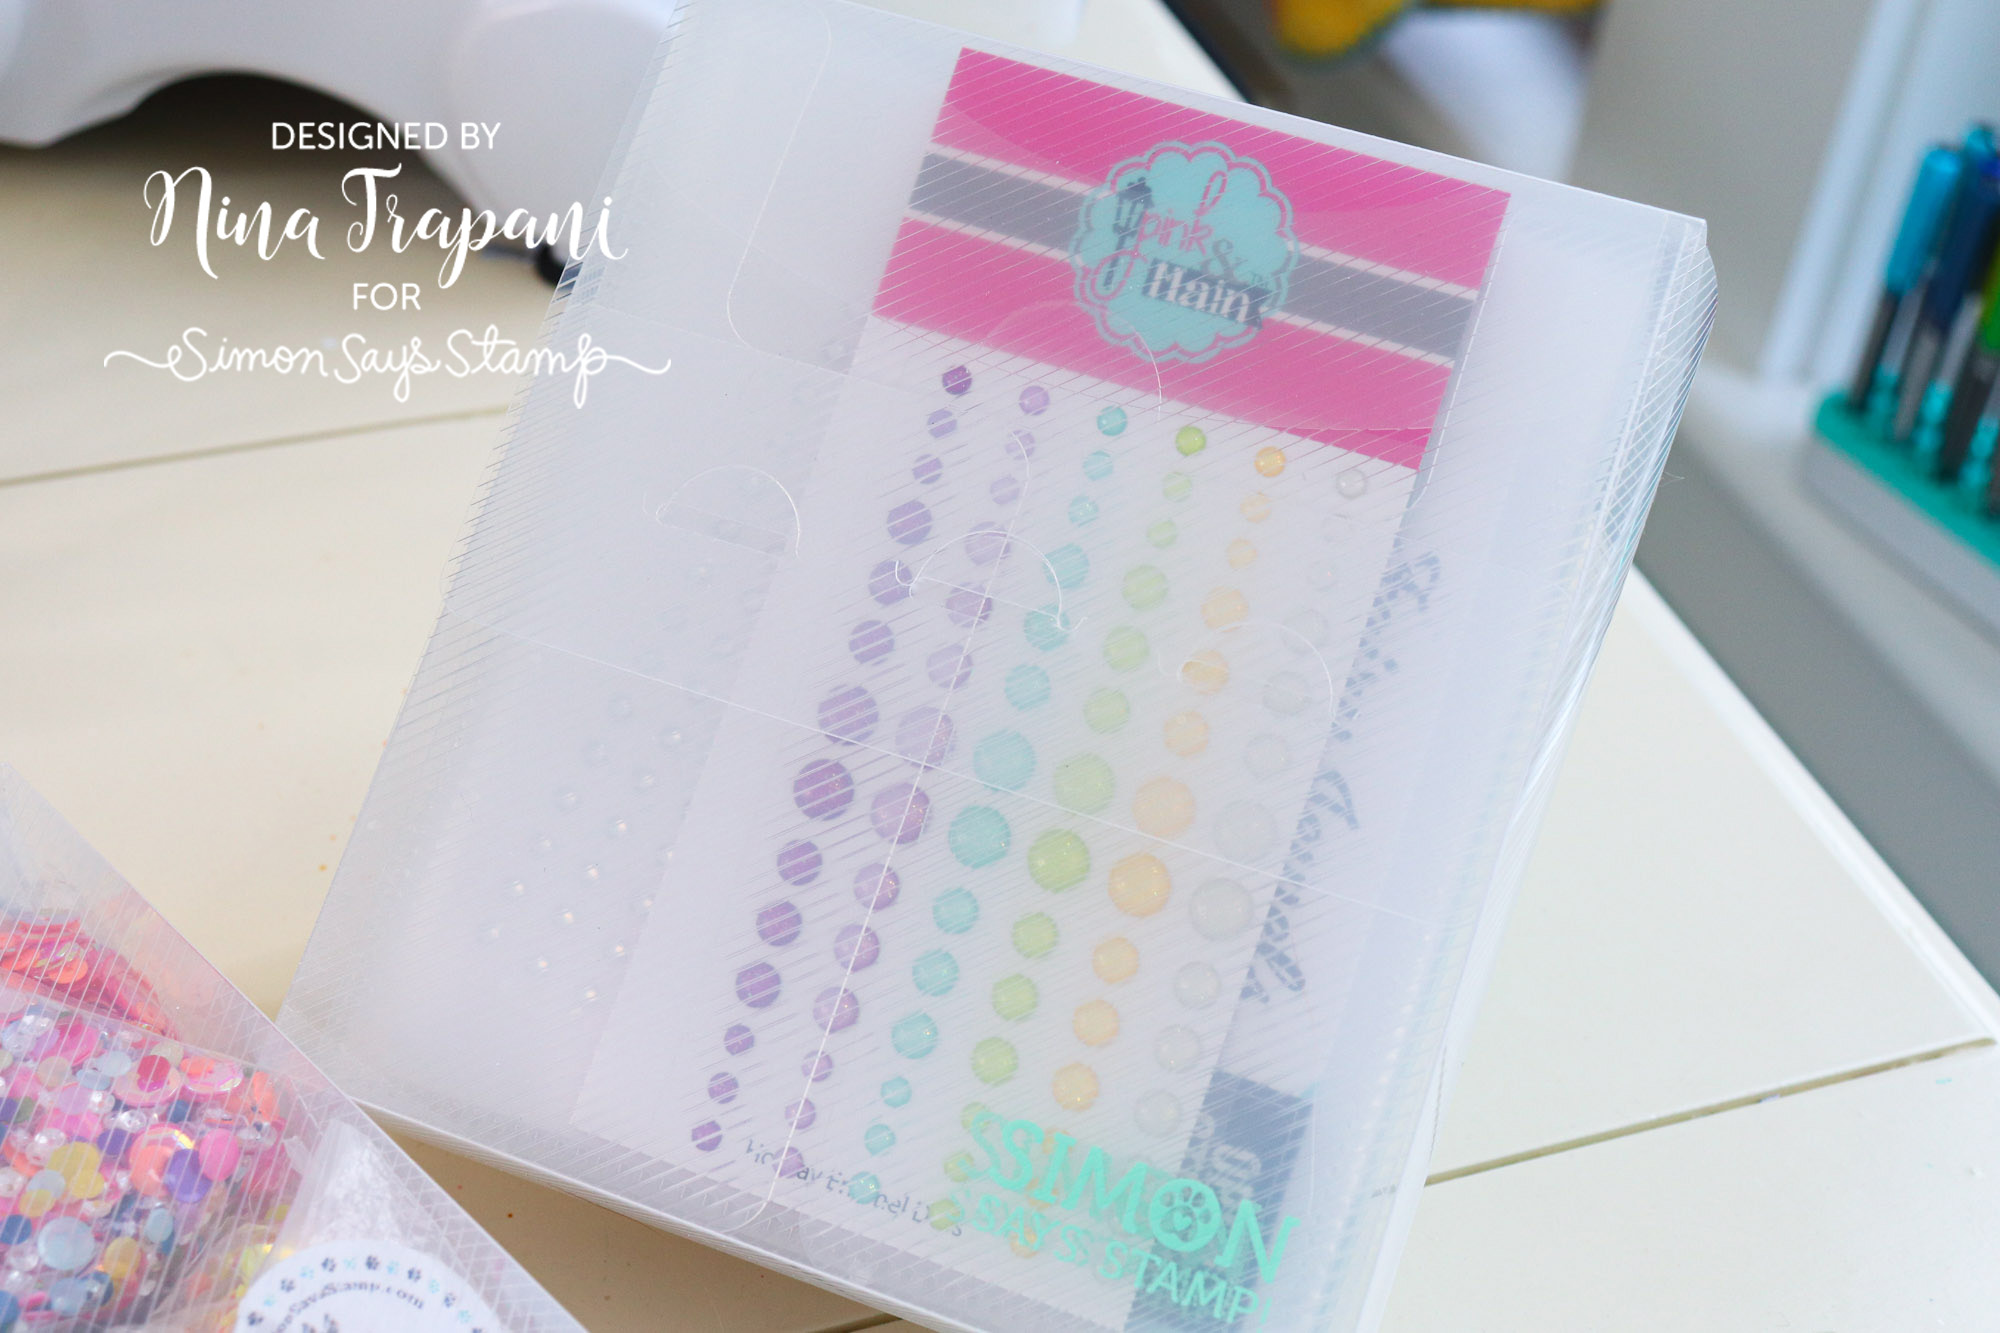
I also utilize the Pawsitively Everything Clear Storage Boxes throughout my craft room. I’ve shared many ways to use these already, but some of my most recent organization uses for these boxes include holding sequins and storing gem stickers! For the gem stickers, I also further sort each pack by placing each sheet into a Pawsitively Everything Clear Pocket so that I always know which set the gems came from.
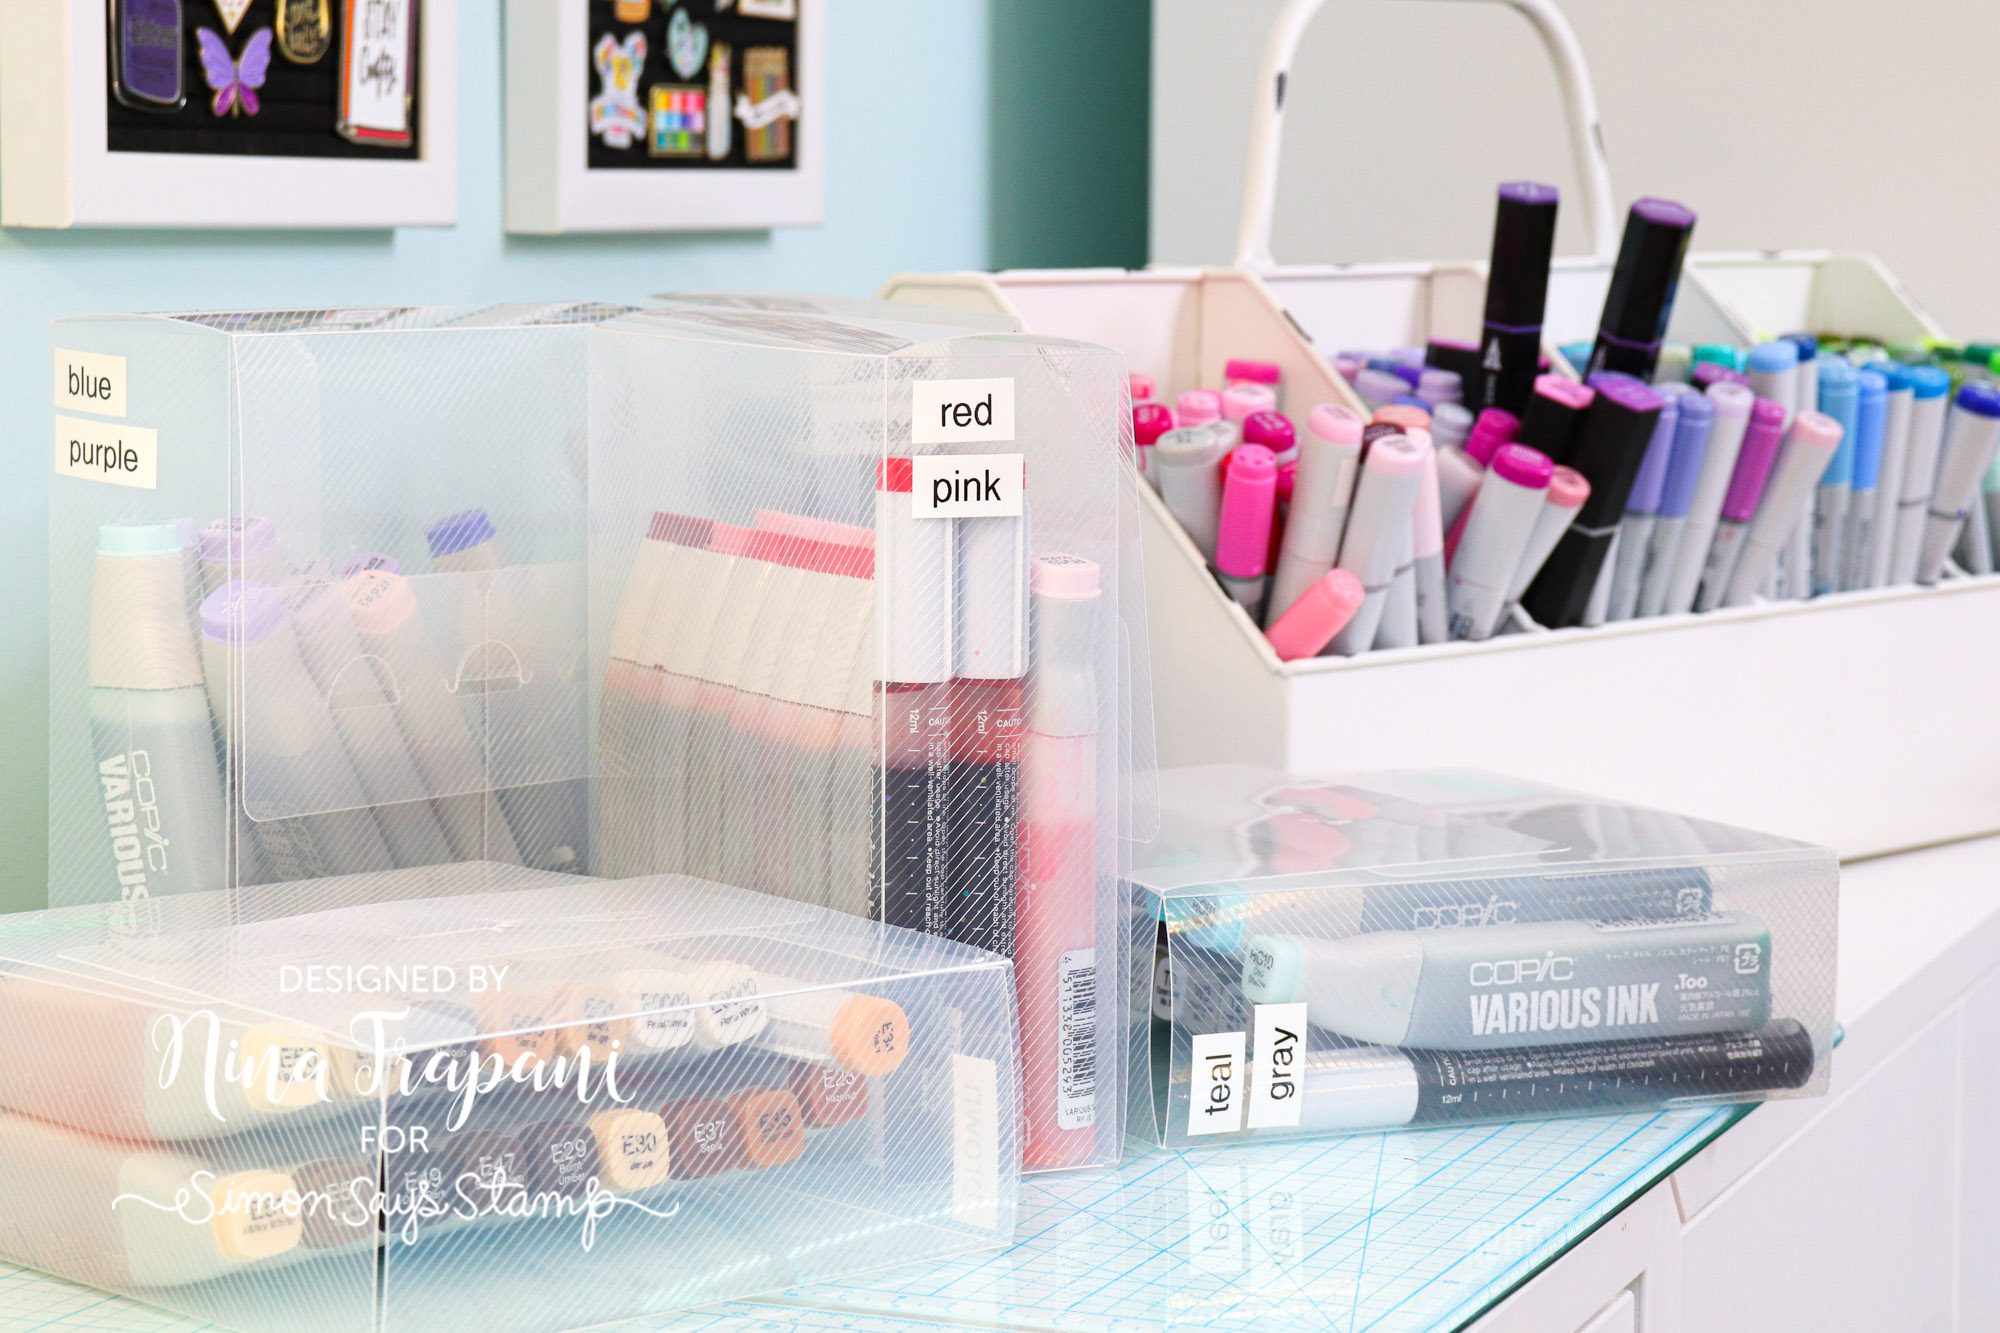
I’ve always struggled to find the best way to sort and store my Copic marker refills. Recently I discovered that they fit remarkably well inside the Pawsitively Everything Clear Storage Boxes! I’ve been using this method for a while now and have really enjoyed the convenience of having all my refills sorted by color.
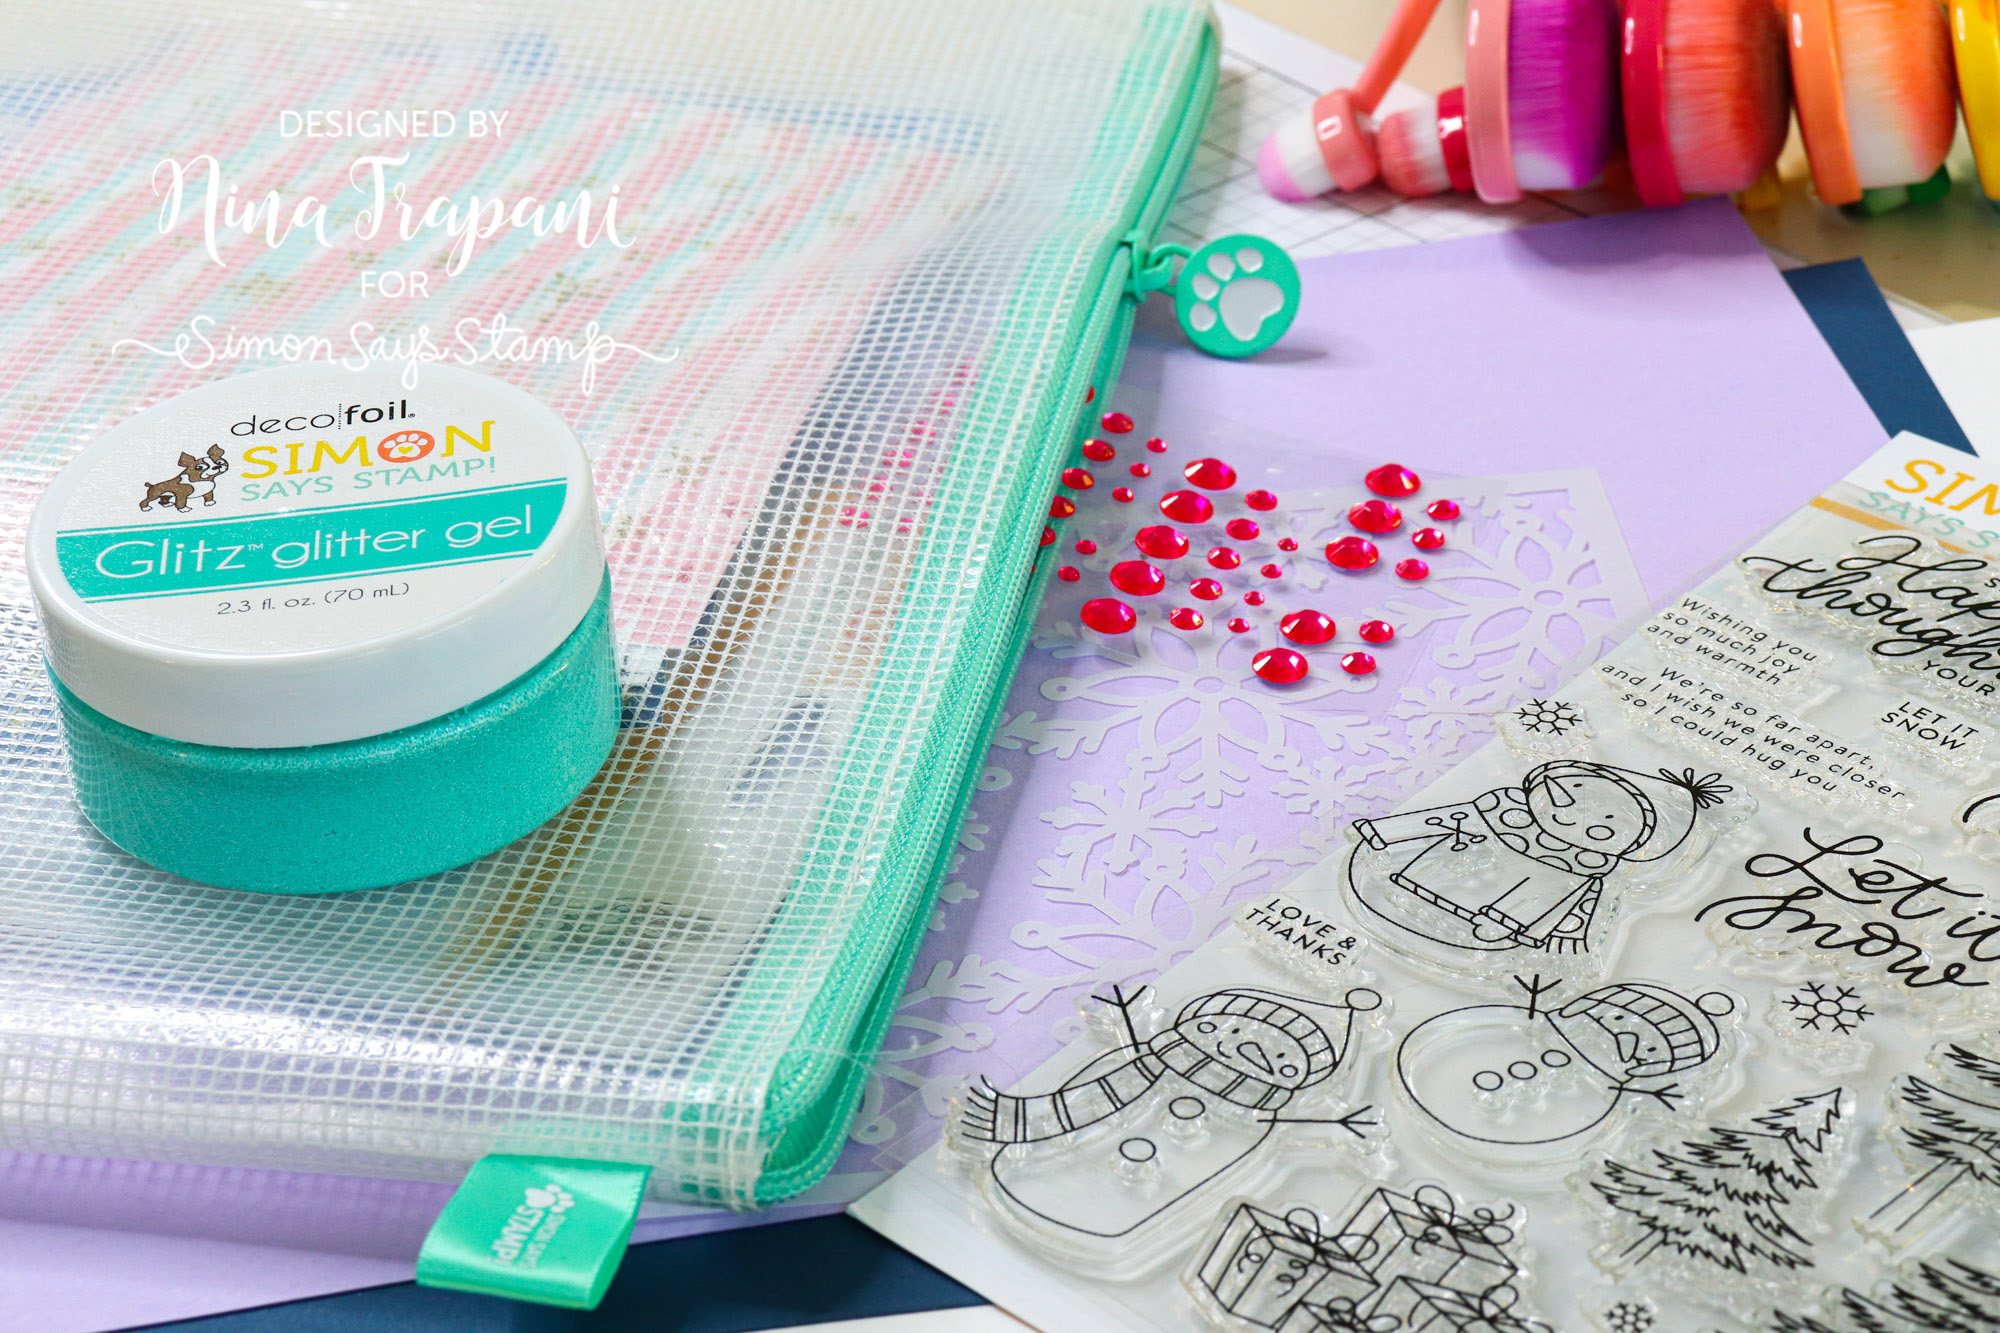
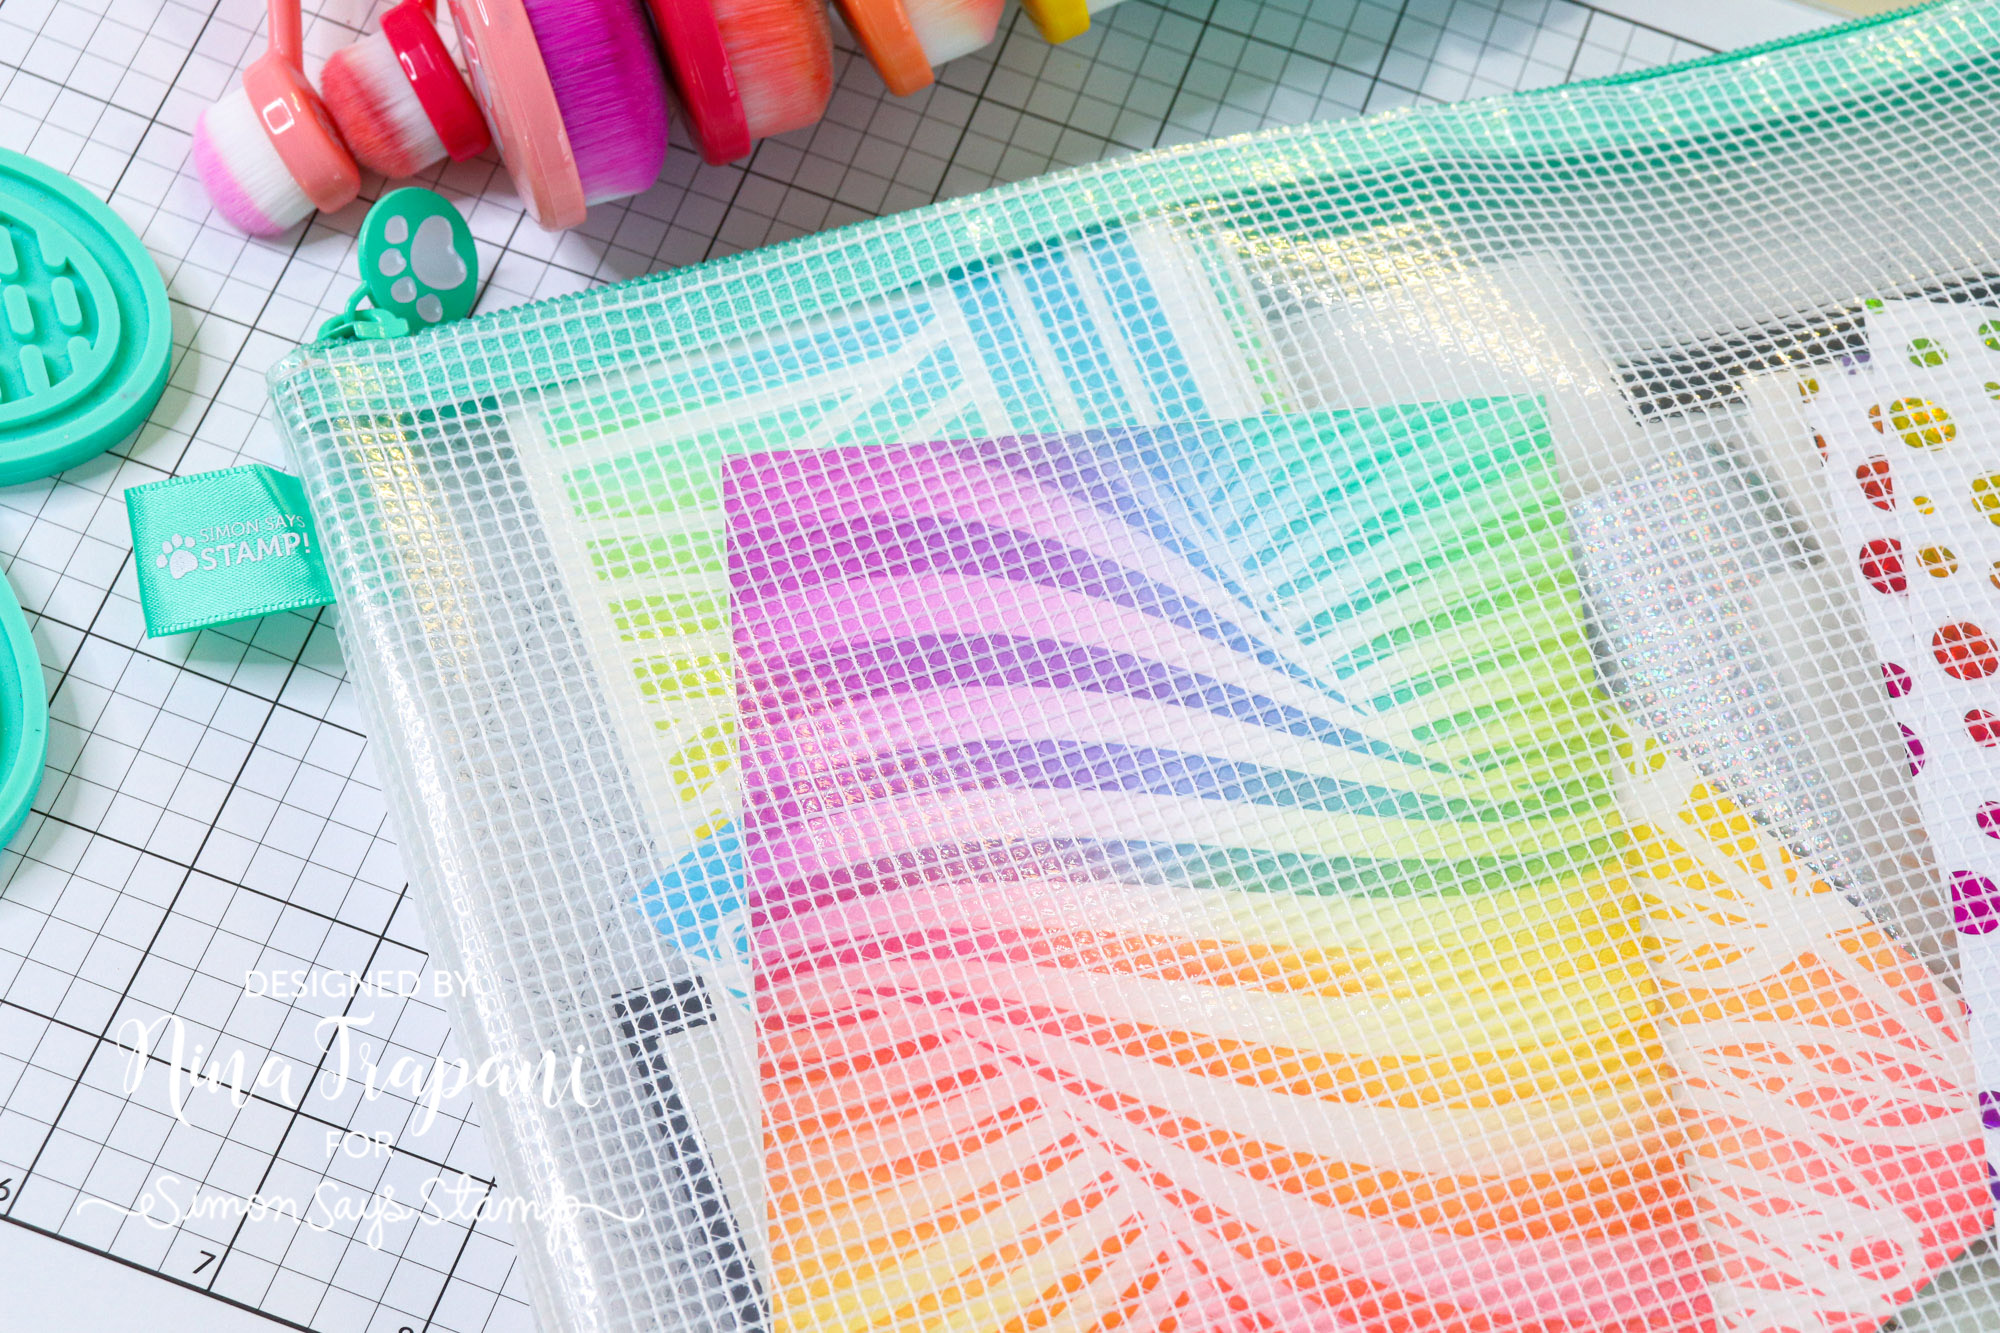
Simon’s versatile Mesh Bags are another staple in my craft space. I especially love using them for sorting products, including each of the monthly card kits that Simon releases. In addition, I also use these bags to help me store half-finished pieces. When I craft, I often change my mind and have pieces that I don’t actually end up using on a finished card. I never throw them away; those items get placed into a Mesh Bag that I can later reference and scavenge from another time.
I go into further detail on all of these products in the video below; so be sure to grab your favorite beverage and relax while I show you how I am organizing my craft room this year!
WATCH THE VIDEO
SUPPLIES
|


