Distress Oxide Inks Three Ways with Kristina Werner
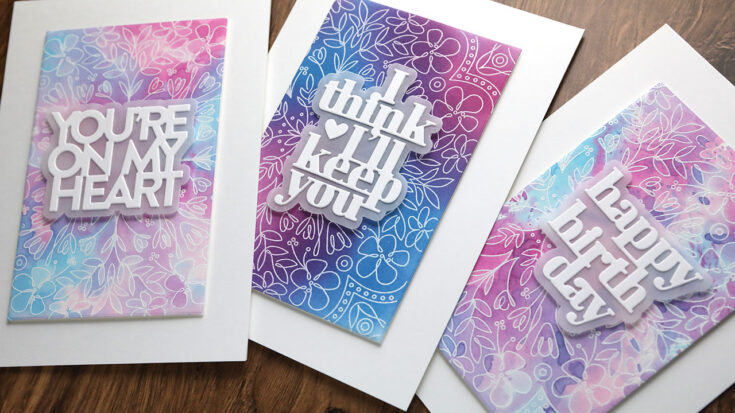
Hi all! Kristina here. Today I’m sharing three ways to use Distress Oxide inks with emboss resist techniques. I used the same three colors of ink (Kitsch Flamingo, Seedless Preserves, and Mermaid Lagoon) and the Delicate Floral Mandala cling background.
The three techniques shown in the video below are:
- Emboss Resist Ink Blending
- Emboss Resist Watercolor
- Emboss Resist Ink Smooshing
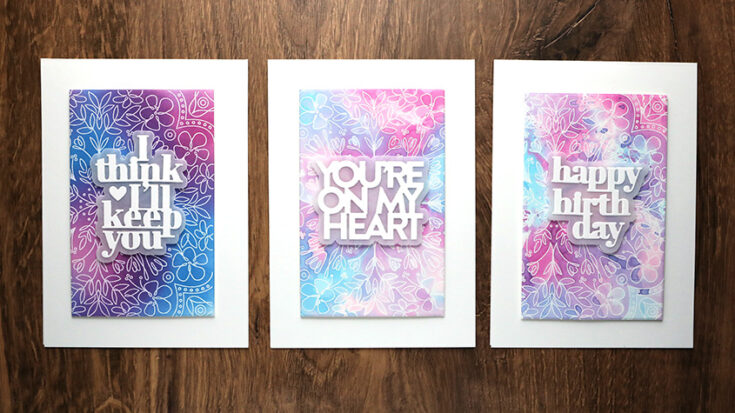

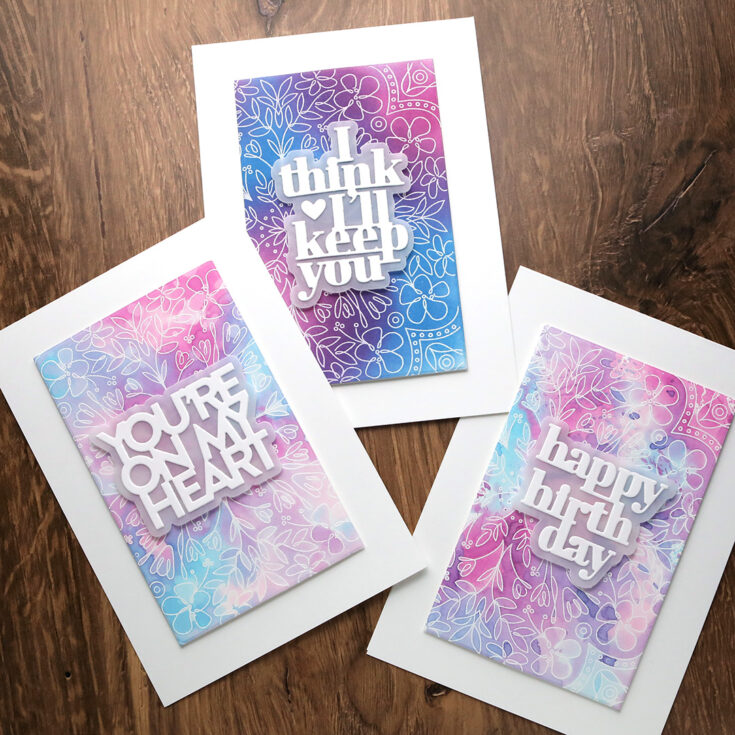
To finish off the cards, I die cut three greetings using dies from Simon. I used the You’re On My Heart, Basic Box Card Happy Birthday, and I Think I’ll Keep You die sets.
Thanks for stopping by! Enjoy the video!
Supplies
|


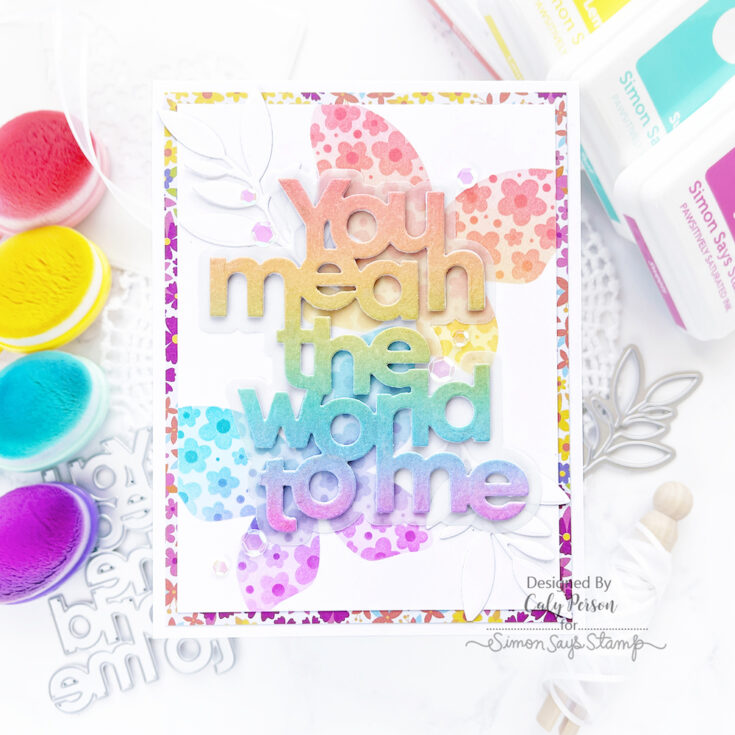
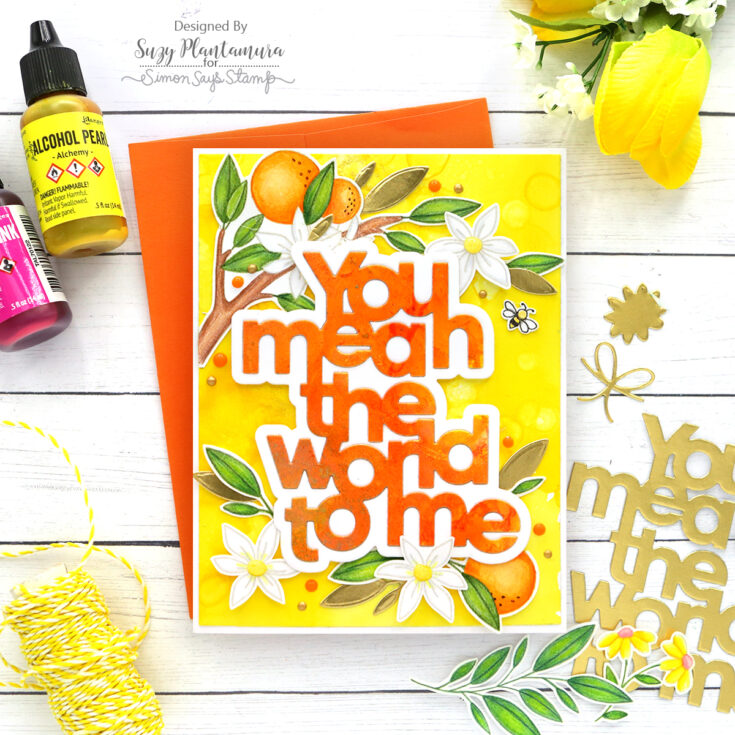
Limited Edition Card Kit: You Mean the World to Me
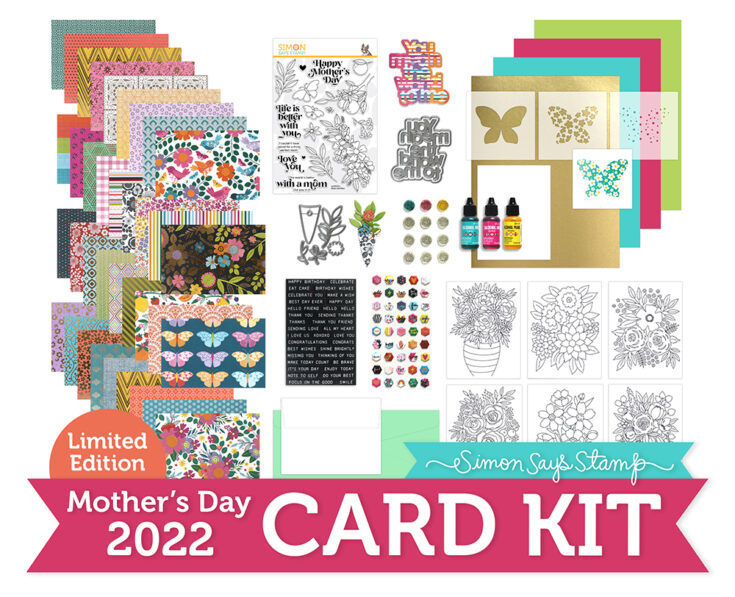
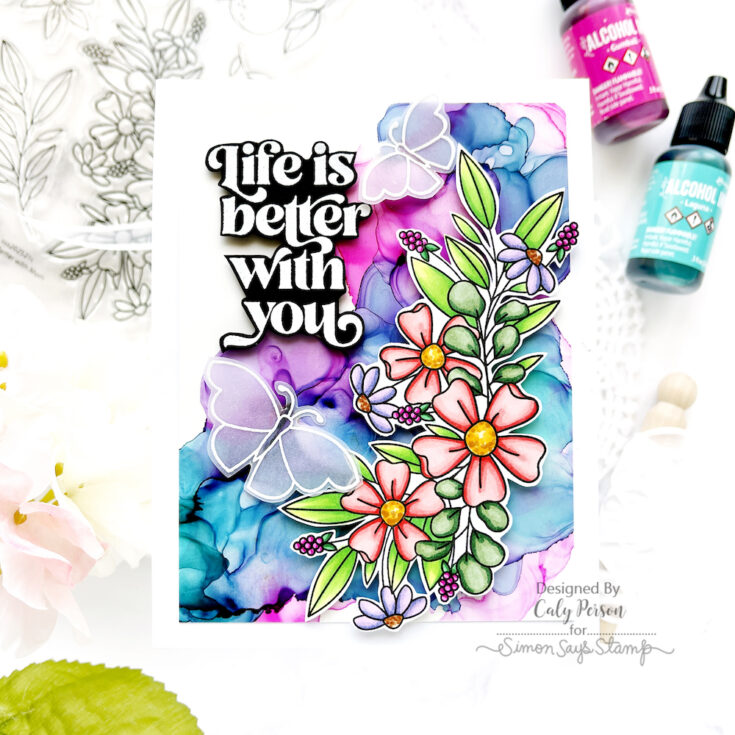
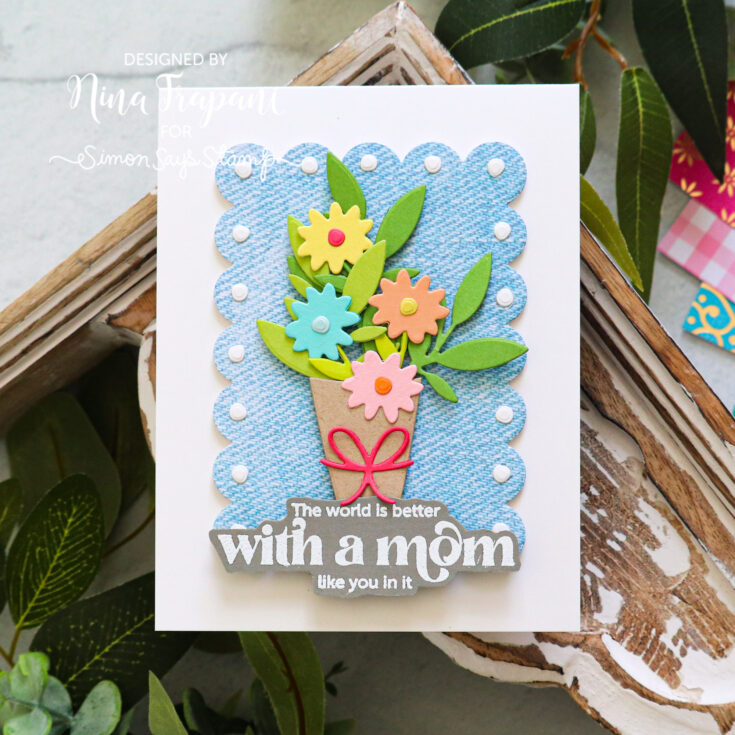
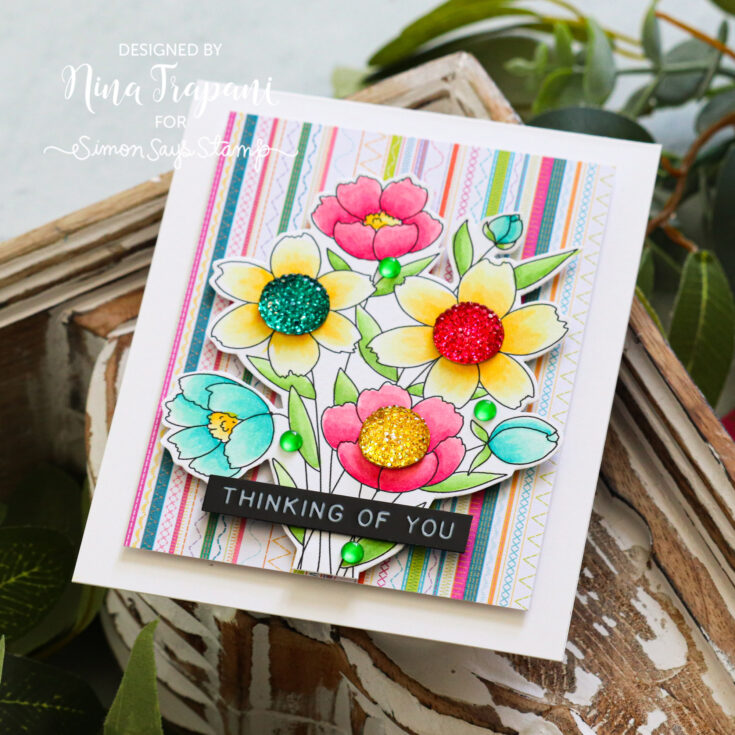
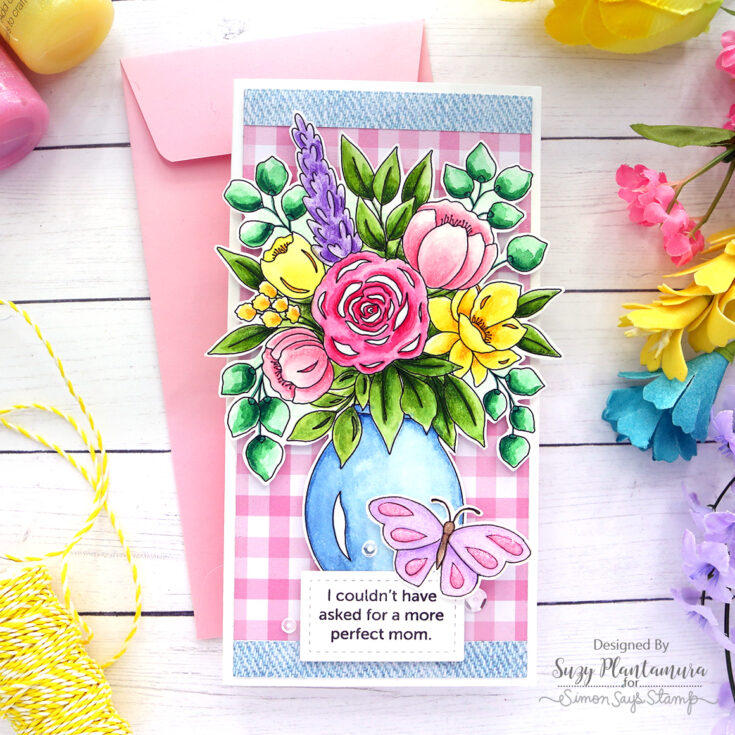
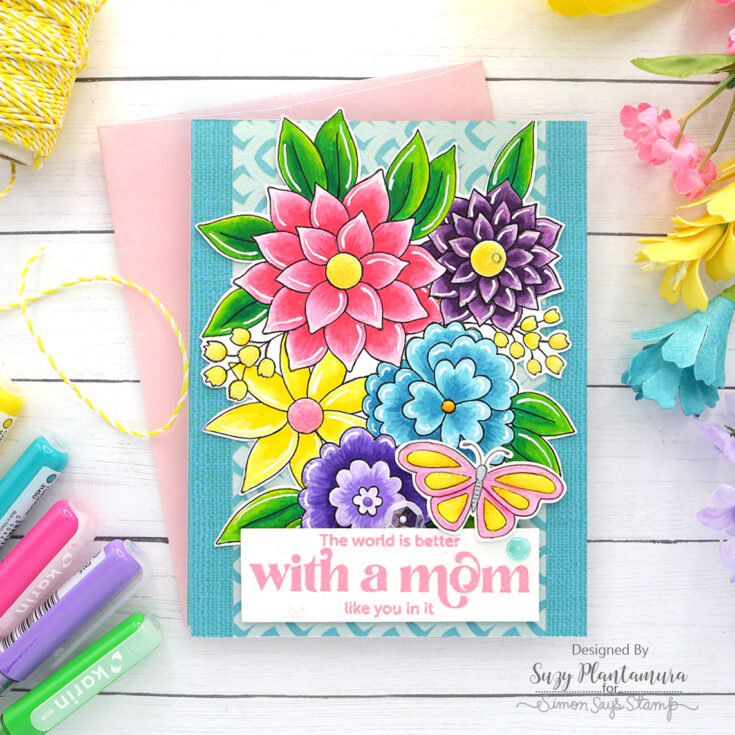
Hi friends! Happy Wednesday! Welcome to the reveal of this awesome new Limited Edition card kit, You Mean the World to Me! It was designed with Mother’s Day in mind, BUT it is for SO MUCH MORE than making Mother’s Day cards! It is a fantastic gift for a Mom, a great way to treat yourself, and great to make every day love you cards.
This kit is a MEGA value at 59.99! These items purchased individually are just under $107! Please remember that this kit is a limited edition and only available while supplies last. It is not part of our monthly subscription. If you love it, act fast!
WATCH THE VIDEO:
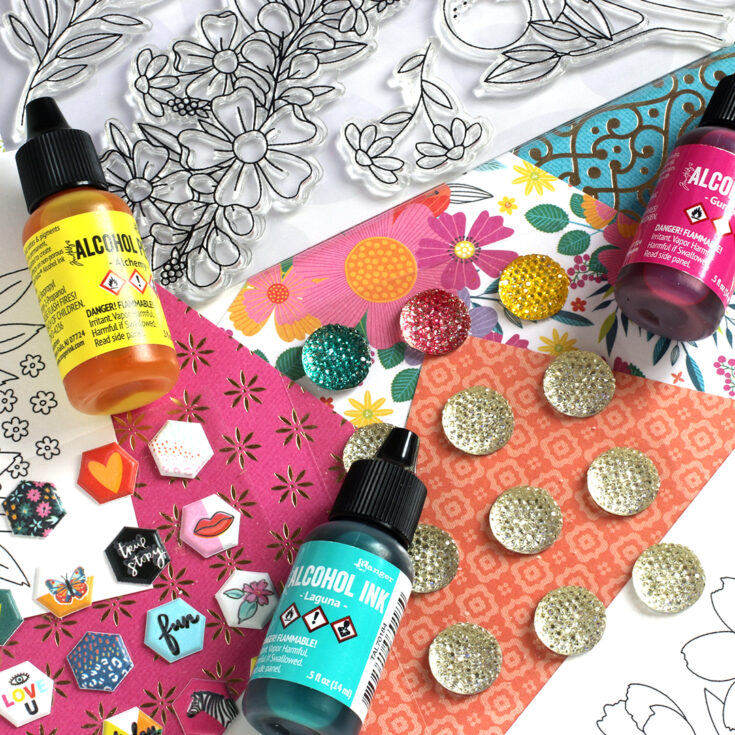
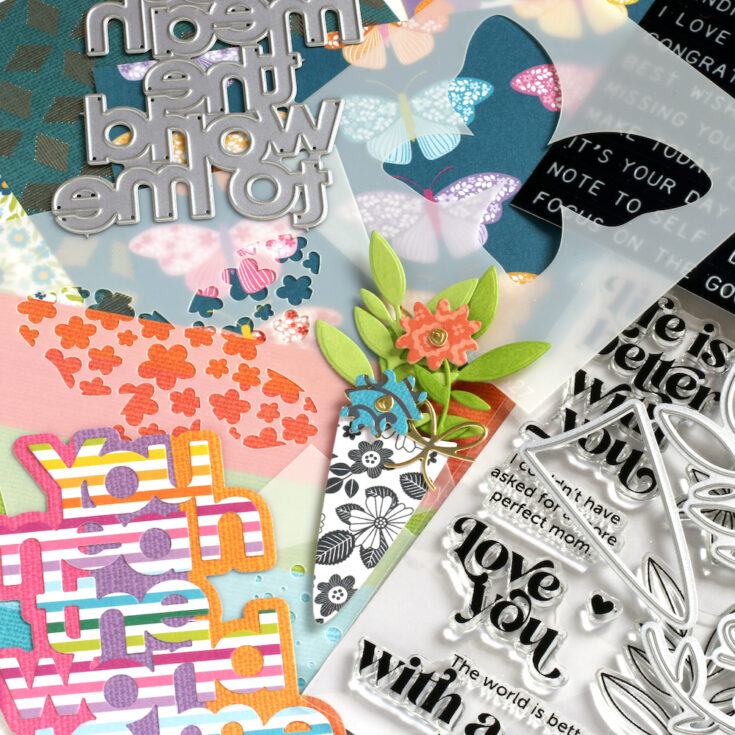
The contents of this kit include:
- New and Exclusive Simon Says Stamp Better with Mom 6×8 Inch Clear Stamp Set
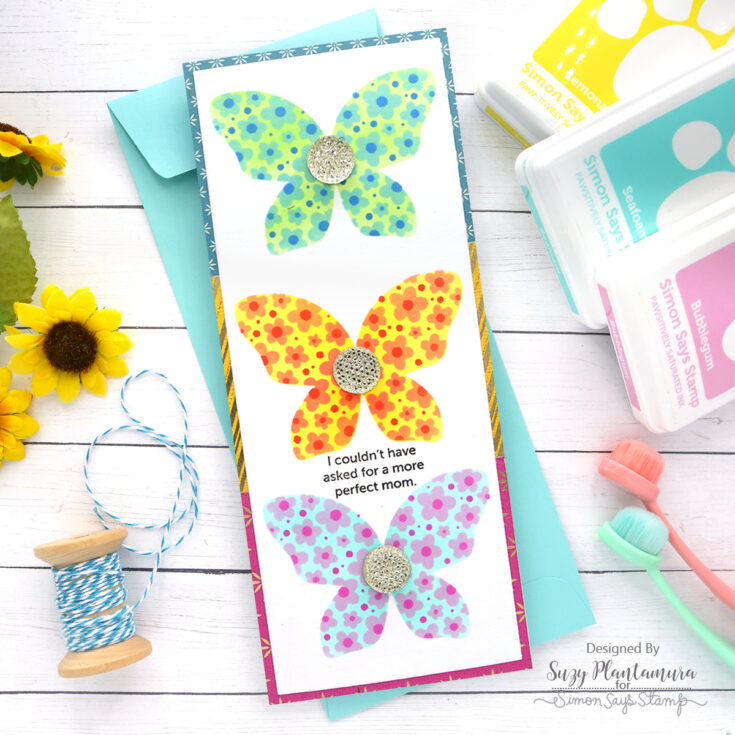
- New and Exclusive Simon Says Stamp Layered Butterfly set of three 4×4 inch stencil
- New and Exclusive Simon Says Stamp You Mean the World to Me die
- New and Exclusive Simon Says Stamp Flower Bundle die set
- New and Exclusive Pack of 6 Suzy’s Birthday Flowers Watercolor Cards
- 36 single-sided 4×6 inch sheets of Paige Evans Splendid Patterned Paper
- 1 package of Amy Tangerine Brave and Bold Mini Puffy Stickers
- 1 bottle of Tim Holtz Alcohol Pearls Ink in Alchemy
- 1 bottle of Tim Holtz Alcohol Ink in Gumball
- 1 bottle of Tim Holtz Alcohol Ink in Laguna
- 1 sheet of 4.25 x 5.5 inch Yupo Paper
- 1 package of Heidi Swapp Circle Gems
- 1 sheet of Tim Holtz Idea-ology Sentiments Label stickers
- 1 Sheet of Simon Says Stamp 8.5 x 11 inch cardstock in Green Apple
- 1 Sheet of Simon Says Stamp 8.5 x 11 inch cardstock in Audrey Blue
- 1 Sheet of Simon Says Stamp 8.5 x 11 inch cardstock in Doll Pink
- 1 Sheet of Simon Says Stamp 8.5 x 11 inch cardstock in Matte Gold Mirror
- 1 Mint Slimline Simon Says Stamp Envelope
- 1 White Simon Says Stamp Envelope
Get inspired!!


Thanks so much for stopping by today, and thanks to our fabulous designers for so much gorgeous inspiration! If you love this kit, remember, act fast! Once it’s gone— it’s gone!

TOMORROW!!!!
Art Journaling with Shari Carroll: Memory Box Dies

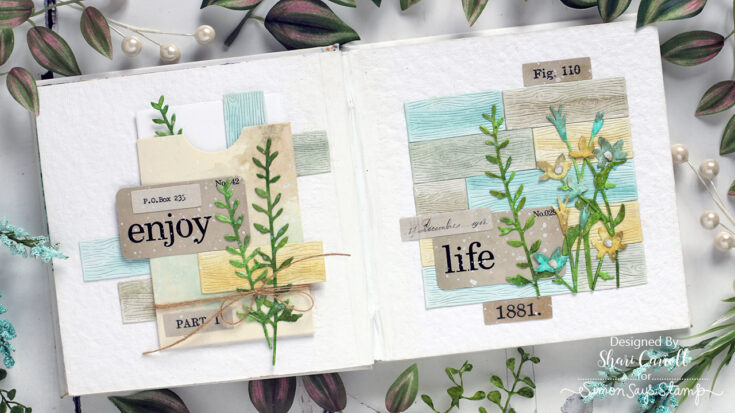
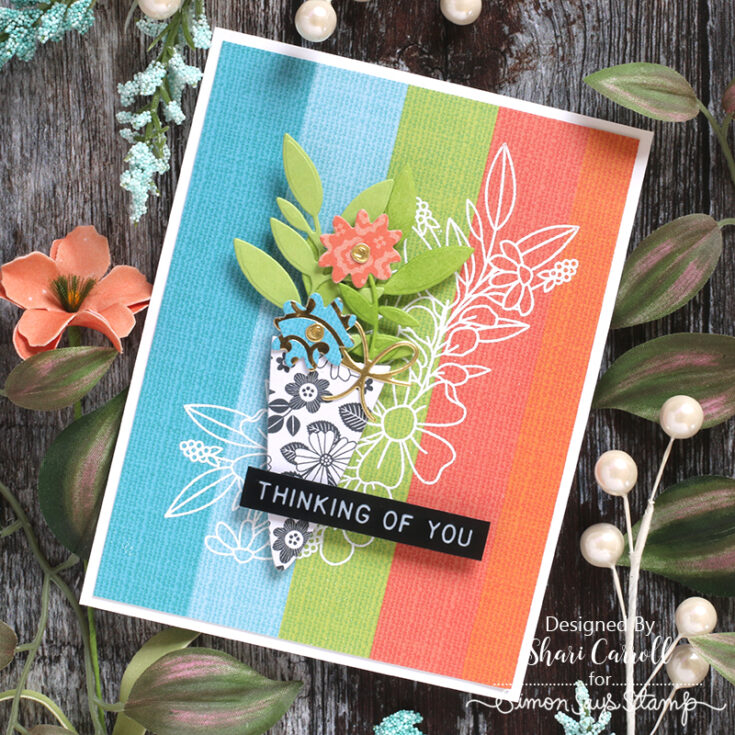
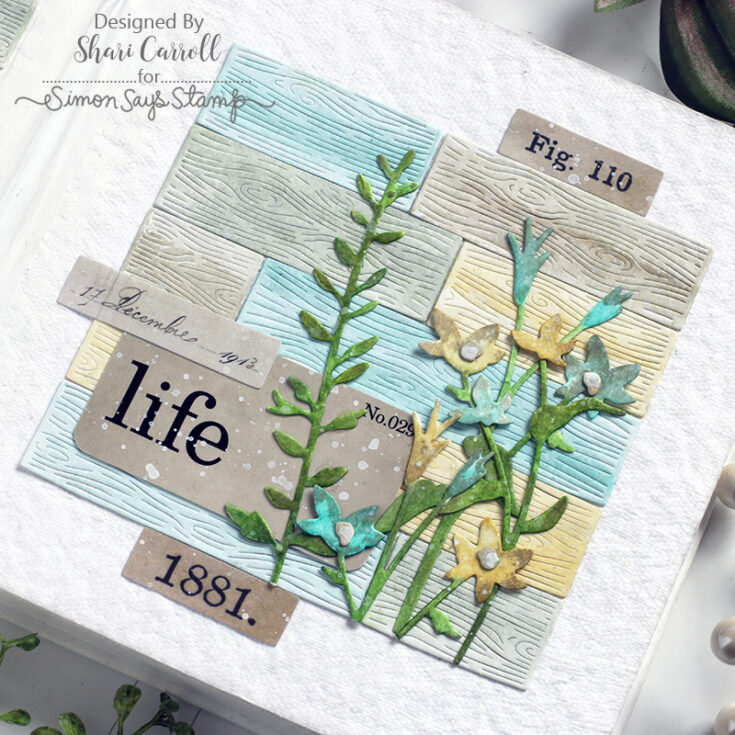
Welcome, everyone!! It’s Shari here with my art journal pages featuring some really pretty Memory Box dies. I used the Woodgrain Planks in soft colors as a background for the flowers and message.
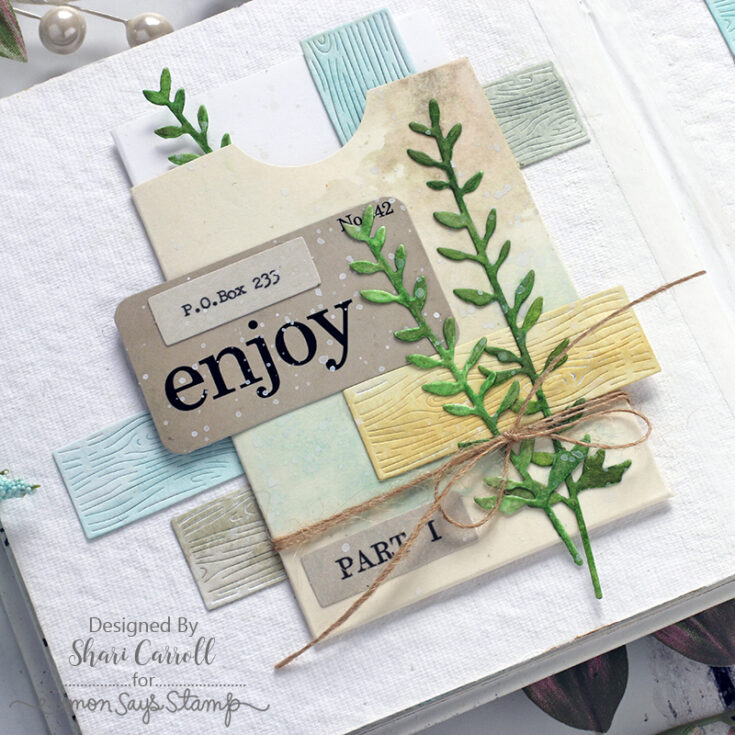
I was going for a clean and simple, organic look with natural colors to calm my soul. The Fresh Cut flower dies along with the Frilly Leaf Stems go so well together and were exactly what I needed to complete the feel.
If you’d like to see how this is created, check out the video below. Enjoy!
SUPPLIES:
|


