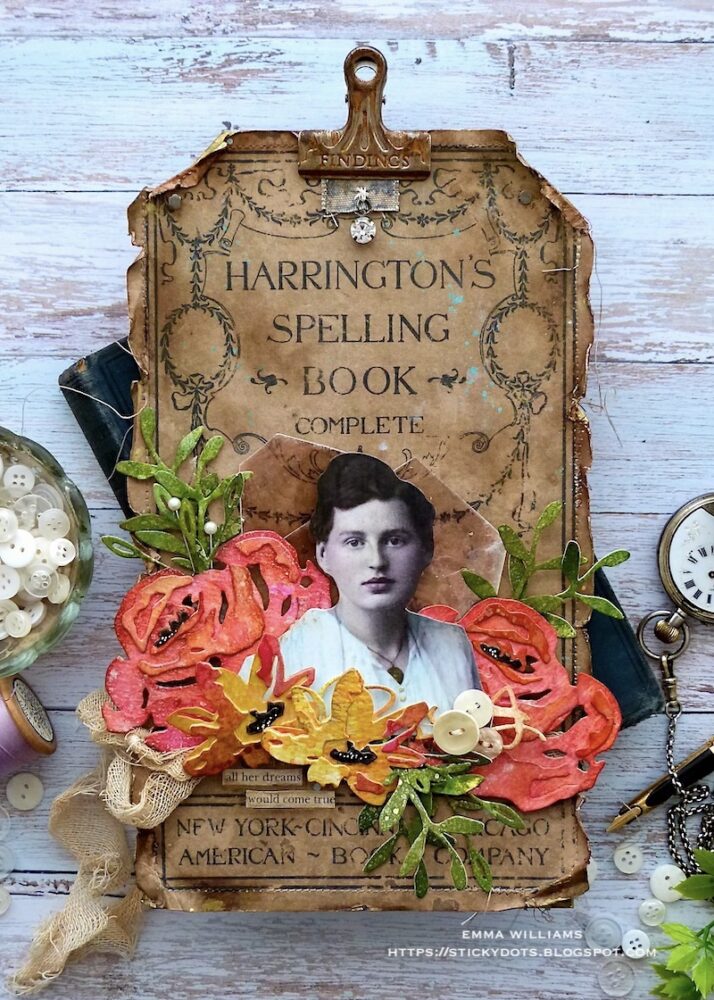
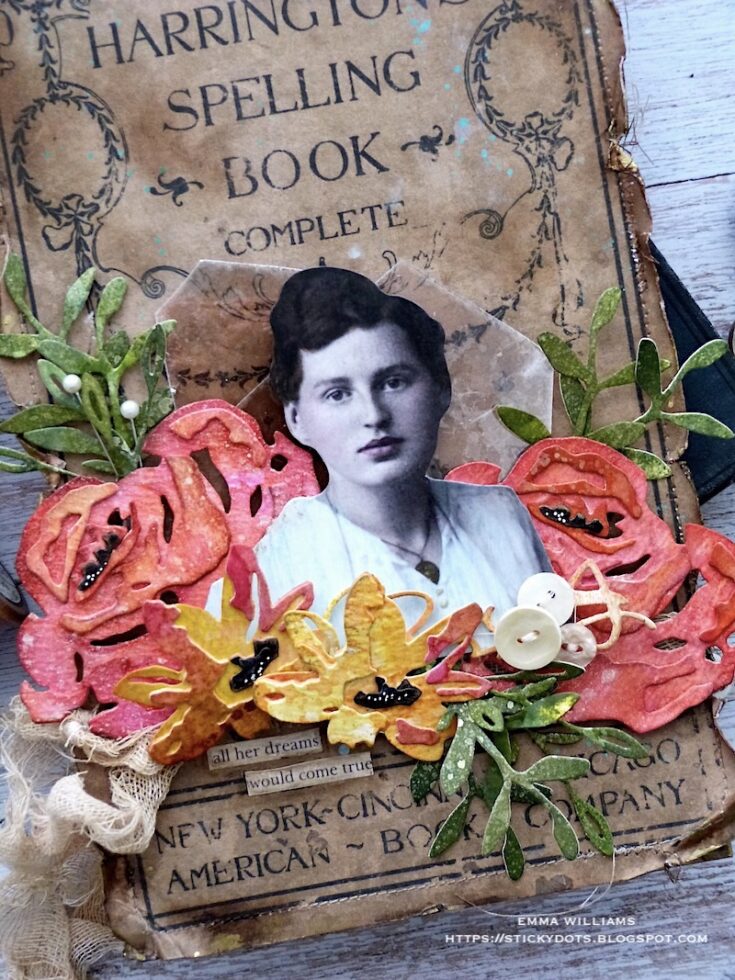
All Her Dreams Would Come True Etcetera Tag by Emma
Hi friends! Happy Sunday! We are always delighted to welcome back special guest Emma Williams! Be sure to read through her tutorial so you don’t miss any of the fabulous details! Enjoy!
Hello everyone! I’m so happy to be back on the SSS blog today and really excited to share my latest make with you all.
As many of you will know, I simply adore all things vintage and I also love all things Tim Holtz! So when it comes to vintage makes, these are always my go-to products and I had so much fun creating this Etcetera Tag project, which I hope transports you to a bygone era, full of vintage beauty and elegance.
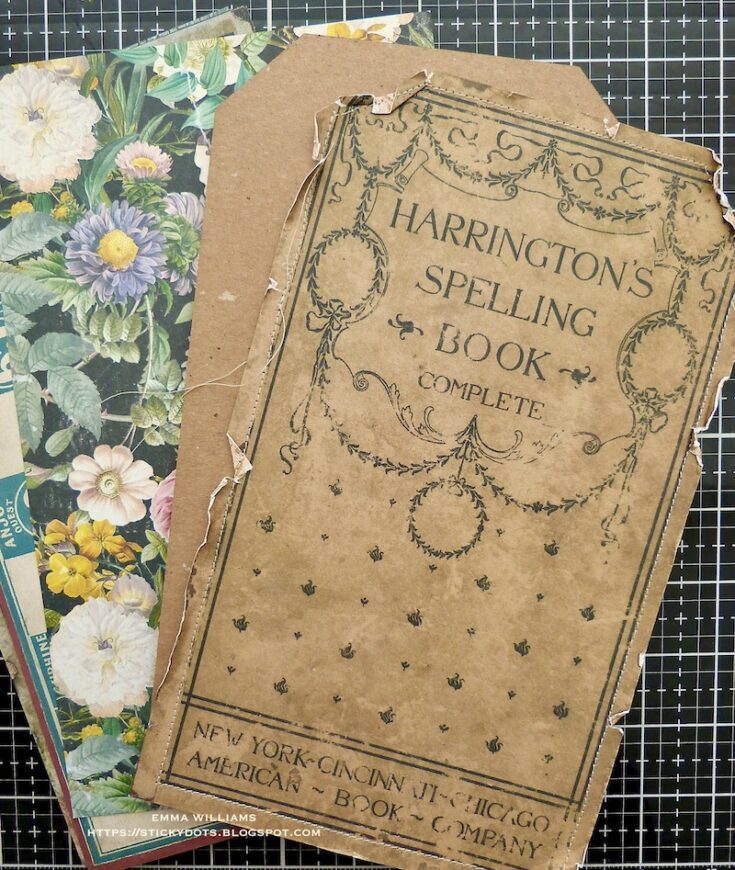
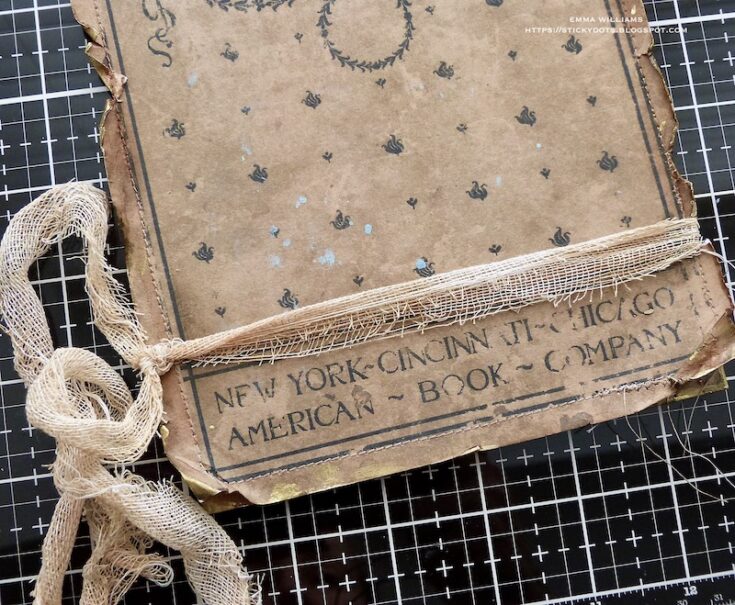
So, let’s get started and for this project you will need a Stampers Anonymous Small Etcetera Tag by Tim Holtz. I covered the tag using the gorgeous book cover paper from the Backdrops Volume 2 paper stash. The paper is slightly larger in size than the tags, but because I wanted to keep the paper design complete, I used the entire sheet and allowed it to overhang each side.
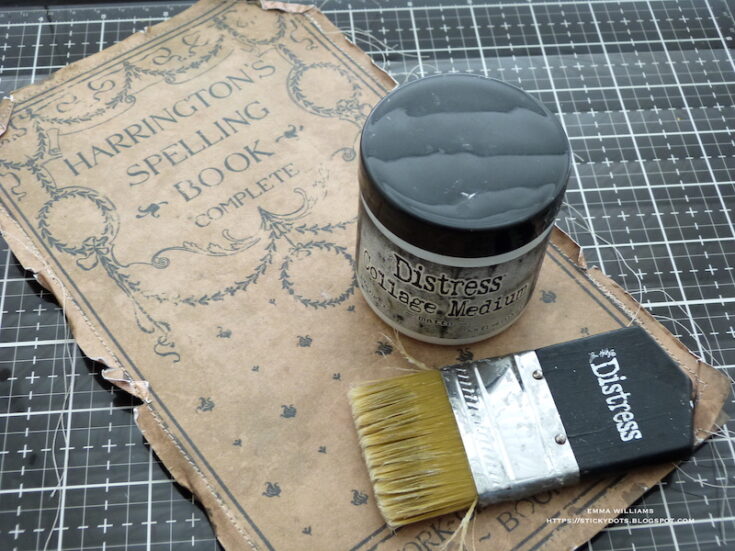
After making small rips and tears around the edge of the paper, I machine stitched a border. Using Matte Collage Medium, I attached the torn sheet to the tag and also added a coat of the medium over the surface of the paper to seal it.
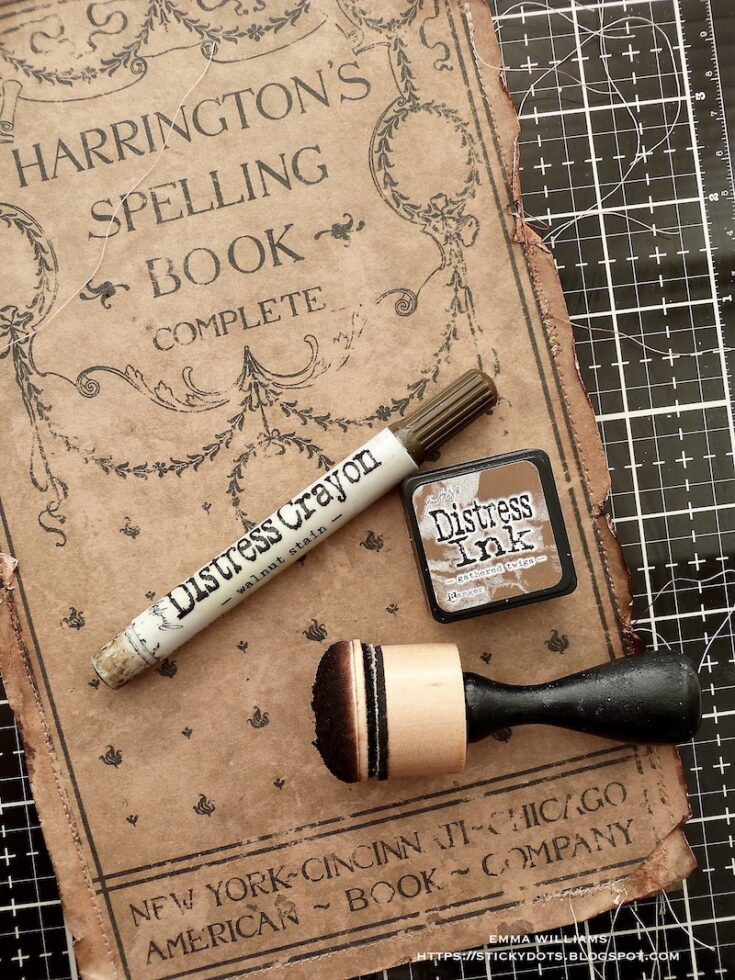
Once the medium was dry, I inked the torn edges with Gathered Twigs Distress Ink, and also ran Gathered Twigs Distress Crayon around the edges, blending out the color with my fingertip.
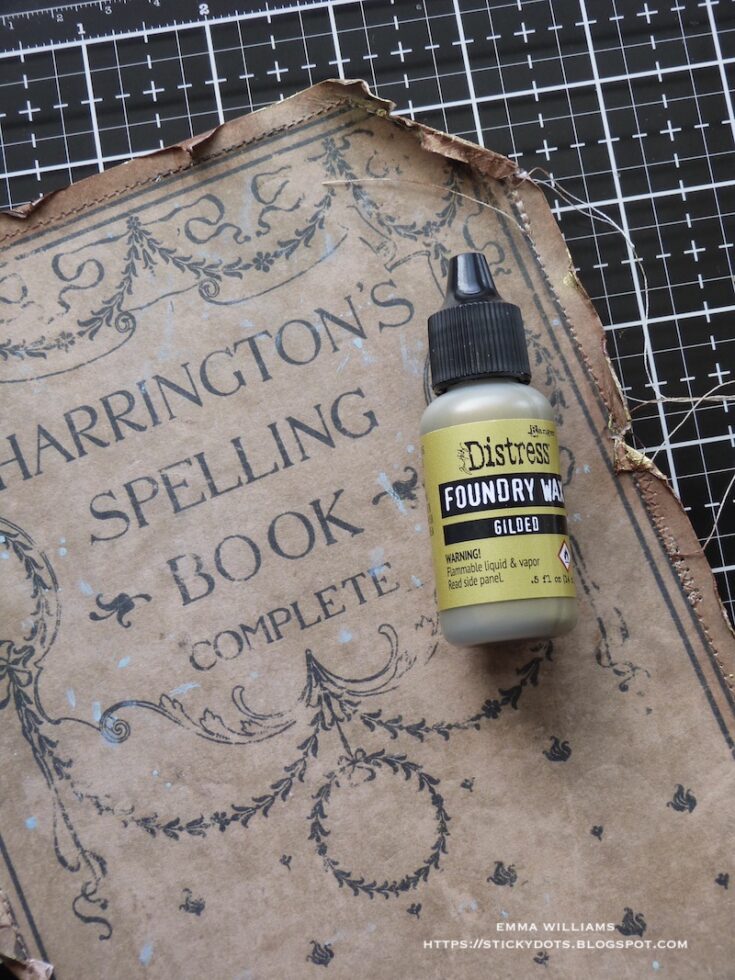
I then applied a small amount of Gilded Foundry Wax to the ripped edges of the paper. I only wanted just a hint of the wax, and applied it using a brush before heat setting with a heat gun.
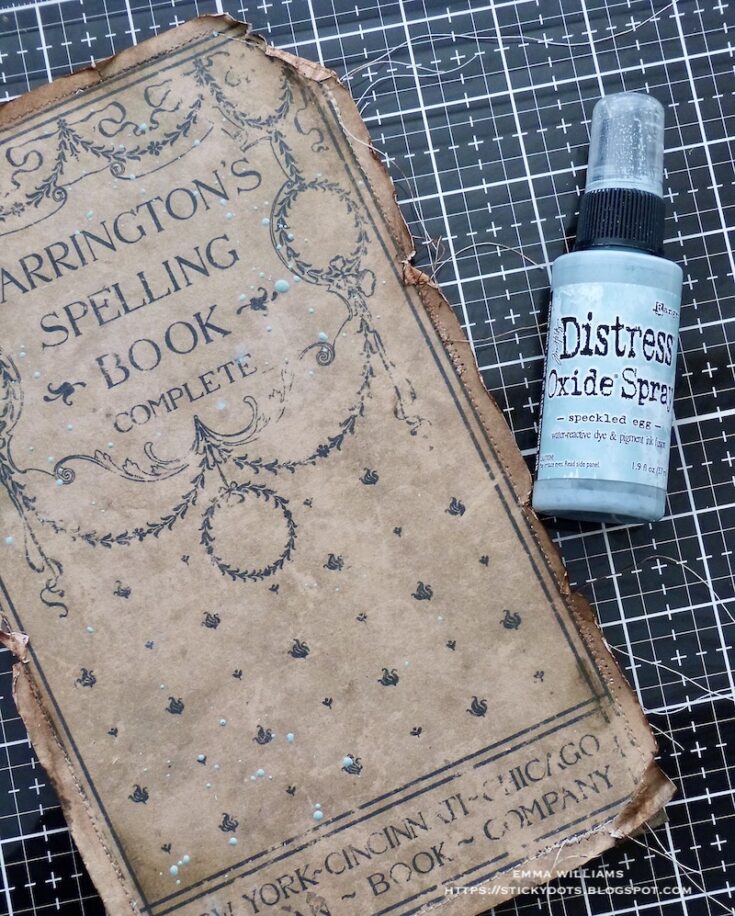
Splatter a small amount of Speckled Egg Oxide Spray across the tag surface and either heat dry or allow to dry naturally.
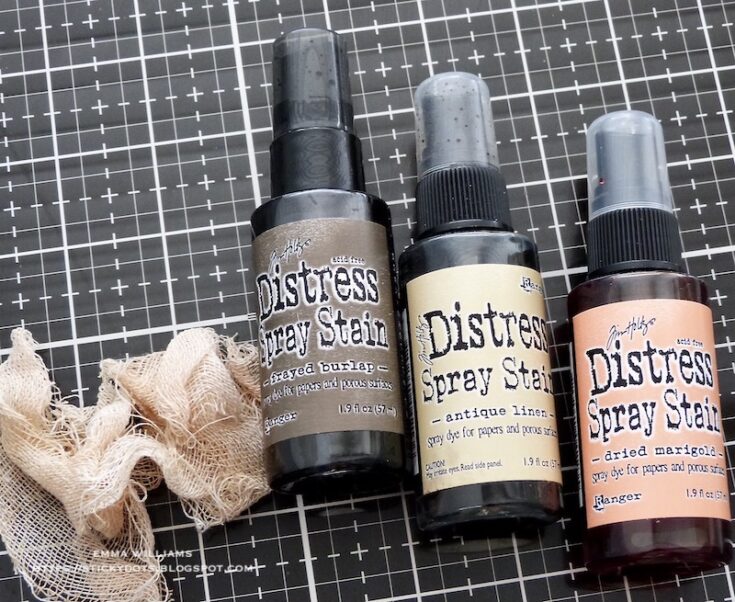
I dyed a strip of Mummy Cloth with Dried Marigold, Frayed Burlap and Antique Linen Distress Spray Stains. Heat dry and then wrap the cloth around the bottom section of the tag, tying it in knot to secure it into place.
Now to create the flowers, and I used the Sizzix Brushstroke 4 Die Set by Tim Holtz.
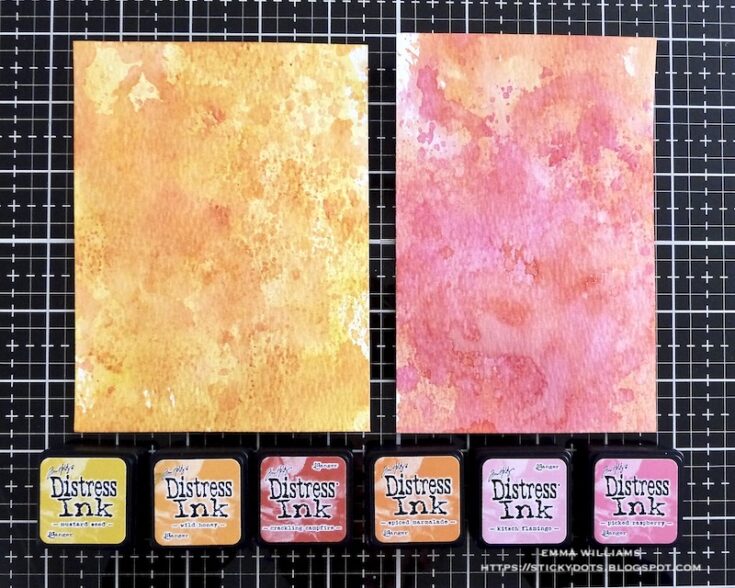
To color the card, I inked two separate panels of Distress Watercolor Card using the following Distress Inks ~ PANEL 1; Mustard Seed, Wild Honey, Crackling Campfire. PANEL 2; Crackling Campfire, Spiced Marmalade, Kitsch Flamingo and Picked Raspberry. For each panel, I applied the ink to the non-stick portion of my glass media mat and then spritzed the inks with water until they bead. I also lightly misted the card panel with water. Dip the card into the inks to pick up the color and then heat dry. If there are areas that you want more color, dip the card again, but always remember to heat dry between layers.
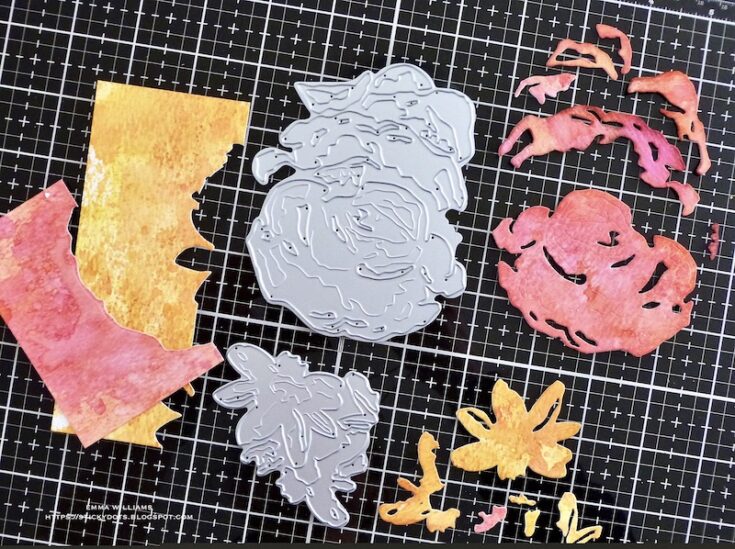
Once I was happy with my colors, I placed Sizzix Adhesive Sheets to the back of each card panel before using the card to die cut my flowers.
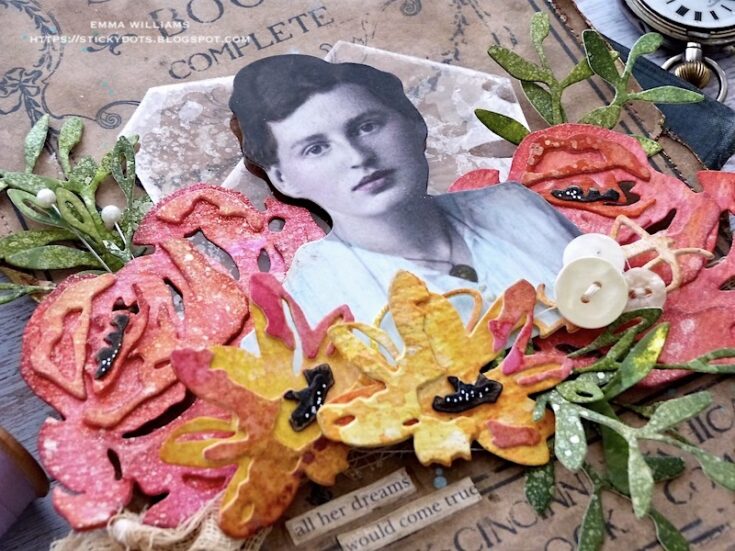
I cut two of each size and assembled the four flowers, inking the edges of each die cut piece as I layered them before I then splattered each flower with a light coverage of Tarnished Brass Mica Spray. You can see the finished flowers and all those gorgeous layers in the photos below.
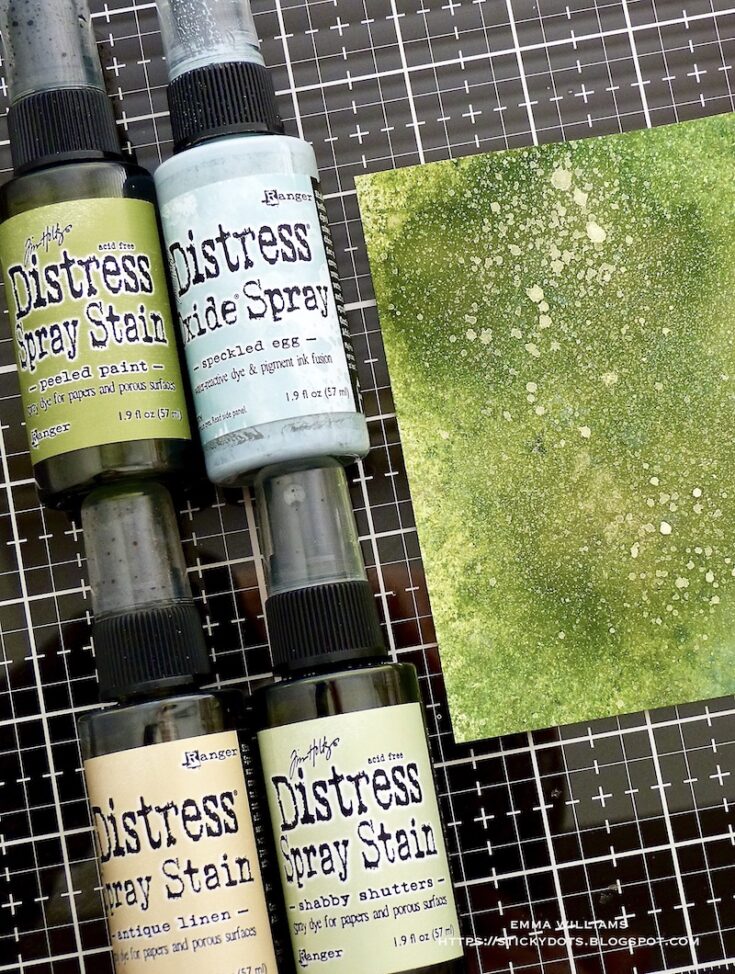
For the foliage and leaves, I used Peeled Paint, Antique Linen and Bundled Sage Distress Spray Stains and Speckled Egg Oxide Spray and after applying a light misting of water over the card surface, I then spritzed the stains directly onto the cardstock.
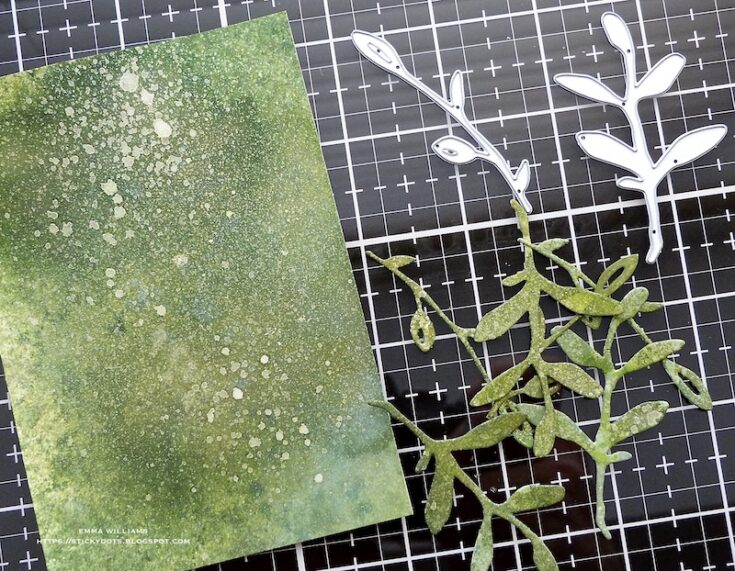
I heat dried the panel before I cut my foliage from the green card.

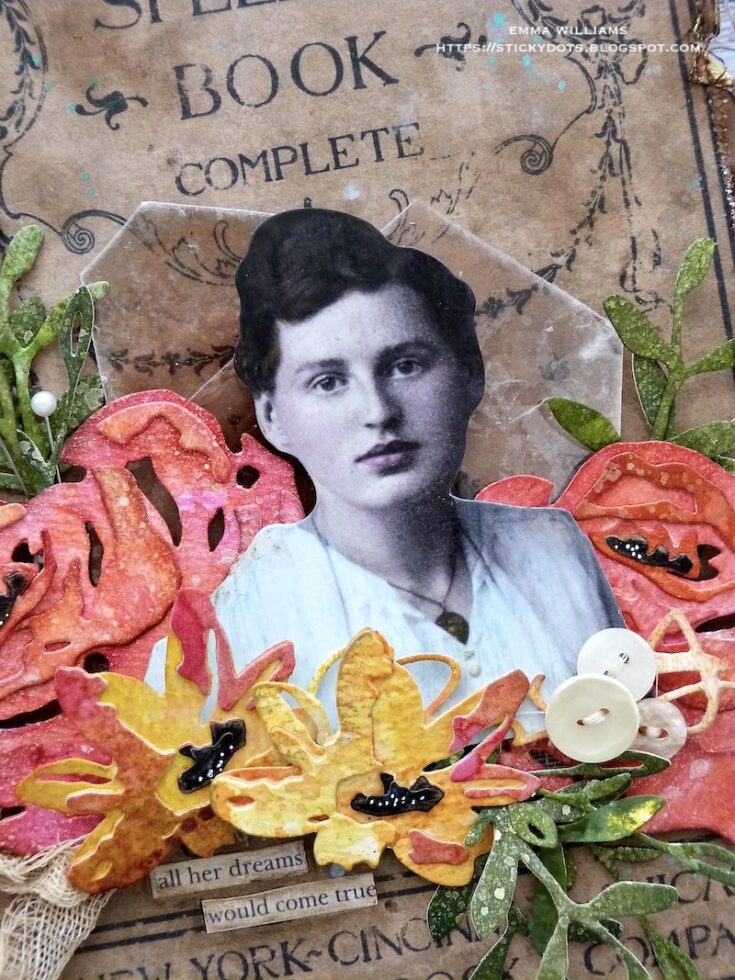
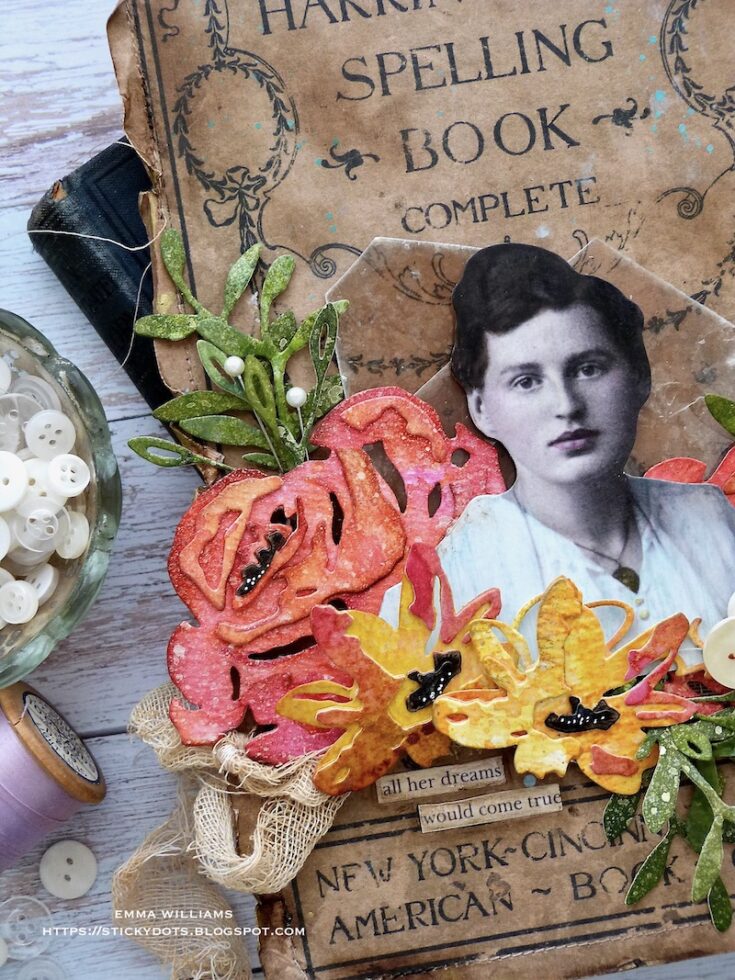
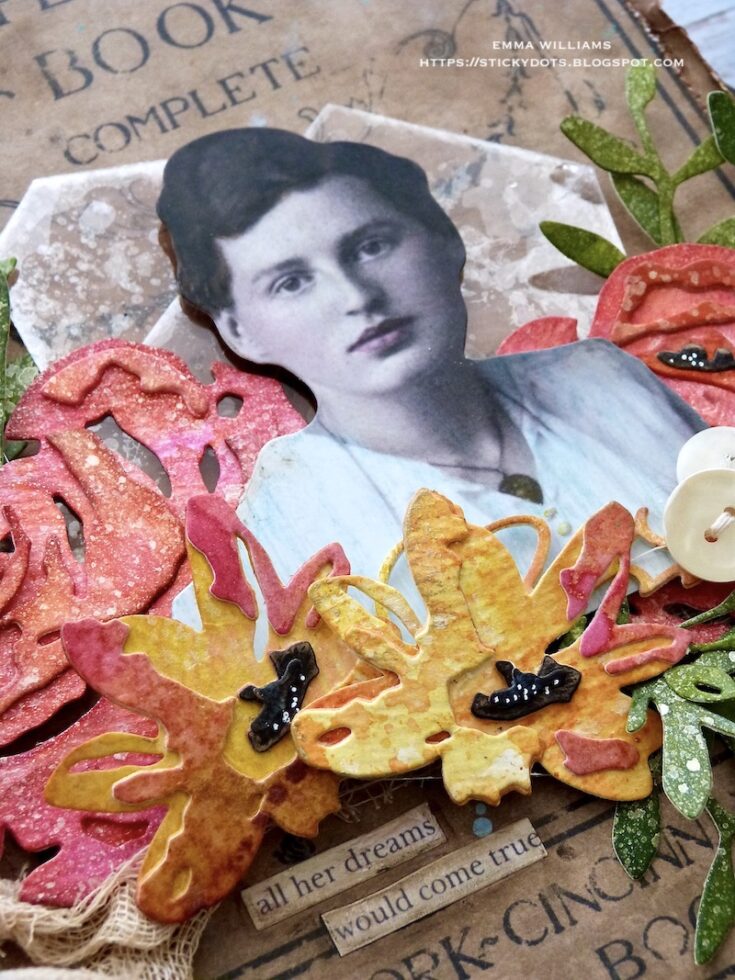
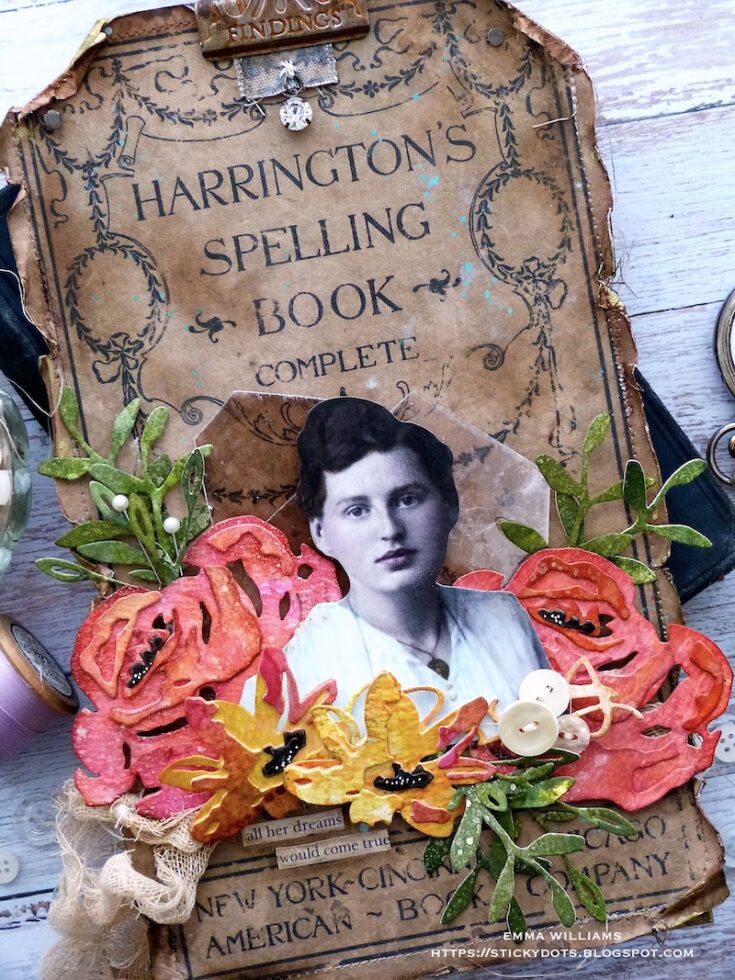
For the main focal point of my tag, I used one of the new Tim Holtz idea-ology Paper Doll Portraits and applied a color tint to this photo. To prime the surface of the photo, I applied a layer of clear gesso.

Color tint the photo using a water brush to add colors of Distress Crayon ~ Aged Mahogany, Peacock Feathers, Wild Honey and Gathered Twigs.
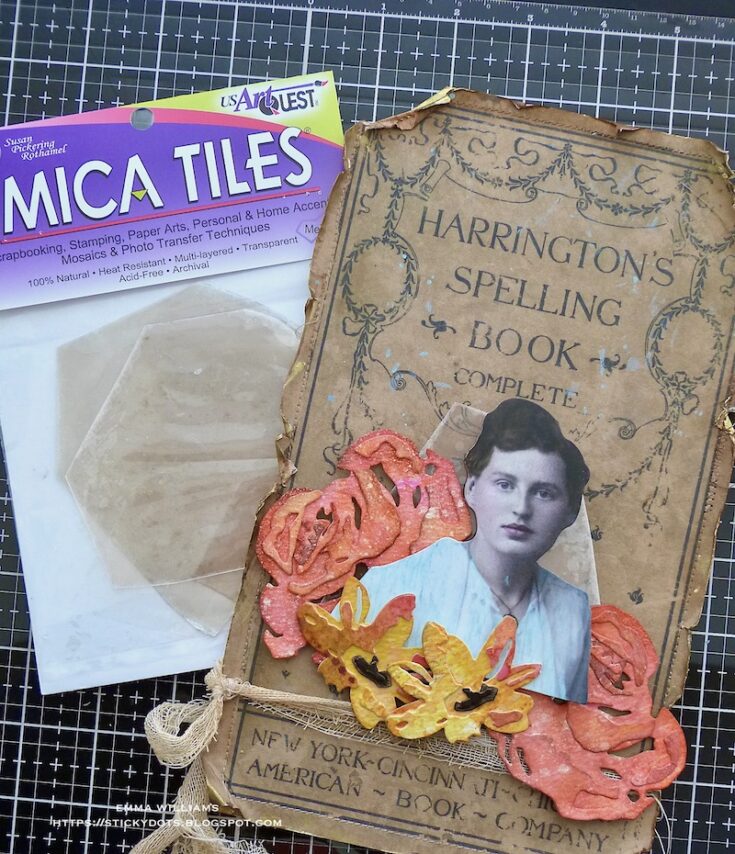
Mount the color tinted photo onto foam pads and then attach over the top of two layers of Mica Tiles. If you haven’t got these, then you can also use acetate, inked with Mushroom Alcohol Ink which will create a similar effect to the mica.
Arrange and attach the photo, together with the flowers.
I used various depths of foam pads to attach each piece onto my tag before adding the foliage using either hot glue or matte collage medium.
I also used some of the remaining inked cardstock to die cut a “squiggle” from the Abstract Faces and placed this into the arrangement.
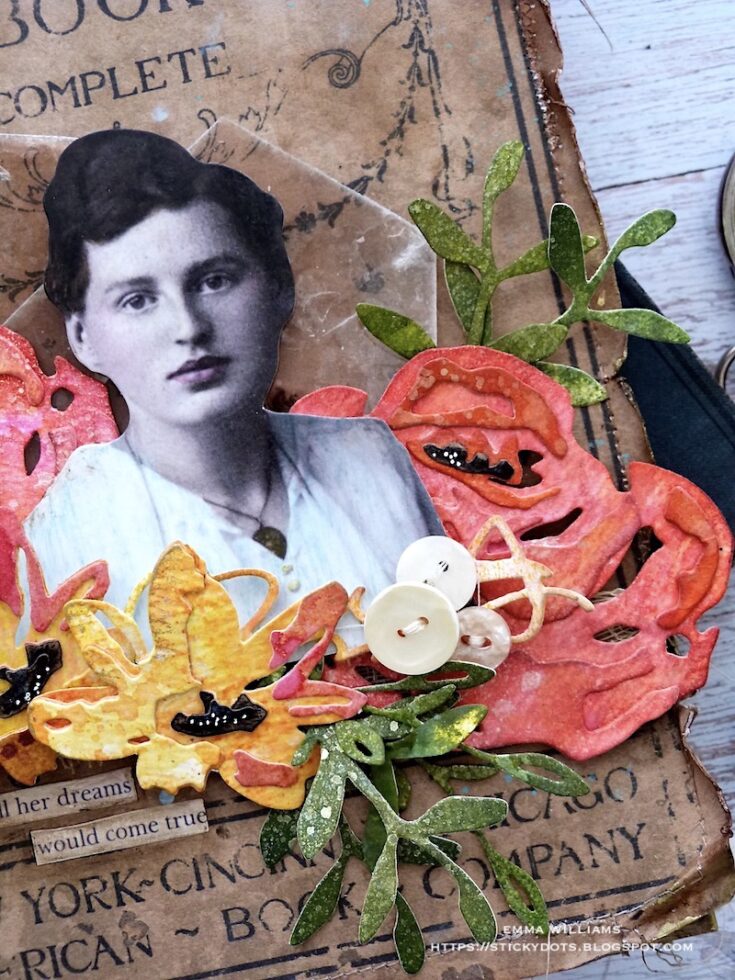
Thread three buttons with cotton thread and attach in a cluster to the right hand side of the Paper Doll portrait, placing them over the top of the die cut squiggle.
I added two pearl headed dress pins from my stash to complete the floral arrangement.
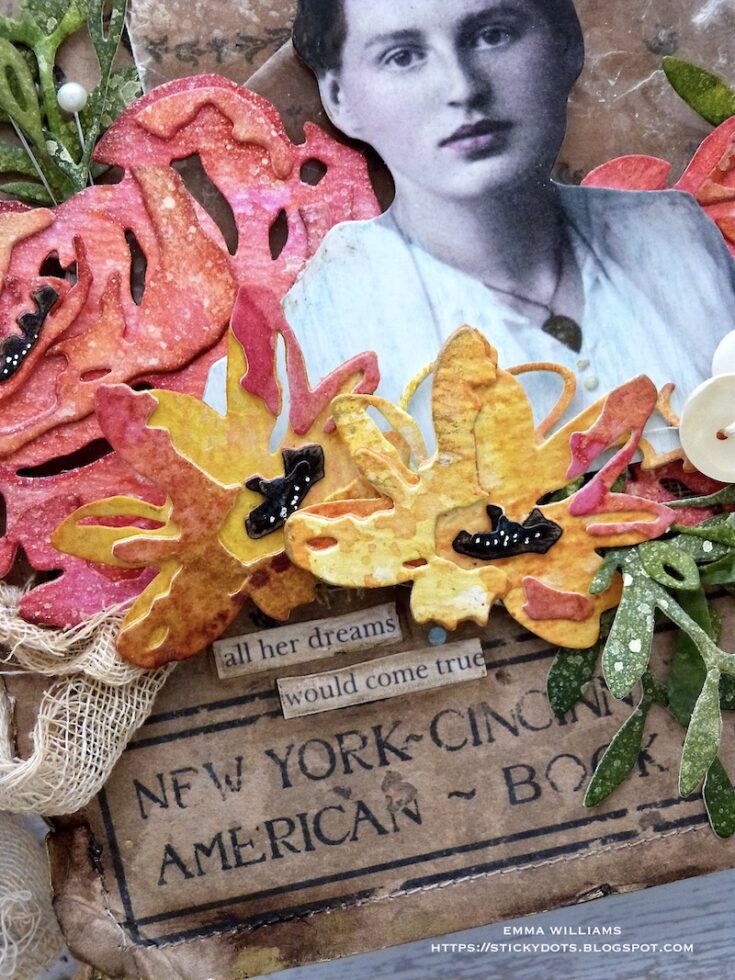
For the finishing touches, I added Clippings Stickers “all her dreams, would come true” and placed these beneath the flowers before rubbing the Walnut Stain Distress Crayon over the top to age the surface of the stickers.
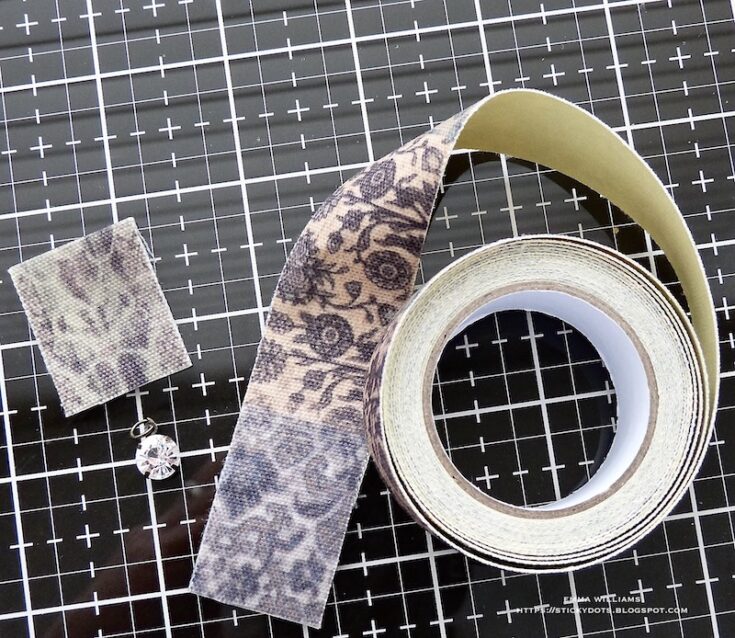
At the top of the tag, I cut a piece of adhesive Linen Tape, approx 1.5” and folded the tape in half before fraying the edges.
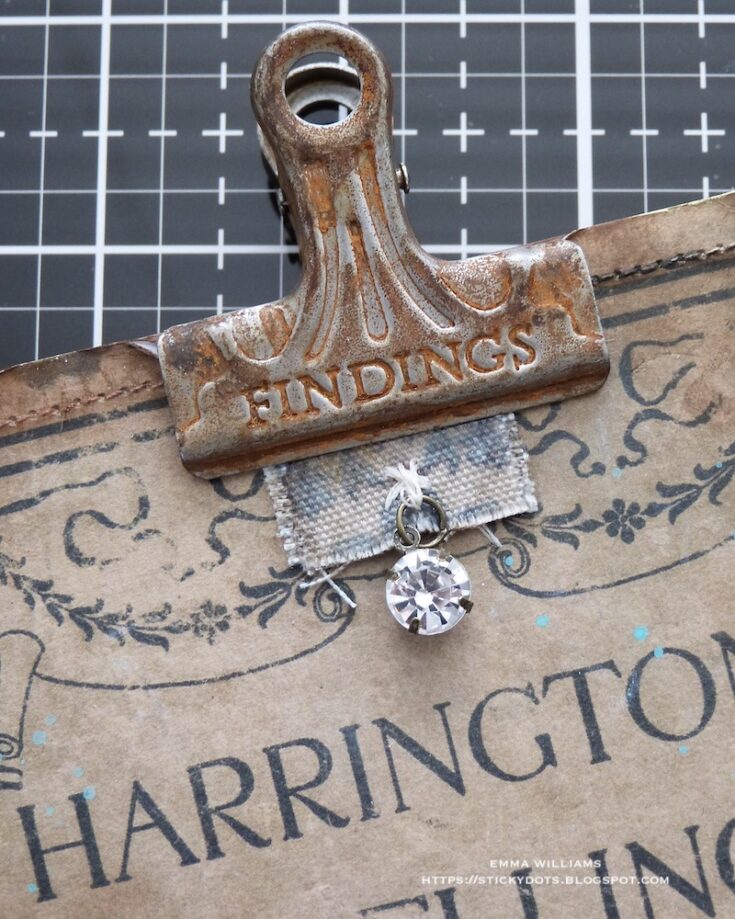
Using cotton thread, I threaded an Antiqued Gem onto the linen and then attached the completed piece to my tag, using Matte Collage Medium.

Finally, I clipped a Rusty Metal Clip to the top of the tag.
I hope you’ve been inspired by my project and loved the techniques I used, which I think could also be applied to scrapbook layouts or framed panels and if you have a special photo of a family member, then it would be wonderful to showcase those.
See you all again very soon and Happy Crafting everyone…Emma x
SUPPLIES:
|


Thanks so much for stopping by, and thanks to Emma for being our guest!
Yippee for Yana: Waves Builder 2 Ways

Hi friends! Happy Saturday! Please join me in welcoming back special guest Yana Smakula to our blog in the latest of our bi-monthly series, Yippee For Yana! To see even MORE brilliant ways to use our Waves Builder cling stamp see this post and this post! Read on for a fresh NEW take on this cling set, and enjoy! (Please note; our dear friend Yana is Ukrainian, to show support to our brothers and sisters in Ukraine, please see Yana’s post HERE.)
Hello, crafters, this is Yana Smakula for Simon Says Stamp! Welcome back for another Yippee For Yana video!
In this video, I’m sharing a different look at the Waves Builder stamp set from Simon. I am a big fan of all things abstract and abstract stamps are some of the most used in my craft room. Lately, I’ve been playing with the Waves Builder Cling Background and I think it is a genius stamp because it can be used for several different looks.

Each wave here is separate allowing you to stamp it in a different color of ink. This background is called Waves Builder and obviously, it was designed to create beautiful colorful waves. But just because it is called Waves Builder doesn’t mean it can’t be used as a builder for something else. You can use the waves to stamp hills and fields for your cards.
First, I stamped the waves as intended, meaning I left a gap between the sections. When you line up the individual sections of this stamp and stamp them you end up having a small gap between each section. I quite like that gap, it adds interest and helps separate the individual waves.
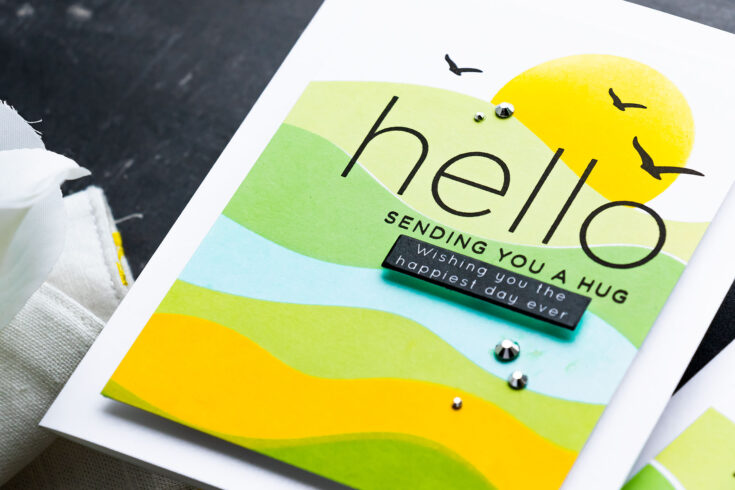
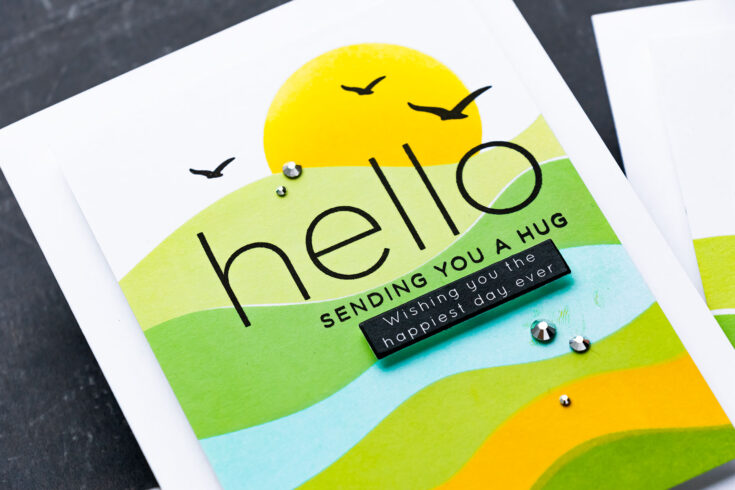
For my first background, I stamped the sections in various shades of green using Simon’s Positively Saturated ink in colors Field, Perfection, Limelicious, Sprout, and Celery. There are more sections, enough to cover an A2 card front, but I need to leave room at the top for sun.
Another way to use this stamp is to stamp sections without the white gaps. This takes a little bit more work as you have to pay more attention to aligning the section – I placed the section in my MISTI and slide it down a bit to make sure it would touch or even overlap the section below it.
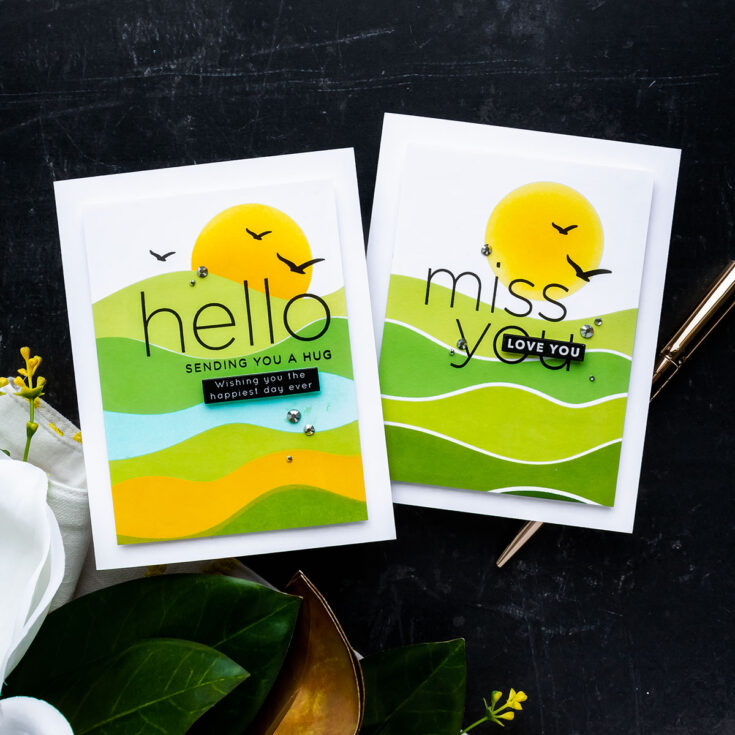
I added a yellow wave, it resembles a hill with blooming flowers, lets’s say those are daffodils or tulips. And I also added a light blue wave, meant to resemble a river or even a lake in my landscape stamping. So even though this stamp set is designed for creating pretty waves, it can be used for so much more, especially if you are into anything abstract.
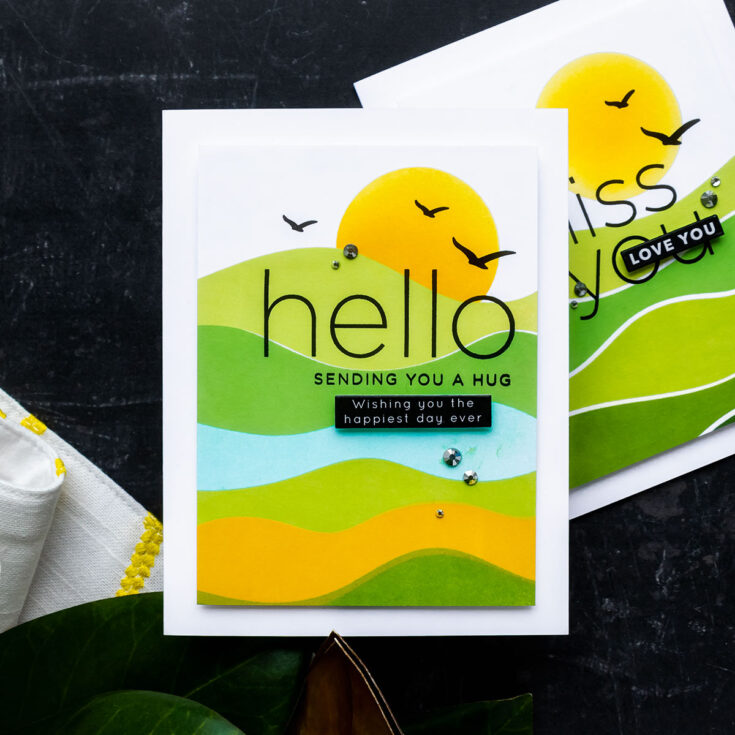
Having finished stamping, I trimmed these panels to 3 1/2″ by 4 3/4”.
To create a sun I used the Slimline Scene Builder stencil and ink blended the sun in Sunbeam ink, concentrating ink in the center. The second panel needed a bit of masking, as I wanted to have the sun lower on the horizon line and nearly setting. So I stamped that top wave on a piece of masking paper and fussy cut the mask to be able to ink blend the sun partially on this background. I used the same Sunbeam ink for the sun and also added a bit darker yellow using the Citrine ink on the horizon line. This gave me an absolutely beautiful sun.
With abstract backgrounds like this, you can do any sentiment you want. I stamped a simple Hello, Sending You a Hug on one background, and Miss You on the other background. I had to cut the Miss You stamp apart as it was too long for this background and I wanted it to be a two-line sentiment here.
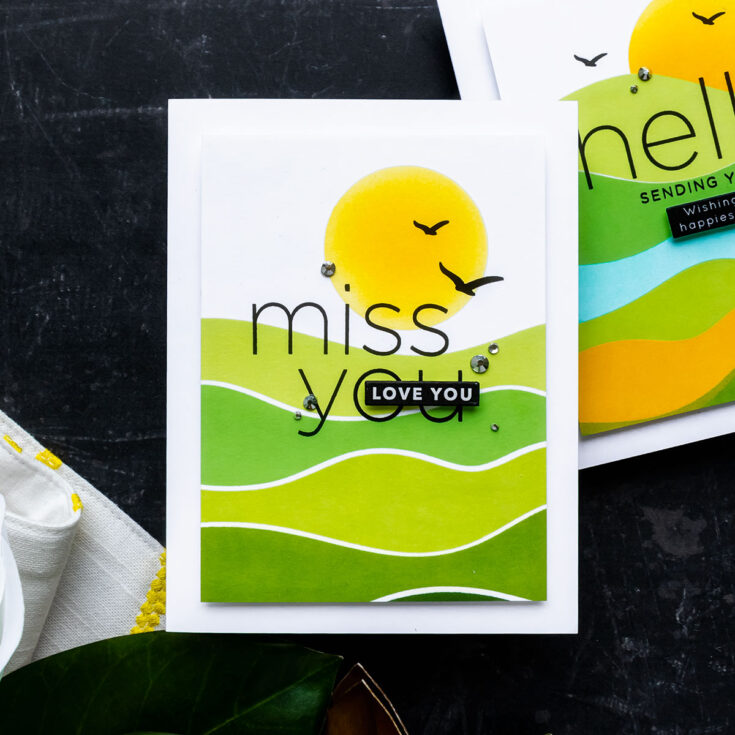
If you want, you can also add some subtle stamping to the background. I love to stamp birds flying in the sky, especially overlapping the sun. You can also stamp clouds and other elements.
I foam mounted the panels onto A2 white side folding card bases and finished my cards by adding a few silver gems. I hope you’ll give this idea a try! Have fun stamping!
WATCH THE VIDEO:
SUPPLIES:
|


Thanks so much for stopping by, and thanks to Yana for being our guest!
??Ways to support Ukraine:
If you are looking for ways to support Ukraine, we encourage you to visit this page on Yana’s blog:

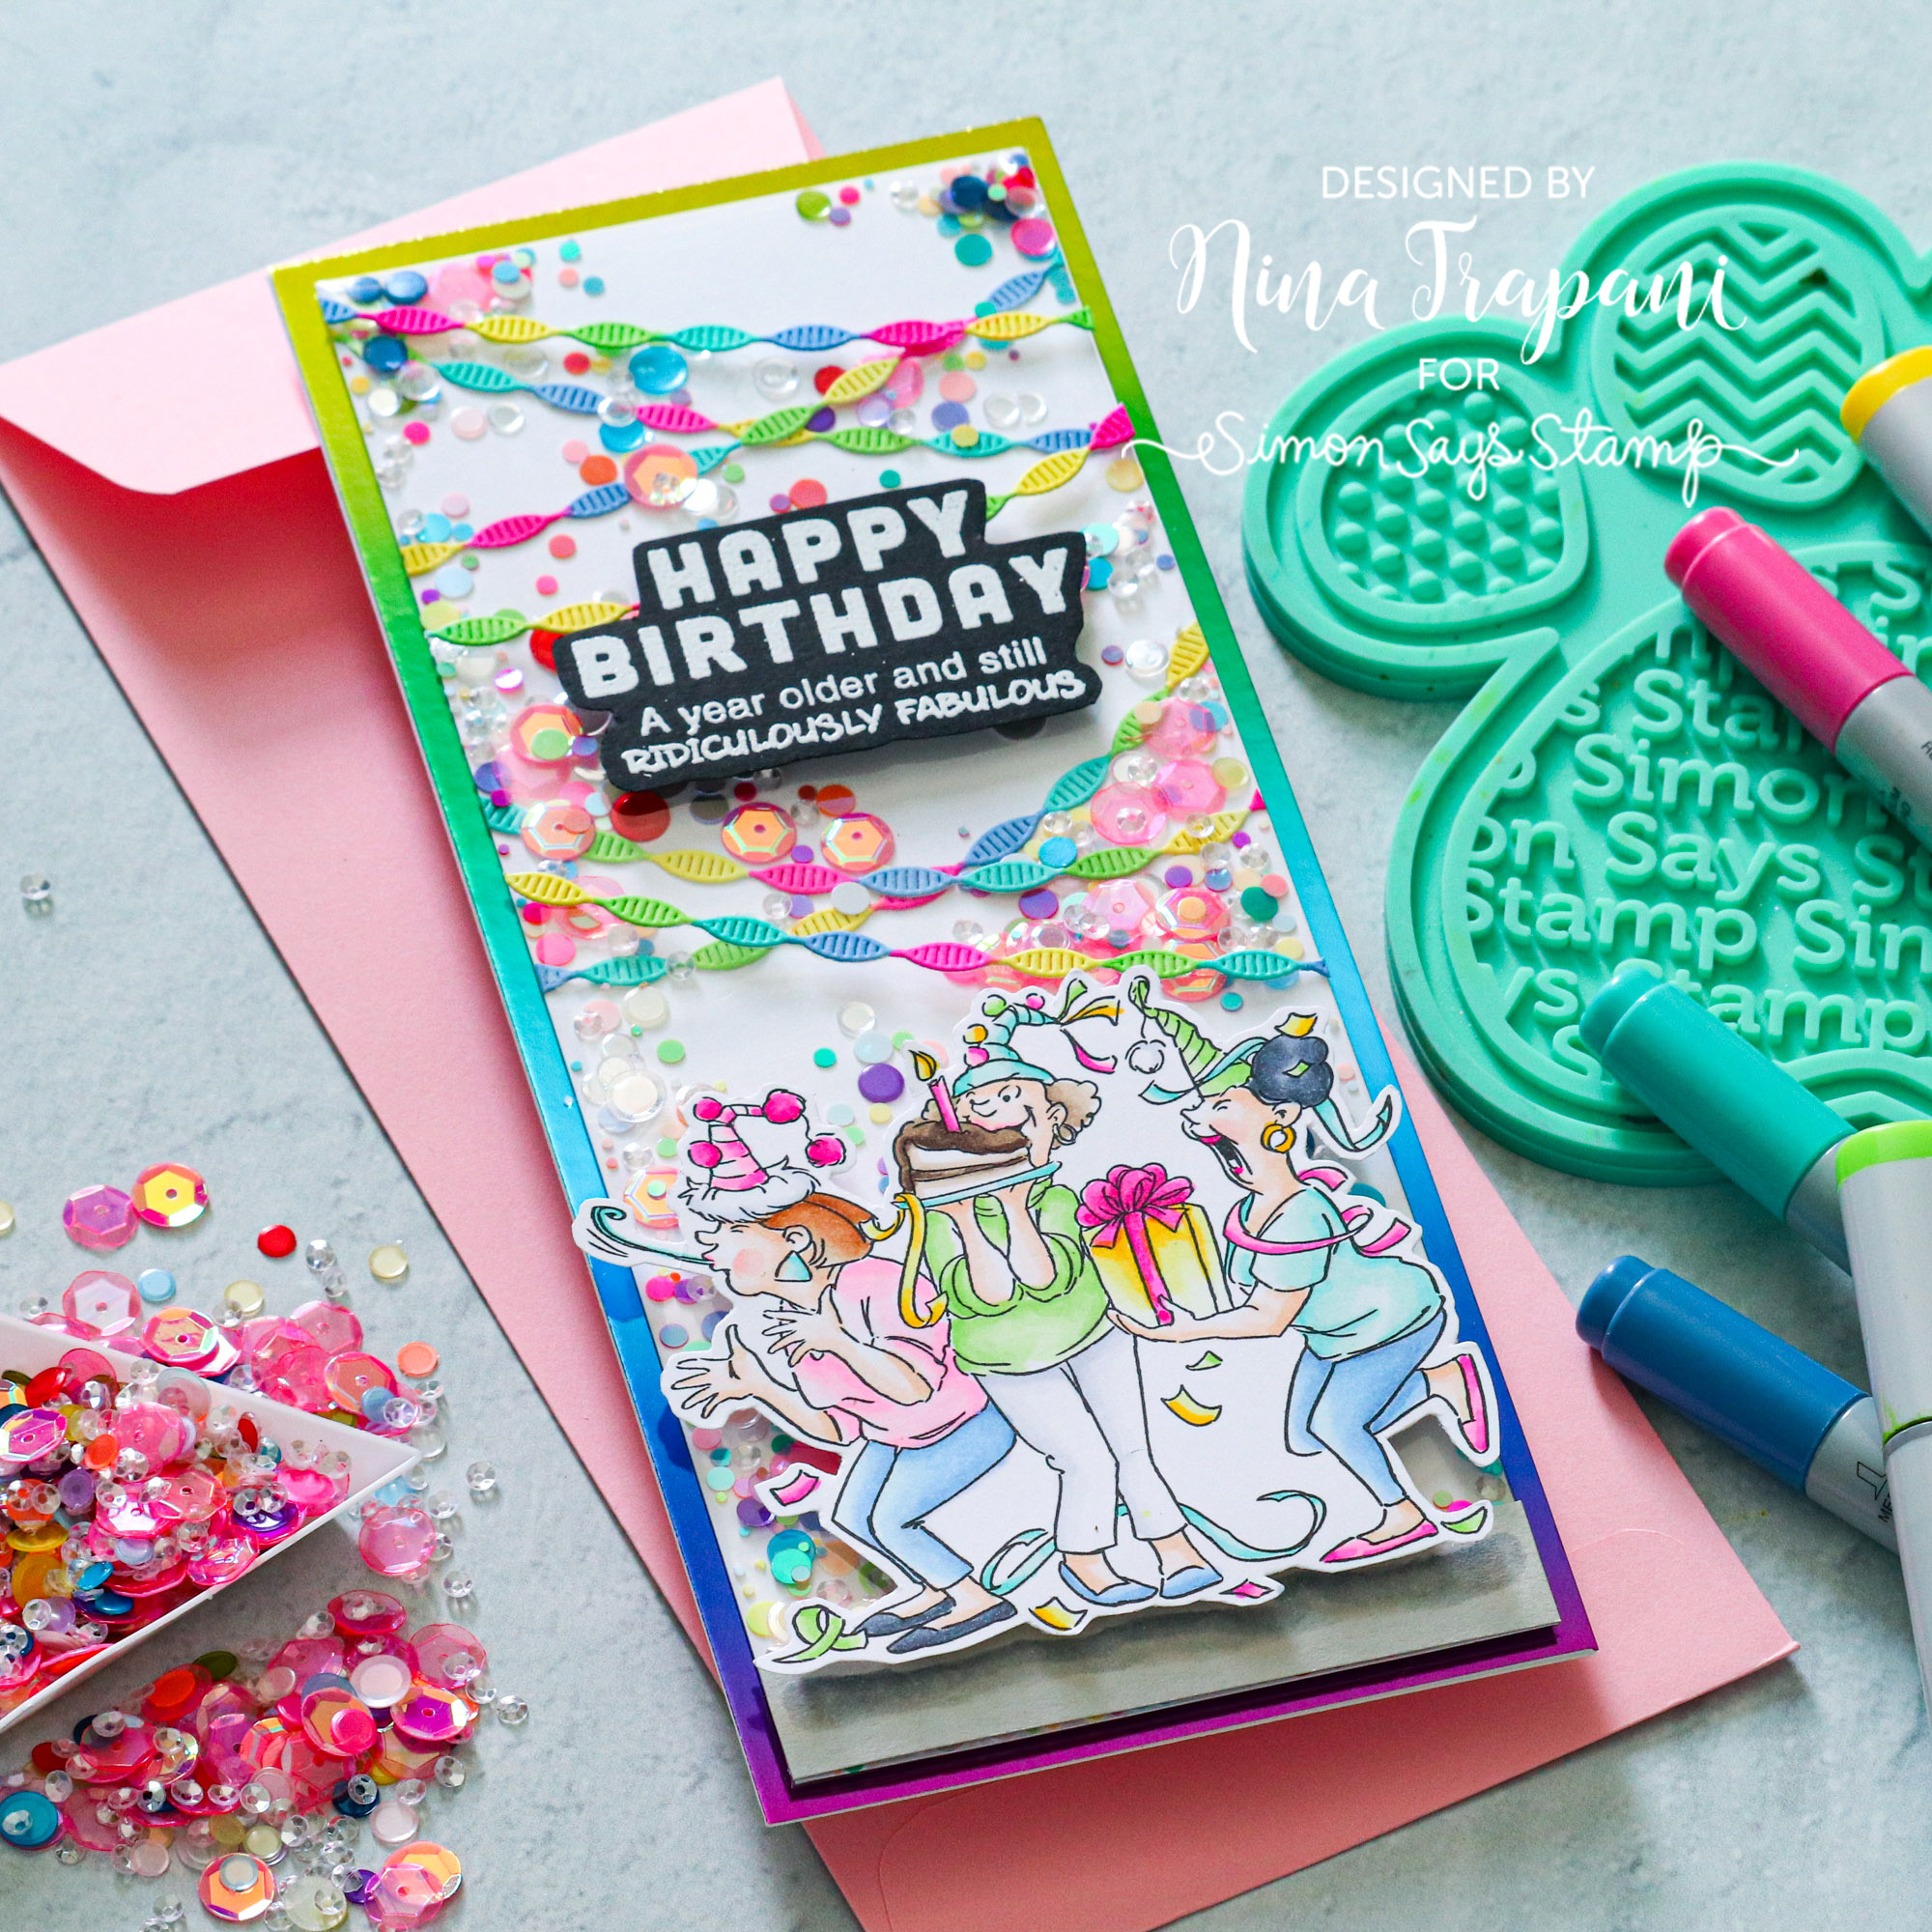
Funny Friday with Art Impressions! Girlfriends Birthday Shaker

Hello there friends! It’s Nina-Marie Trapani here with you and I am sharing a very fun project using Art Impressions’ Practically Perfect stamp set! I’m turning this adorable trio of girlfriends into a shaker card–perfect for a party!
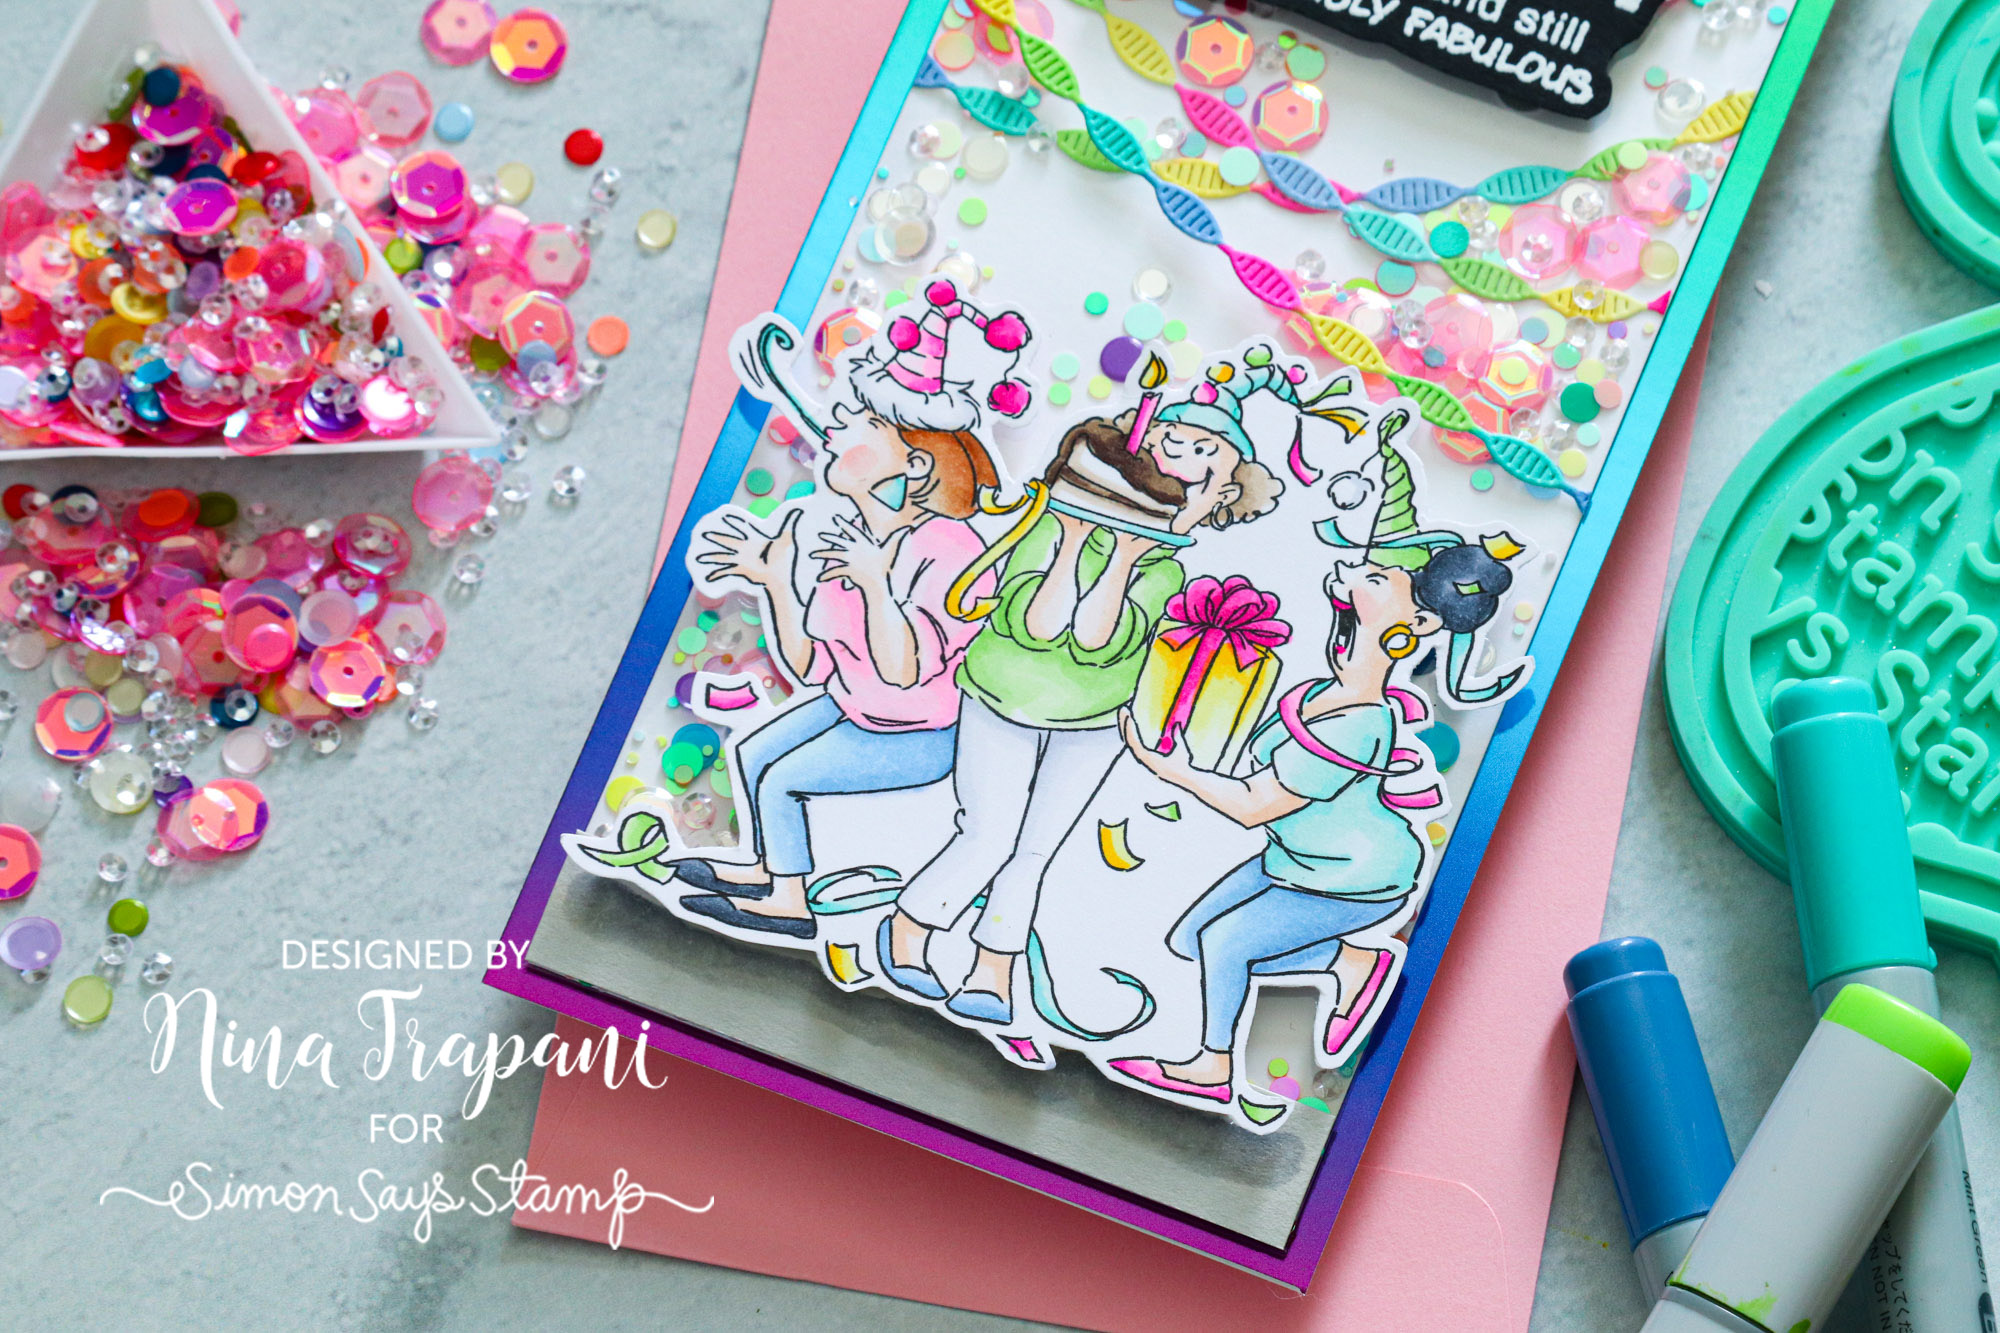
Want to see how I made this card? Be sure to watch the video below!
WATCH THE VIDEO
SUPPLIES
|


