Funny Friday with Art Impressions: Birthday Delivery
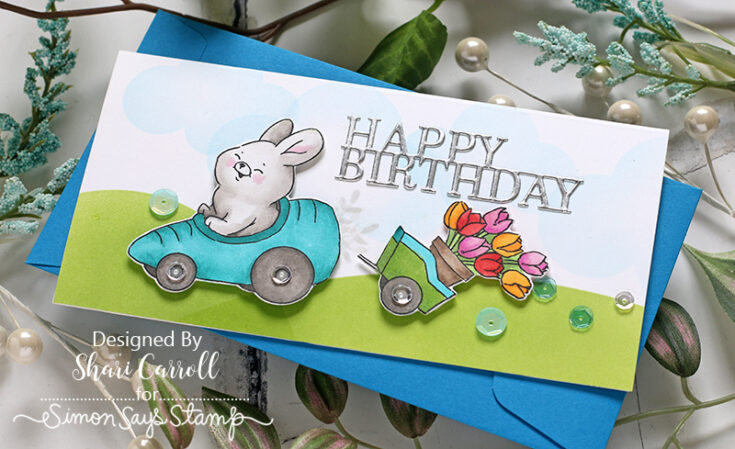
Welcome, everyone!! Shari here with another fun idea using the Art Impressions stamp and die set for our Funny Friday series. Today, I’m playing with the Happy Spring set, but I’ve made some changes.
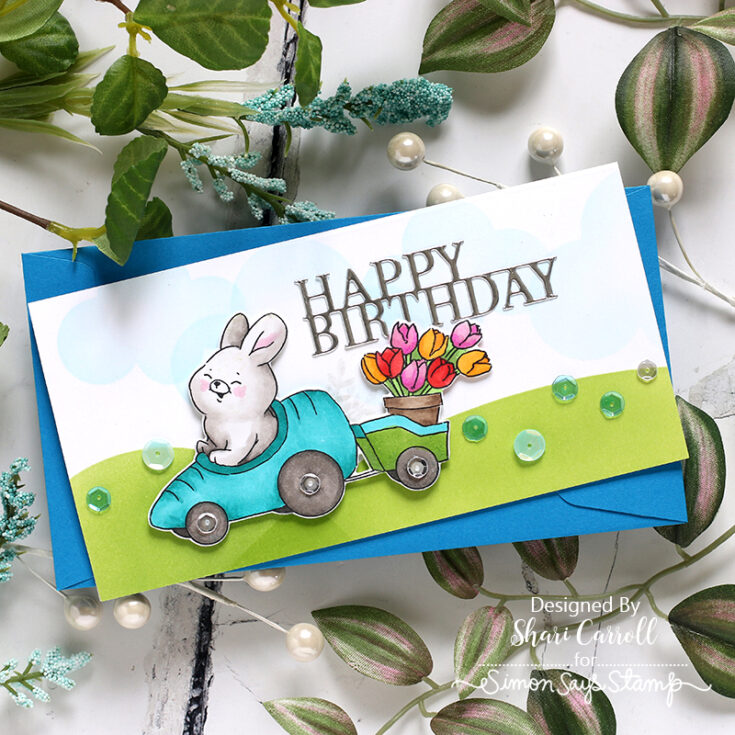
I’ve converted a carrot car to a speedy little racer by changing the color, cutting the stems, and adding a hint of exhaust. This is a great way to extend your spring stamps and pull them into summer.
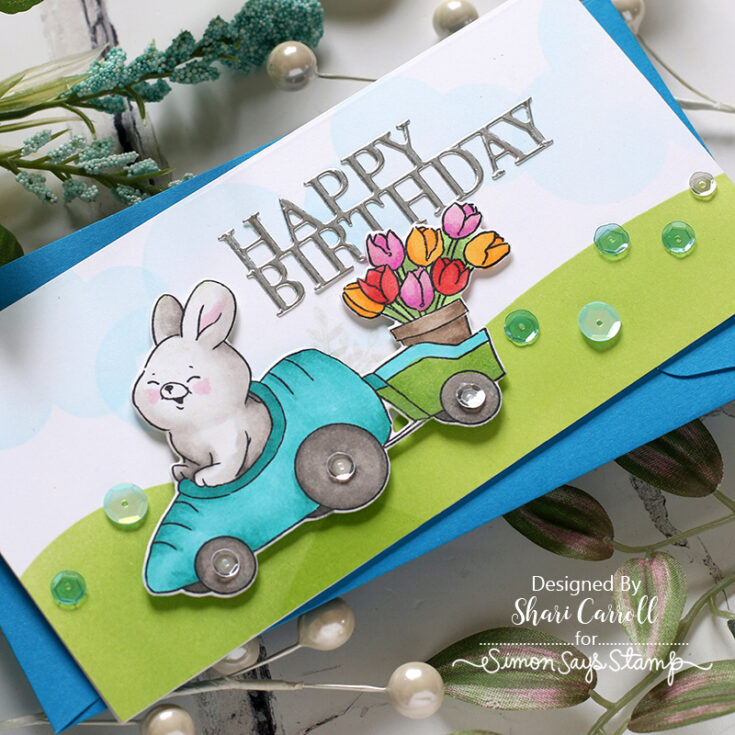
BUT WAIT!! I had a last-minute thought!! To make this funnier, I cut the wagon away from the car and tilted it to look like the bunny had lost its load!!
To see how I created this card, check out the video below. Enjoy!!
SUPPLIES:
|


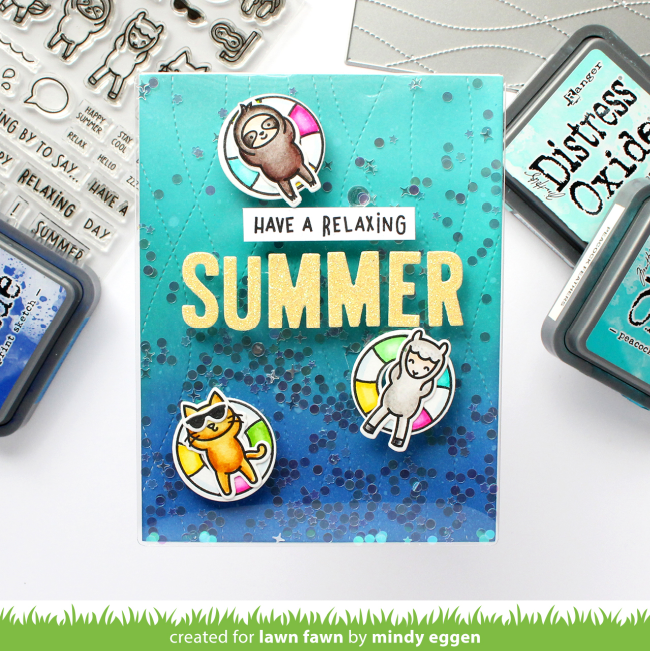
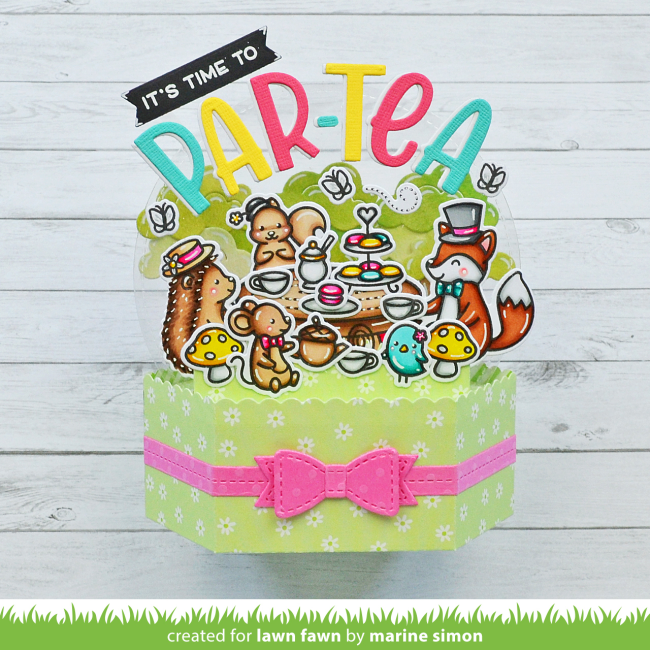
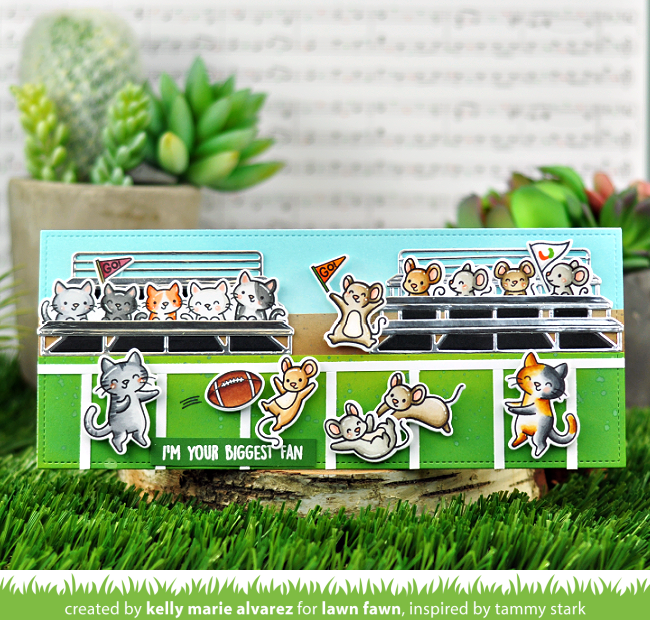
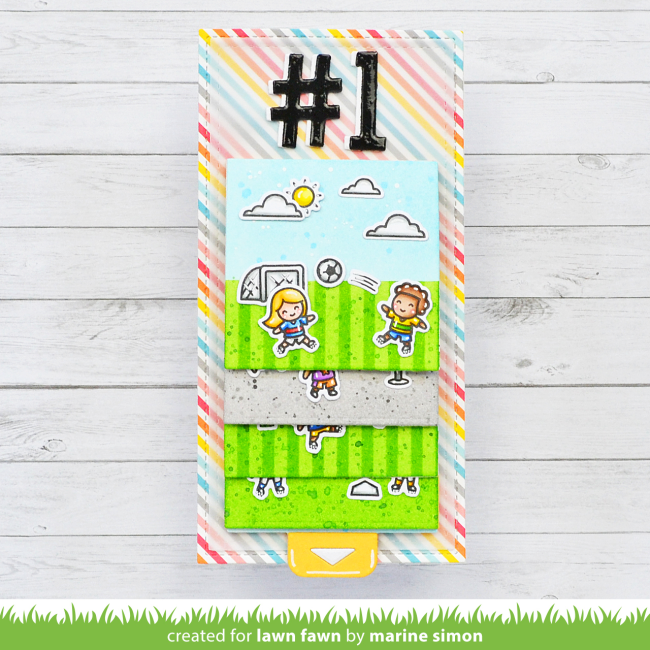
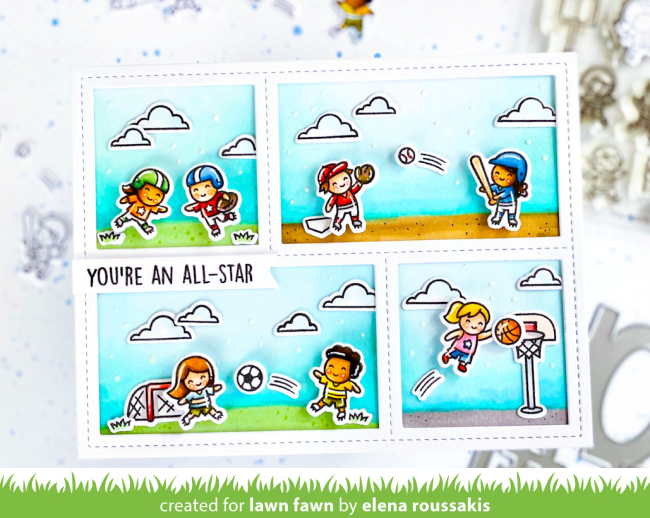
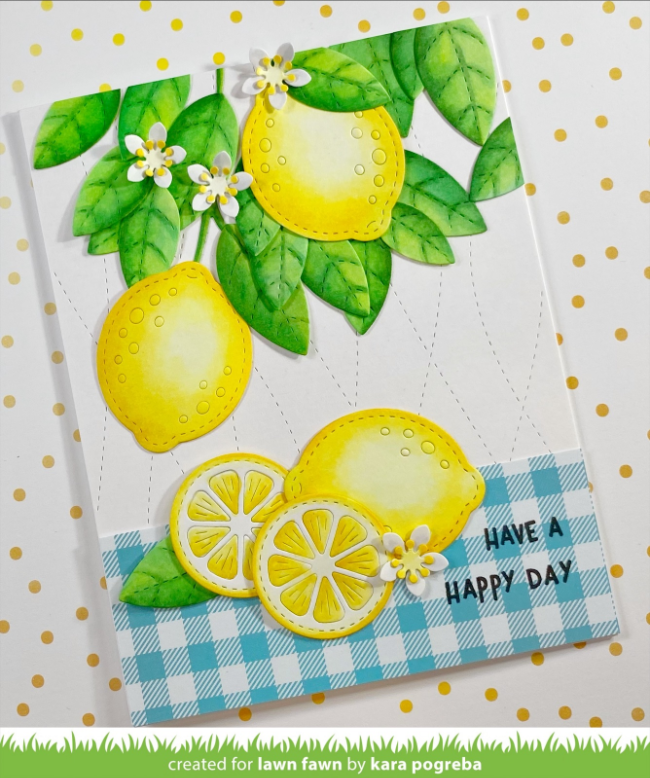
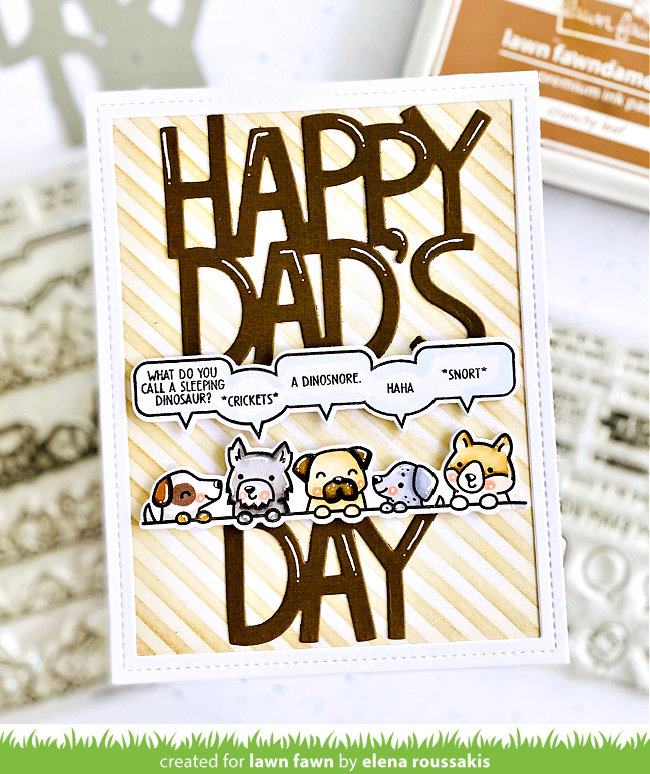
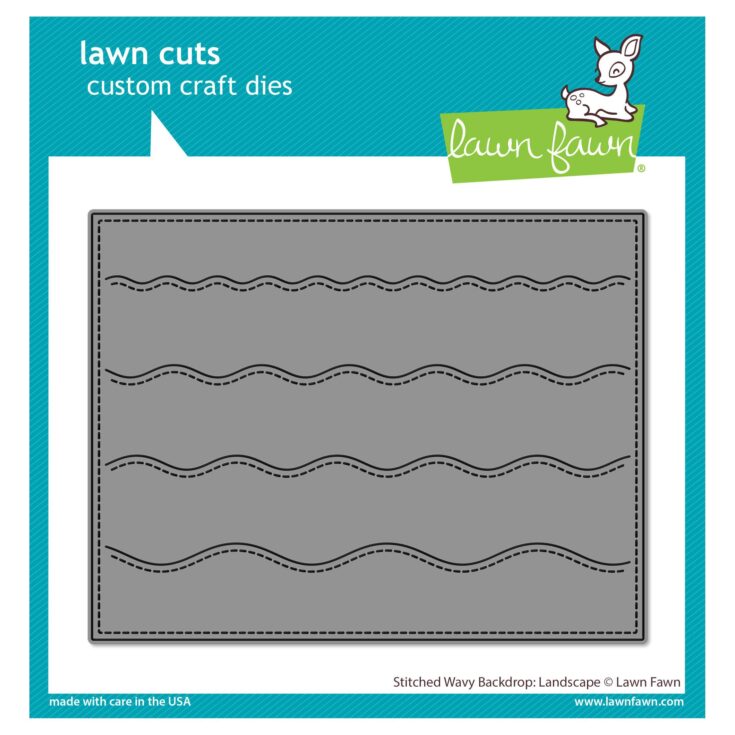
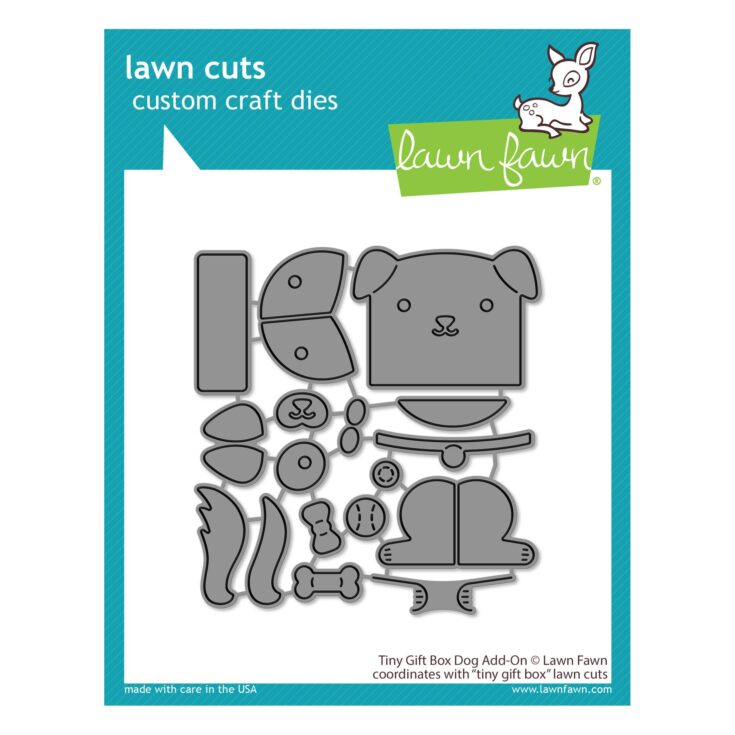
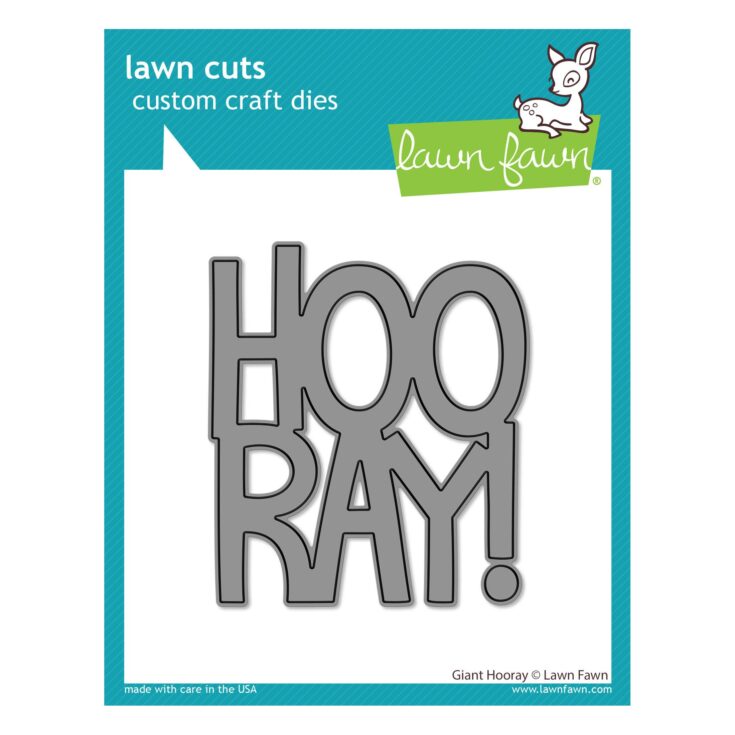
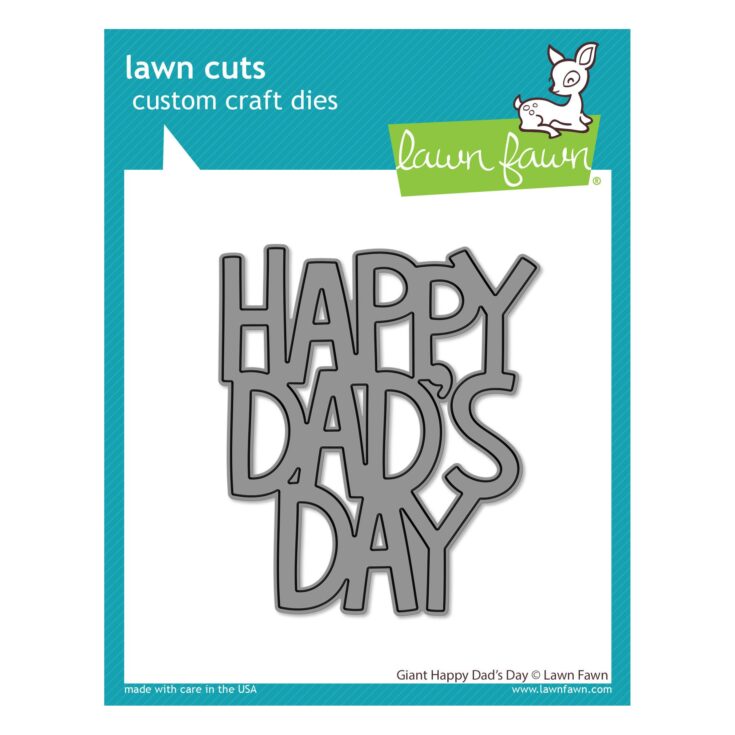
Shipping NOW: New Lawn Fawn!
Hi friends!! HOORAY! It’s time for a cuter than cute NEW Lawn Fawn release! The designers did NOT disappoint in the adorable inspiration! Big thanks to Caly Person, Mindy Eggen, Marine Simon, Kelly-Marie Alvarez, Elena Roussakis, and Kara Pogreba!


Shop the new release:
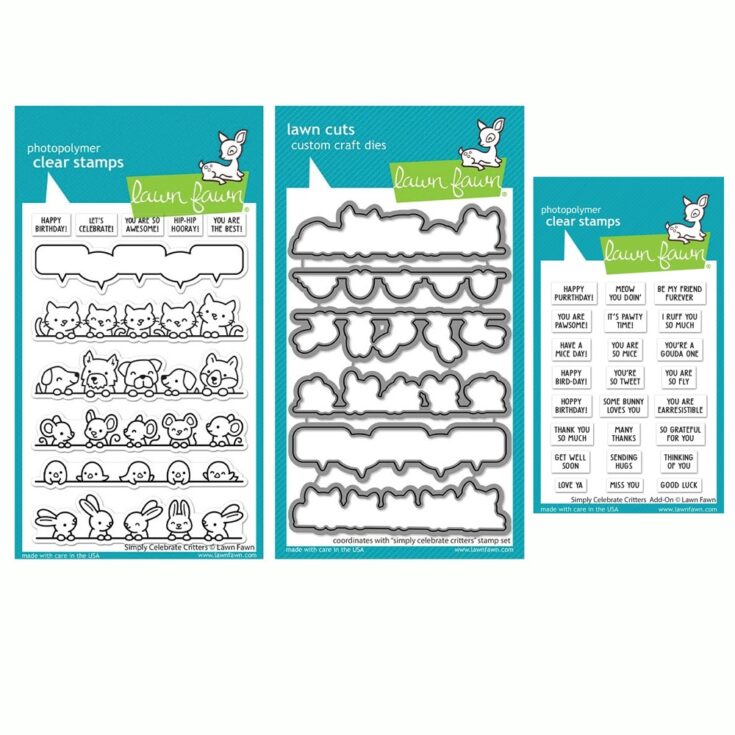
Learn more about this ADORABLE set:
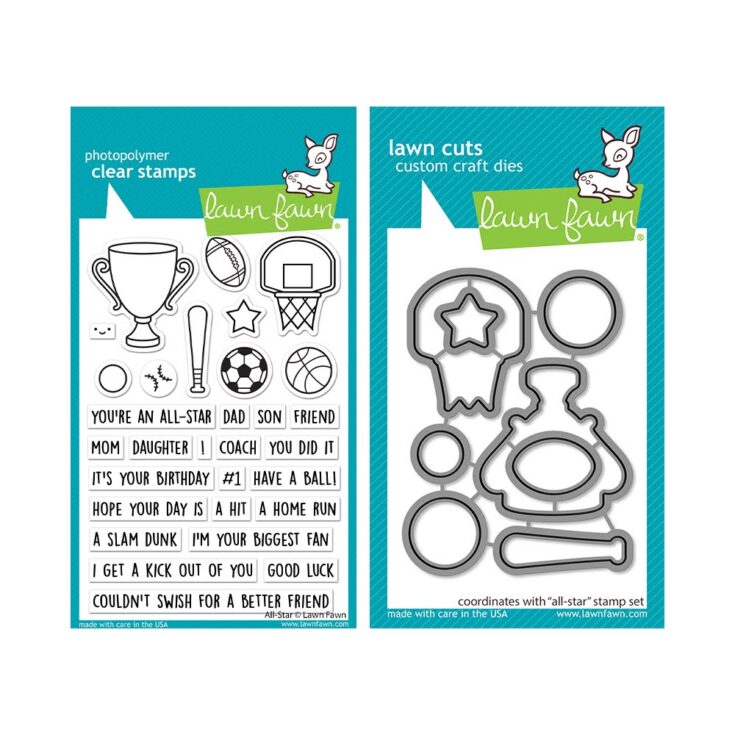
Learn more about this ADORABLE set:
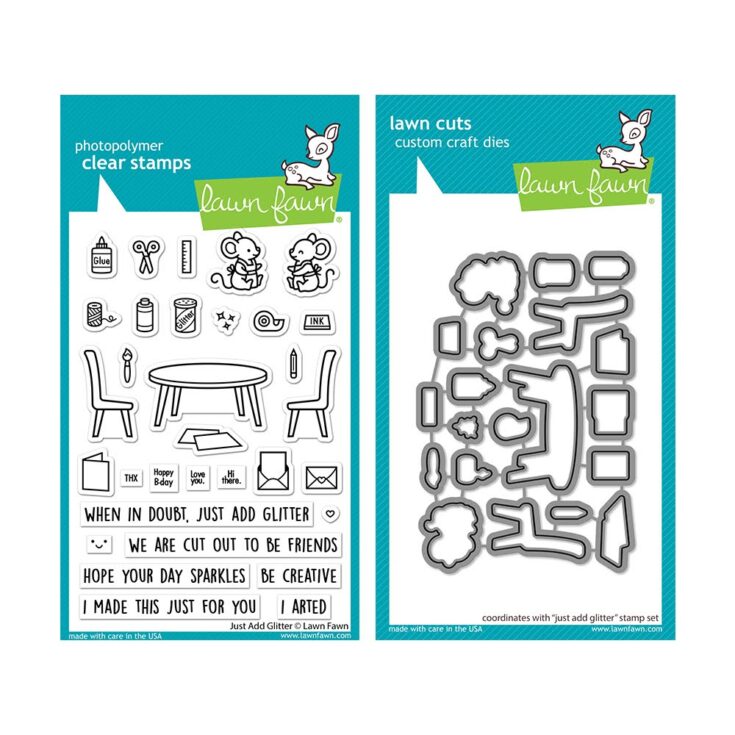
Learn more about this ADORABLE set:
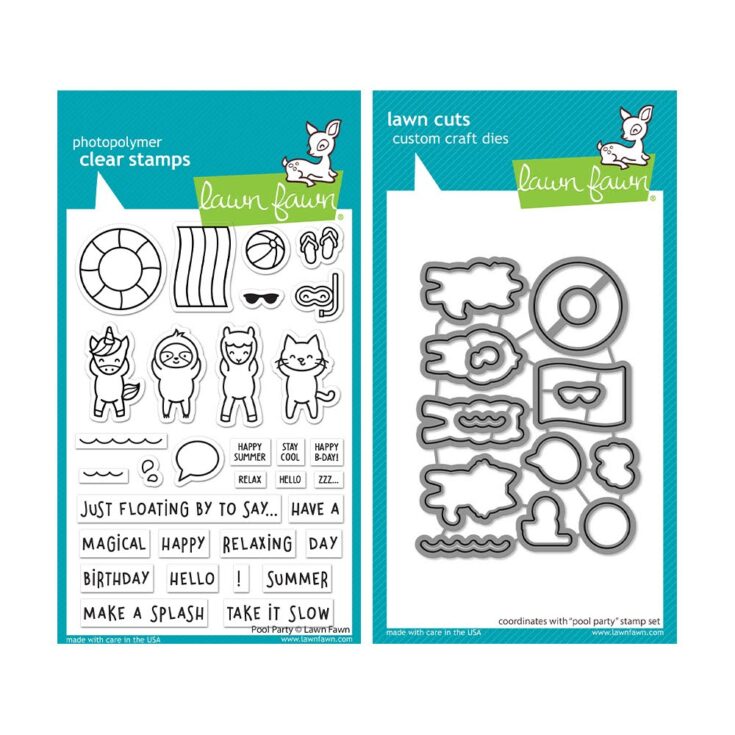
Learn more about this ADORABLE set:
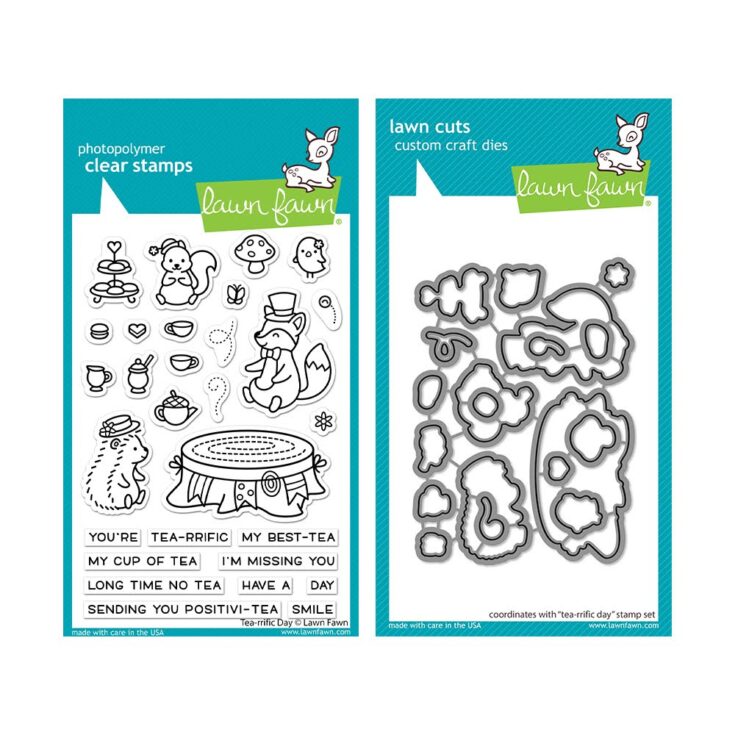
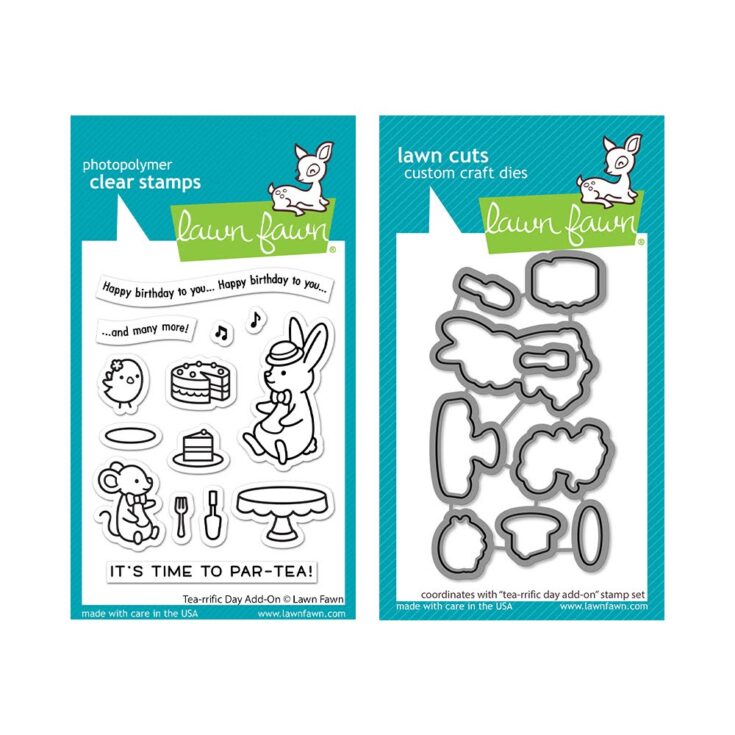
Learn more about these ADORABLE sets:
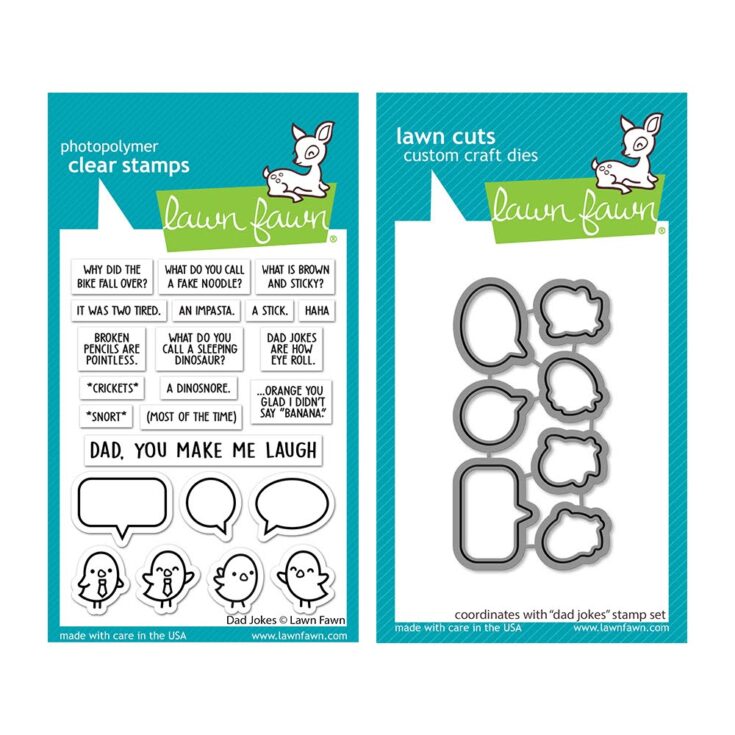
Learn more about this ADORABLE set:
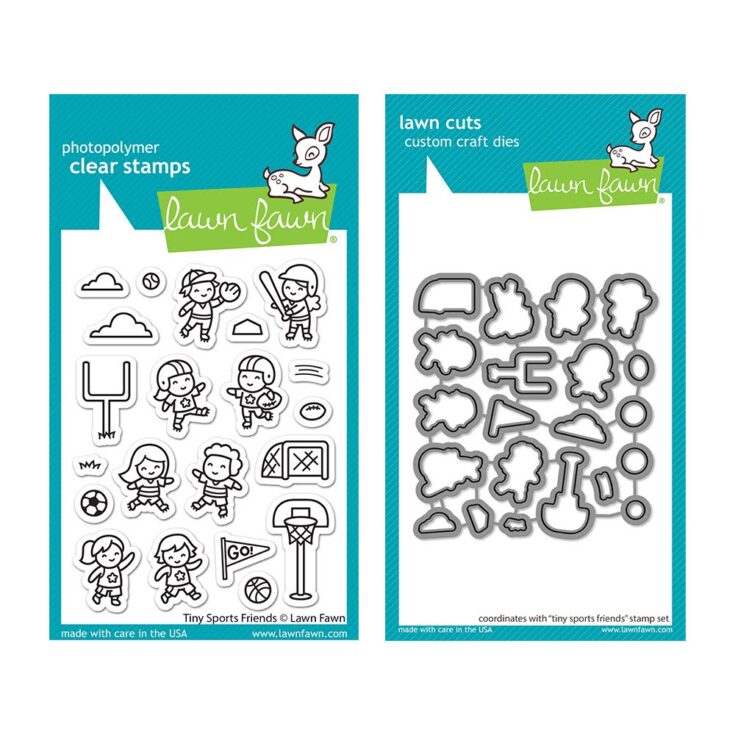
Learn more about this ADORABLE set:
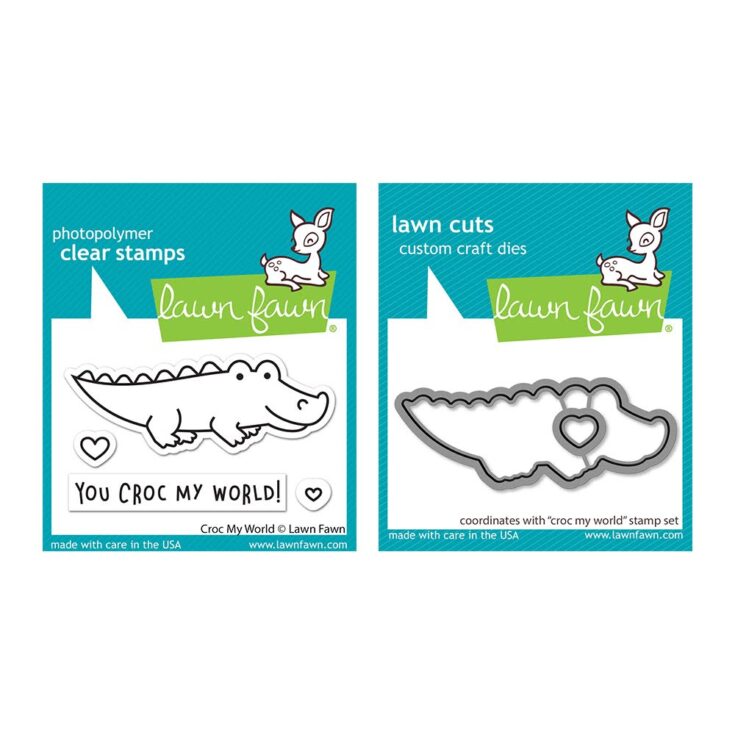
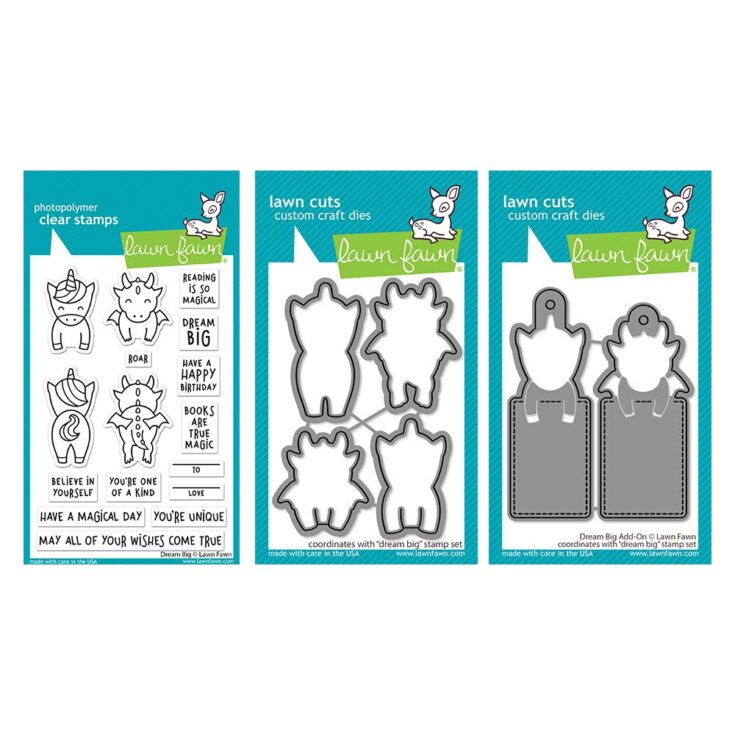

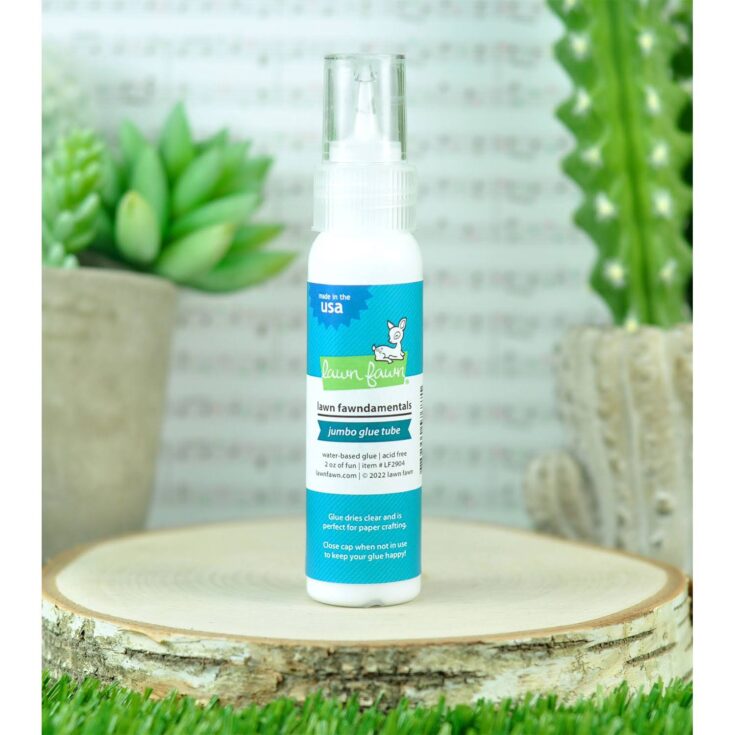
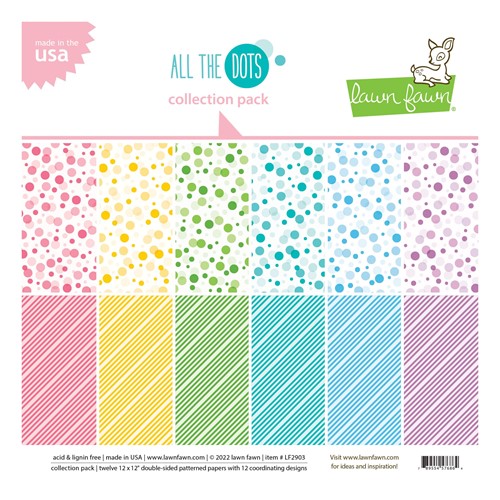
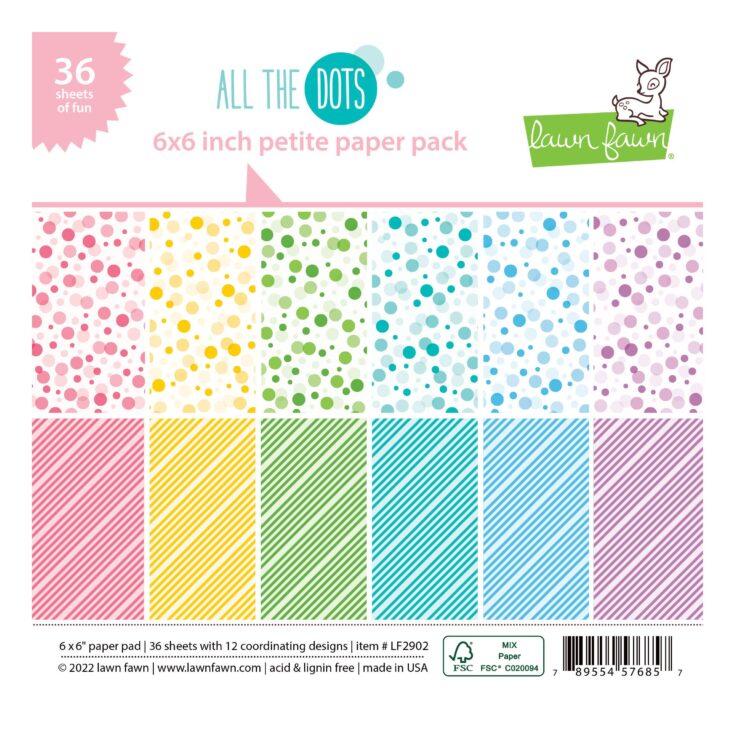
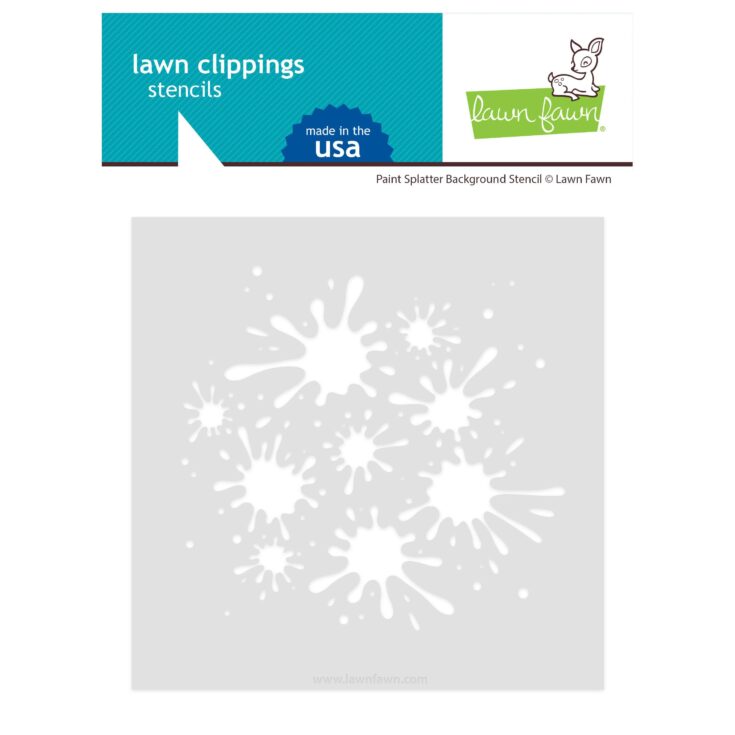
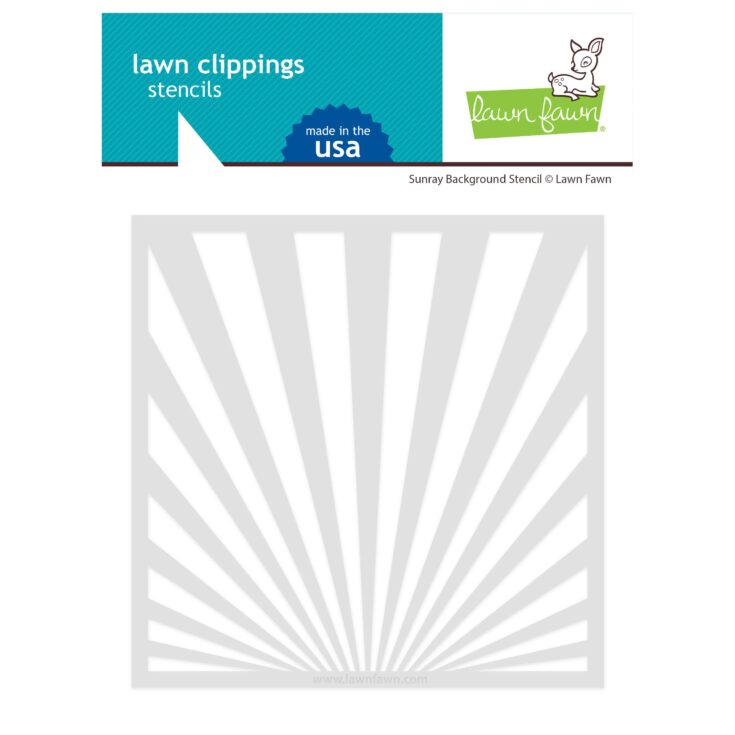
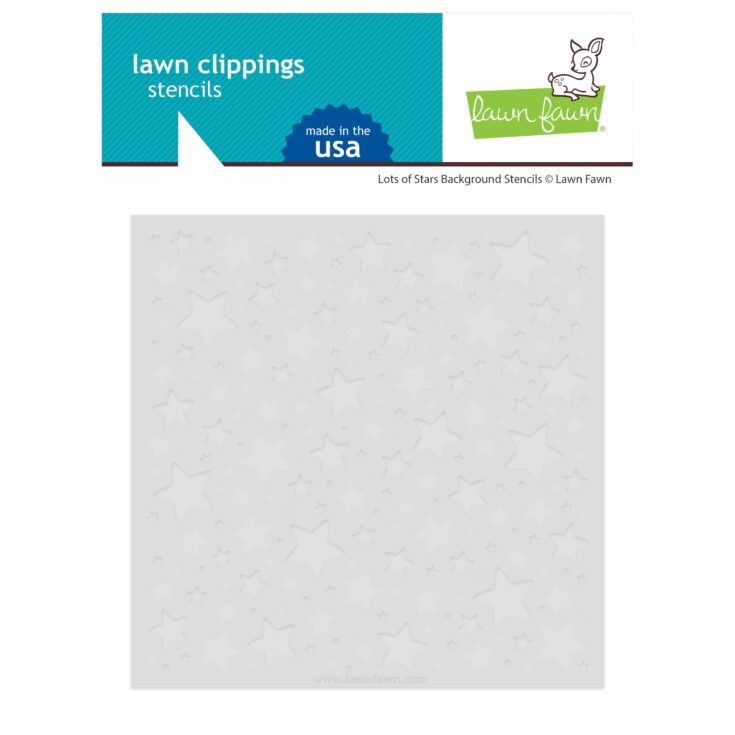
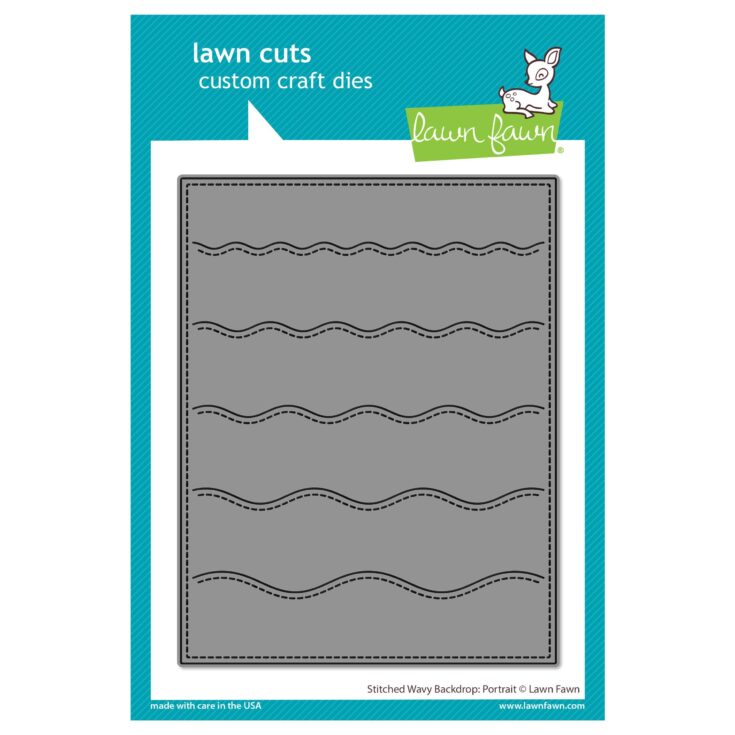

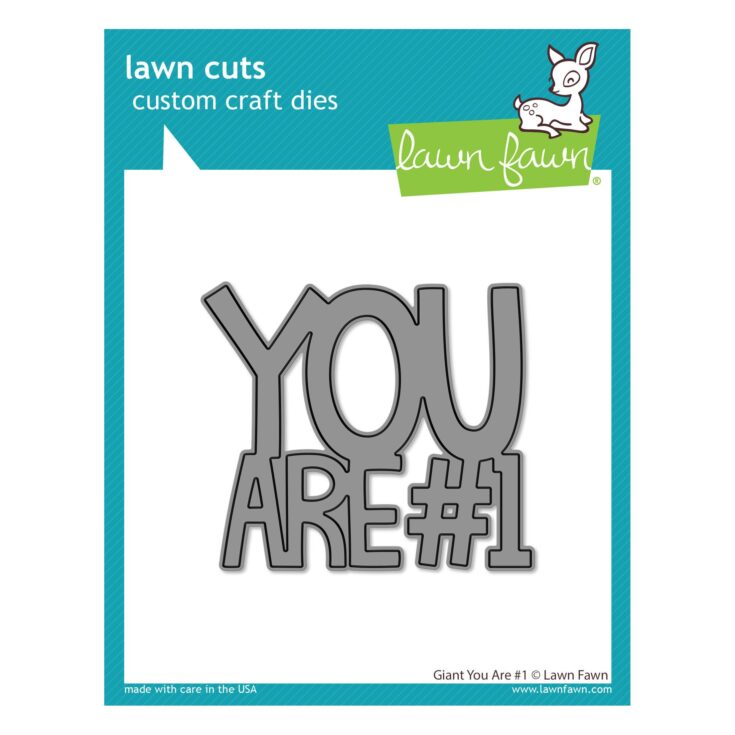
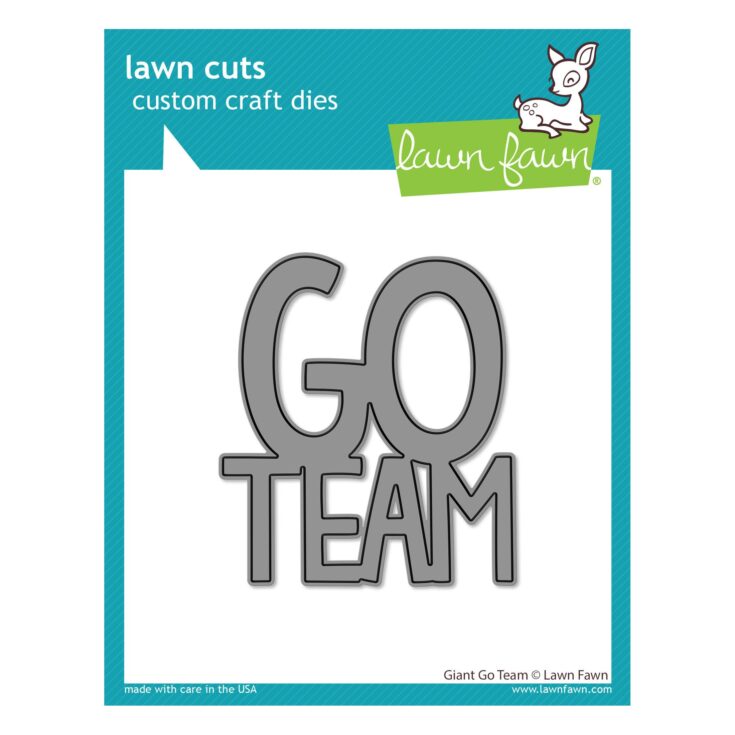
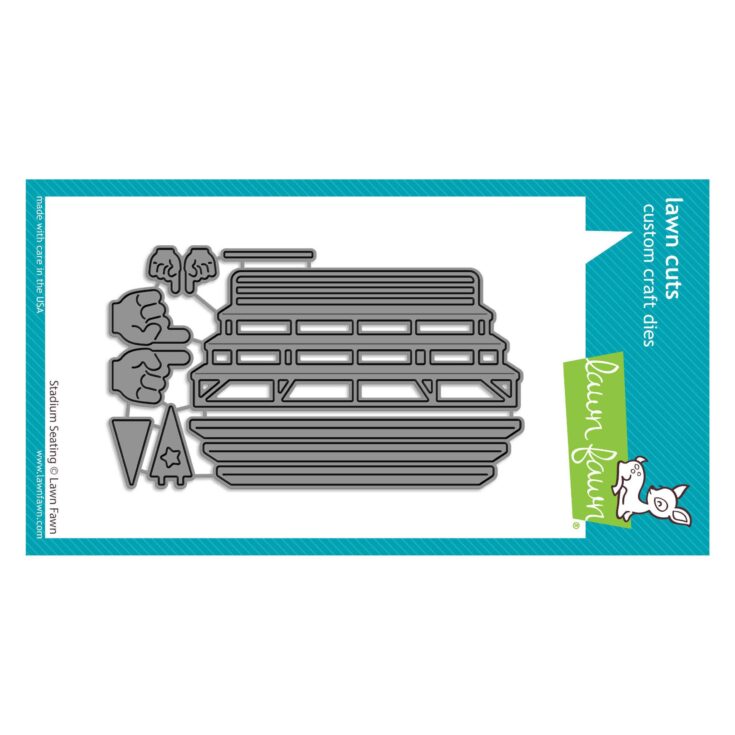
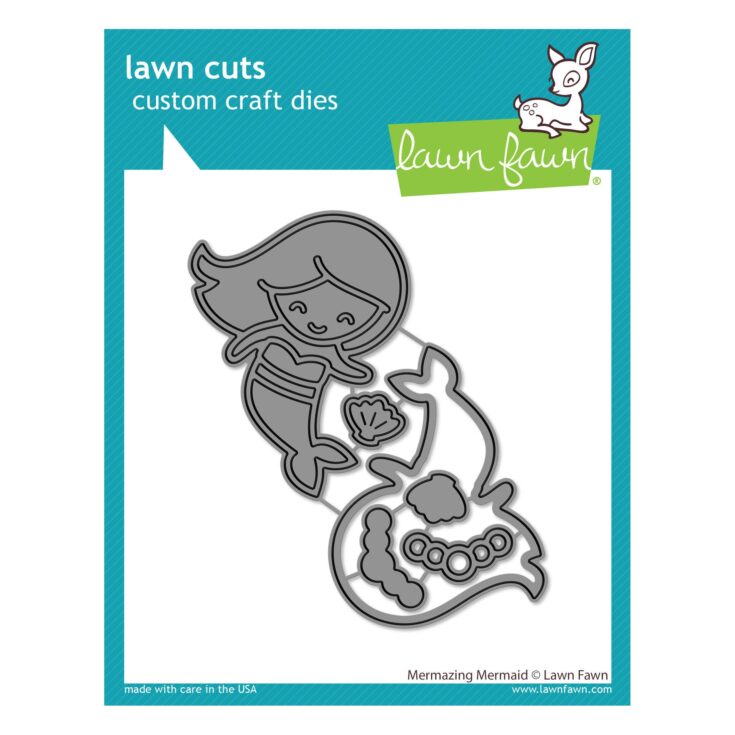

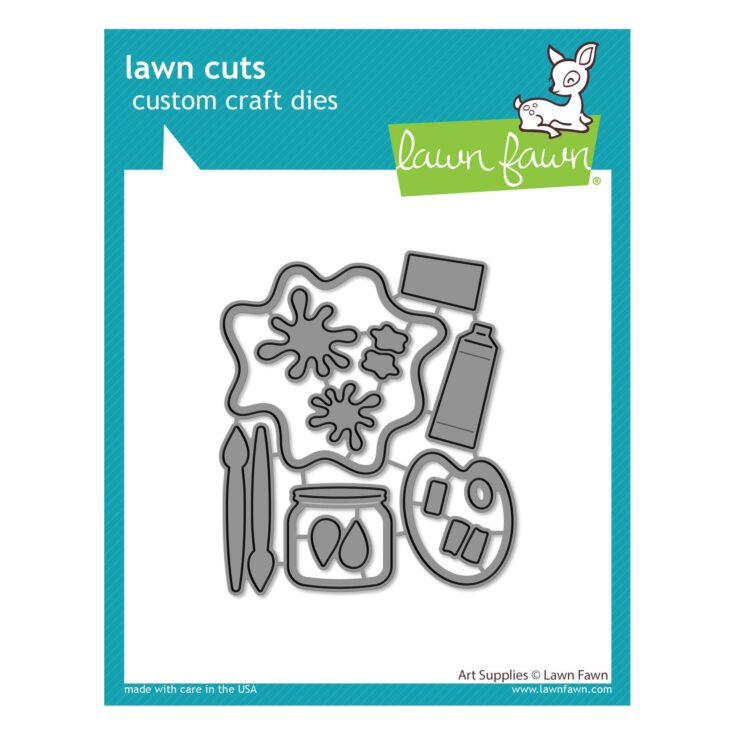
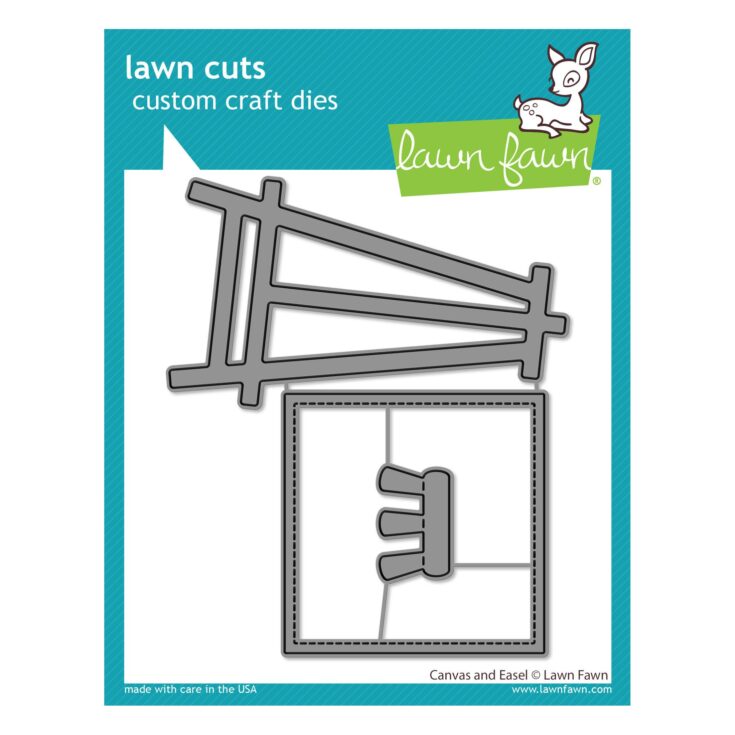
Learn MORE about these adorable artsy sets:
Yay You Blog Hop WINNERS!
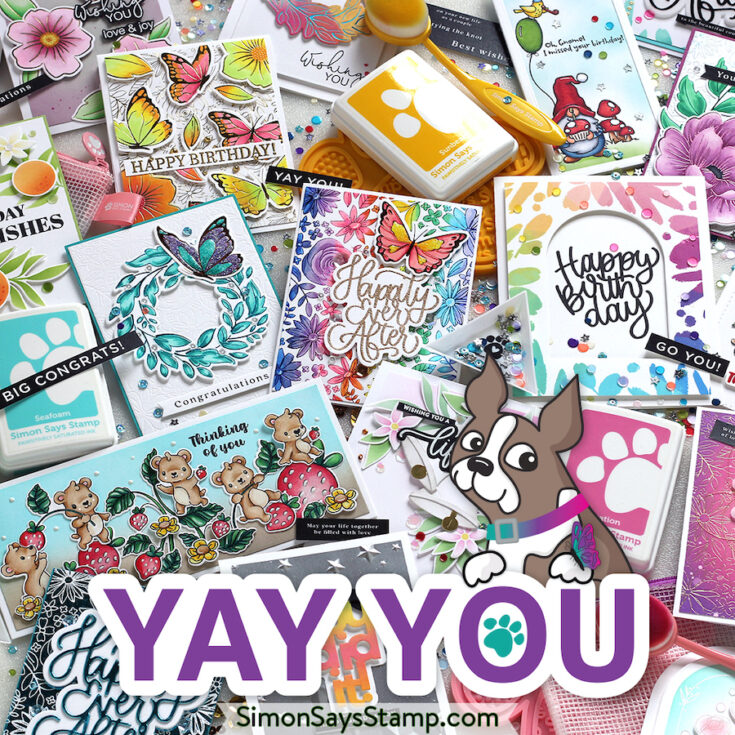
Hello, friends! Our latest release, Yay You, is a celebration! This collection shines with foil and cut sets like Dancing Butterflies, Sketched Leafy Wreath, and Intricate Floral Background; new love-themed stamp and die sets like Arched Borders and Happily a Lifetime; and sweet stencils like Domed Arches Masks and the Orange Blossom stencil and die combo. We’ve expanded our Basic Box Card add-ons with Basic Box Card Stars and Basic Box Card Grass, and we’ve added TWO new colors of our mesh bag in Cheeky and Orchid. Plus, don’t miss the darling Strawbeary stamps and dies, which combine berries and bears!
To celebrate this phenomenal release, we hosted two amazing blog hops! The hops featured many talented designers and each one created wonderful projects to inspire you. If you missed either of the hops, you can find the direct links here: DAY ONE and DAY TWO.
A BIG thank you to all of YOU who joined us for the hops! We enjoy hearing from each of you, and your words of encouragement and appreciation to each of the designers mean so much to us here at Simon and to them. It’s our tradition to give away gift certificates to random commenters on each blog stop, and today we are revealing all of the winners! So without further ado, I present to you our winners!
DAY ONE HOP WINNERS:
from Simon Says Stamp’s blog: Karen C. Hedgelon!
from Nina-Marie Trapani’s blog: Karen Draper!
from Caly Person’s blog: Marisela Delgado!
from Nichol Spohr’s blog: Dianna D!
from Cathy Zielske’s blog: Dena Hughes!
from Suzy Plantamura’s blog: Brenda Hedgecock!
from Sidnie Des Jardins’s blog: Joanne Travis!
from Lisa Addesa’s blog: Cyndi!
from Keisha Charles’s blog: Gabrielle McCann!
from Heather Ruwe’s blog: Alexandra Y
from Anna-Karin Evaldsson’s blog: Becca Yahrling!
from Mindy Eggen’s blog: Surekha Galagoda!
from Barb Engler’s blog: Laura Casselman!
from Cheiron Brandon’s blog: Susan A Anglesley!
from Yoonsun Hur’s blog: shannonlashley1!
DAY TWO HOP WINNERS:
from Simon Says Stamp’s blog: Mel H!
from Laura Bassen’s blog: Sue Ellen Sherer!
from Debby Hughes’s blog: Lisa Ainscough!
from Jennifer McGuire’s blog: Teressa Corson!
from Amanda Korotkova’s blog: Nicole Parmentier!
from Amy Rysavy’s blog: Deborah Cannizzaro!
from Barbara Tarayao’s blog: Josmary Flores!
from Bibi Cameron’s blog: Teri Smith!
from Emily Midgett’s blog: Jeanne Beam!
from Miriam Prantner’s blog: Janet D.!
from Alberto Gava’s blog: Ana G!
from Heather Hoffman’s blog: Vickie!
from Vicky Papaioannou’s blog: Sheri Kempke!
from Lea Lawson’s blog: Susan Babcock!
from Jennifer Kotas’s blog: Hannah Baum!
from Sandi MacIver’s blog: Lori Spitzer!
from Seeka’s blog: Denise Bryant!
If you see your name listed above, CONGRATULATIONS! Please email [email protected] and let him know that you are one of our Yay You Blog Hop winners! You’ll receive a $25 Gift Card. ???
Thanks again for hopping along with us! We hope you enjoy our fantastic Yay You release and that it gives you creative enjoyment for months to come!
Winning ROCKS, and so do you!
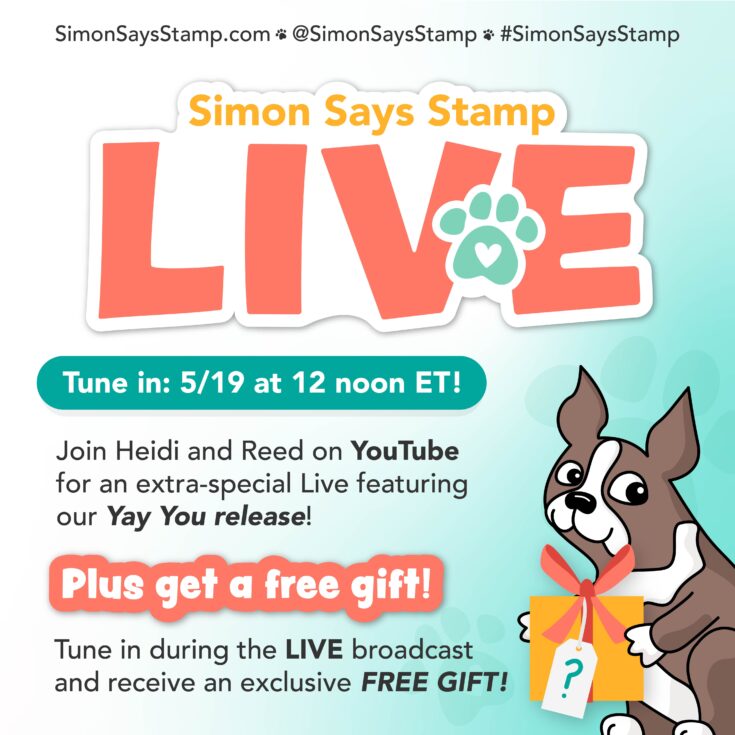
Want to see these products and more LIVE? Join us on YouTube tomorrow, May 19 at noon EDT for a super cool inside look at the release and a FREE GIFT!
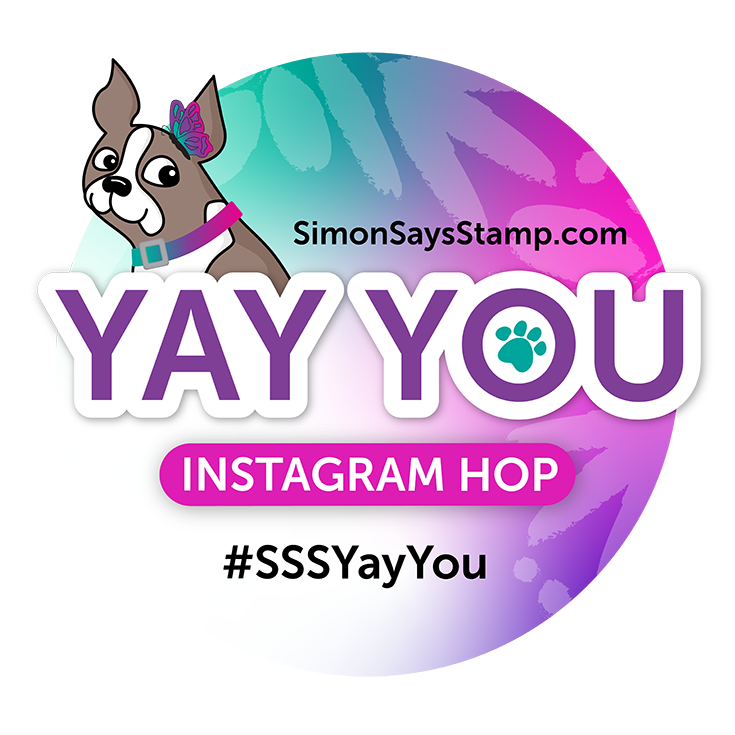
We hope you will join us on Instagram on Friday, May 20, for an Instagram Hop featuring even more inspiration from our Yay You release! We are excited to share awesome ideas from several creative minds using these fantastic products.
You’ll love browsing our Yay You gallery on our blog for loads of additional inspiration, and you can add your projects to these galleries as well!


