Art Journaling with Shari Carroll: Through the Window

Welcome, everyone!! It’s Shari here with an art journal page that I’ve created featuring some Tim Holtz ideology. The main focus is the Baseboard Window Frame that opens to reveal the art beneath.
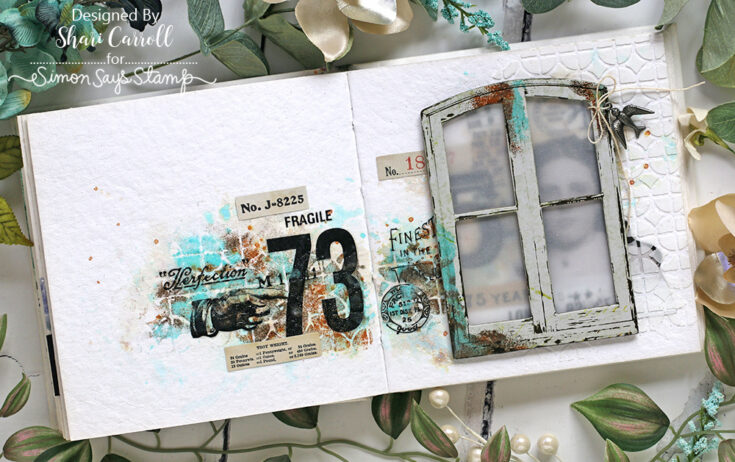
The window opens by creating a hinge using vellum that is also used as the frosty glass.
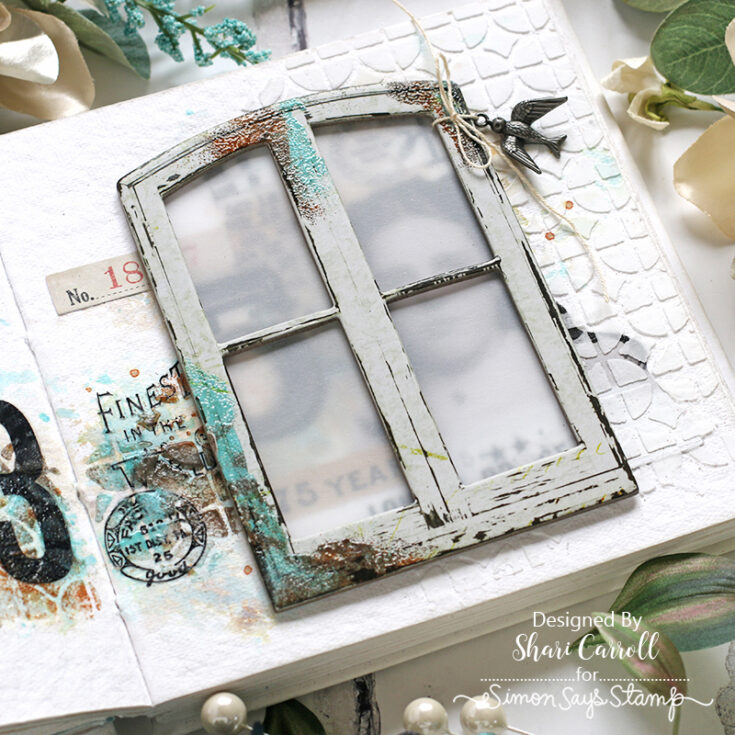
I’ve added plenty of texture and layers with Texture Pastes, Embossing Glazes, Paper Doll Portraits, and Remnant Rubs.

To see how this all came together, you can watch the video below. Enjoy!
SUPPLIES:
|


Studio Monday with Nina-Marie: Patriotic Embossing and Stenciling

Happy 4th of July to all of my fellow Americans! It’s Nina-Marie Trapani here with you today, sharing a patriotic-themed card using our Simon Says Stamp Dimensional Stars embossing folder and coordinating stencils.
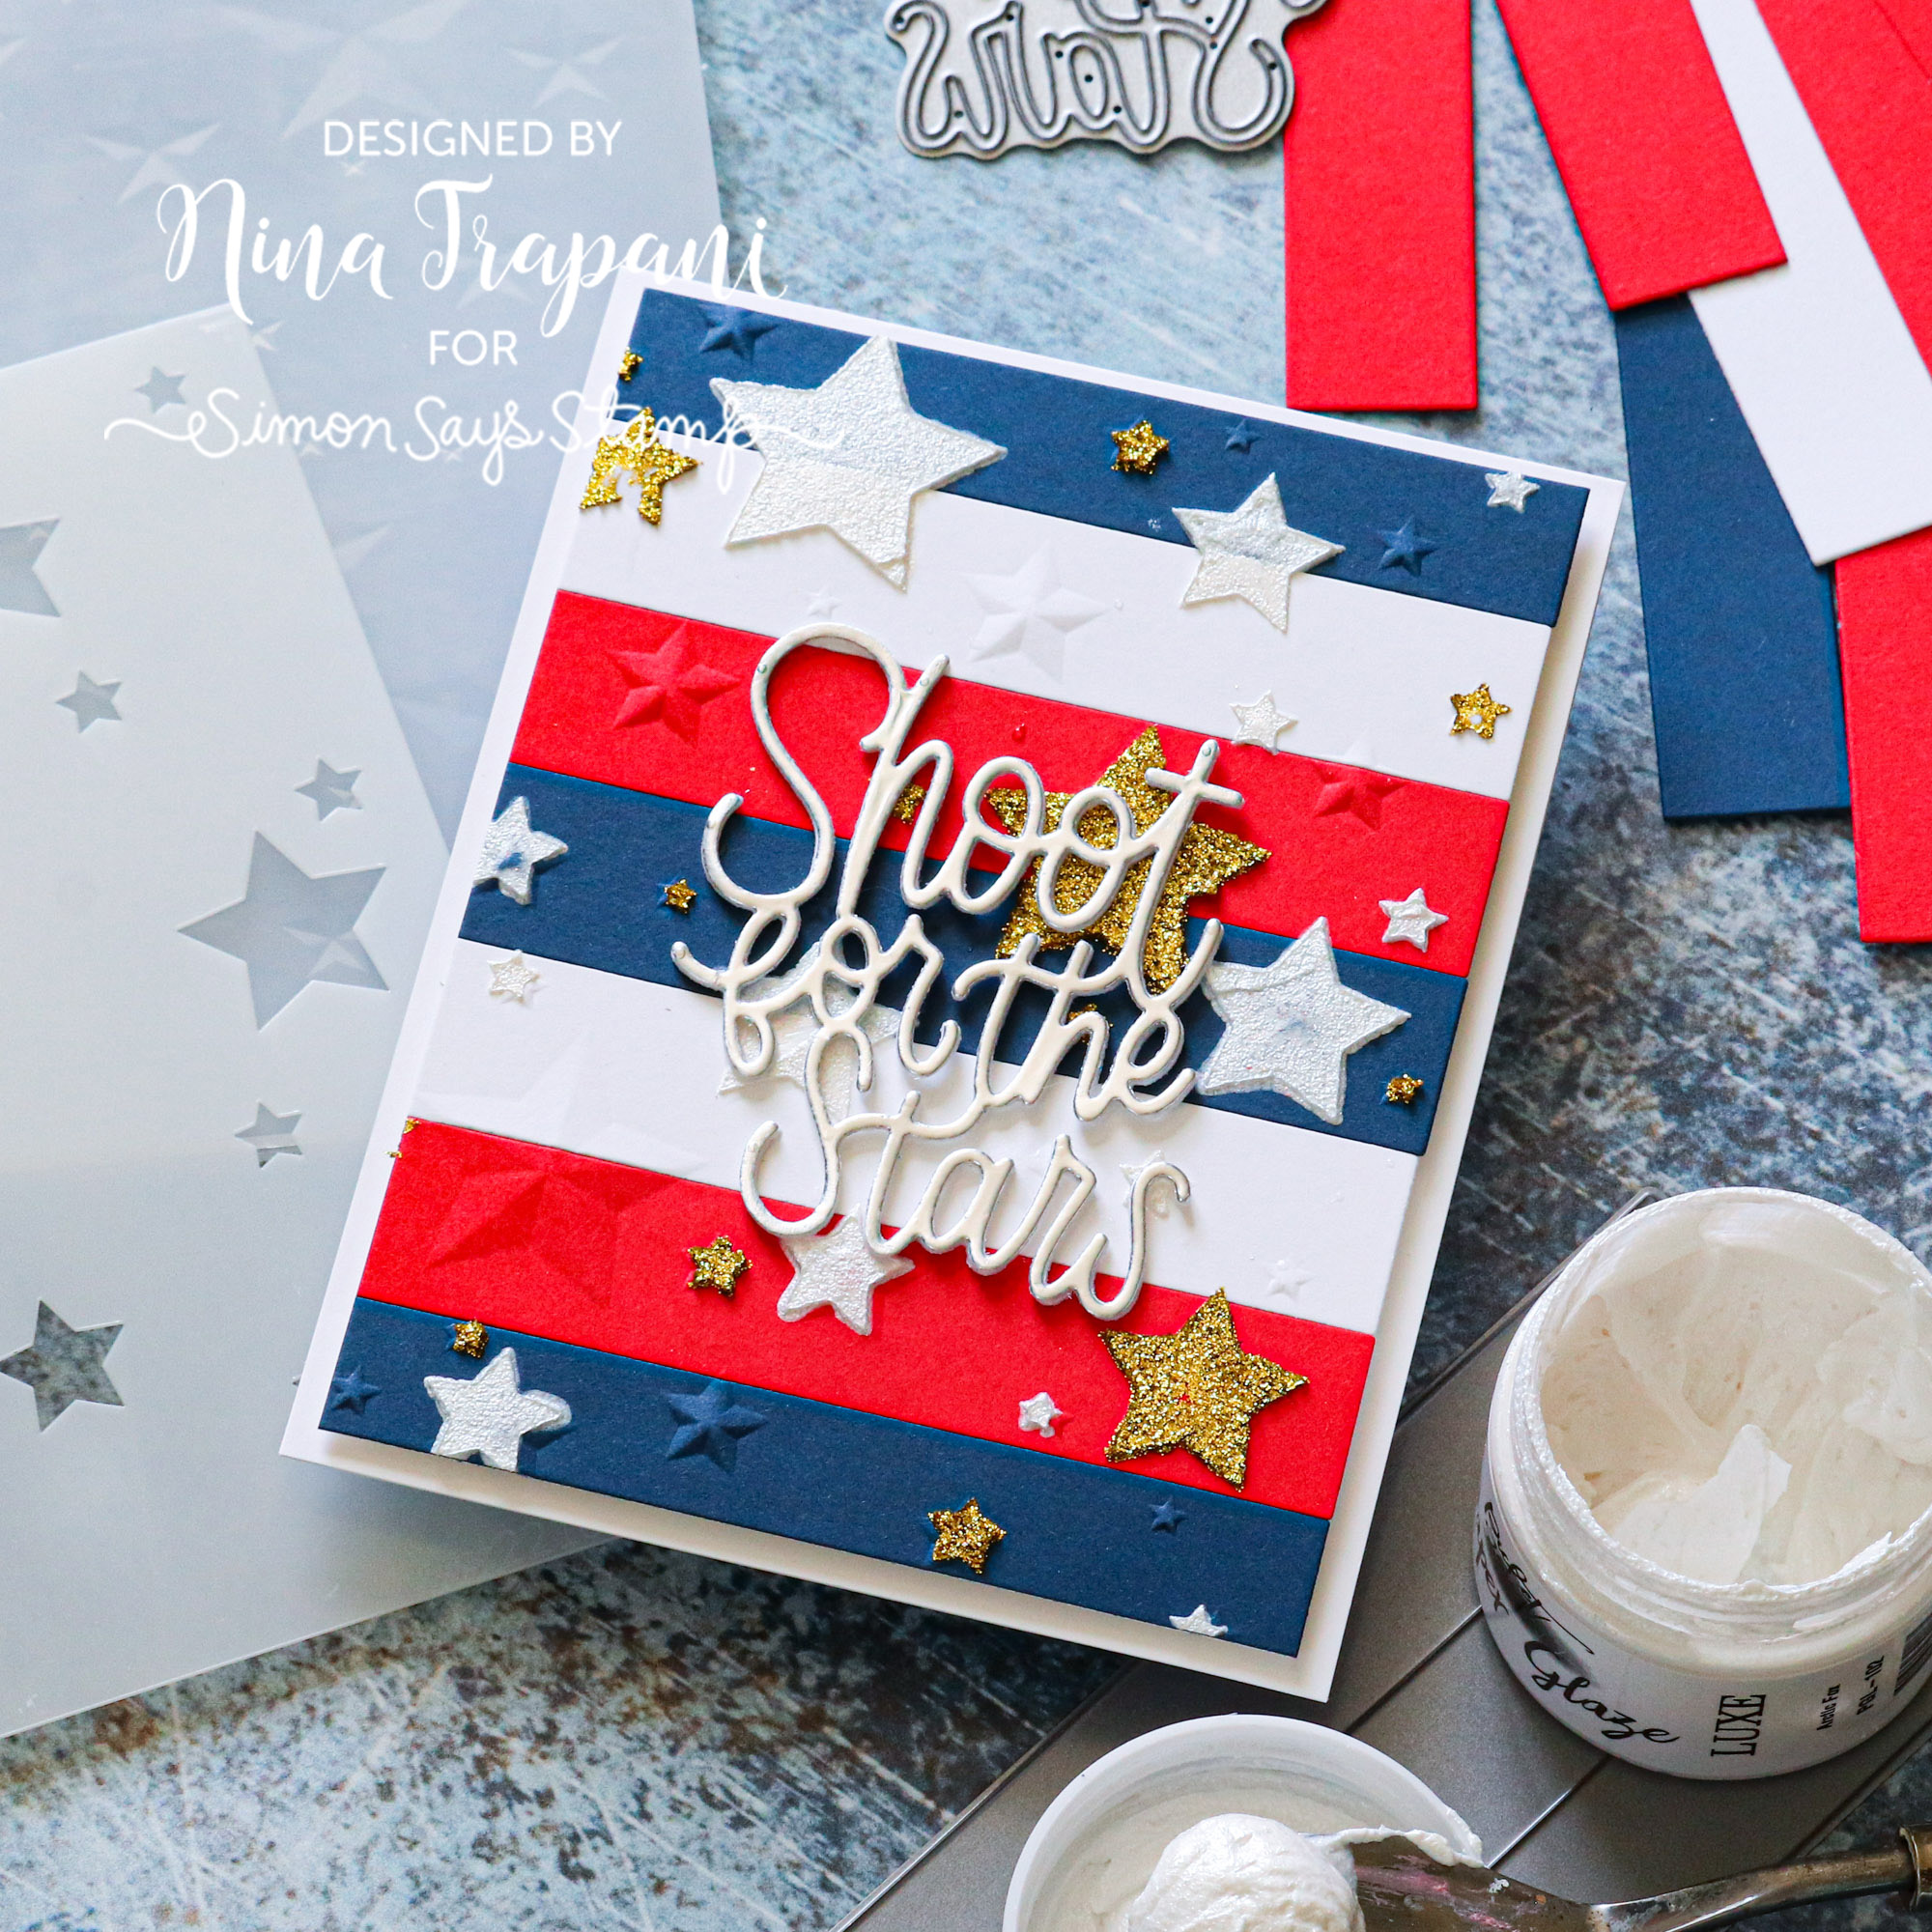
I embellished the embossed striped background with Arctic Fox Luxe Paper Glaze from Picket Fence and Simon Says Stamp Gold Glitz Glitter Gel. The shine is just GORGEOUS! If you aren’t looking to create a red, white, and blue card, be sure to change up the colors for a completely different feel.
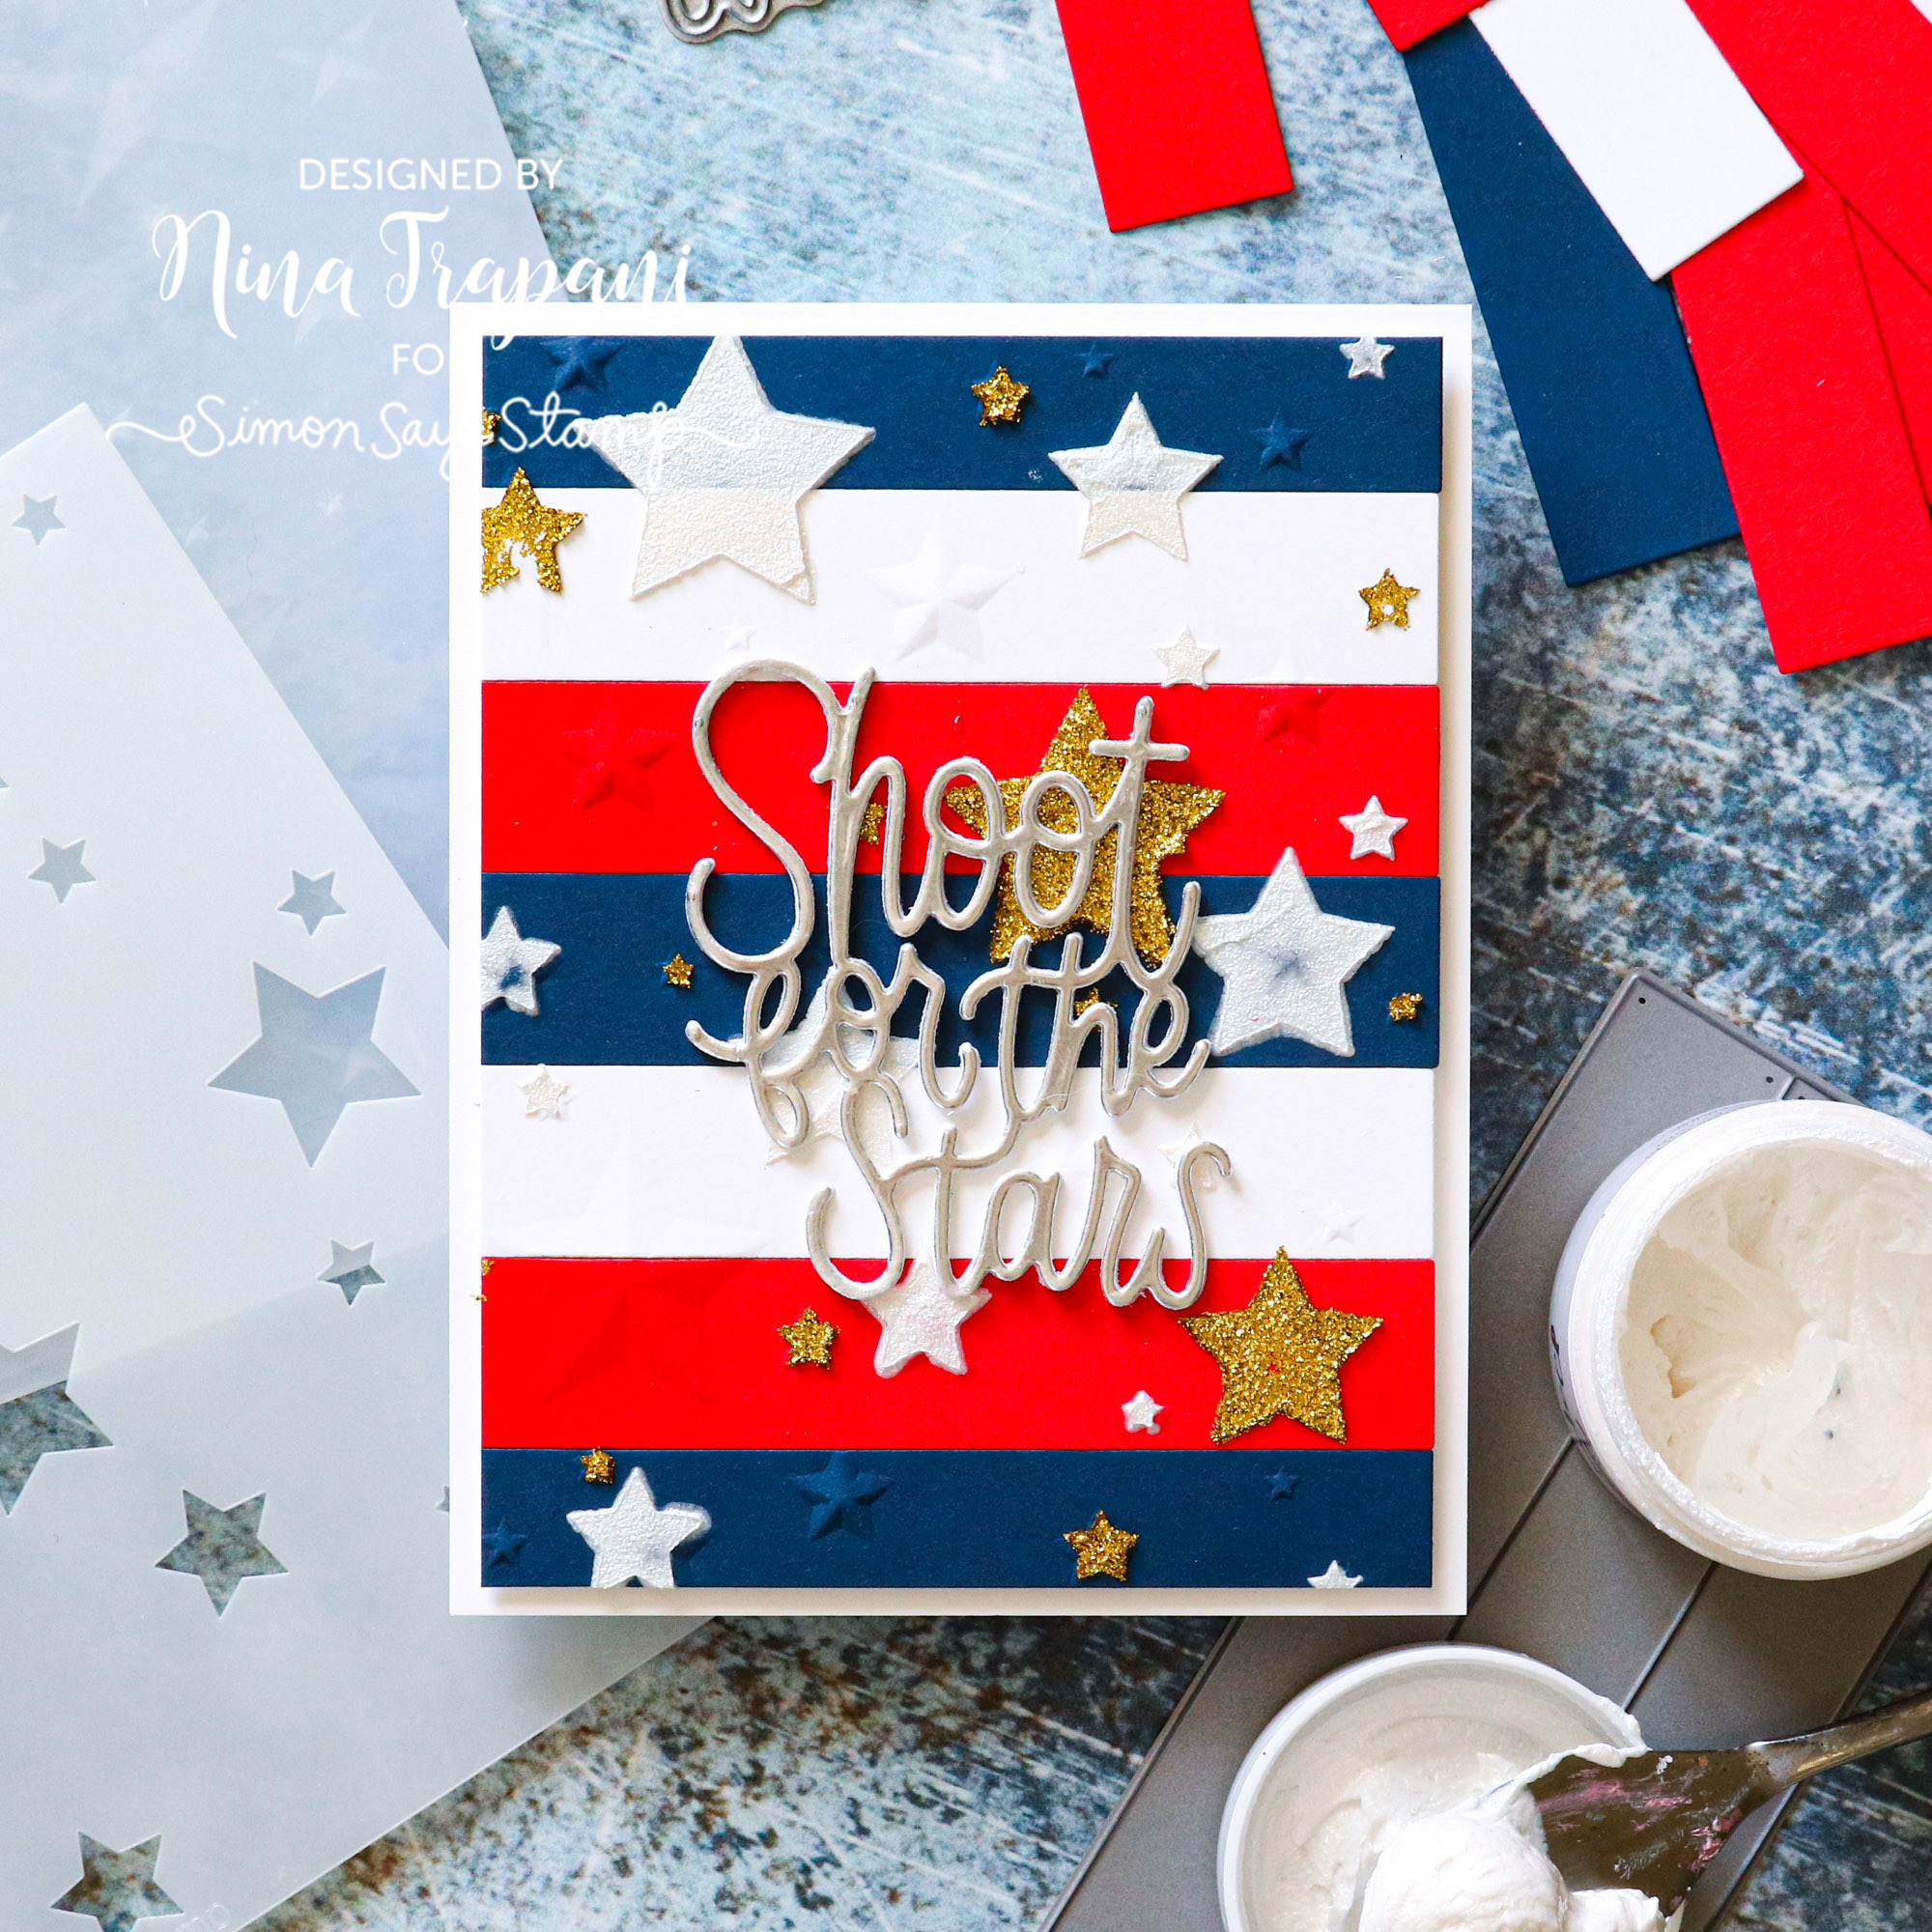
This card is a lot of fun to make—and it’s easy, too! Be sure to watch the video below for all the details!
WATCH THE VIDEO:
SUPPLIES:
|


A Patriotic take: Alcohol Ink on Yupo Paper
Hi friends! Happy Sunday! We’re so delighted to welcome back special guest Anna-Karin Evaldsson to our blog to share a really fun project inspired by the holiday weekend! Keep reading to learn more and enjoy!
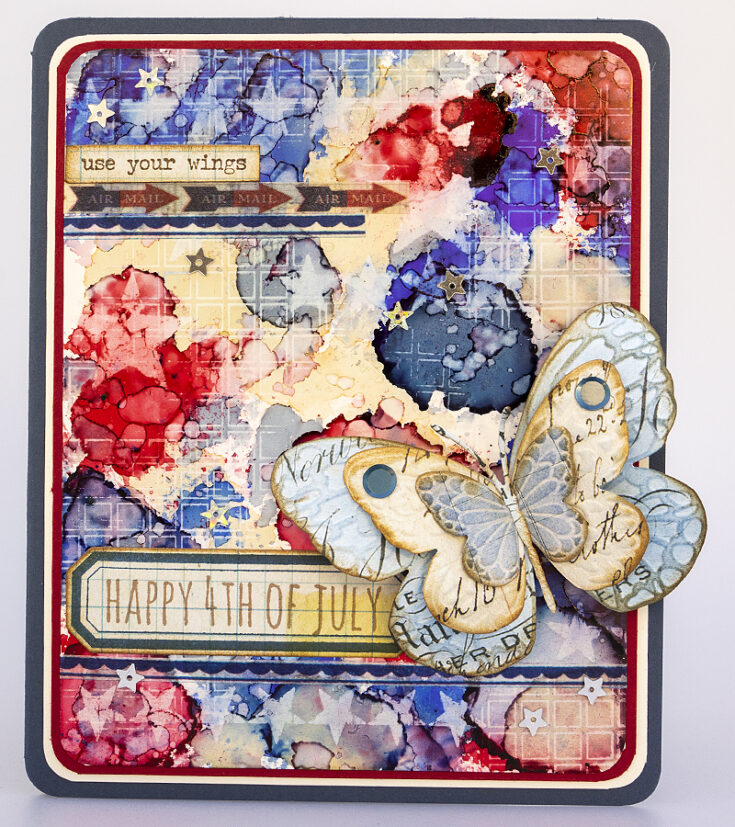
Hi everyone! I am so happy to be here on the blog today to share a project with a fun and vibrant background technique. Alcohol inks look fantastic on yupo paper and here they were also combined with ghost stamping.
Since it is 4th of July tomorrow, I had fun creating a card with that theme and a color combination which I rarely use. You can turn the card into many themes. Experiment with different color combinations and add as much or as little texture as you want. Yupo is a non-porous, synthetic paper and it works great for many techniques, not only for alcohol ink.
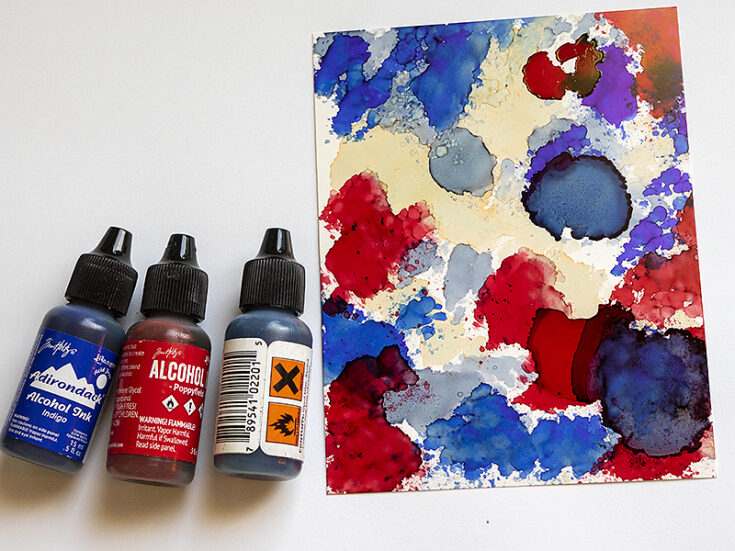
Add drops of alcohol ink on Simon Says Stamp Yupo Paper, starting with the lightest color. I used Lake Mist (but forgot to include that bottle on the photo), and then continued with the darker red and blue shades. Dabb and blend with an ink-blending tool using a felt applicator.
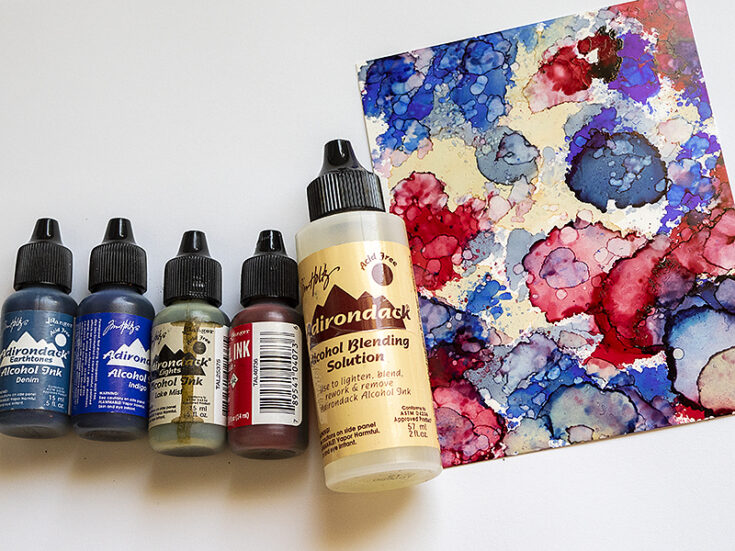
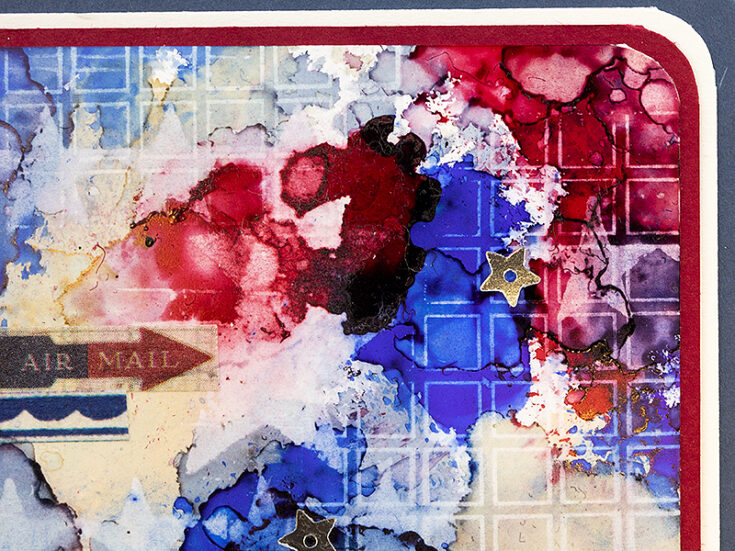
Continue building up layers and adding texture by applying drops of both ink and ink-blending solution, as well as dabbing ink blending solution on the background with the felt applicator. To get the small dots, just lightly touch the paper with a felt applicator inked with a little bit of ink-blending solution.
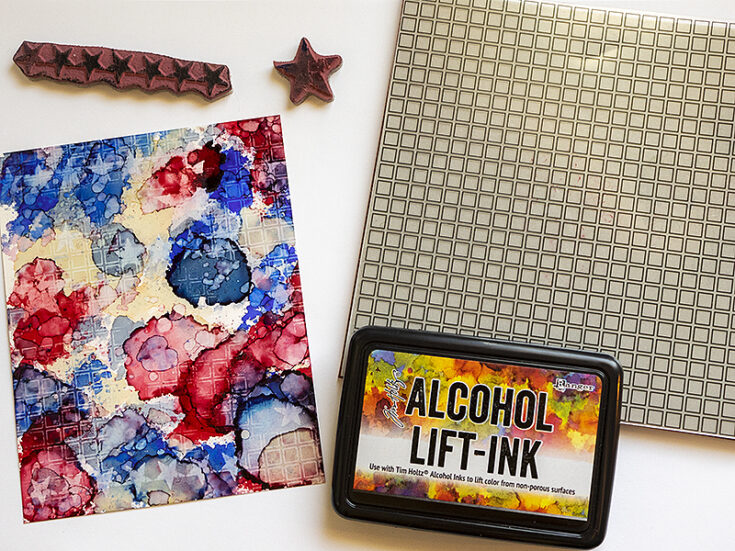
Stamp the background with stars from Tim Holtz Rockstar and Psychedelic Grunge and Alcohol-lift Ink. Wipe with a soft cloth to reveal the ghost image. I also stamped the background with Simon Says Stamp Open Grid Background, in the same way.
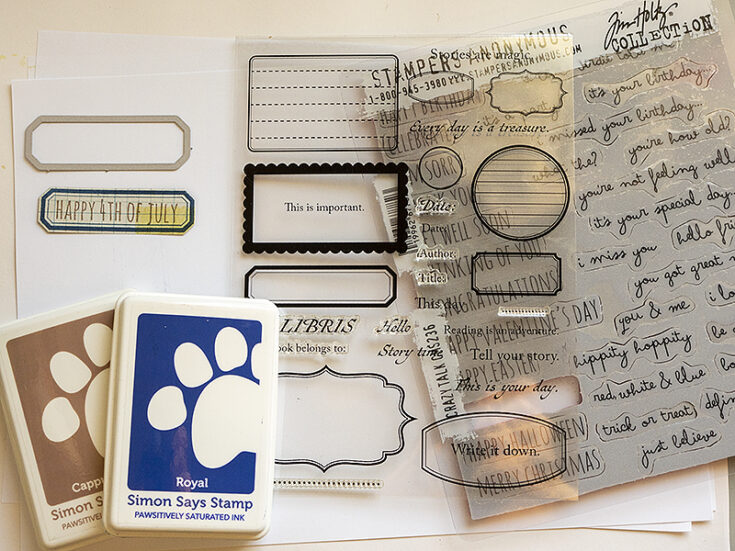
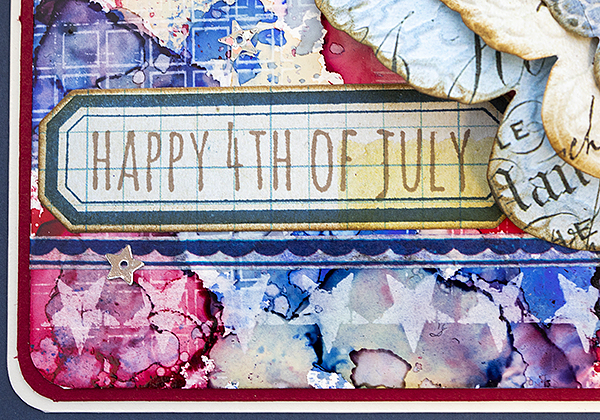
Stamp a label from Simon Says Stamp Mixed Labels with Royal Pawsitively Saturated ink on a left-over piece of patterned paper. The paper I used came from Tim Holtz Backdrops vol. 2. Die cut with the coordinating Mixed Labels die and stamp a sentiment from Tim Holtz Crazy Talk with Cappuccino ink.
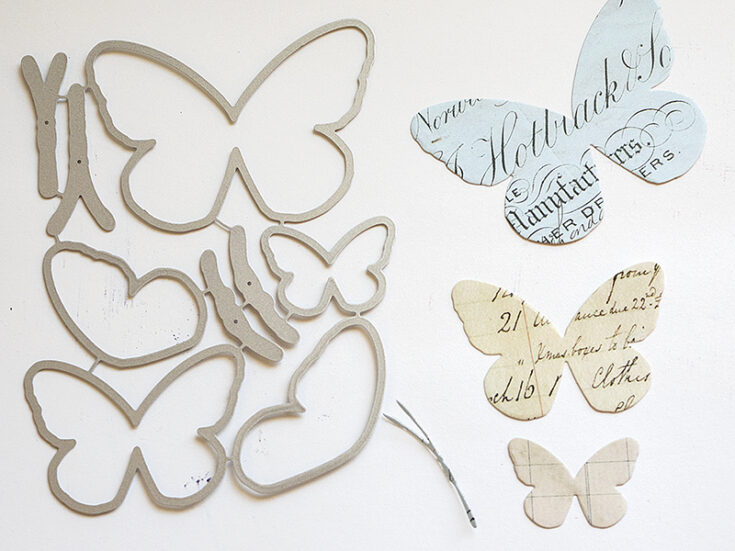
Die cut butterflies from Tim Holtz Backdrops paper using the Simon Says Stamp Graceful Butterflies set.
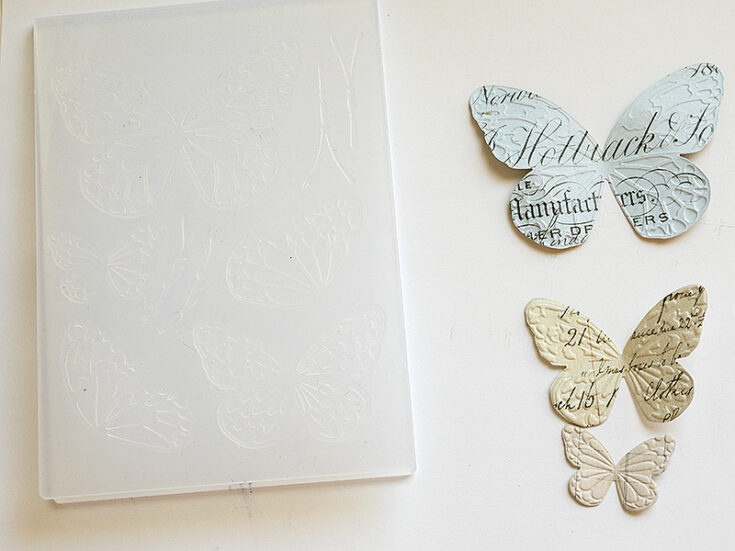
Emboss the butterflies in the coordinating folder. They get such a lovely pattern and texture.
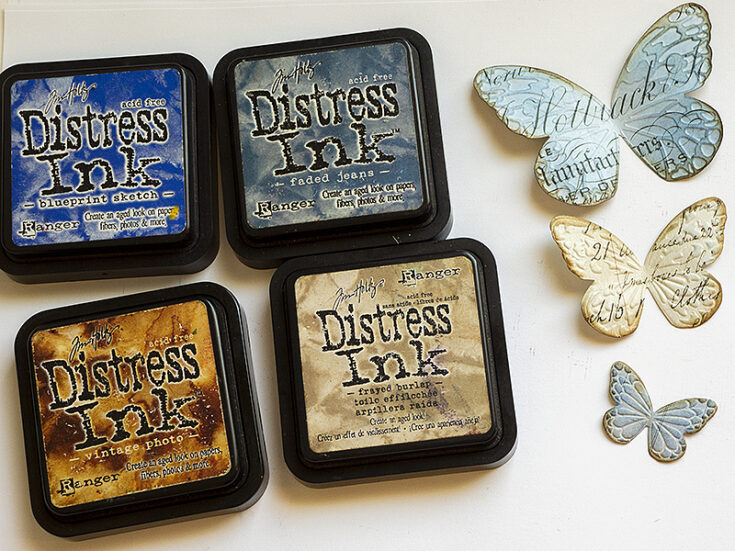
Ink with Distress Ink to reveal the texture. I turned the small butterfly blue.
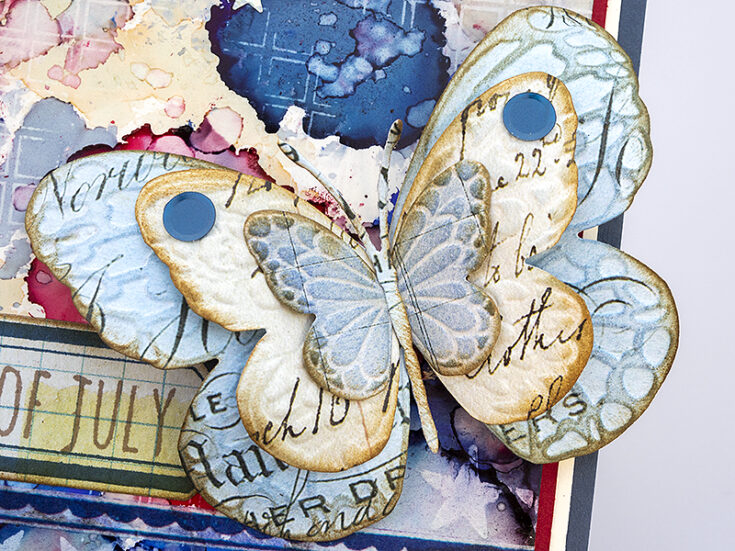
Shape the wings to give the butterfly more life. Layer the butterflies together and add a body. Adhere to the card with foam tape.
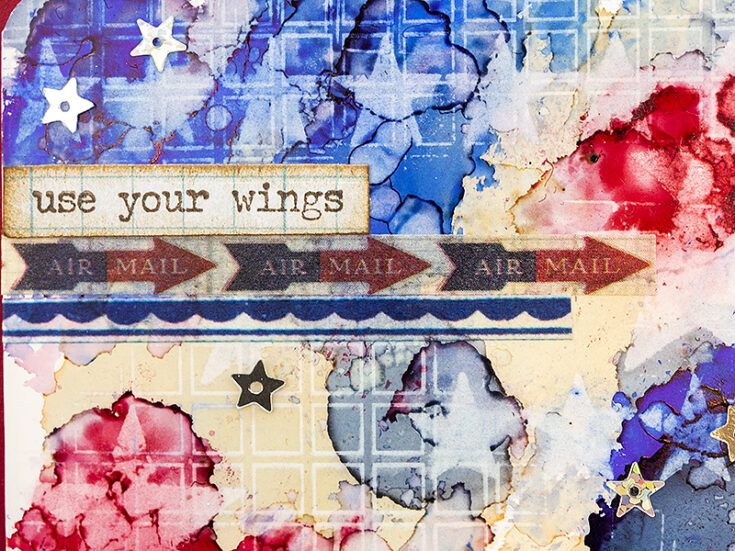
Add Tim Holtz Design Tape and stars from Simon Says Stamp Pinata Sequin. The sentiment comes from Tim Holtz Tiny Talk.
The ghost images add an interesting touch to the background.
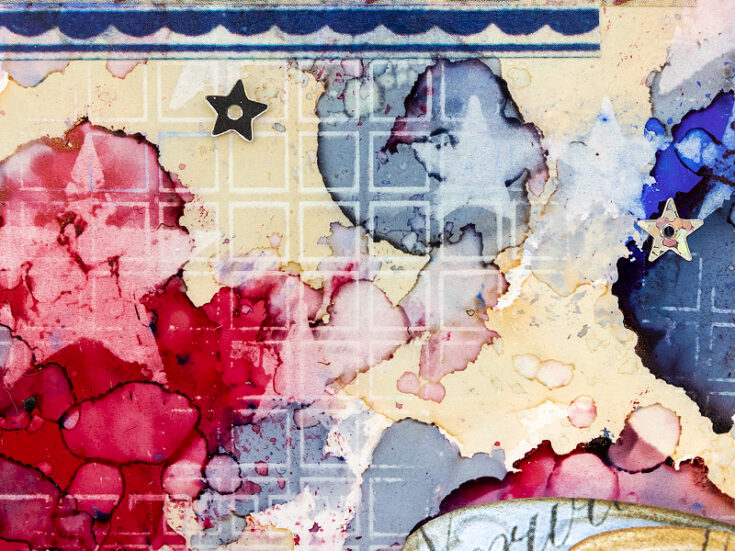
You can add even more texture and layers of alcohol ink, but I liked having some open areas, in particular this lighter Lake Mist area.
With a different sentiment and colors the card could work for many themes.
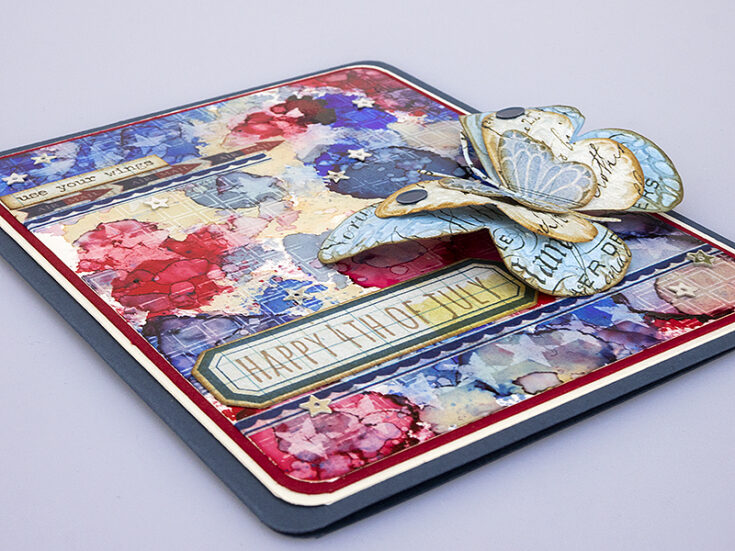
Here you can see the dimension of the butterfly better. I also added two sequins to the butterfly for an additional detail.
I hope this tutorial inspired you to test using alcohol ink on yupo paper and to do some ghost stamping.
Thank you so much for looking! Happy crafting! -Anna-Karin
SUPPLIES:
|


Thanks so much for stopping by, and thanks to Anna-Karin for being our guest!