Crafty with Caly: PinkFresh Studio: Magnolia

Hi friends! Happy Saturday! Please join me in welcoming back special guest Caly Person to showcase her first feature post for July, and she’s using some gorgeous PinkFresh Studio products! Be sure to watch the video for all the details, and enjoy!
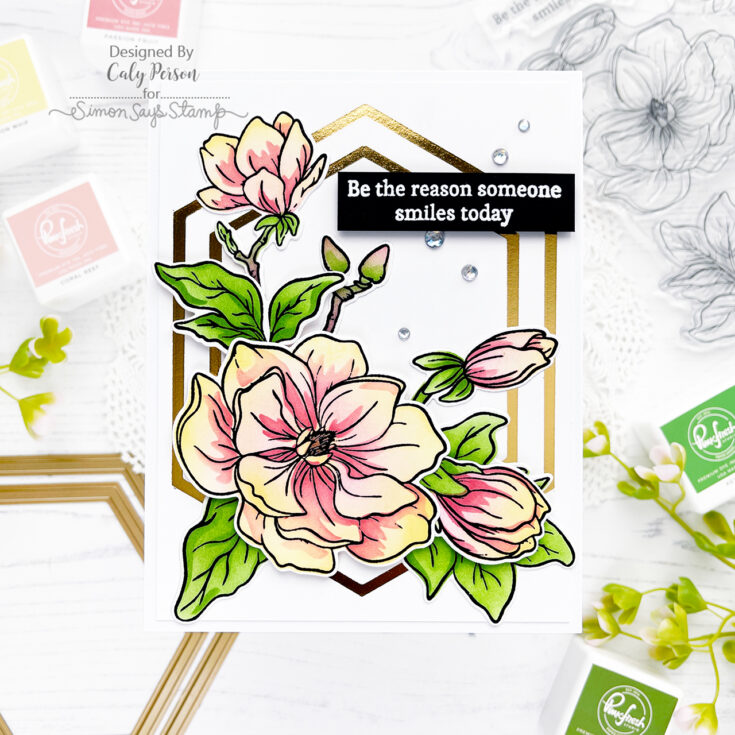
Hello there! It’s Caly with you today and I’m sharing a quick and easy card using some Pinkfresh Studio products. Today’s card features the Magnolia stamp, die, and coordinating stencils. I love adding color without markers or paint. Stencils just make everything easy with how you can blend colors and I’ll be inking my magnolias with corals and yellows.
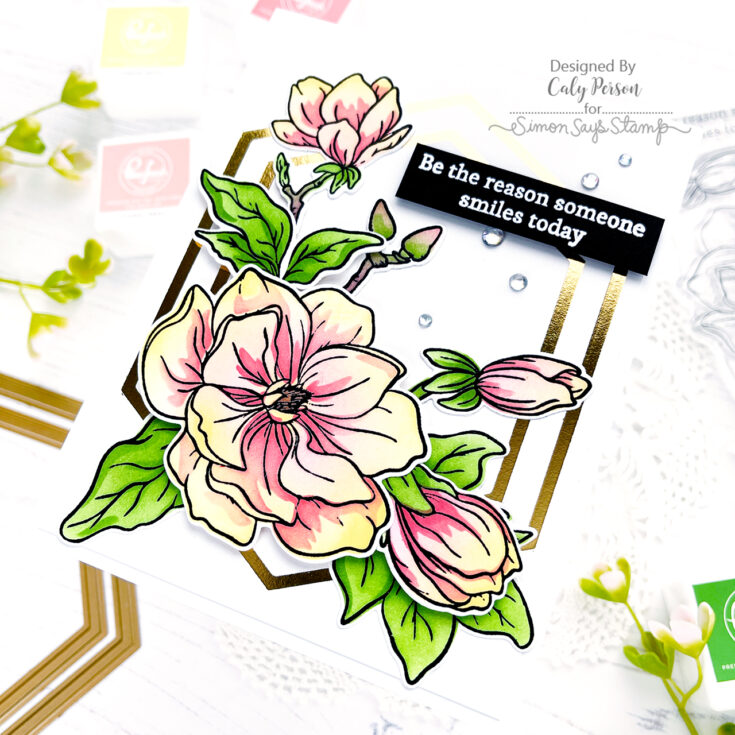
I used Pinkfresh Studio Inks in Passion Fruit, Coral Reef, Lemon Whip, Key Lime, Olive, and Gathered Twigs to add color to the 5-step Magnolia Stencil set. They are numbered for your convenience, but I like to skip around if I want to focus on the flowers first before working on the foliage.
WATCH THE VIDEO:
The images are connected one ONE stamp and so is the Magnolia die. You only have to line it up once and everything is die-cut with convenience. I love this about the Pinkfresh Studio stamps and dies!
For my background, I foiled two Nested Hexagon Hot Foil Plates using gold glimmer hot foil. My magnolia images sit over it in the bottom left corner and the framed element creates a nice wreath.
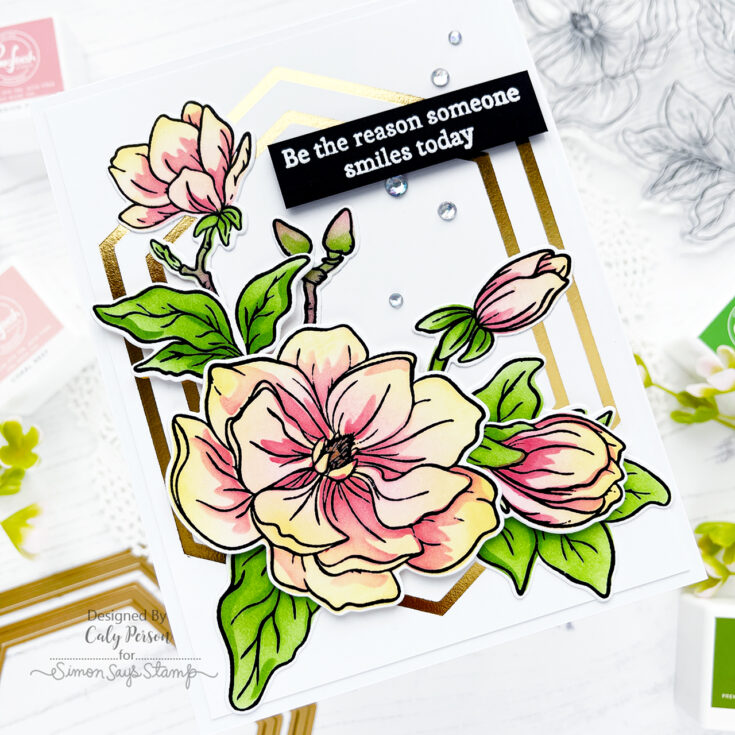
To finish, I attached an embossed sentiment and embellished my card with a few gems. I hope you like it! Thanks so much for stopping by and spending some time here with me today!~Caly
SUPPLIES:
|


Thanks so much for stopping by, and thanks to Caly for being our guest!

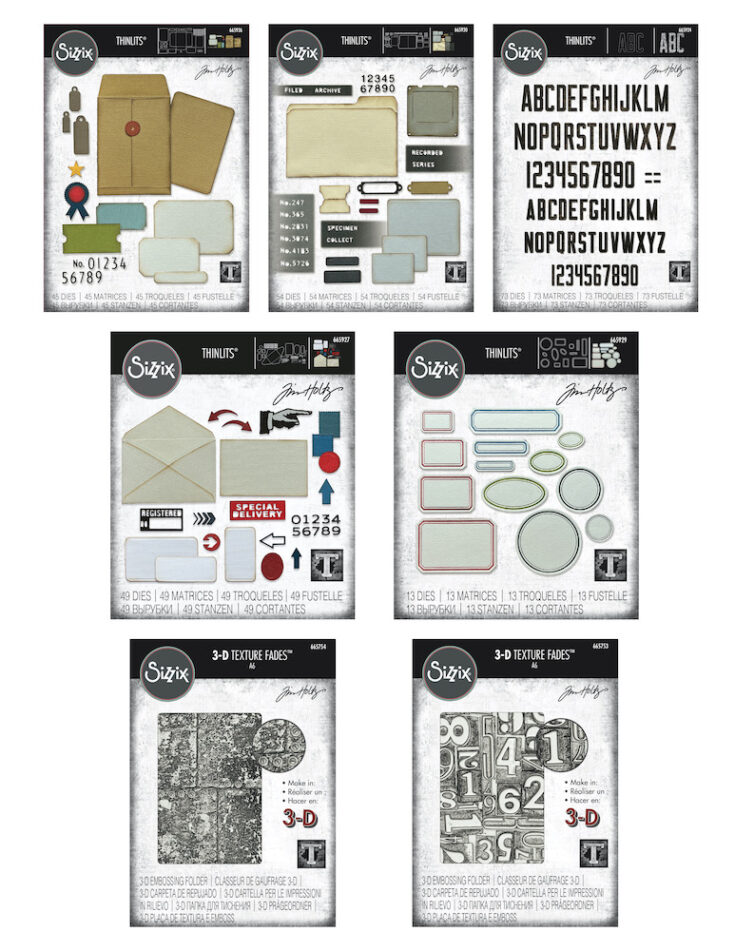
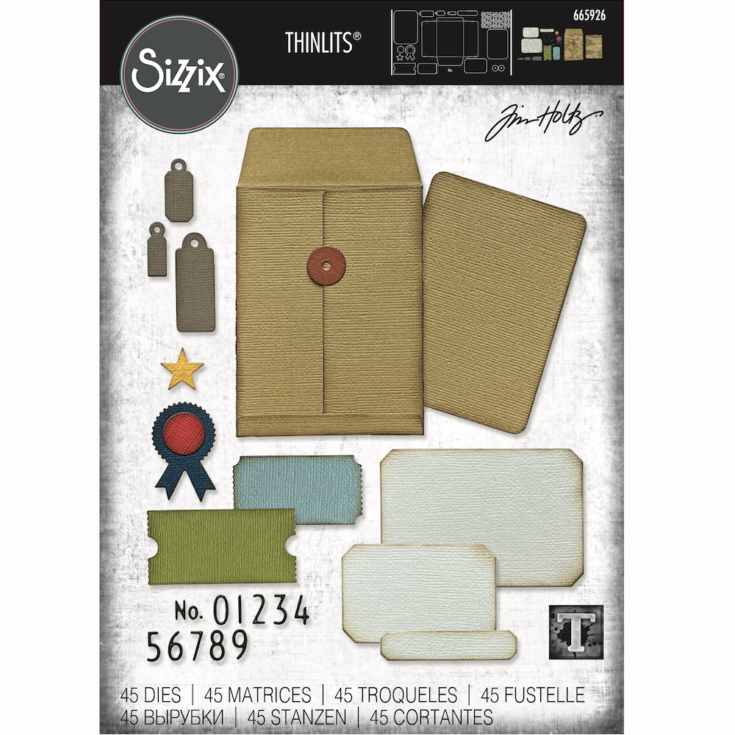
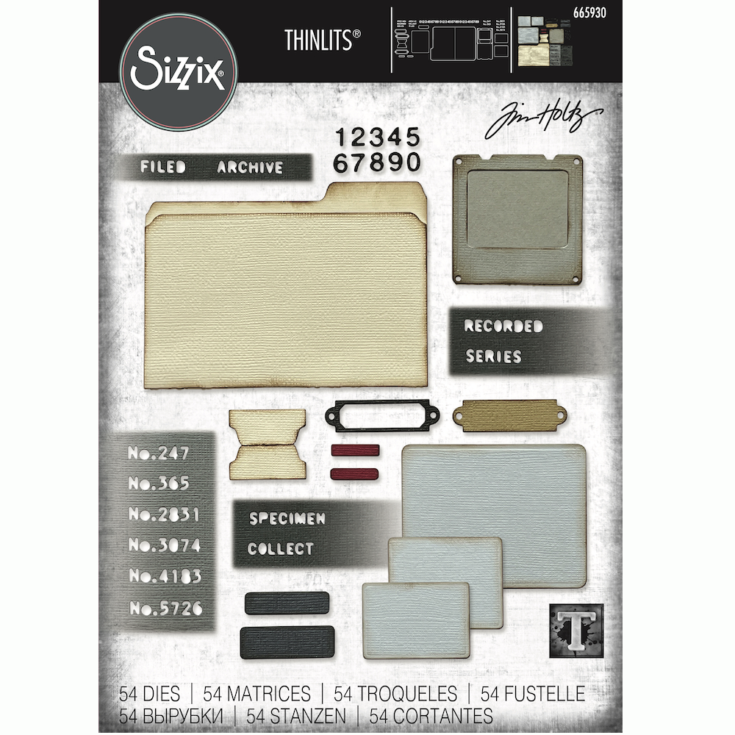
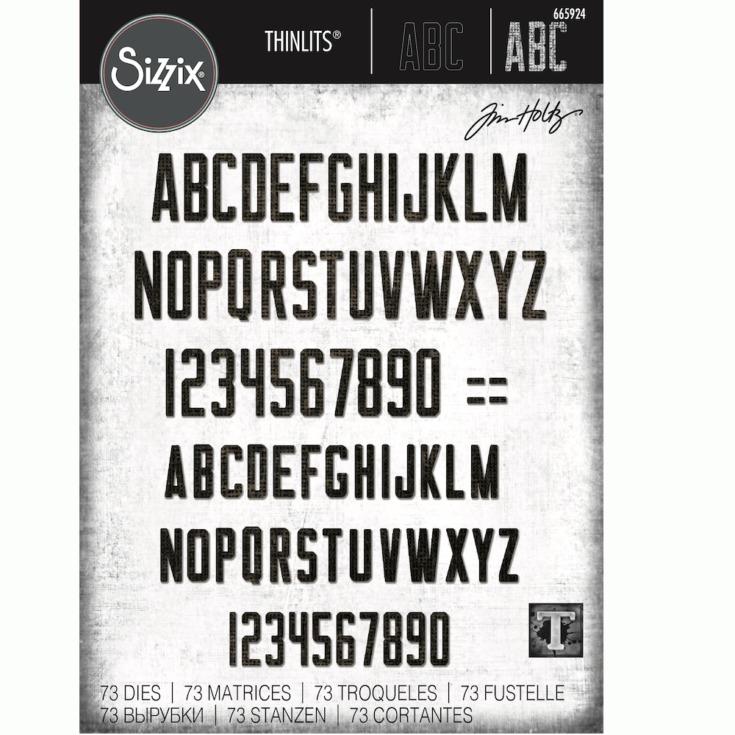
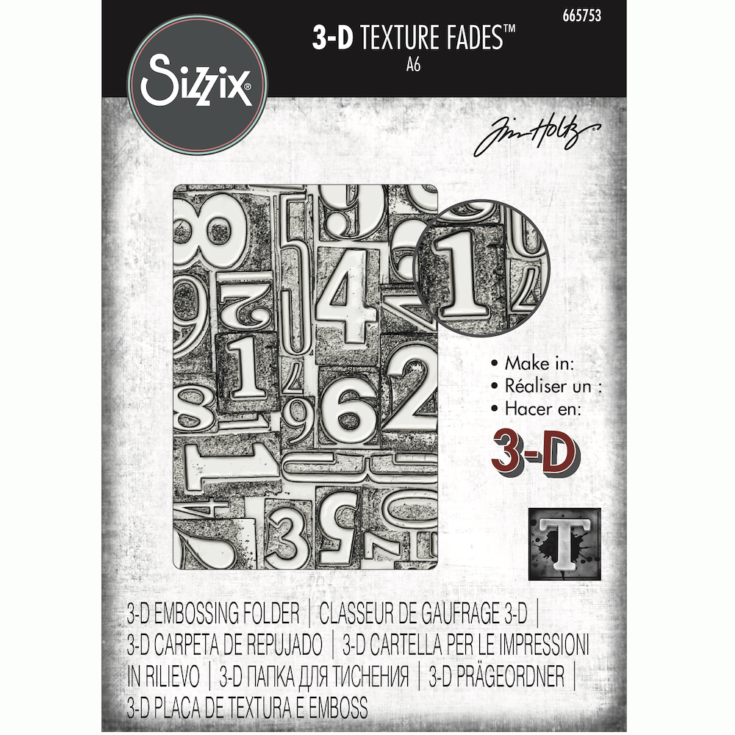
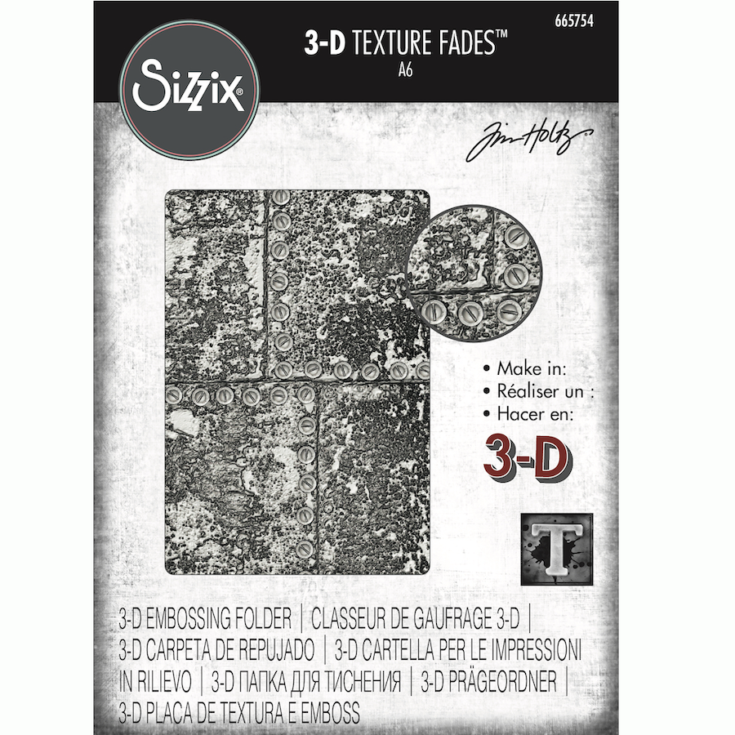
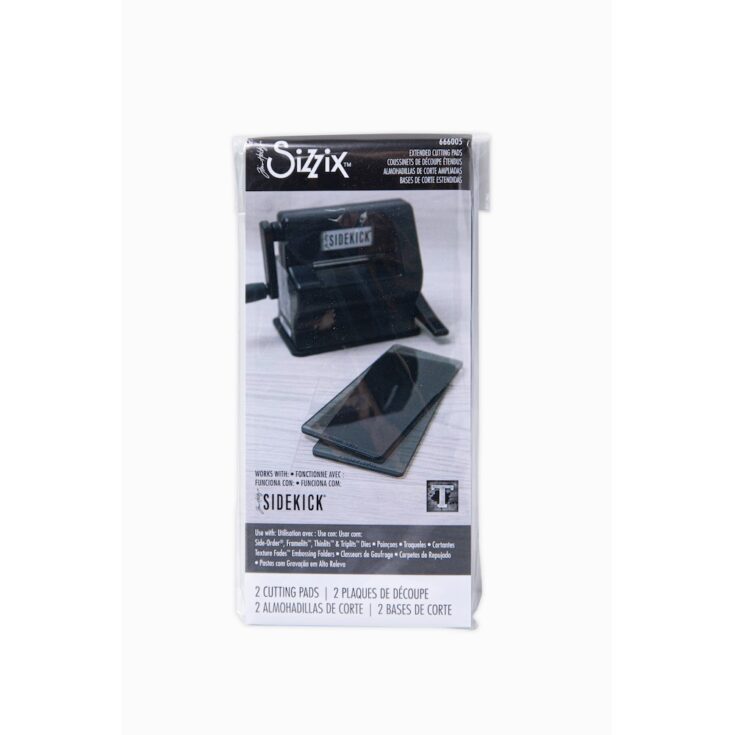
RESERVE NOW: New Chapter 3 for 2022 Tim Holtz Sizzix!
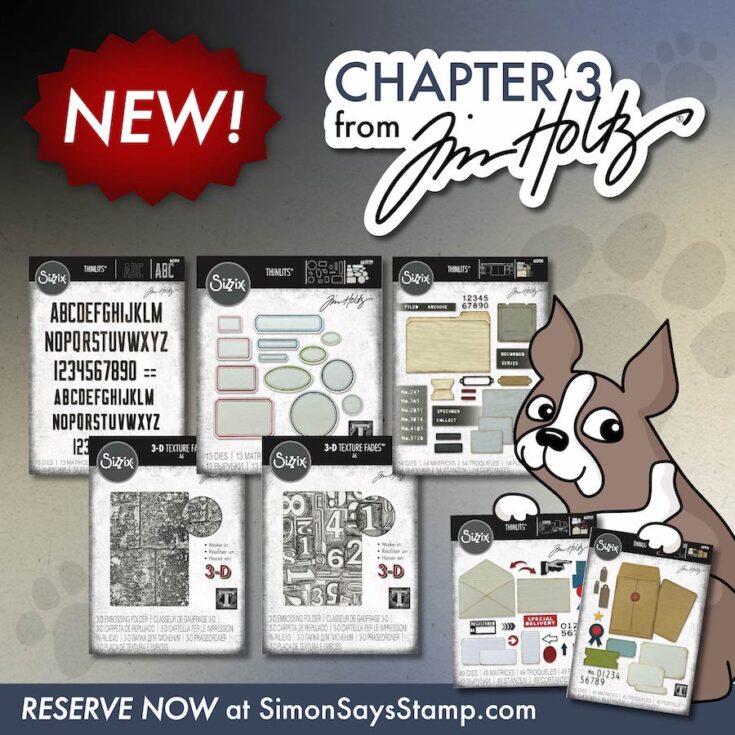
Exciting news! There are some NEW (and FANTASTIC) products out in the Chapter 3 2022 Tim Holtz Sizzix line that we think you will be reaching for again and again in seasonal makes! Tim will be going live to demo and share more soon, but in the meantime, you can reserve your favorites now!

4th of July Long Weekend SALE!
Hi friends! TGIF! Let’s start the LONG weekend off with some crafty shopping, shall we? We are having a very rare 20% off on all of our exclusive products this weekend only when you use code HPY4TH at checkout! Be sure to shop early for the best selection, and enjoy!


