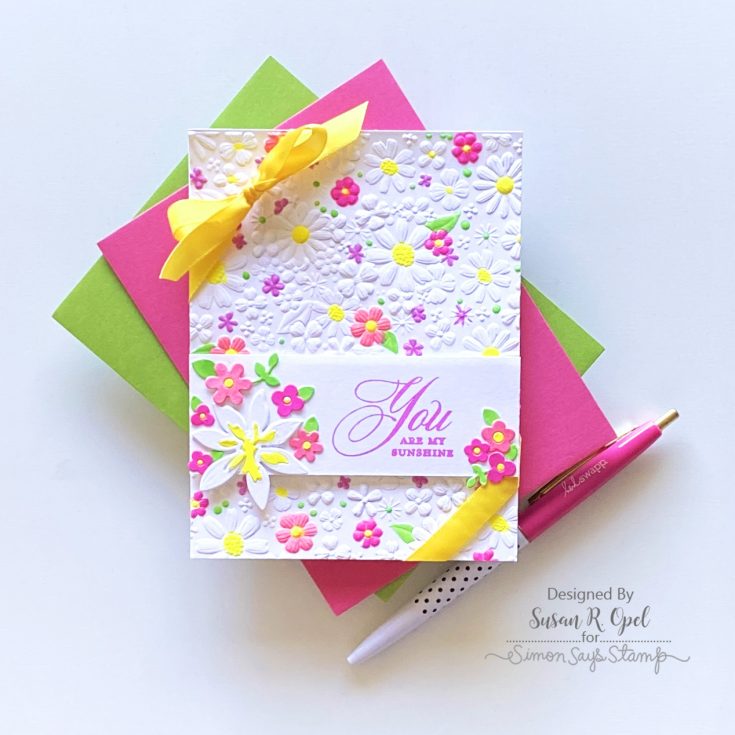
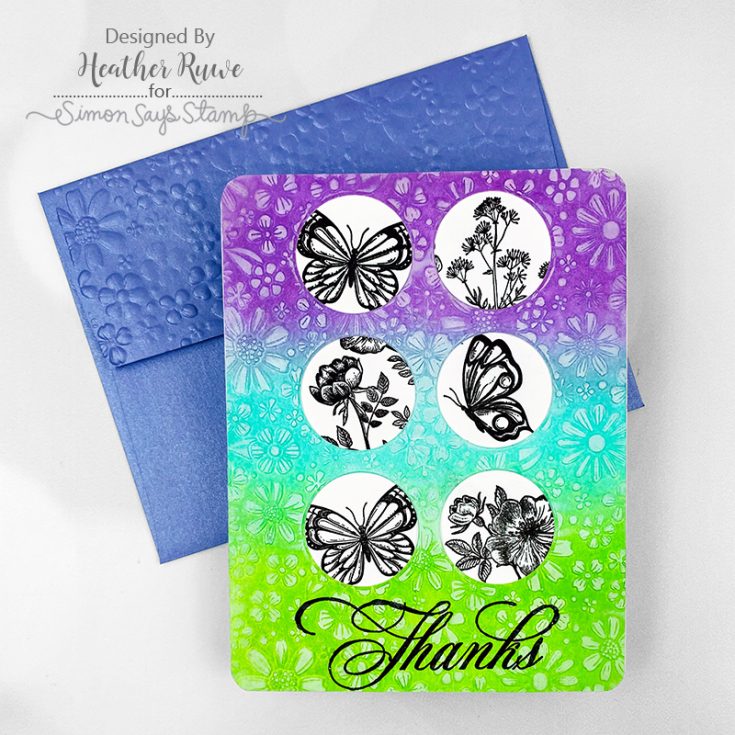
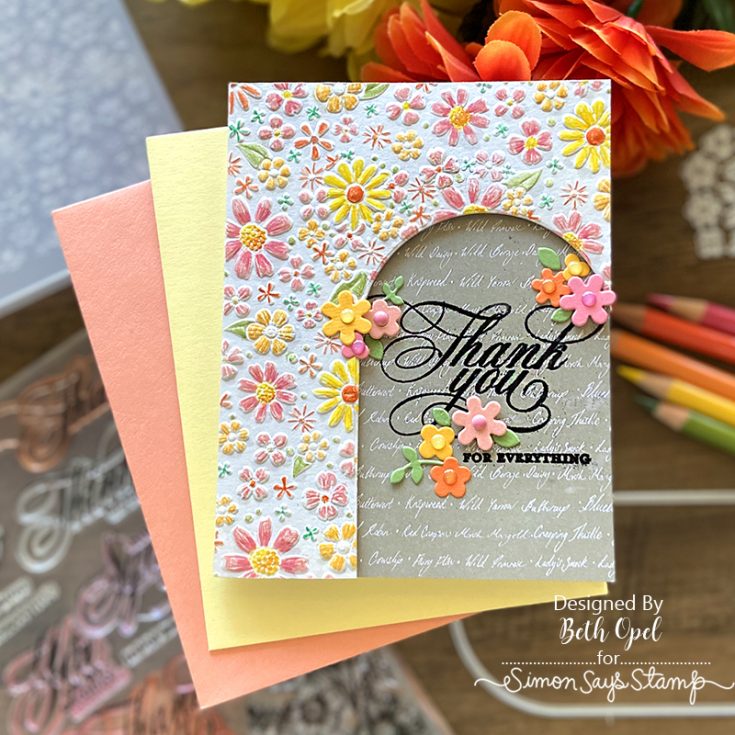
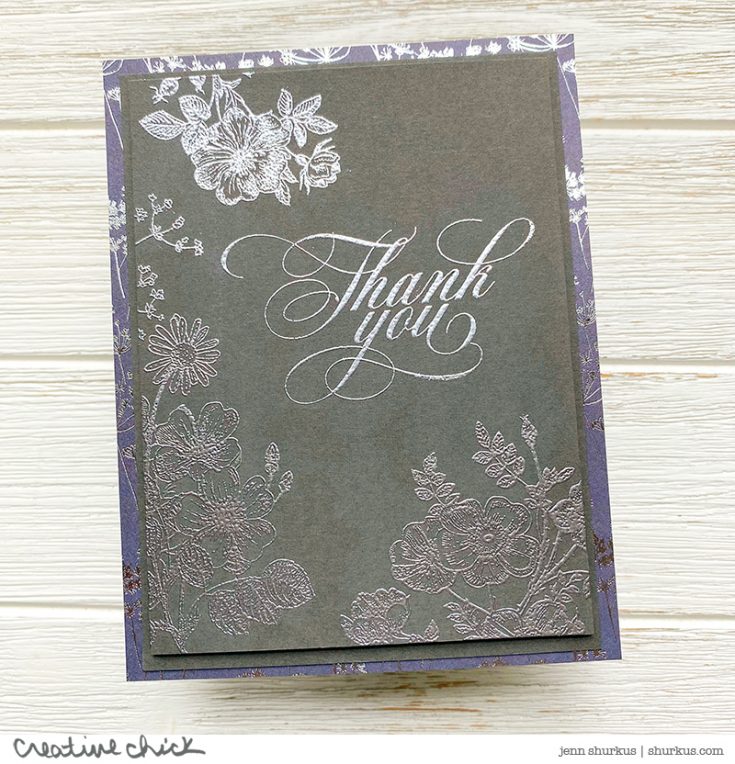
Card Kit Reveal and Inspiration: Vintage Garden
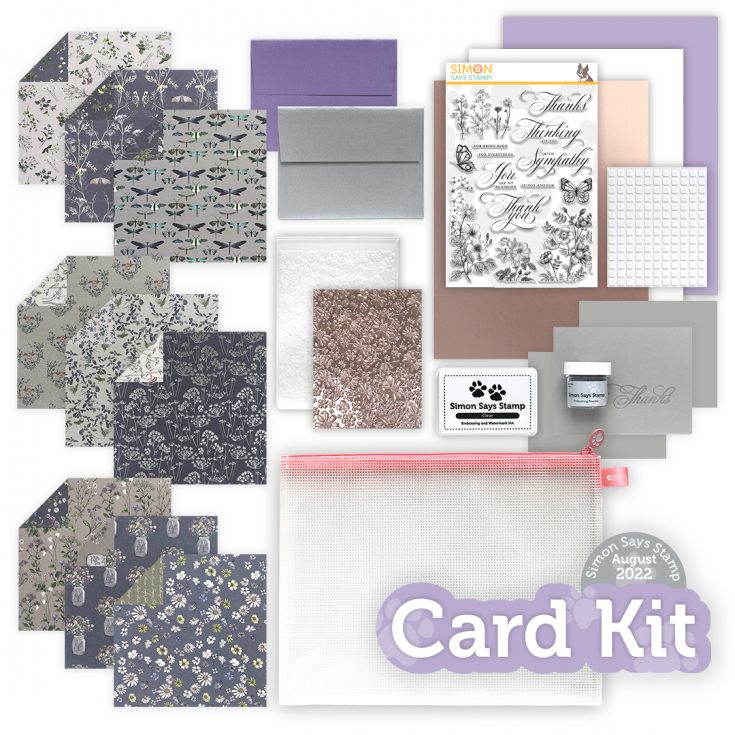
Introducing our August 2022 Card Kit—Vintage Garden!
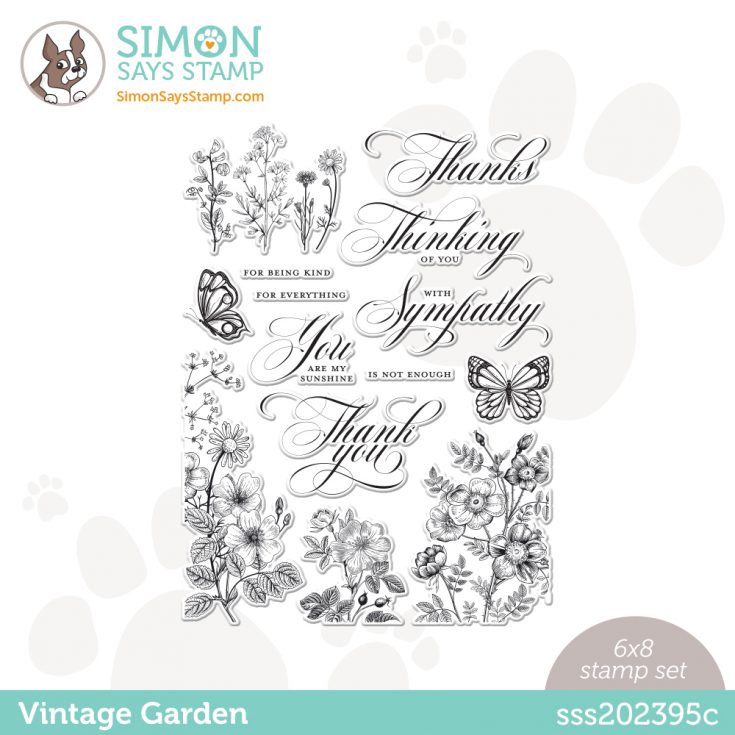
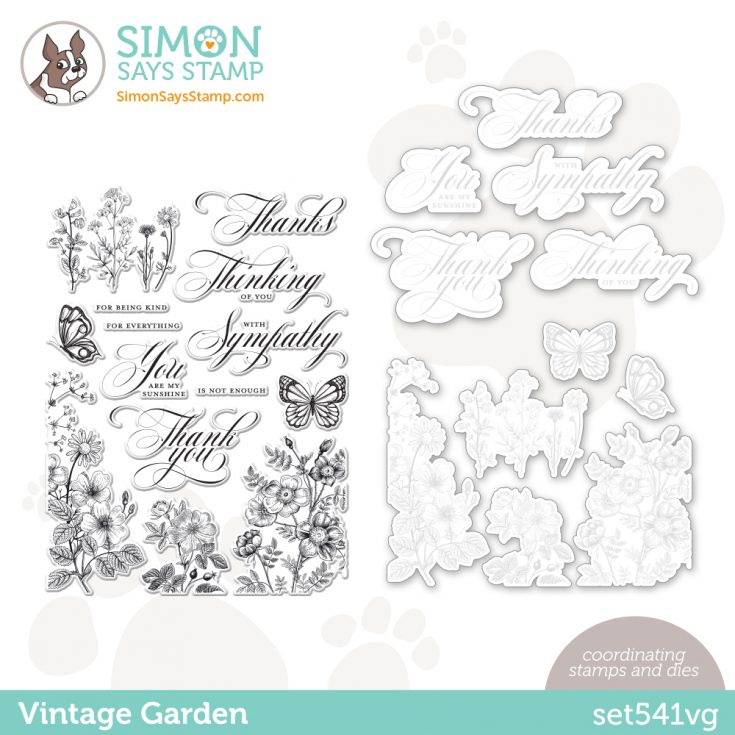
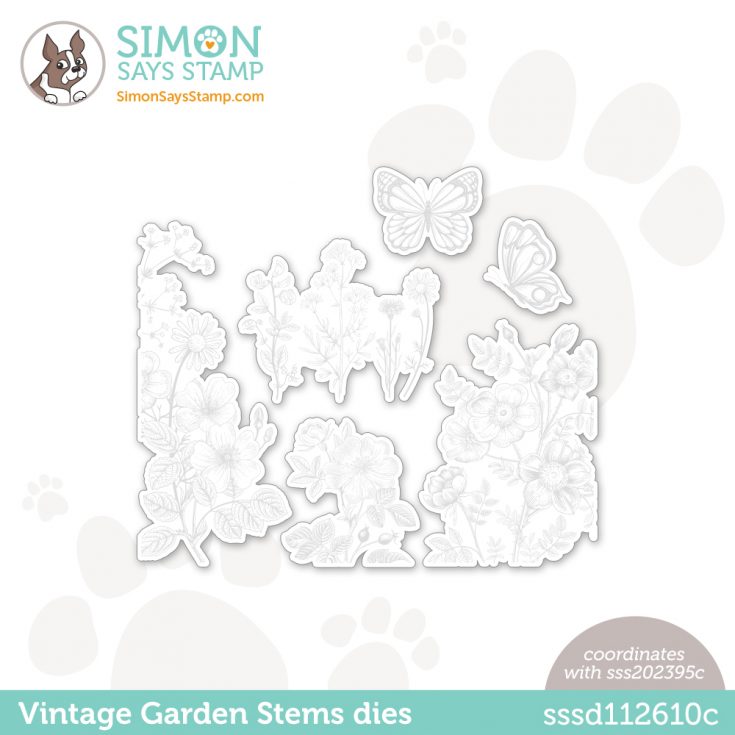
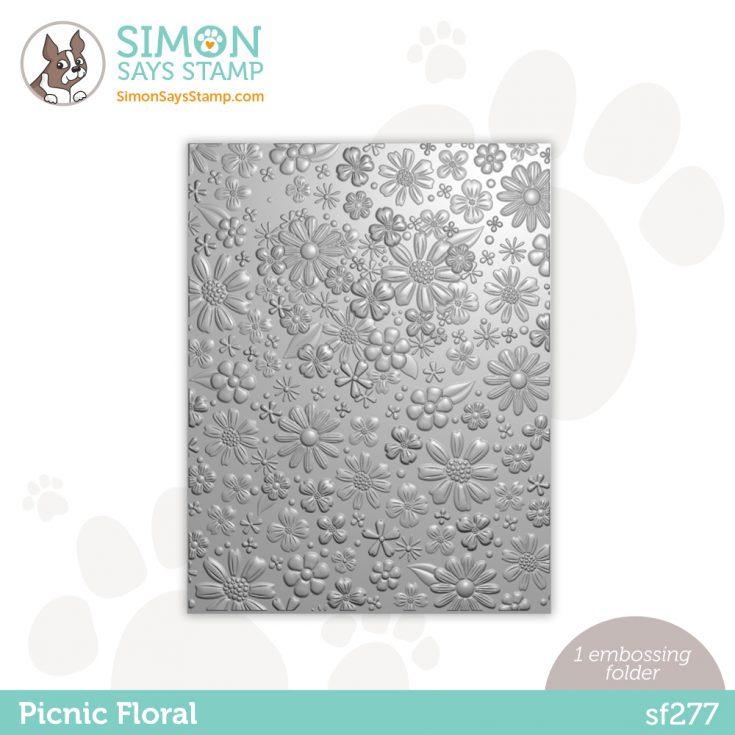
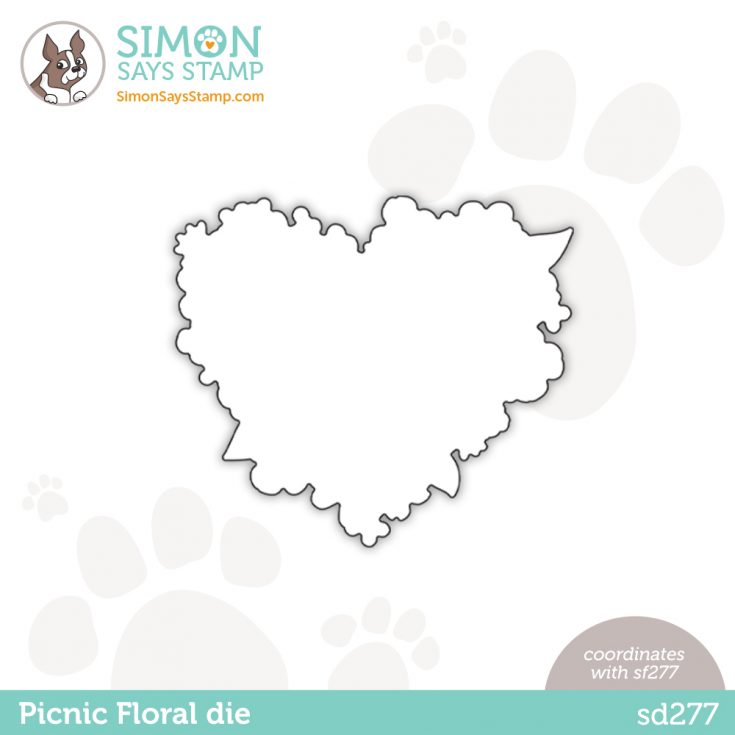
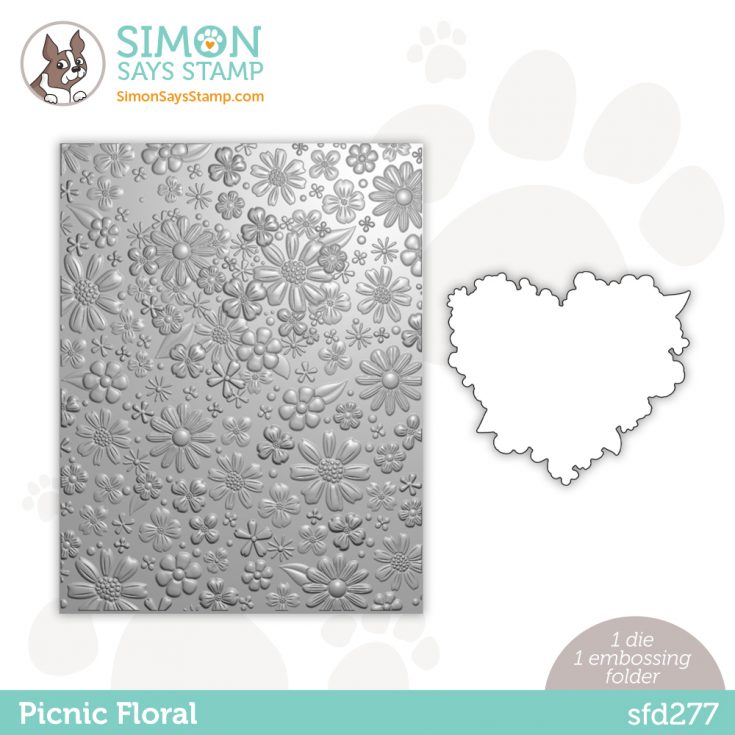
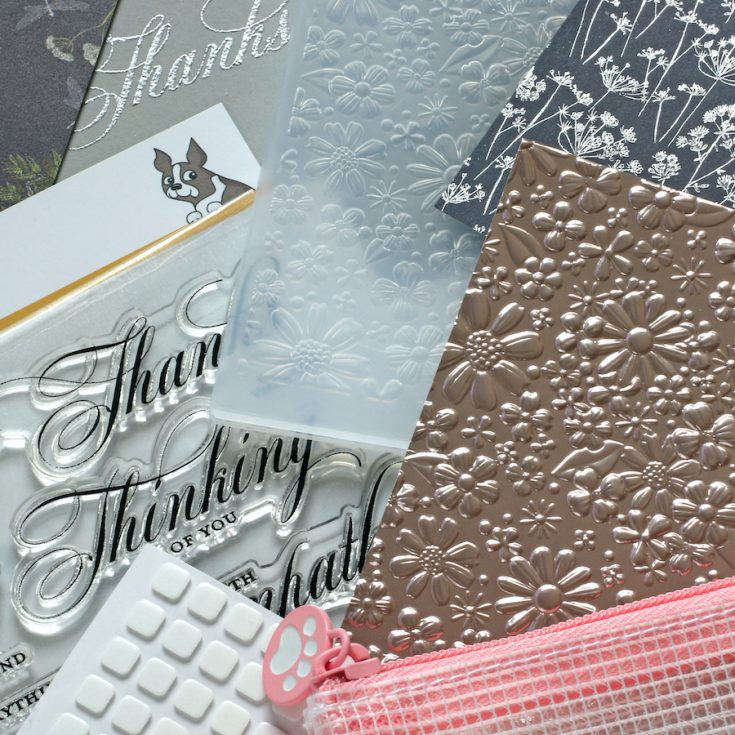
This dramatic kit features two brand new Simon exclusive products: the beautiful Vintage Garden 6×8 stamp set and Picnic Floral embossing folder.
In addition, we’ve included 1 full-sized Simon Brand clear embossing ink pad and a jar of our Silver embossing powder, a Simon Says Stamp Cheeky mesh zipper bag, 3 grey scored notecards, 9 double-sided sheets of 6×6 patterned papers from Craft Consortium, 1 sheet of Scrapbook Adhesives foam squares, 2 sheets of Simon Says Stamp coordinating cardstock (one in Rose Gold Metallic!), 1 sheet of Neenah Solar White cardstock, and 2 Simon brand envelopes.
Embrace the elegance of our Vintage Garden kit and enjoy creating beautiful cards to your heart’s content!
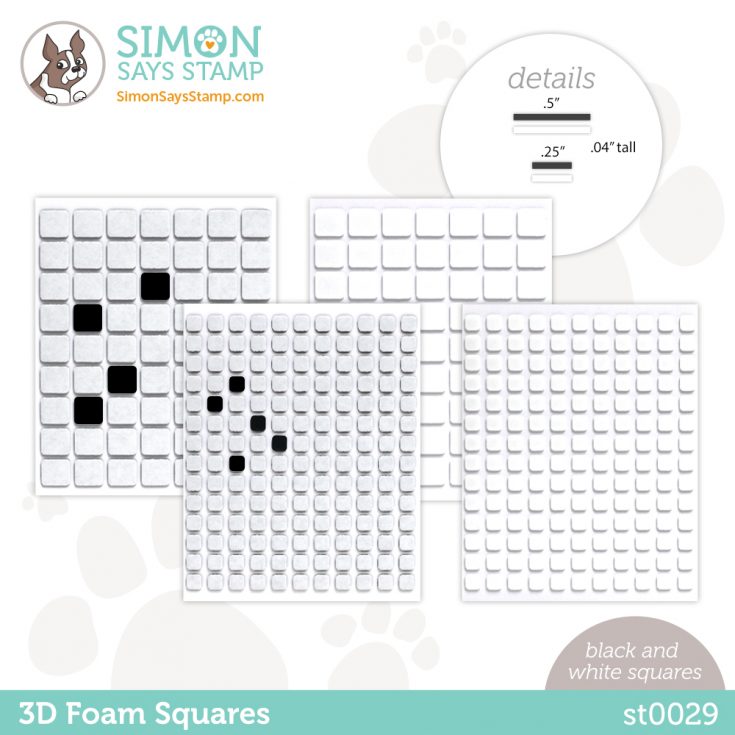
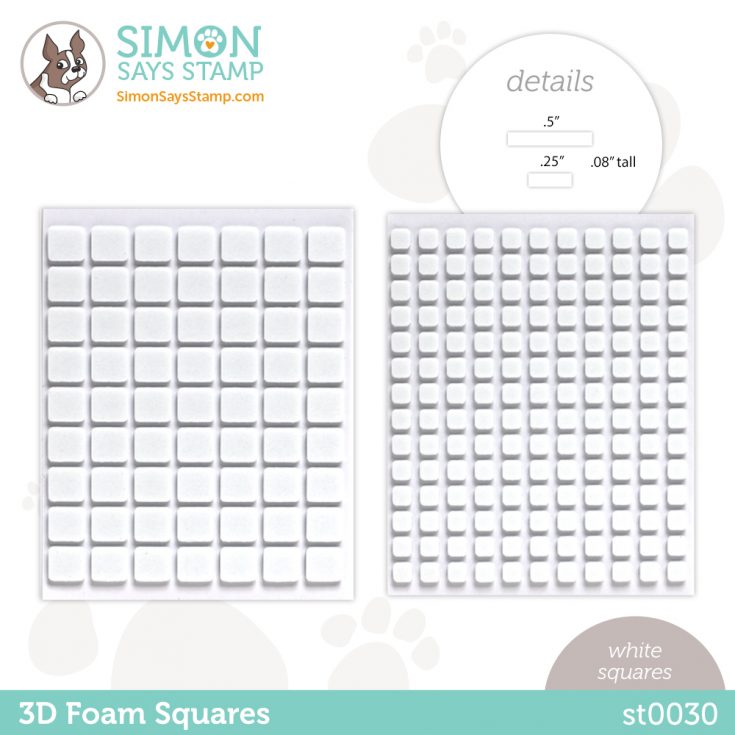
We have several ways to purchase some of these items from this kit. You can get the Vintage Garden 6×8 clear stamp set individually or as a set with dies. We’ve given you options to purchase just the stem dies, or word dies by themselves. Also, the NEW Picnic Floral embossing folder is also available as a set with a coordinating die, or you can purchase the die by itself. Don’t forget about our NEW 3D foam squares in White (thick) or a combination of Black and white (thin).

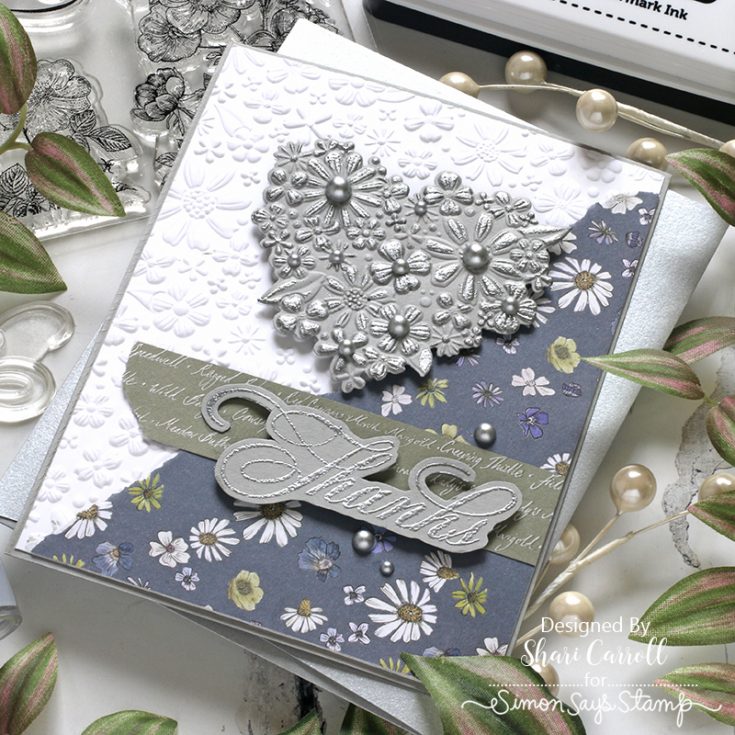
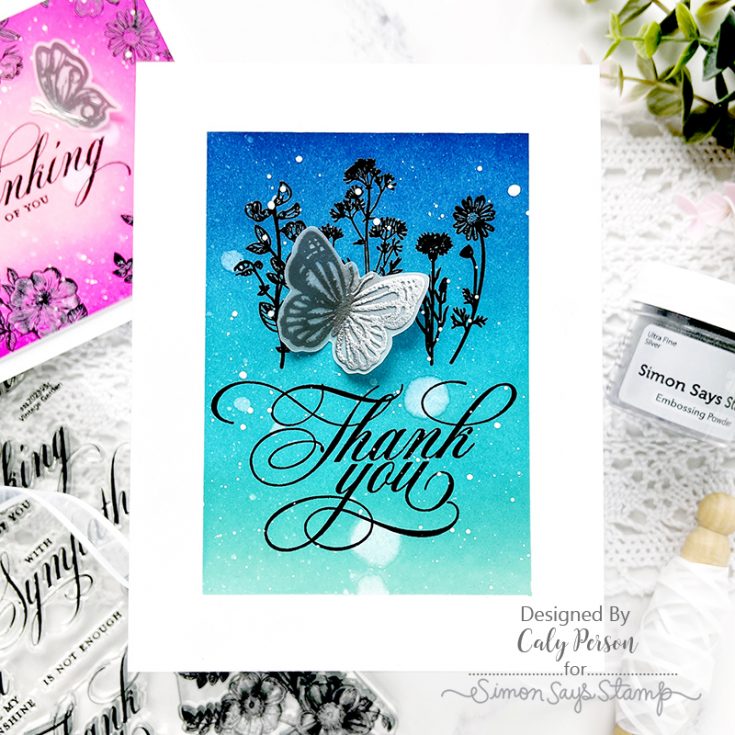
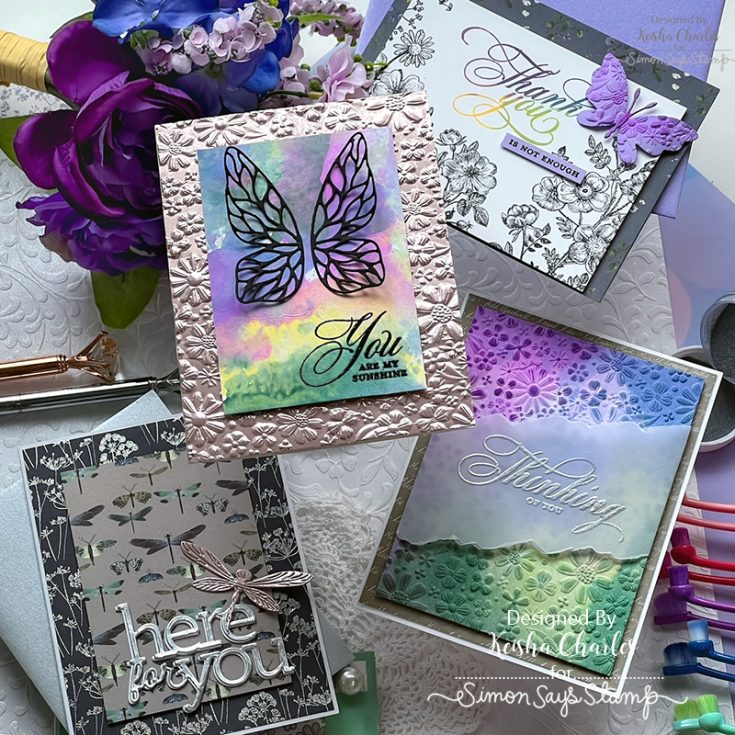
Don’t forget! We have LOTS of gorgeous card kit inspiration to access and add to in our Card Kit Galleries!
You can purchase the kit at $39.99, or you can subscribe to our kit of the month program for just $34.99 (plus S&H) per month to have our kits delivered right to your door each month!
If you are a subscriber who used Paypal to purchase your subscription, please be sure to pay the invoice that we send you within 3 business days. We have a limited number of this card kit in stock and don’t want you to miss out. For easier and quicker monthly processing, please contact us via email or telephone, and we will put your credit card on file as a courtesy for you. Card kits bill and ship anytime between the 16 – 30 of every month.
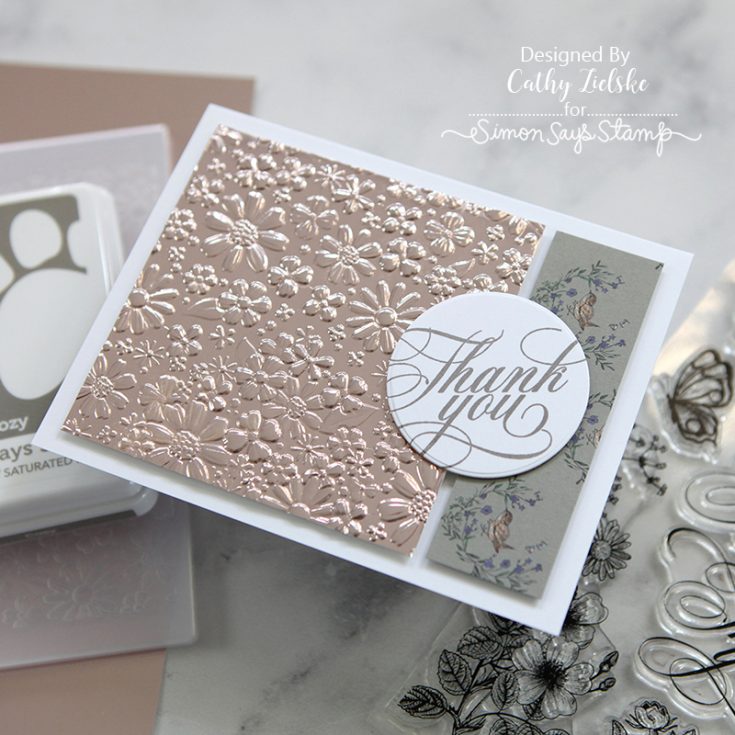
EZ with CZ: Repeated Stamped Images

Hi friends! Happy Wednesday! Please join me in welcoming special guest Cathy Zielske back to our blog in our monthly installment of EZ with CZ! Read on to learn more and enjoy!
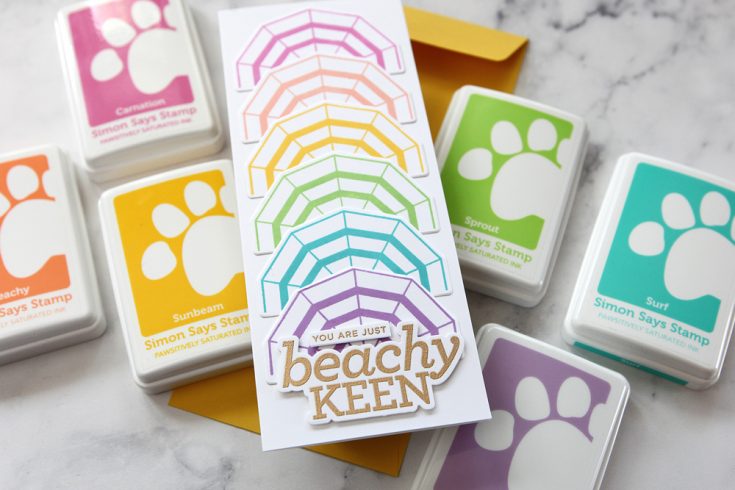
Hello crafty friends! It’s Cathy Z. here back with another installment of EZ with CZ! Today’s topic: repetition for your card design.
Repeating a single stamped and die cut element is a fun way to create a quick design for any card.
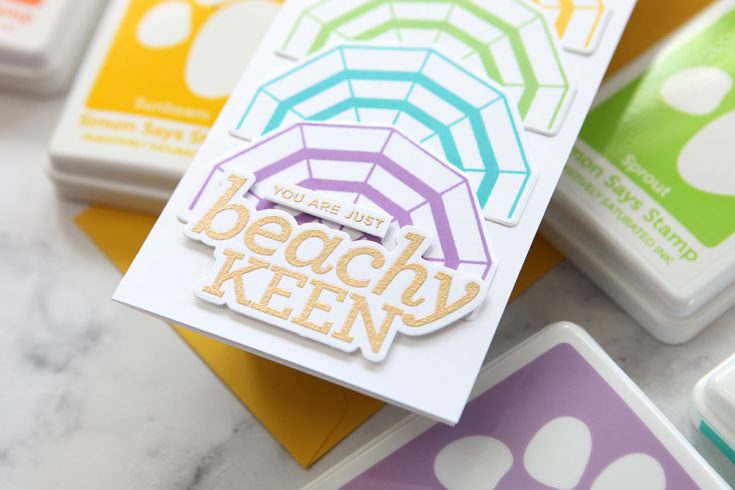
Plus, it’s an easy way to incorporate a rainbow into your design. It’s also a great way to stretch any stamp set when you take a single stamp and use it multiple times.
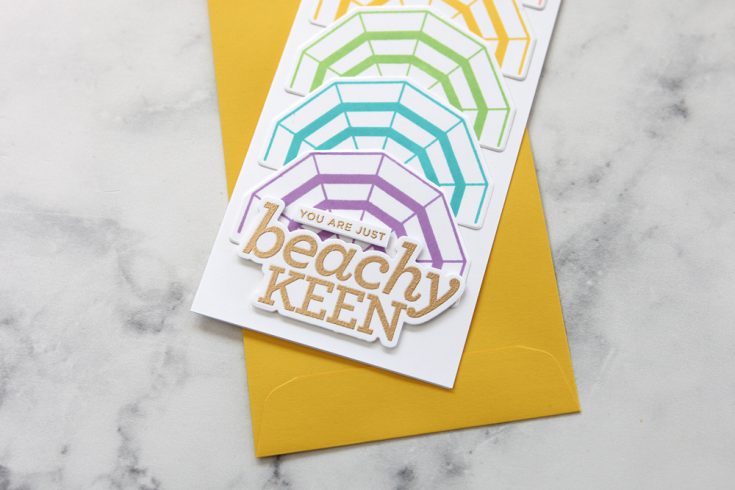
I created a slimline card with my large umbrella from the CZ Design Beachy Keen set and then popped it into a Dandelion Slimline Envelope. It was the perfect color match for Sunbeam Pawsitively Saturated ink I used on the card. Here is my video tutorial showing you how easy a card like this is to make:
Thanks so much for stopping by today! You can find all the supplies linked below and I’ll see you back here next month with another project.
SUPPLIES:
|


Thanks for stopping by, and thanks to Cathy for being our guest!

SNEAK PEEK! Our brand NEW (and oh-so-BEAUTIFUL) August 2022 card kit will be revealed in full TOMORROW (July 14, 2022 at 12 AM ET)!
NEW July 2022 My Favorite Things!
Have you seen the newest delightful collection for July 2022 from My Favorite Things? Shop your favorites now!
|


