Did You Know: October 2022 Edition
Hi friends! Happy STAMPtember® eve! Today I have a new edition of our popular Did You Know series!
New Mesh Zipper Bag Colors
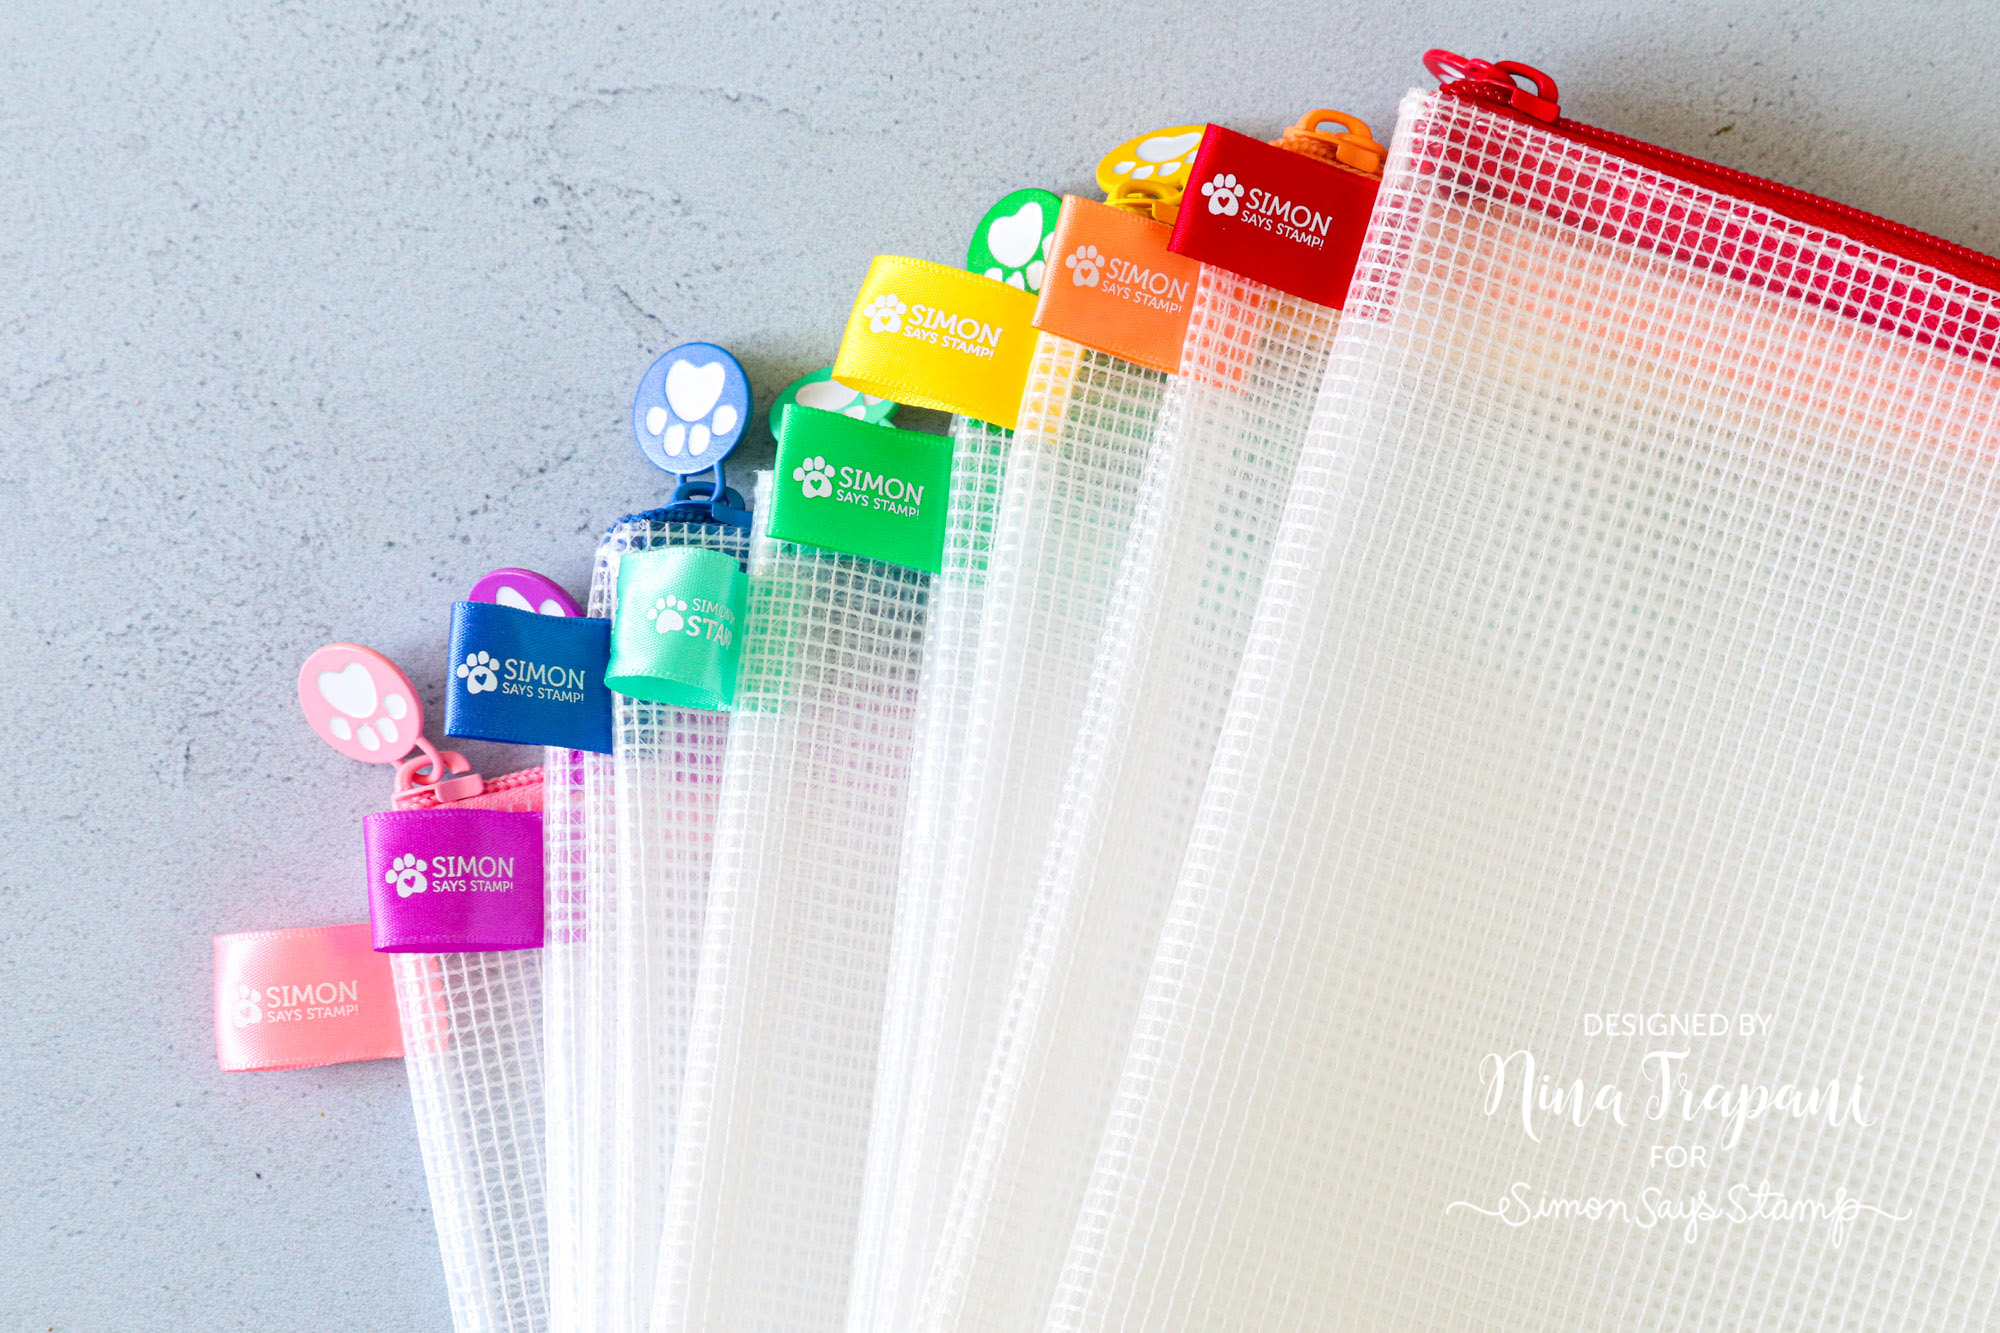
Have you seen the latest collection of colors we added to our Mesh Zipper Bag line? We now have an entire Rainbow set that coordinates perfectly with our other Simon Says Stamp rainbow products (like the PET and Blending Brushes)!
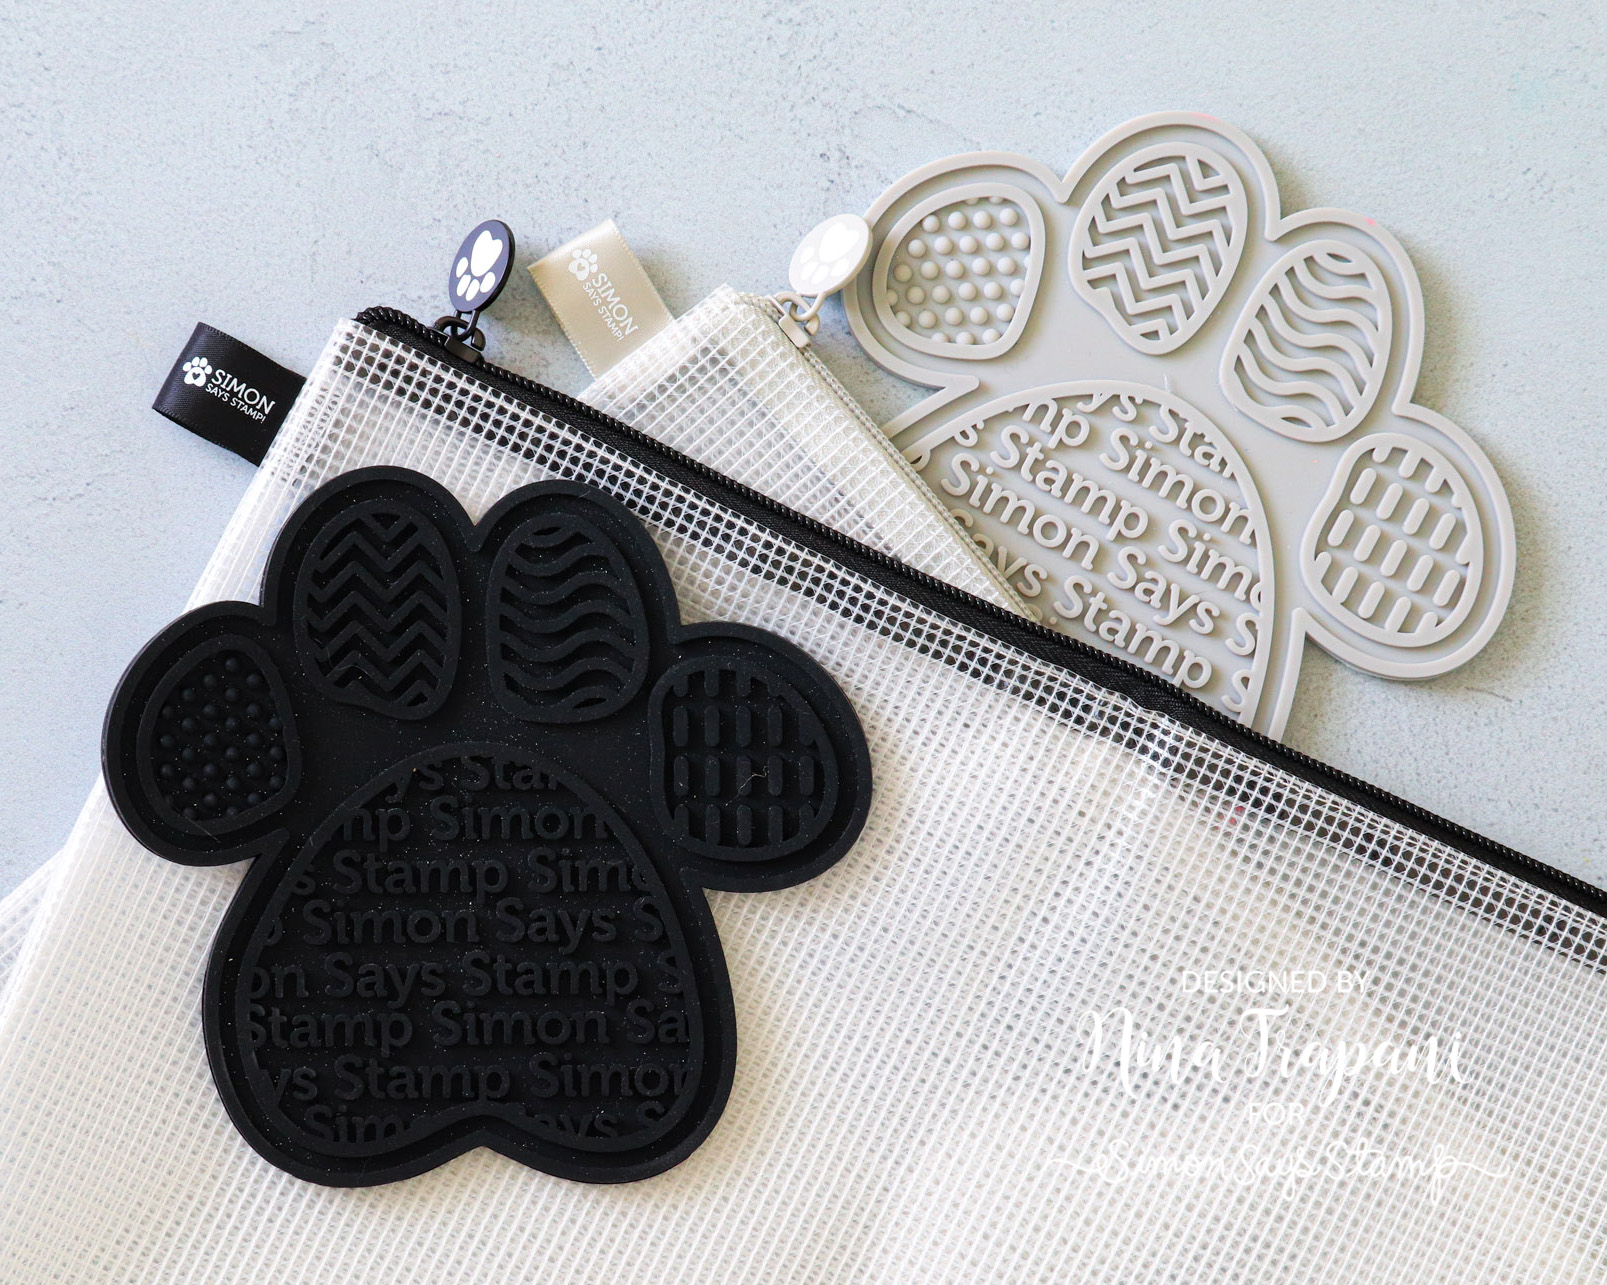
And for those of you that love neutrals, we also have new Black and Gray Mesh Zipper Bags that also have color coordinating products! You can now organize your craft space with your favorite colors!
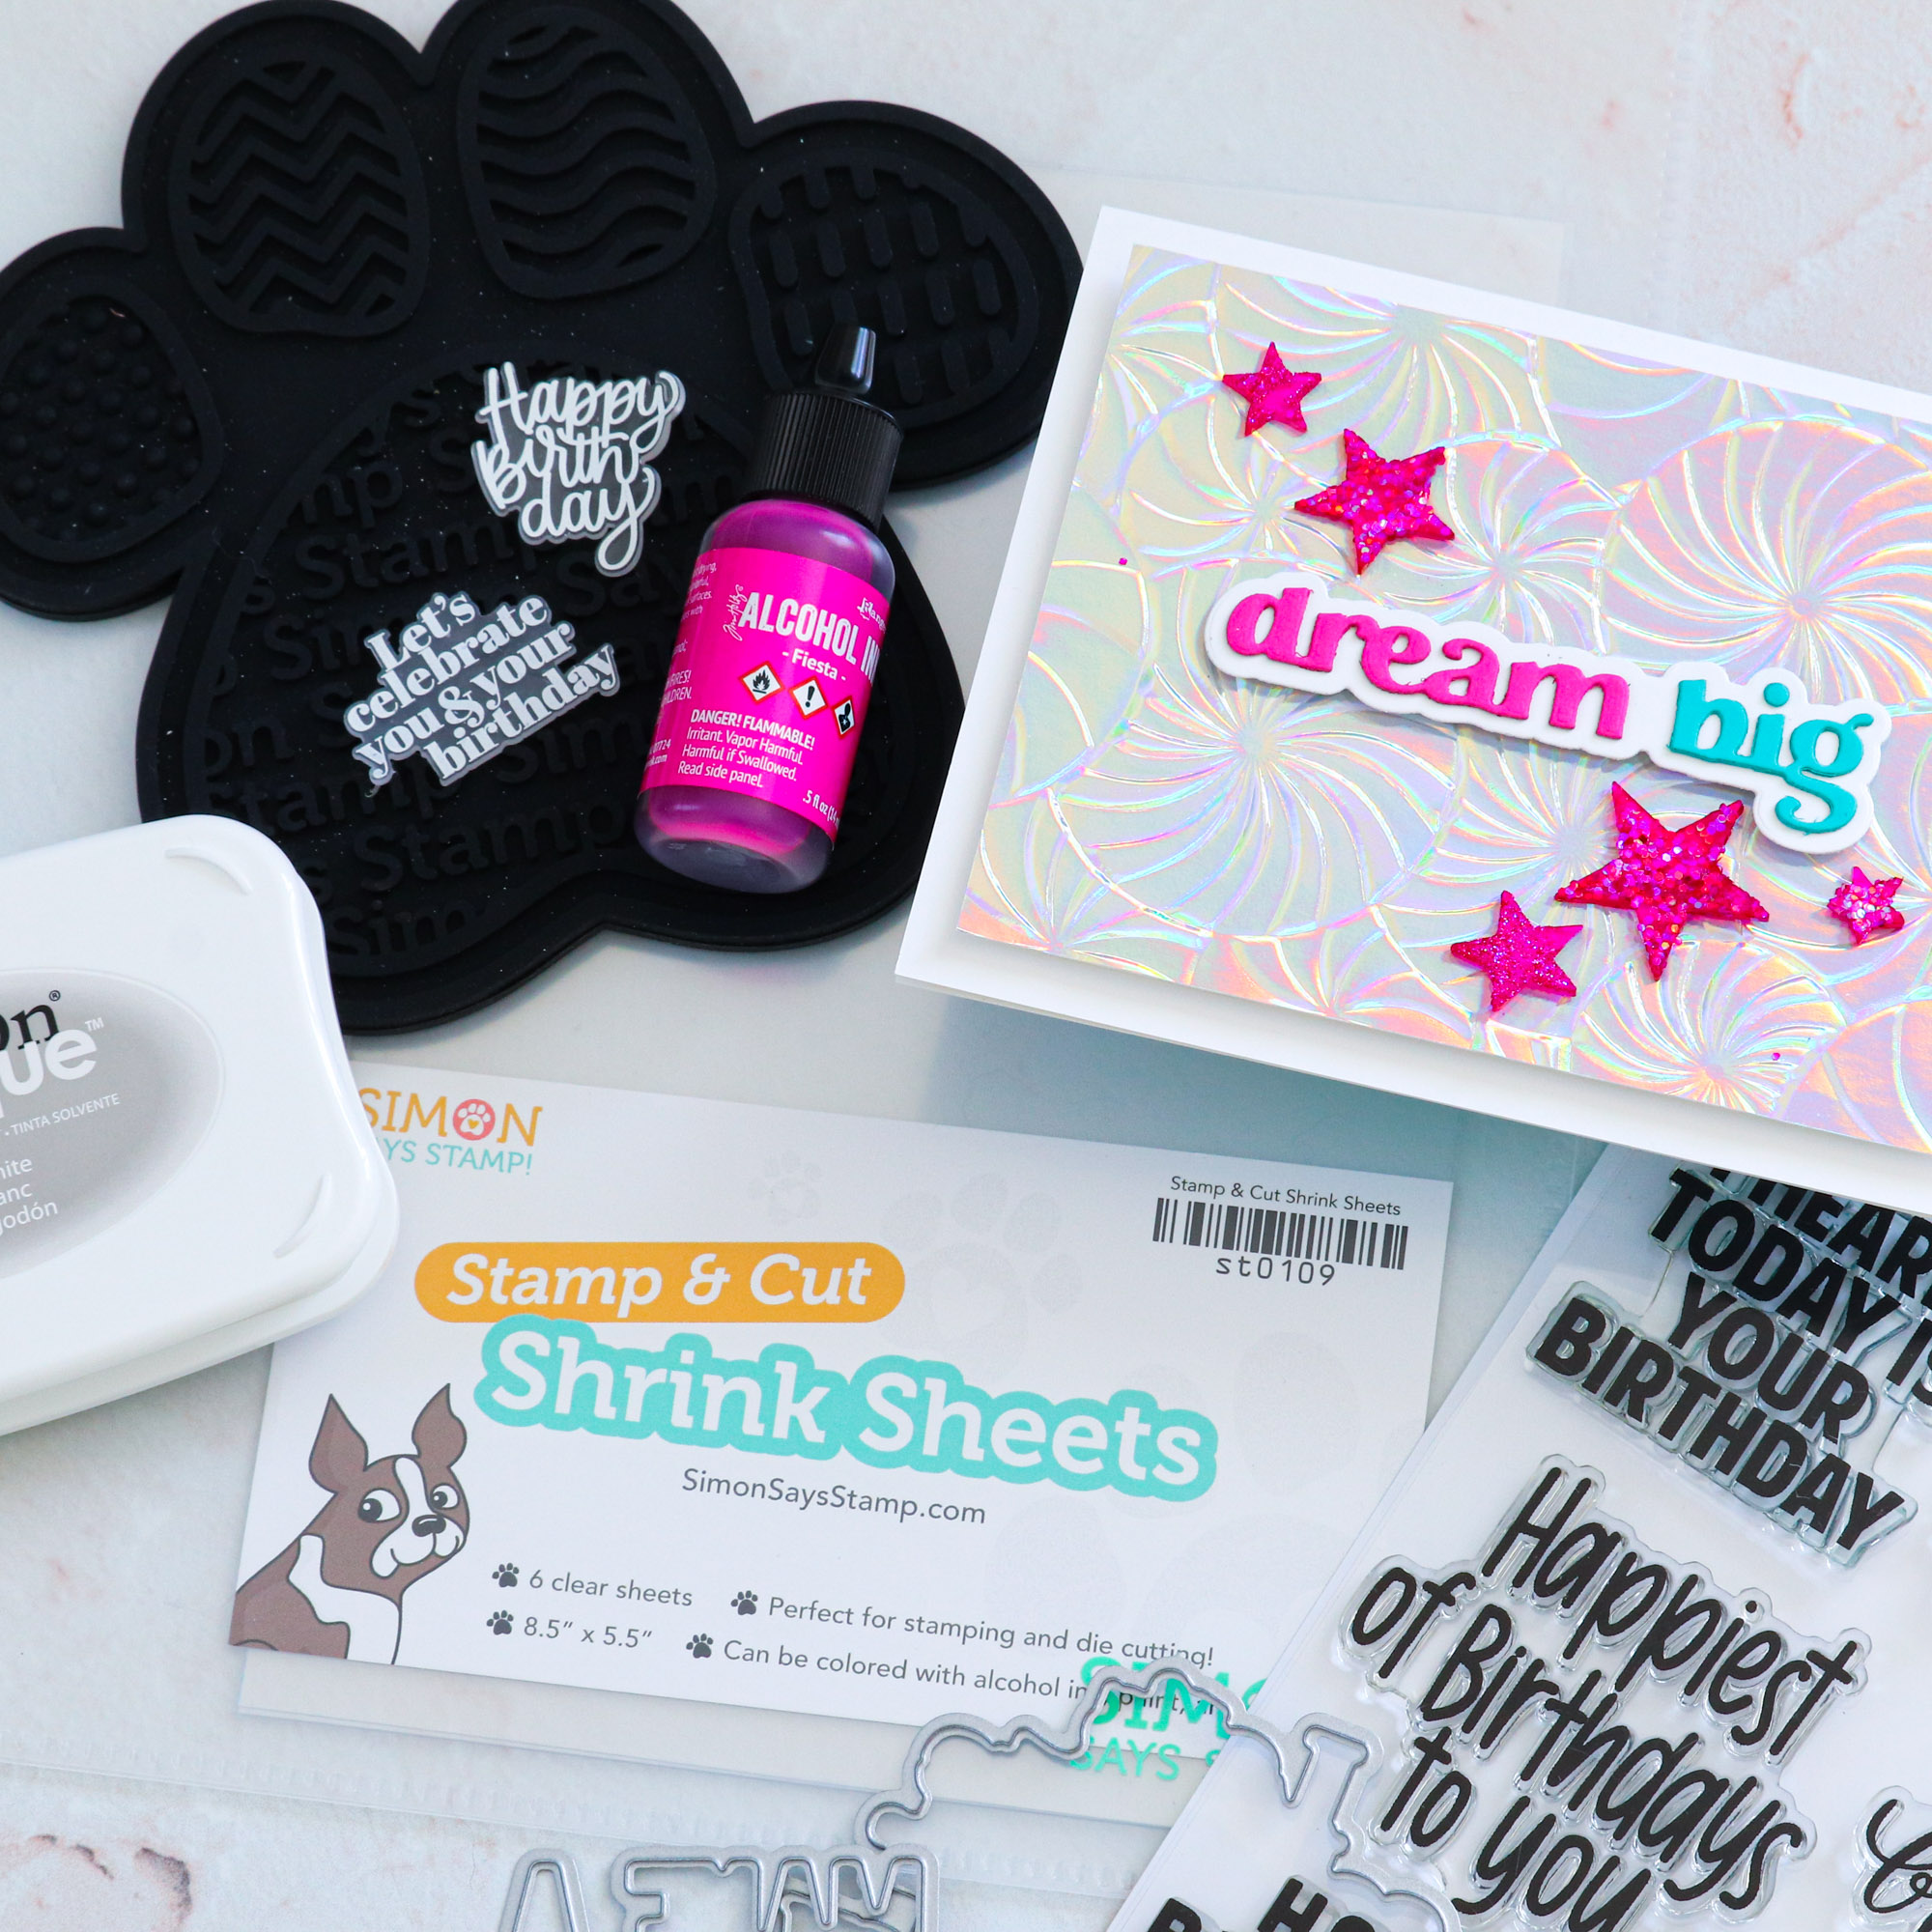
Stamp and Cut Shrink Sheets
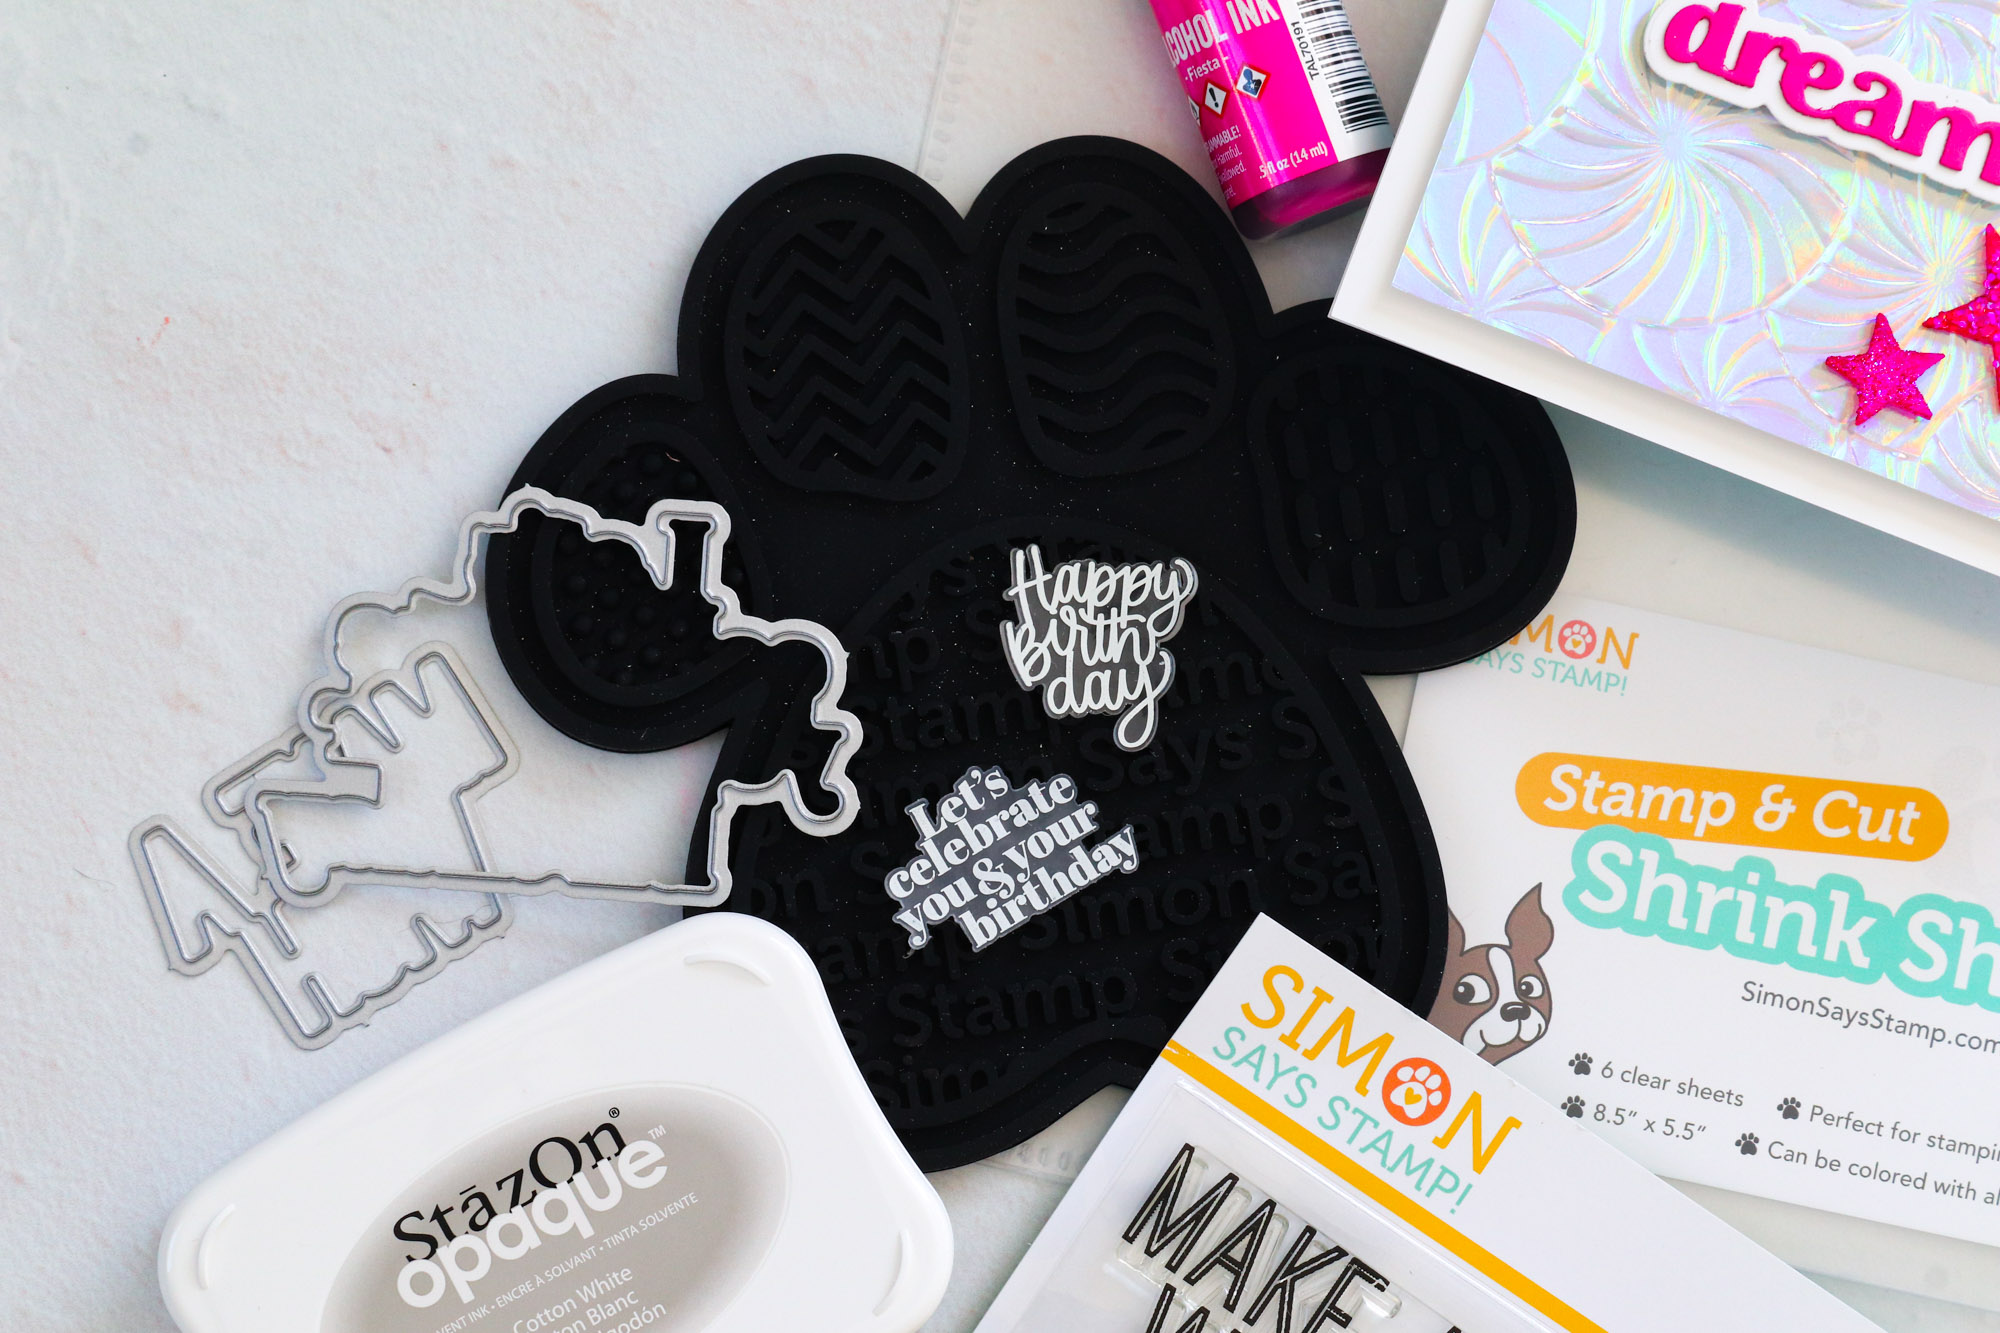
It’s a blast from the past with a new-and-improved twist! Our Simon exclusive Stamp and Cut Shrink Sheets allow you to make your very own embellishments that are reminiscent to “Shrinky Dinks”. These sheets are able to be die cut, stamped on, colored with markers and pencils, or covered in mediums like alcohol ink and glitter…the creative possibilities are endless!
Fine Detail Scissors
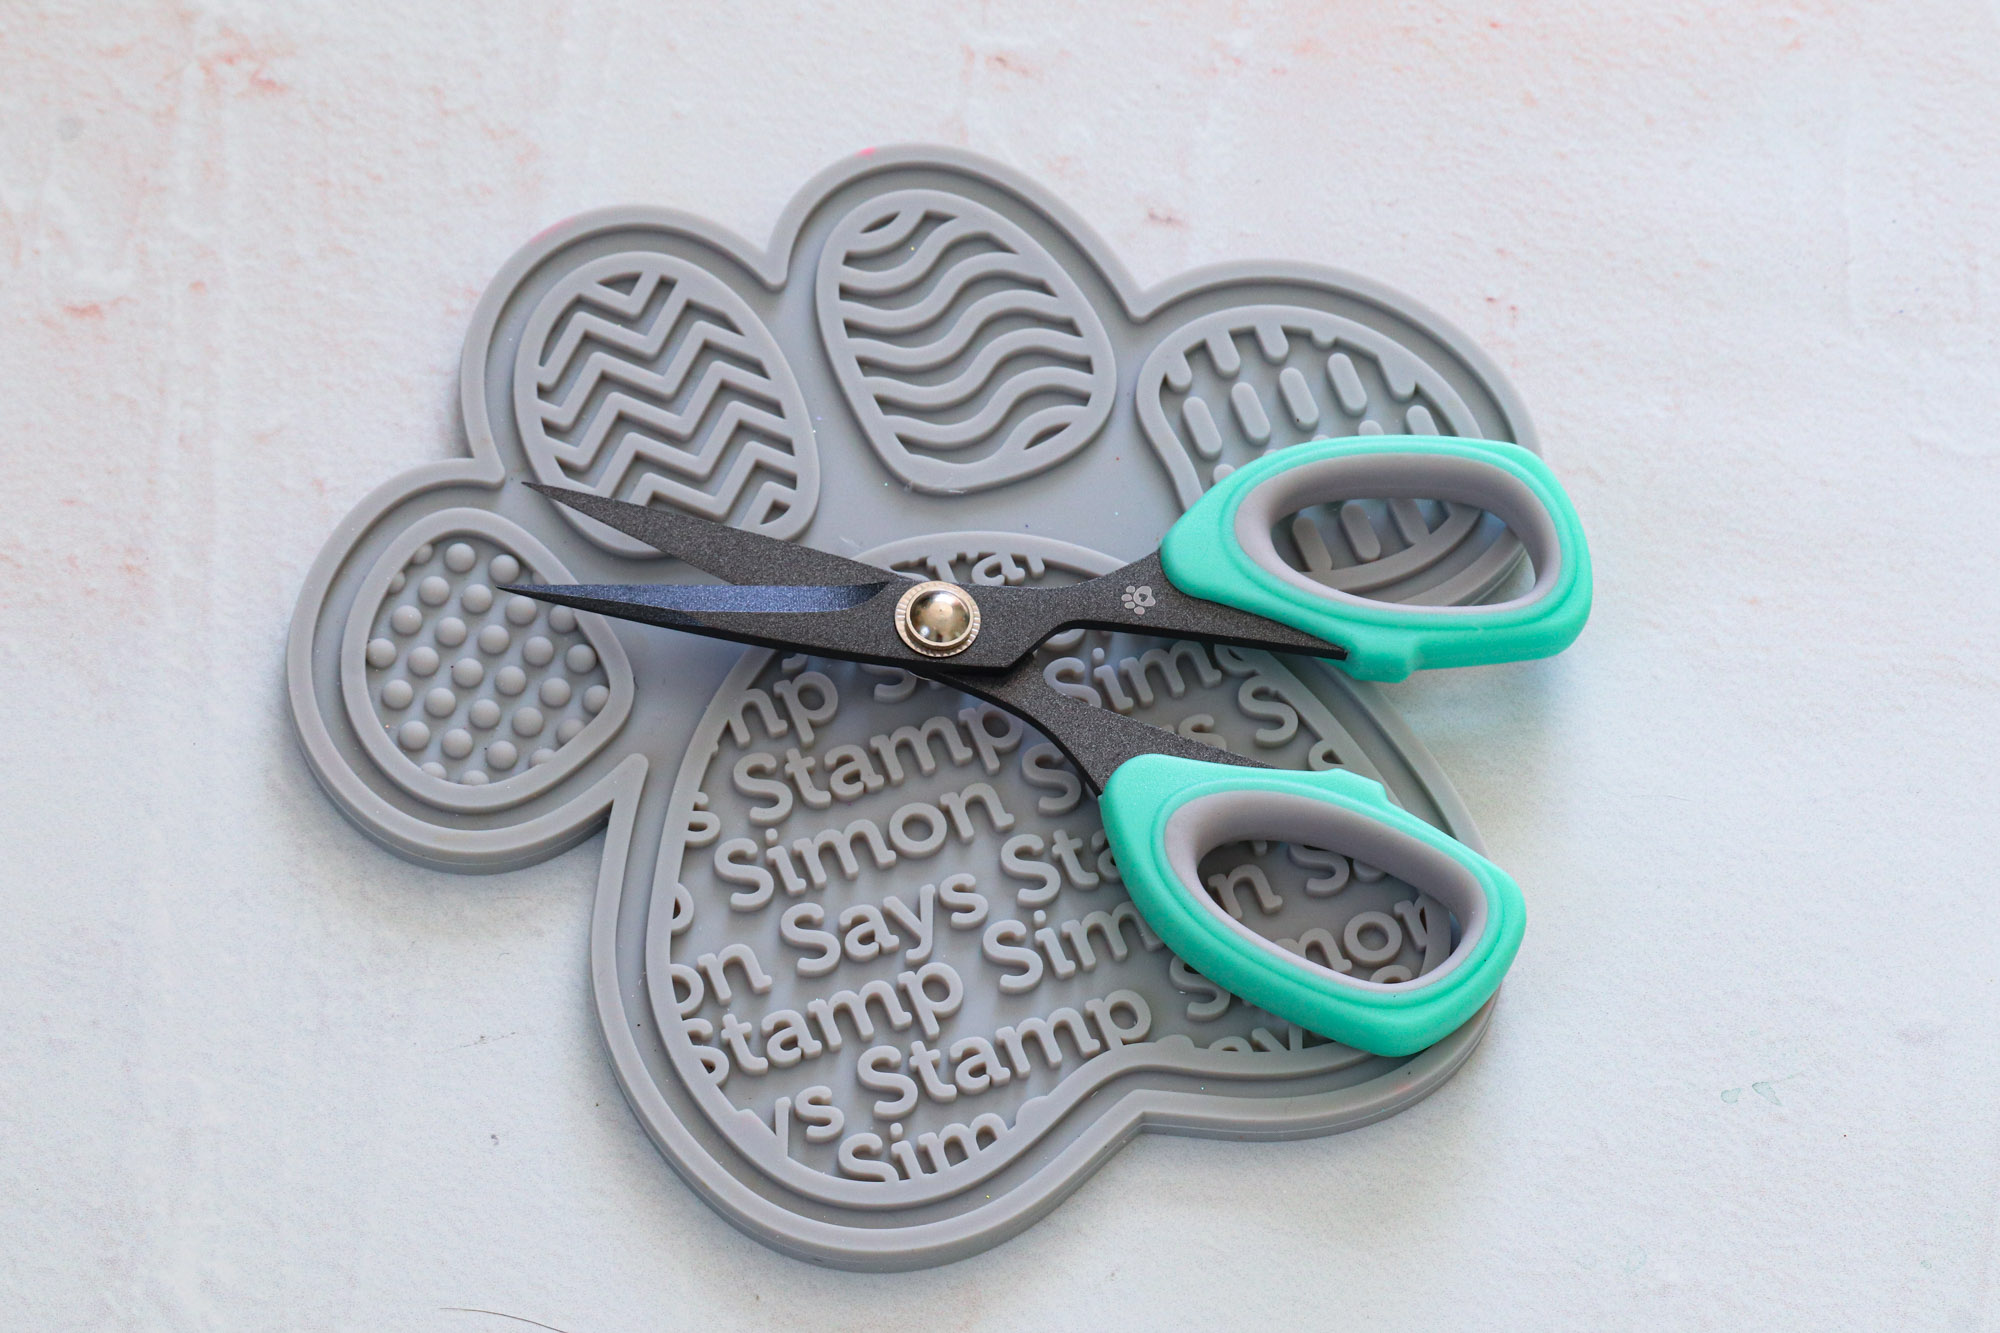
Your shearly going to LOVE our Simon exclusive Fine Detail Scissors for all your crafty projects! These small scissors have an ultra-sharp tip that is perfect for fussy cutting and getting into tight spaces. The blades feature a non-stick coating that allows you to use these with adhesives and other mediums; if you get them messy, you’ll have no trouble getting them clean. The teal color coordinates beautifully with all of our other Simon branded tools, making them a cohesive addition to your crafty stash!
Tear-rific Tapes
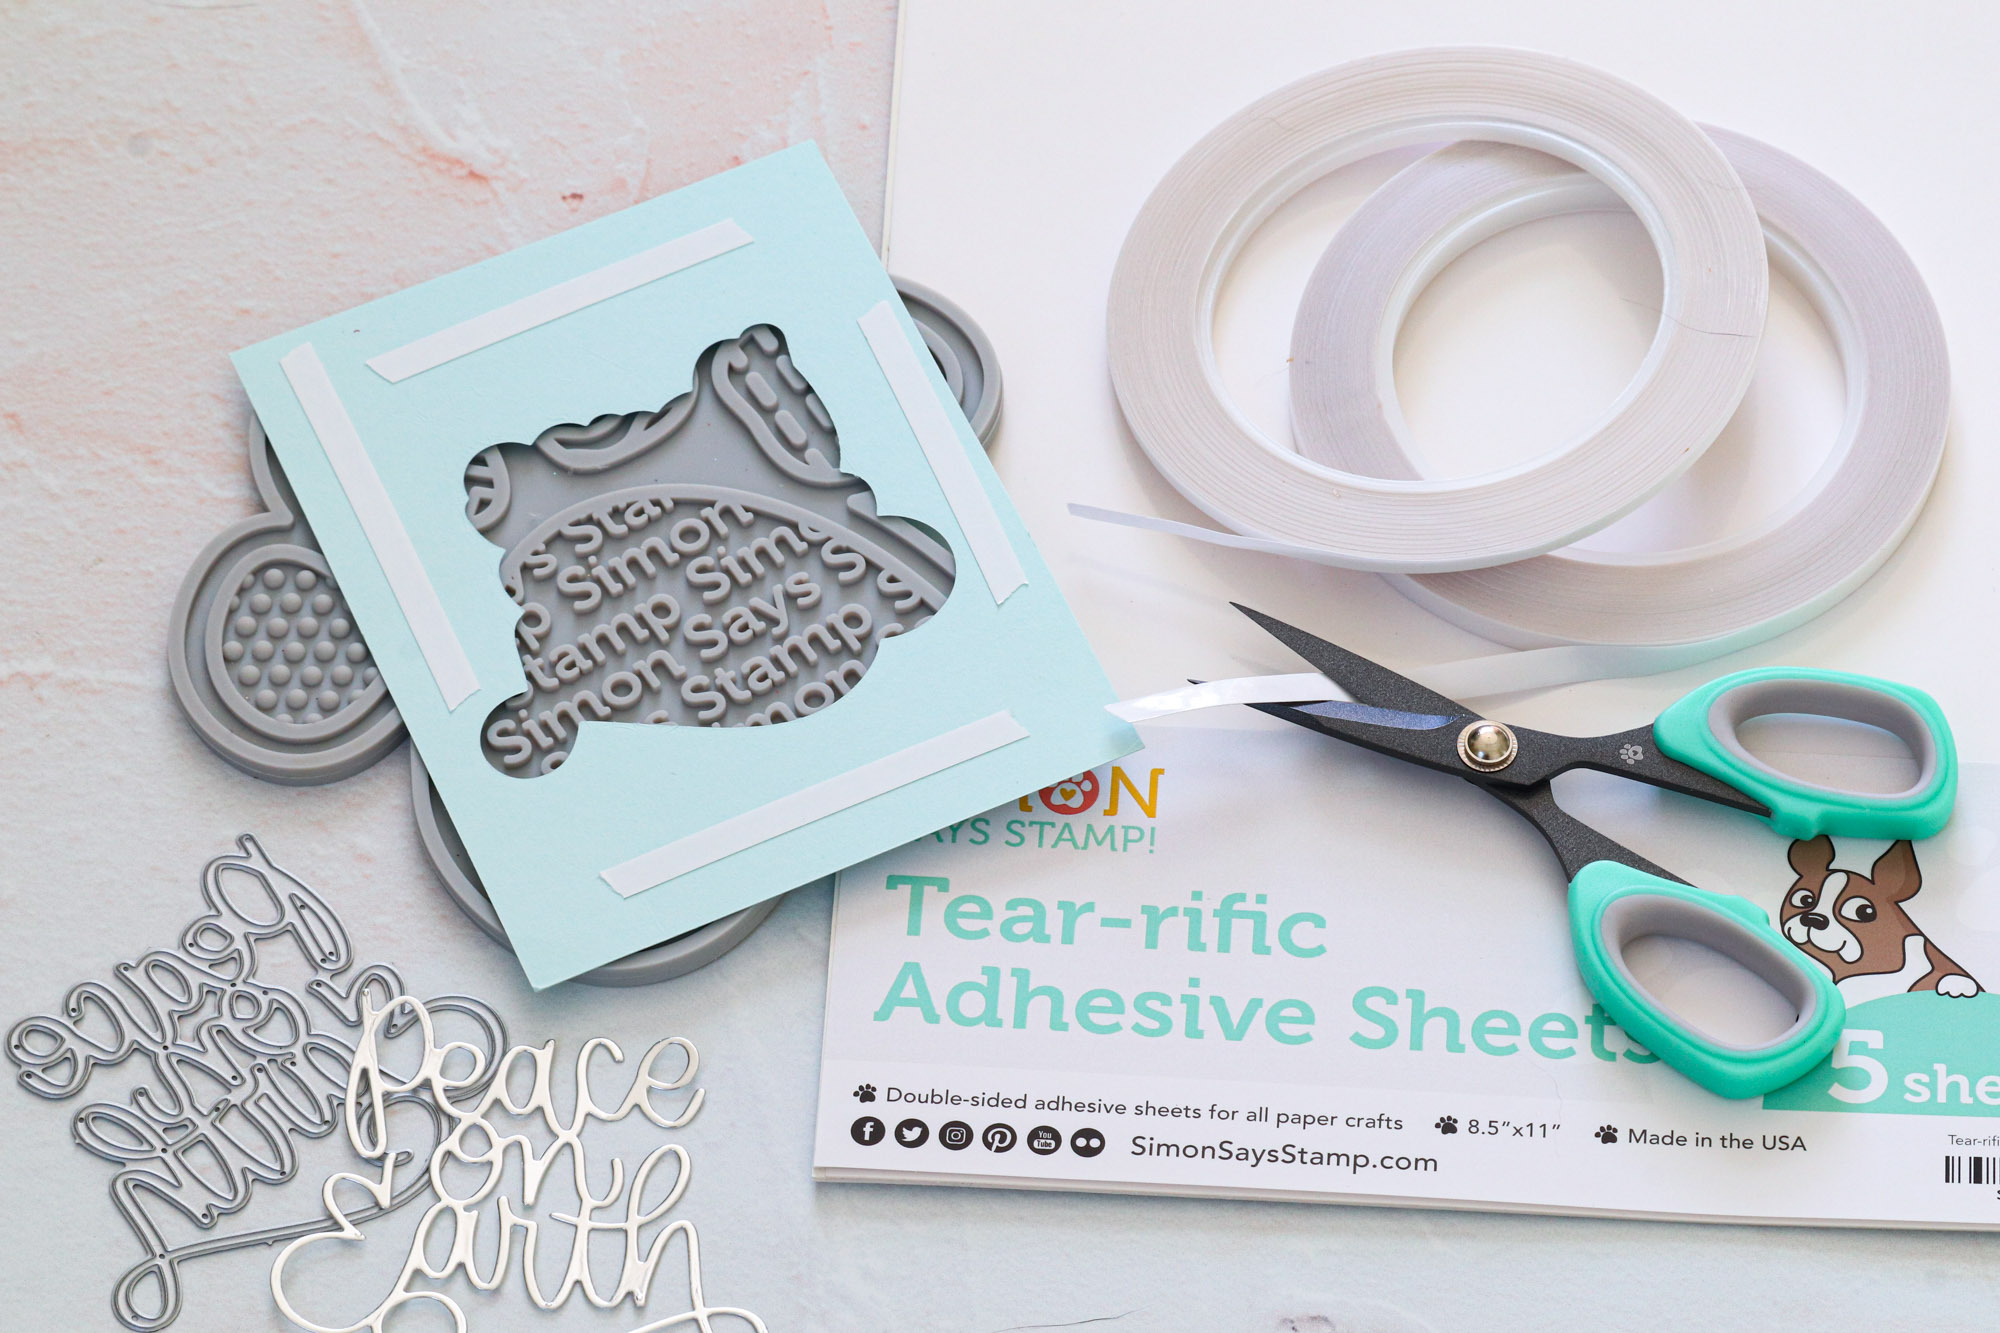
Just when you thought you had all the adhesives you’d ever need, we have a special collection of Tear-rific Tapes that are a must-have! The tape comes in 1/4”, 1/8” rolls, or 8.5”x11” sheets, ensuring you have the right type no matter what creative project you’re working on! As the name suggests, the adhesive has a paper backing (instead of plastic) that allows you to actually tear the tape off as you need it (though you can always use scissors if you prefer)! Use the rolls for quick strips of adhesive or the sheets for large coverage areas, making DIY stickers, and more!
I hope these tips have helped you learn a few tricks for your upcoming crafting projects… Thanks for tuning in today and spending some time with me!
SUPPLES
|


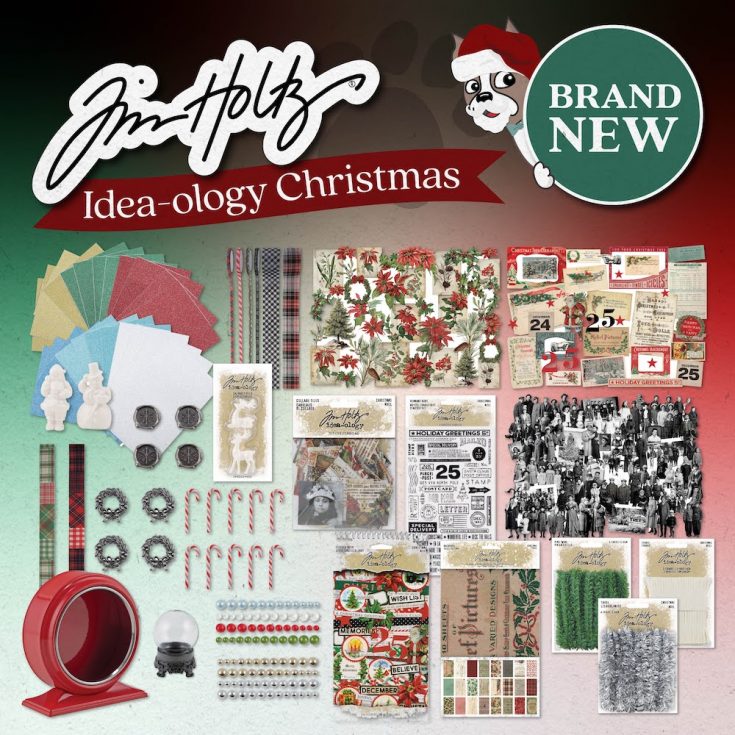
BRAND NEW! Tim Holtz Holiday 2022 Idea-ology Collection!
Hi friends! Happy Saturday! Did you catch the AMAZING Livestream full of inspiration and up-close views of this fabulous new product line with the one-and-only Tim Holtz?! Be sure to click or tap HERE to check it out for great inspiration and MORE!
Keep on scrolling for some fabulous bits, baubles, and more that are sure to make your holiday projects even more festive and fun!
Shop the Christmas Holiday 2022 Idea-ology Collection:
|


FAST Layered Gift Holiday Tag: EZ with CZ

Hi friends! Happy Saturday! It’s hard to believe we’re already in the holiday making time of year, but truthfully, the quicker you begin your holiday makes, the less cumbersome it seems as it gets closer to Christmas! Join me in welcoming back special guest Cathy Zielske! Be sure to watch the video for all the details and enjoy!
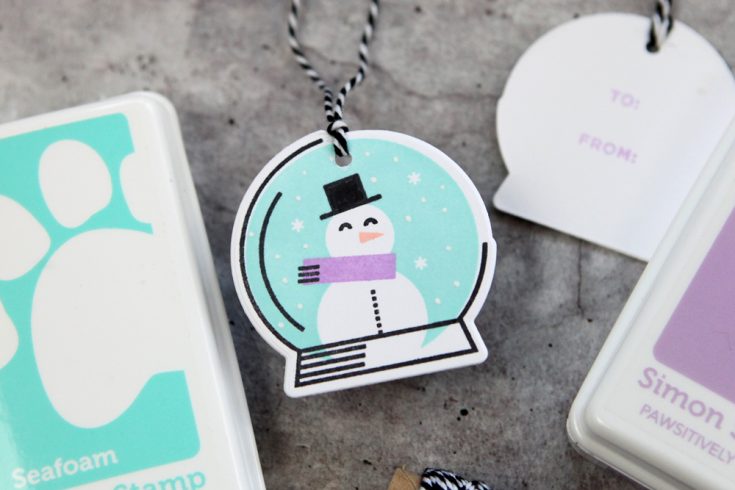
Hello crafty friends! It’s Cathy Z. back with a new installment of EZ with CZ! Today I’m sharing a really cute tag idea, perfect for holiday gift wrapping.
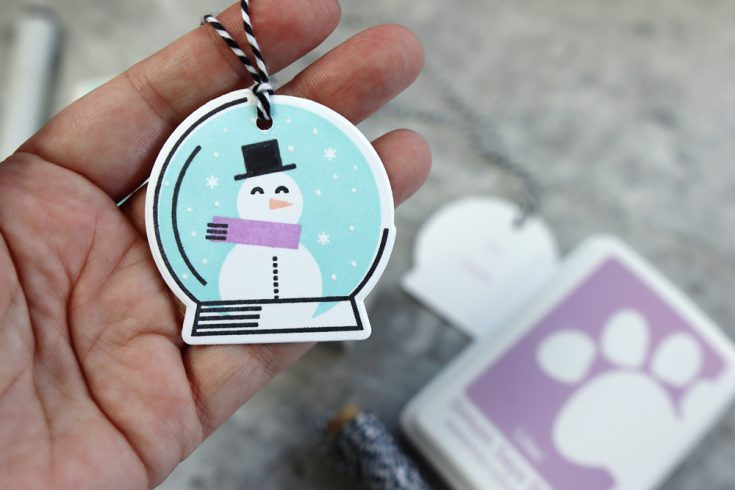
My Let It Snow stamp set featuring multi-step stamps designed to come together for a cool, graphic look. You can use both of the layering stamps to create tags. The larger layering stamps will work beautifully on a large gift tag, but today, I’m creating small, snow globe tags.

Here is my tutorial showing you how I created the tags!
WATCH THE VIDEO:
Thanks so much for stopping by! All supplies are linked below! See you next month!
SUPPLIES:
|


Thanks so much for stopping by, and thanks to Cathy for being our guest!


