Tim Holtz Distress Ink Color Pop!

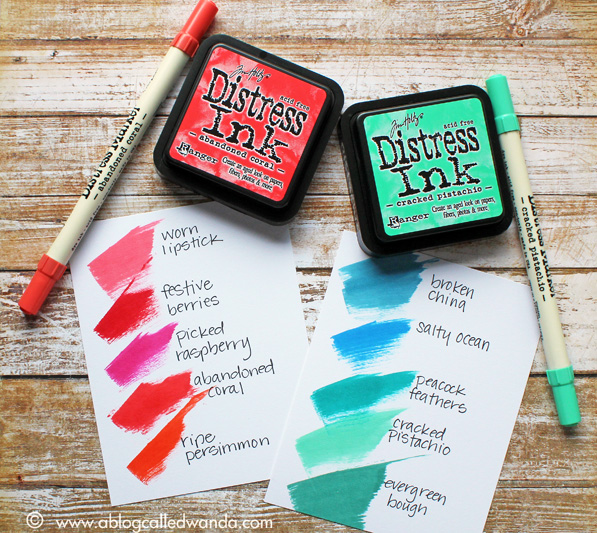
Hi everyone! Wanda here, kicking off a brand new monthly feature here at Simon Says Stamp! I’m going to be spotlighting the new Distress Ink colors as they are released. Are you as excited as I am every month to see what the new Distress Ink color is? They are so gorgeous…and don’t you love the color names?! A new color is announced each month, on the first Friday of the month. It’s like Christmas every time! I will be making a project each month – showcasing that new color. I’ll be creating a color swatch card too, so you can see where the new color fits in with your favorite existing Distress Ink colors. Today I’m using the first TWO colors together – Cracked Pistachio and Abandoned Coral.
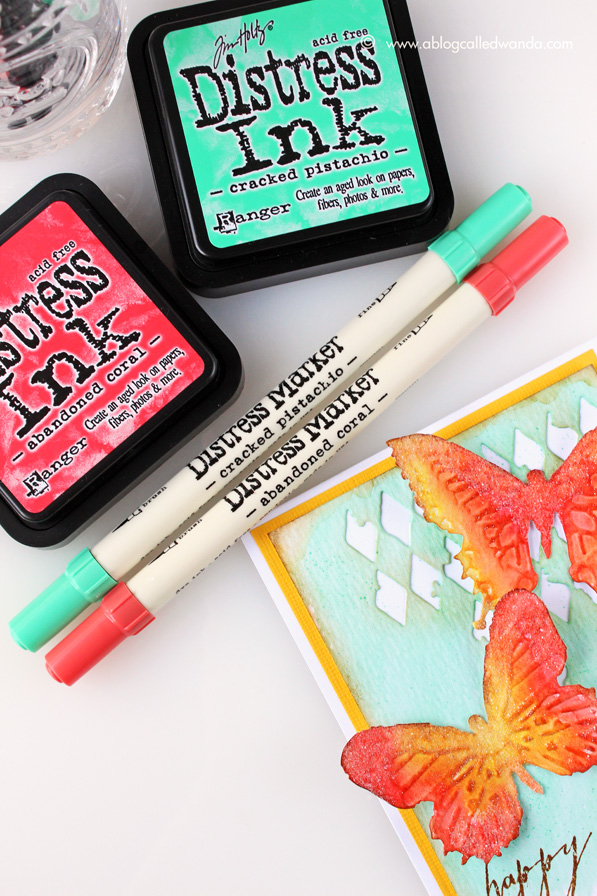
Cracked Pistachio and Abandoned Coral are very bright, clear, and almost Tropical colors! They remind me of bright birds, flowers and butterflies. I was drawn to use Squeezed Lemonade Distress Ink with these two new colors, and this color trio creates a very pretty palette.
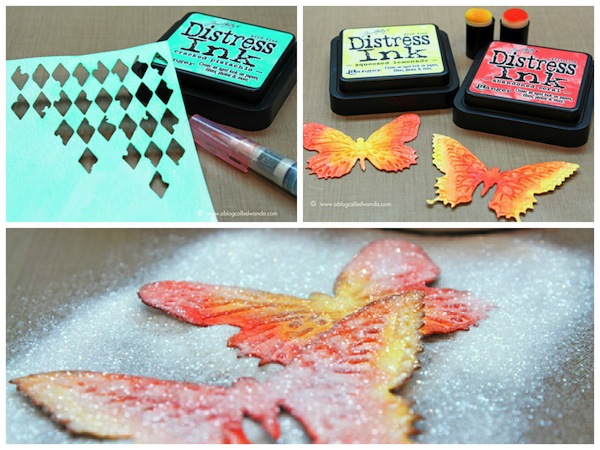
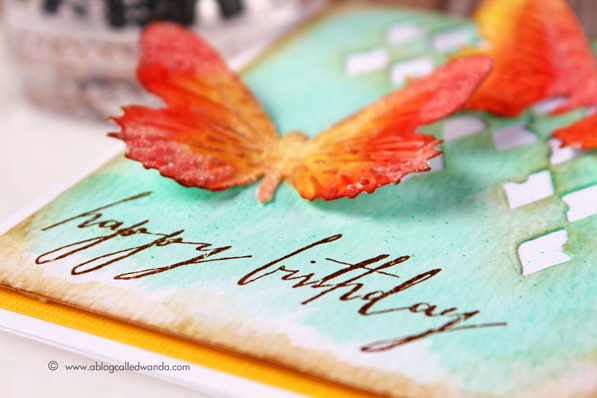
I first die cut the Mixed Media Alterations die from a watercolor sheet. Then I used Cracked Pistachio ink mixed with water to create a wash over the panel. After it was dry, I went back over with some Vintage Photo Distress ink around the edges of the panel, and around the cut out diamonds. Next I die cut and embossed the Tim Holtz Butterfly Duo – also out of watercolor paper. I used sponge daubers to place ink onto the butterflies. Then, I took my water brush and slightly blended the two colors together. As with the main panel, I edged the butterflies with Vintage Photo Distress Ink. Next I added beautiful Rock Candy Distress Glitter to the two butterflies. Finally, a beautiful stamped sentiment to finish off the card. I assembled the card, and used glossy accents to hold the two butterflies in place, gently bending the wings upward.
I hope you are inspired you to use these beautiful new colors.The next new color is called Mermaid Lagoon! I’ll be back soon with a project and a color swatch card. Until then, happy crafting!
SUPPLIES:
 |
 |
 |
 |
 |
 |
 |
 |
 |
 |
 |
 |
 |
 |
 |
 |
 |
 |
 |
 |
 |
Thanks for reading today and thanks so much to the awesome Wanda Guess for this inspiration today!

Blog Candy Alert!! Follow our blog via email and comment on this post for a chance to win a special blog candy!
Congrats! Blog Candy Winners!
From: Happy Spring and New Beginnings!: Heather Ferguson!
From: Tim Holtz Fragments: Jean Marmo!
From: 10 Ways to Watercolor!: Victoria Harris!
From: Your Favorite Challenge!: Suzi Metcalfe!
From: Sending You Love & Hugs: Brenda Lee!
Please email Samantha ([email protected]) with your mailing address and the name of the blog you won from to claim your prize!
Monday Challenge: Pastel
From Spun Sugar Distress Ink to water color flowers, gelatos to sweet shades of spring green this week the Monday Challenge Team is inspired by all things pastel! Be sure to join them with your version of this challenge over on the Monday Challenge Blog.
Below are three projects created by team members this week – love the variety and inspiring ideas! And don’t forget that when you enter your projects into the challenge, you can win a $50 Gift Voucher to Simon Says Stamp!

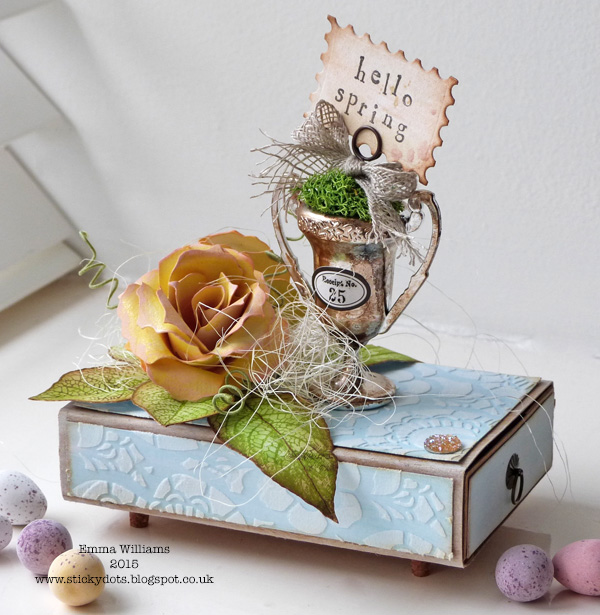
Anna-Karin shares a layout welcoming her beautiful baby!

 |
 |
 |
 |
 |
 |
 |
 |
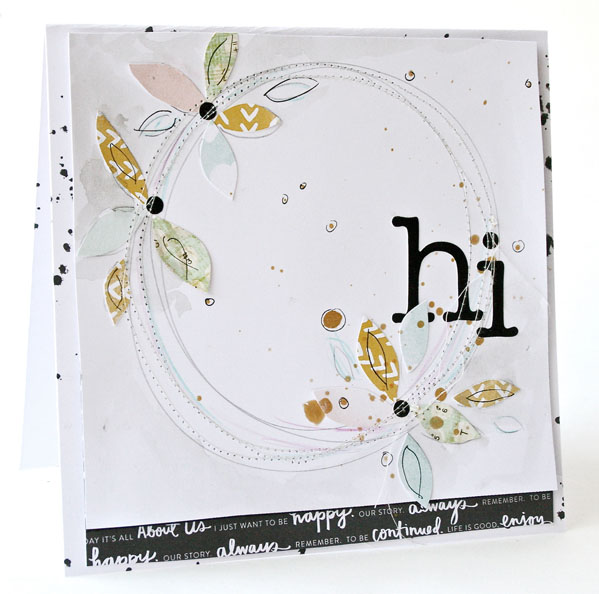
By Ashli:
 |
 |
 |
Happy Spring and New Beginnings!
Hi readers! Happy Sunday to you! I’m pleased to welcome the very talented Tanya Adams as a guest to our blog! Please be sure to give her a warm welcome in our comment section on this post. :) Today Tanya has made two adorable cards featuring products from our new Hop to It exclusive collection of products! Enjoy!
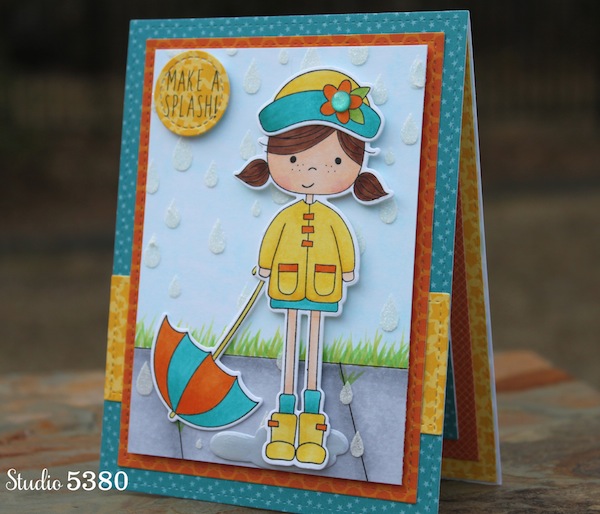
Using Neenah Smooth Solar White cardstock, I created a fun, rainy day scene with my Copic Markers. After coloring in my sidewalk and a bit of grass, I brought on the rain using the SSS Raindrops Stencil and Wendy Vecchi’s embossing paste. After removing the stencil, I quickly sprinkled on some Clear Rock Candy Distress Glitter for a bit of sparkle.
While the embossing paste was drying, I stamped this darling little girl from the Abby’s Spring Showers stamp set. I colored her with my Copic Markers and used the coordinating die set to cut her out. I added a pretty little Doodlebug Sprinkle to the flower on her hat and a bit of Glossy Accents to the rain puddle.
After adding this little cutie to my rainy scene with a bit of foam tape, it was time to assemble my card. My card base was made with bright, happy prints from both Doodlebug and Lawn Fawn and the Lawn Fawn Stitched Rectangle Dies. My fun sentiment was stamped onto a circle cut from the Lawn Fawn Stitched Circle die set.
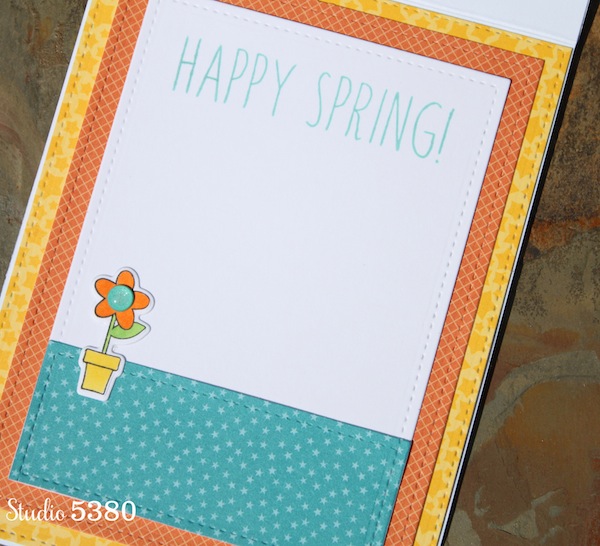
I always like to add a “little something” to the inside of my cards and I thought this sweet little flower pot was the perfect finishing touch!
SUPPLIES:
 |
 |
 |
 |
 |
 |
 |
 |
 |
|
 |
 |
 |
 |

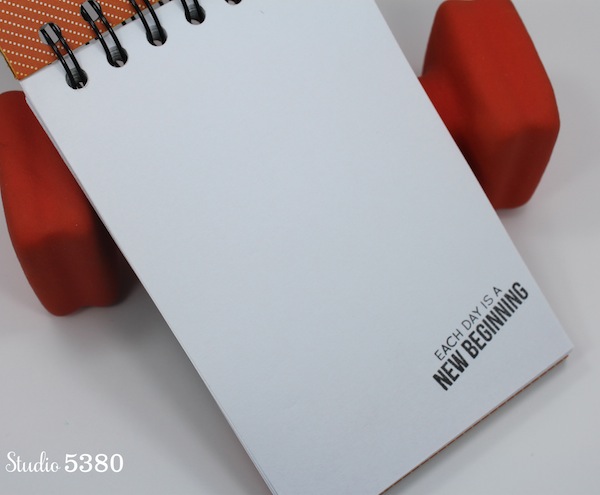
I guess I should issue a “disclaimer” along with this project! I’m not much of an exercise buff, but I am trying to do better and I thought having this fun little journal might be just the inspiration I need to get me moving!
I started by cutting 2 pieces of chipboard to 4 by 6 inches and covering them with these great prints from the Beachside paper pad by Lawn Fawn. The inside pages are made from regular printer paper also cut to 4 by 6 inches. Before assembling the journal, I stamped this inspirational sentiment from the Work Out Stamp set along the top of my front cover making sure to leave enough room for the binding wire. Next, I used my handy, dandy Cinch and 1 inch black binding wire to bind my journal together.
This adorable little image from the Work Out stamp set was colored with Copic Markers and cut out with the coordinating die. I really wanted this her to pop on the front of my journal, so I die cut 3 more images and adhered them together adding the colored image to the top. After adhering her to the cover, I added a few Doodlebug Black Sprinkles and stars cut with the Bundle of Stitched Shapes star die. The stars got a touch of Black Wink of Stella Glitter because I just have to have some sparkle on my projects!
I didn’t stamp every page in my journal, but I did add one of the great sentiments included in this stamp set to several of the pages for an added touch of inspiration!
SUPPLIES:
 |
 |
|
 |
 |
 |
|
|
|
|
|
 |
Thanks for reading today, and thanks to Tanya for the fabulous inspiration!
Blog Candy Alert!! Follow our blog via email and comment on this post for a chance to win a special blog candy!


