Have You Entered to Win our Dream Craft Room Giveaway?
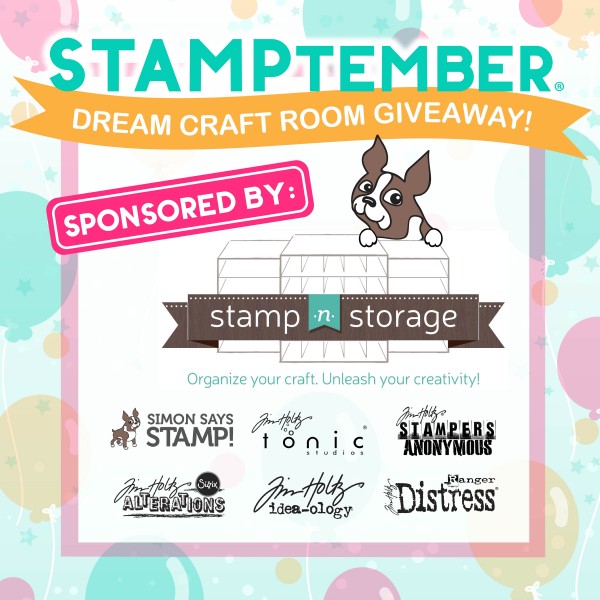
Hi friends! Have you entered our HUGE $5,000.00 Dream craft room giveway? All you need to do is click on the image above and fill in your name and email address through the link.
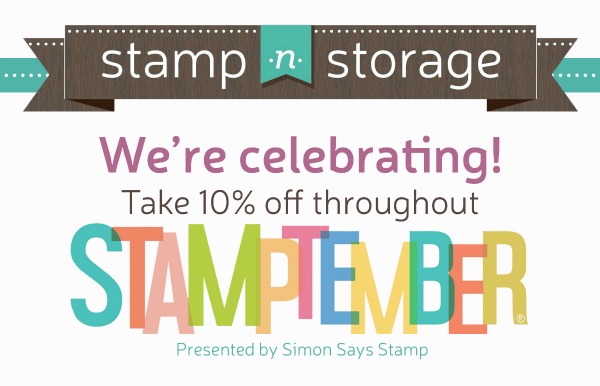
Also, a friendly reminder! The kind folks at Stamp n Storage are not only one of our sponsors of this giveaway, they are also celebrating STAMPtember with a special sale! Be sure to check it out!
This is explained in their catchy tag-line: Organize your craft. Unleash your creativity!
So how did this company get its start? Stamp-n-Storage Founder, Brett Haugen, is an OCD mechanical engineer who enjoys woodworking. His wife, an avid paper crafter, was looking for better ways to organize her supplies. Storage space for her crafting was at a premium, so Brett tried to make her the most space-efficient organizers that he possibly could. Those first products were built in his garage. Needless to say, his wife’s stamping friends were very impressed and wanted their craft spaces to be as organized as hers. In 2009, Brett began building a few of the items based on the designs for his wife’s craft room. He was curious to know if anyone would want to buy them. After a successful run with eBay, he decided there was enough of a demand to keep making these papercrafting storage units. Eventually, a website was created and Stamp-n-Storage became an official business. It remained a small hobby business. Brett found time to build the products and fulfill orders during the hours when he wasn’t working at his full-time job.
Fast-forward to 2012 to when things really started to change for this small company. Promotions on Splitcoaststampers really brought in a lot of business, and Brett came to the conclusion that this was no longer a hobby business. It was a full-time job (and he already had one of those!). The security of a career in engineering management was set aside for going forward with Stamp-n-Storage. Since then, the company moved out of the Haugen’s two-car garage and into a 2,000 square foot shop. Employees were hired, and production was in full swing! The company re-branded in 2014 and once again, the space for making the products became too crowded. This lead to another re-location in a larger, beautiful, new shop where they are located today.
We love that Stamp-n-Storage understands the value of keeping craft rooms organized by colors, sets, and brands. Oh, and if you’ve ever ordered any of their products, you’ll appreciate just how wonderful the Baltic Birch wood smells when it’s in your craft room (and that’s just a free bonus as an owner of the Stamp-n-Storage system)! Watch this About Us video below and learn more about the humble beginnings of this wonderful craft storage company. (To think that it all started with a honey-do list!) Enjoy!
Stamp-n-Storage is joining in on the STAMPtember® celebration by donating $1000 of their product to the STAMPtember® Dream Craftroom Giveaway, as well as offering a 10% discount on their products all month long!
STAMPtember® Exclusive: Clearly Besotted!
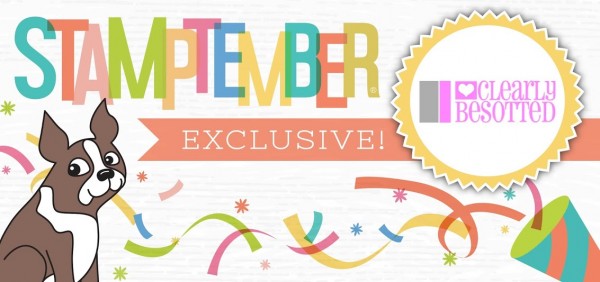
Hi friends! How are you enjoying STAMPtember® so far? We’re excited to announce our latest reveal today from our sweet friends at Clearly Besotted called Layered Chrysanthemums. The stamps are available for a limited time, while supplies last. If you’d like to see some of the other beautiful products that Clearly Besotted has designed, click here.
Clearly Besotted is a small family owned business. At the beginning of October, Clearly Besotted will be taking a break until 2017. We anticipate their designs will sell out quickly, so now is your last chance this year to get in on some of the hottest products in our industry!

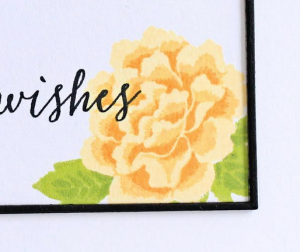
Be inspired by Nina Trapani. Visit Nina’s awesome blog to see more of her card.

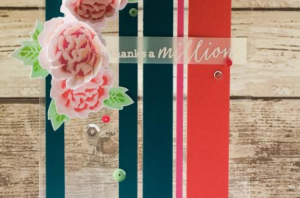
To see Amy’s full card, be sure to check out her blog and give her some love:
To see more of Michelle’s art and this card, visit her stunning blog:
To see more of Keren’s card, visit her inspiring blog:
Have you entered our HUGE $5,000.00 Dream craft room giveway? All you need to do is click on the image below and fill in your name and email address through the link.

Don’t forget, Stamp n Storage is celebrating STAMPtember too! They are offering 10% off all of your orders at www.Stampnstorage.com.
Thanks for joining us today in our celebration! You can visit #STamptember on social media to see what others are sharing this month. We appreciate your support and kindness and enthusiasm!
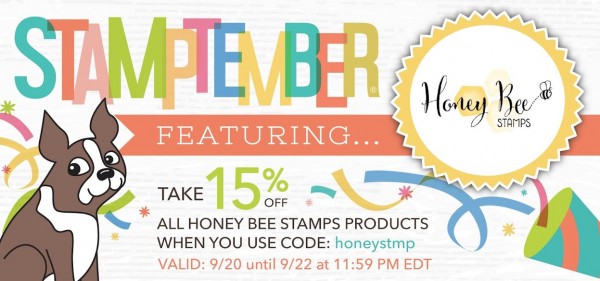
STAMPtember® Feature: Honey Bee Stamps!
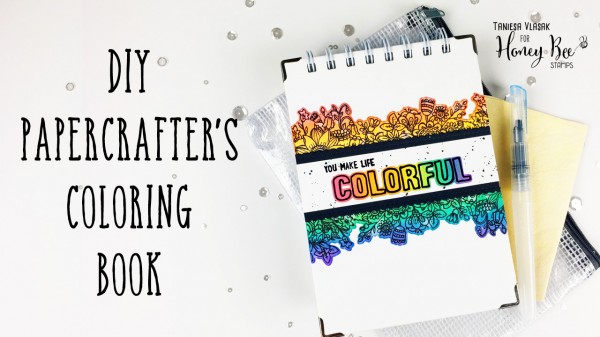
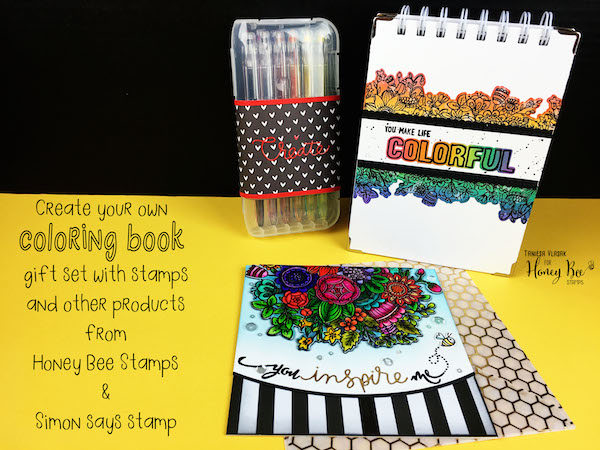
Hi friends! Happy STAMPtember® 20th! Thanks for hanging with us all month and joining in the celebration! We still have lots of fun surprises in store!! Today we are so happy to be featuring this super sweet Honey Bee Stamps! You can now use code honeystmp to take 15% any in stock Honey Bee Stamps branded product(s)! Shop early for the best selection! We’re so honored to have first time guest Taniesa Vlasak on the blog today to inspire you with Honey Bee products! She made this DIY Papercrafter’s Coloring Book and it is just oh so fun, be sure to read on!
Happy STAMPtember!
I am super excited to be representing Honey Bee Stamps on the Simon Says Stamp blog today. I have three projects to share with you, and a video that walks through all three of them.
I will be listing all of the supplies used in my projects at the end of this post. Today I will be highlighting some of the brand new products from Honey Bee Stamps!
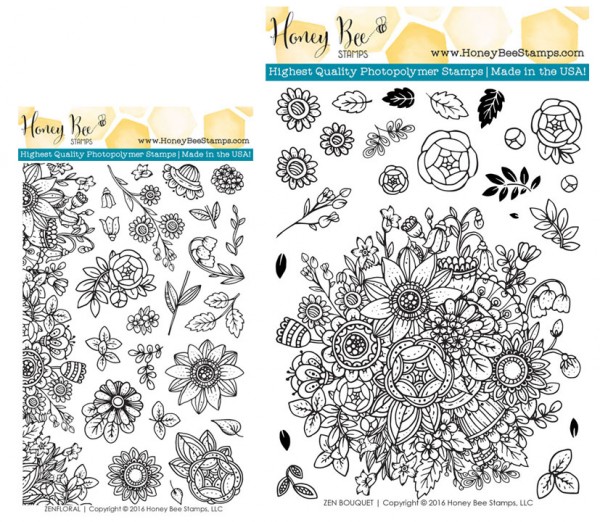
Zen Floral and Zen Bouquet were inspired from the popular adult coloring book trend. Both sets have matching dies and the large bouquet is almost 6 inches around. I thought that these would be perfect to show off today’s project share.
You can make a diy coloring book so many different ways, so I didn’t want to bore you with a step by step tutorial. Instead, I will walk through this project on camera and talk about several possible ways you can make your own custom coloring book with supplies you may have on hand already.
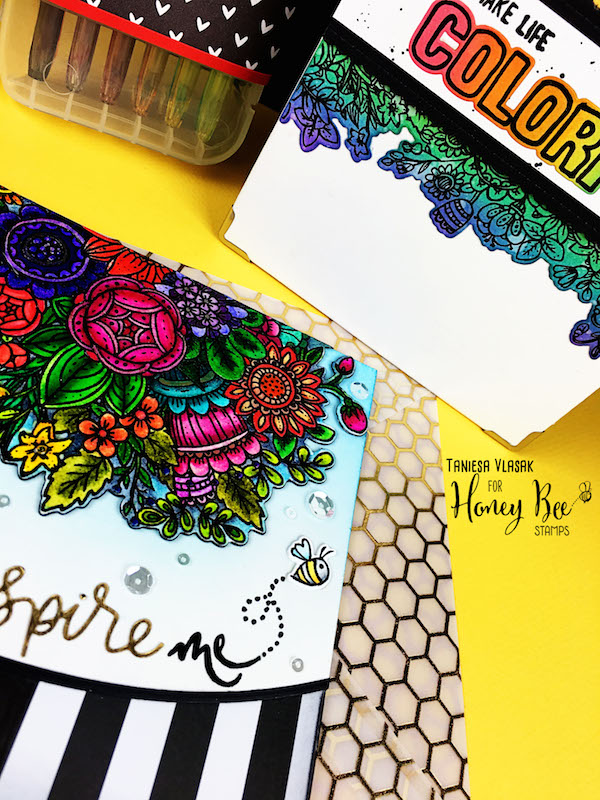
This coloring book measures approx. 5×7. To make this particular cover size, you will need two pieces of 5×7 chipboard, two pieces of cover paper measured at 5 ½ x 7 ½ , and two pieces of patterned paper that will go on the inside. Cut these slightly smaller than the chipboard. Mine measured 4 ¾ x 6 ¾. I adhered all of the pieces together with Scor tape but you can use your favorite adhesive. You can even skip covering the chipboard or paint it with acrylic paint.
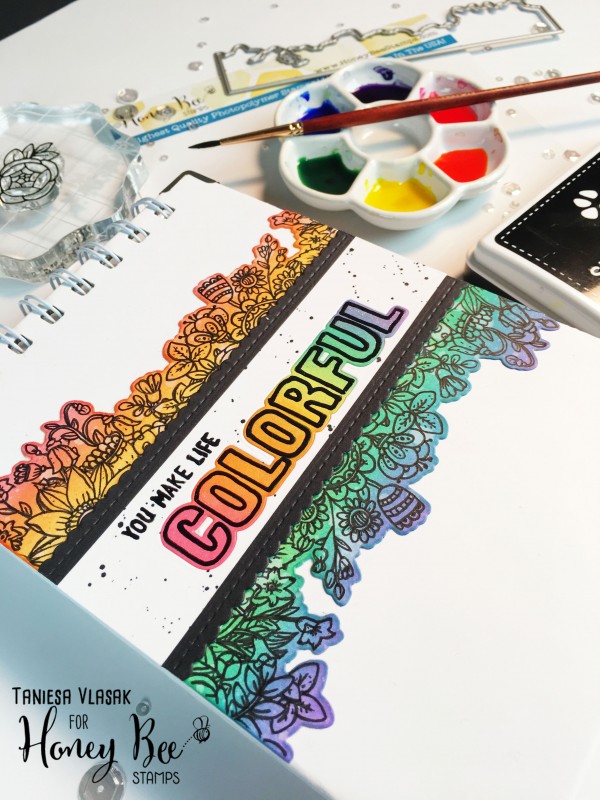
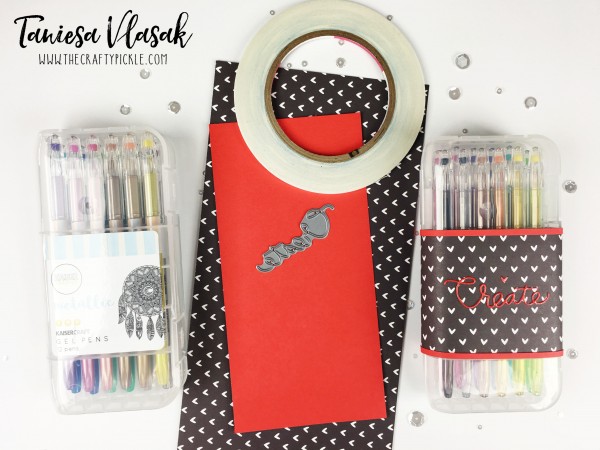
I chose to decorate my cover with the Honey Bee Stamps Zen floral border stamp and die. I also used the Simon Says Stamp STAMPtember stitched scallop die and the Honey Bee Stamps Color my world stamp set and die. I did some simple ink blending with distress inks then went over the letters with my Sakura black Glaze pen. I even added a little shimmer inside the letters with my spectrum noir glitter marker.
I made the inside pages slightly bigger than a standard A2 card base with a bit extra at the top for binding. The inside pages are 4 ½ x 6 ½ . I have pre stamped some card bases for my recipient to color. Pages/ bases are all on Tim Holtz watercolor cardstock, Neenah solar white, or Strathmore bristol paper. This is a great way to get more use out of your stamp collection. Consider stamping several pages in one session to make multiple books or card bases ready to color.
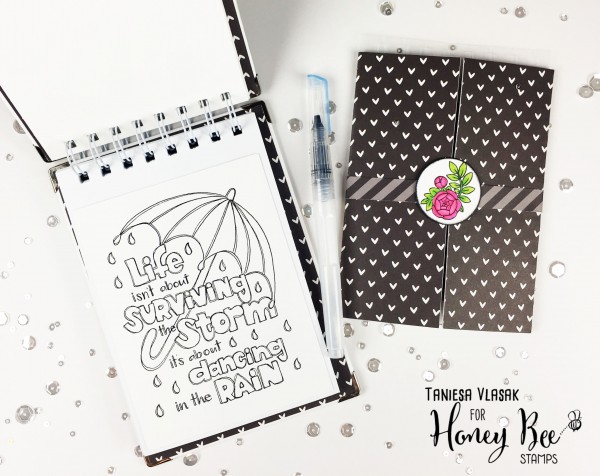
Another fun product that I have included is the Simon Says Stamp exclusive Suzy’s doodles. These are printed on Tim Holtz watercolor paper. I adhered each to a page in the book with temporary adhesive. This way they stay put in the book for coloring but when you’re ready to take it out and make a card it comes off easily.
I stamped each of the Honey Bee pages twice for each design. The top piece being the watercolor cardstock and then using temporary adhesive I glued that to the other stamped panel on Neenah solar white. The Bristol paper is embossed and is a separate sheet.
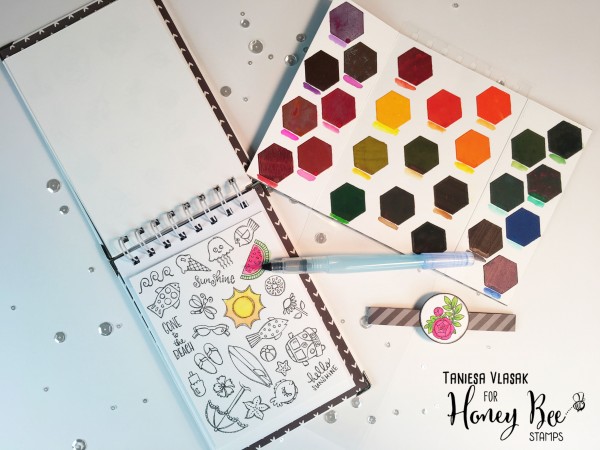
As a finishing touch to the coloring book I made a cute removable pallet that can go in and out of the book. I used a pack of Peerless watercolor sheets and although you can just cut these in small squares or rectangles I thought it would be fun to use the hexagon die from Simon Says Stamp perfect shapes dies to arrange the paint in a fun “Honey Bee Stamps” sort of feel. I arranged the little paint hexagons in a gate fold pallet. The pallet base is created by using a 6×9 piece of Tim Holtz watercolor paper, 6×9 piece of printed paper and a piece of heavy acetate. The acetate protects the watercolors from running into each other should the pallet be put away damp, it can also be used as a mixing surface. Each end of the paper was scored at approx. 2 ¼ inches. I created a simple belly band to keep the pallet closed using a strip of the same patterned paper using the opposite side. I die cut a circle and stamped a floral from the Zen Bouquet stamp set to tie it all together.
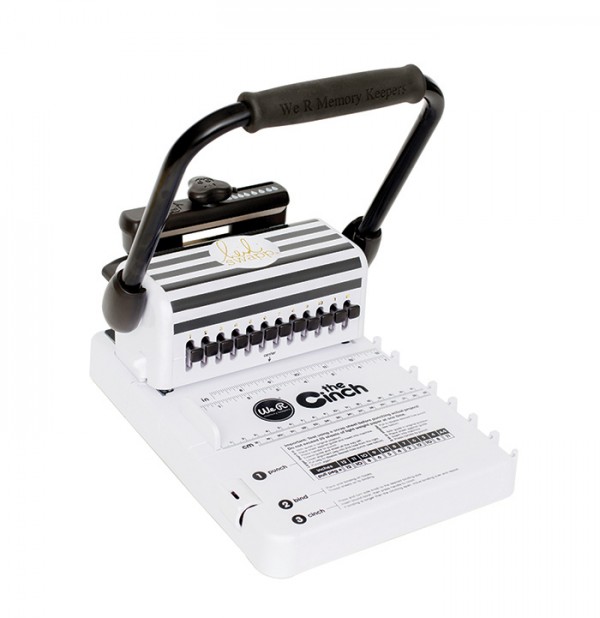
I bound my coloring book using the We R Memory Keepers CINCH binding machine. There are other binding machines out there but I have only used this one. You could also punch some holes with a and bind using mini album rings, or tie together with ribbon or twine. You could even use an old planner or traveler’s notebook… SO many possibilities to create a coloring book for friends or for yourself to color on the go.
I am giving this coloring book as a gift, so I placed my coloring book in a mesh bag along with a waterbrush and chamois.
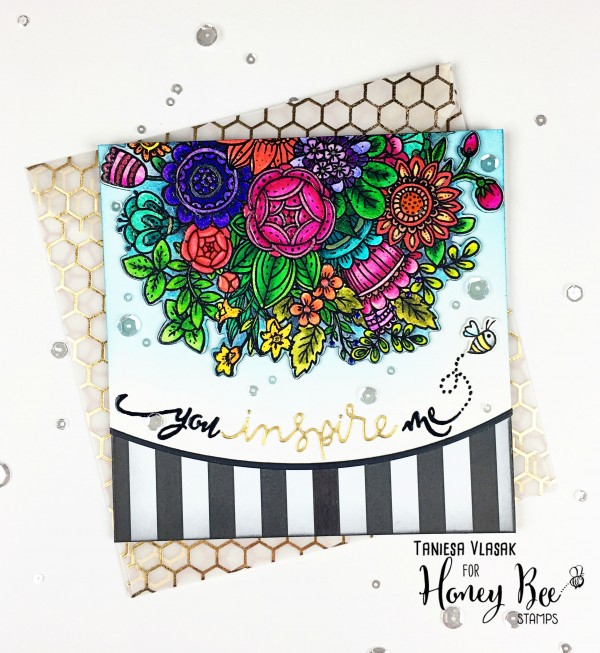
I also made a card that coordinates with the album. I used the huge Zen Bouquet stamp which I have cut down partially, I used my Zig Clean Color Real Brush markers to do the coloring and added little touches here and there with my glitter marker and glossy accents. I used the Simon Says Stamp A2 curved card edge die and layered striped patterned paper behind it. For the sentiment I cut apart a sentiment from Honey Bee Stamps Happy everything (You Make Me) and added the new SSS Inspire die cut in the middle instead of “make”. For the final little accent I added the bee stamp from Honey Bee Stamps Sweet as Honey stamp set and die.

SUPPLIES:
 |
 |
 |
 |
 |
 |
 |
 |
 |
 |
 |
 |
 |
 |
 |
 |
 |
 |
 |
 |
 |
 |
 |
 |
 |
 |
 |
 |
 |
 |
 |
 |
 |
|
 |
 |
 |
 |
 |
 |
 |
 |
Don’t forget, Stamp n Storage is celebrating STAMPtember too! They are offering 10% off all of your orders at www.Stampnstorage.com.

Blog Candy Alert!! Follow our blog via email and comment on this post for a chance to win a special blog candy!
Congrats! Blog Candy Winner!
From: STAMPtember® Feature: Technique Tuesday: Kim Smart!
Please email [email protected] with your mailing address, the name of the blog you won from, and the prize you won to claim your prize!


