Studio Monday with Nina-Marie: Four Ways to Make A Planner Work For You!
Hello crafty friends, it’s Nina-Marie here wishing you a very happy Monday! With the new year now here, it’s time to start working on your plans for 2017!
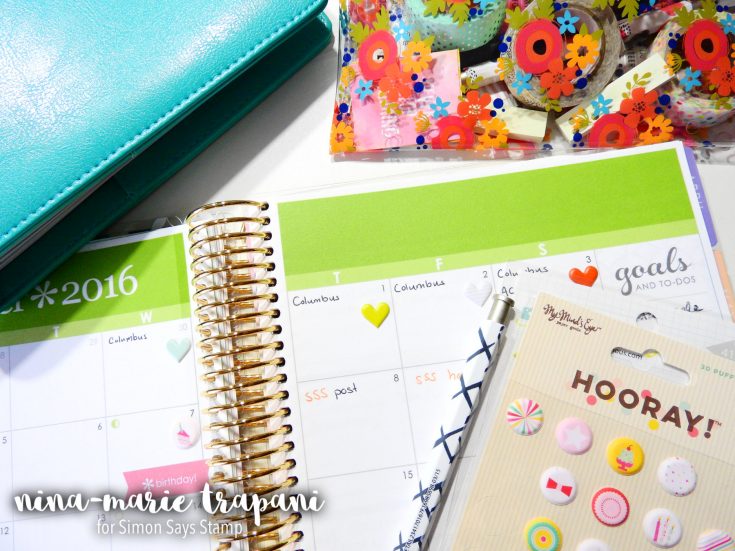
Planners are a very useful tool in helping achieve your 2017 goals, make your creative plans happen and keep your daily agenda on track. For me, my planner is indispensable; I use it daily for keeping track of my work and blog schedules.
We all use our planners differently; some of us decorate them, use them as agendas, journals, inspiration books, or even as memory keepers. In today’s video, I will be sharing four different tips for making use of your planner… and make it work best for you!
PLANNERS AND PLANNER INSERTS
At Simon Says Stamp we carry many different brands of planners, including the Me & My Big Ideas Happy Planners, Simple Stories Carpe Diem, Webster’s Pages Color Crush and Jillibean Soup A Day In the Life. Most of these are fully customizable and the coordinating products from many of these planners are interchangeable between each other. This gives you even more customization options!
As an example, I created a planner for one of my friends recently using the Jillibean Soup A Day In the Life planner. I filled it with inserts from both Jillibean Soup’s Day 2 Day planner page inserts and the Carpe Diem planner inserts, lined paper and page dividers.
 |
 |
 |
 |
 |
 |
 |
 |
 |
 |
 |
 |
 |
 |
 |
 |
 |
 |
 |
 |
 |
 |
 |
 |
 |
 |
 |
 |
 |
 |
ESSENTIALS & ORGANIZATION
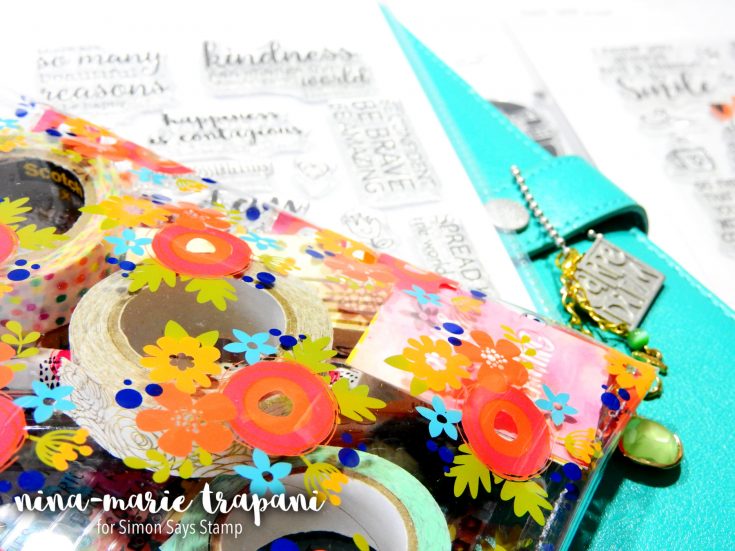
I find it very helpful to keep my planner organized; not only the planner itself, but also my planner supplies. I love using zipper pouches to keep my planner essentials neatly stored and at hand so that they are ready when I need them. This saves me tons of time in having to search for something.
There are a variety of these zipper pouches available, but some of my favorites are from Jillibean Soup, Me & My Big Ideas and Prima. Essential supplies I have on hand in my pouches are: washi tapes, sticky notes, pens, stickers, postage stamps, return address labels and anything else I find I need to slip inside.
 |
 |
 |
 |
 |
 |
 |
 |
 |
 |
 |
 |
 |
 |
 |
 |
 |
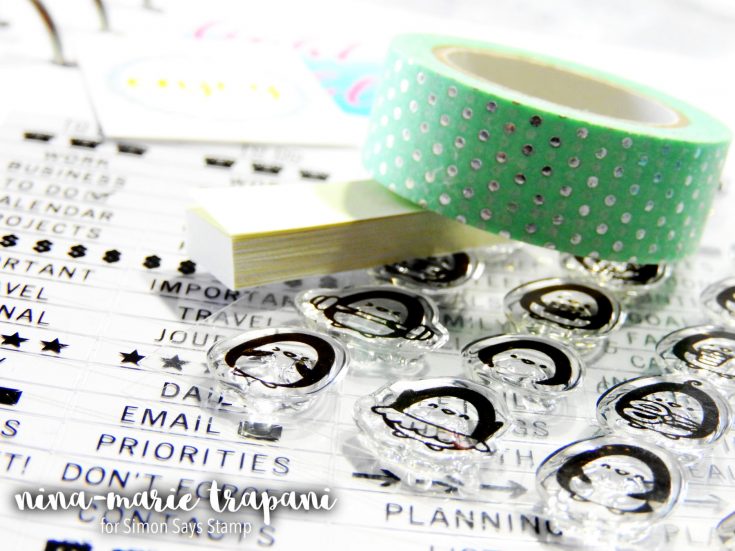
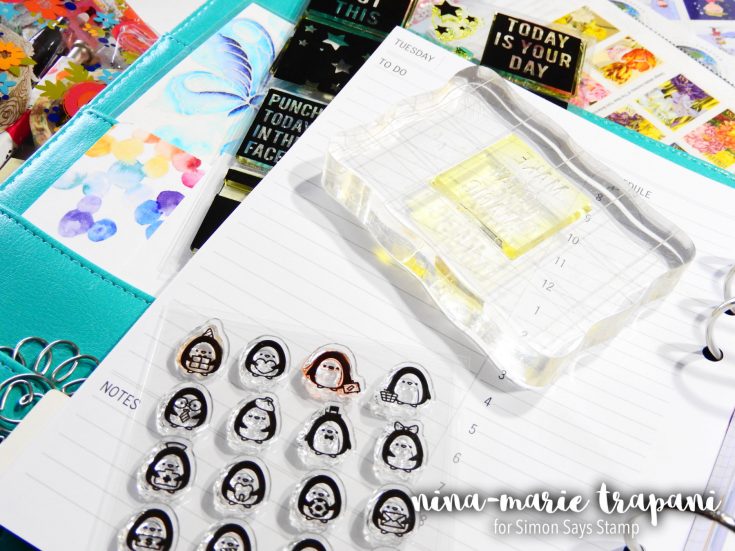
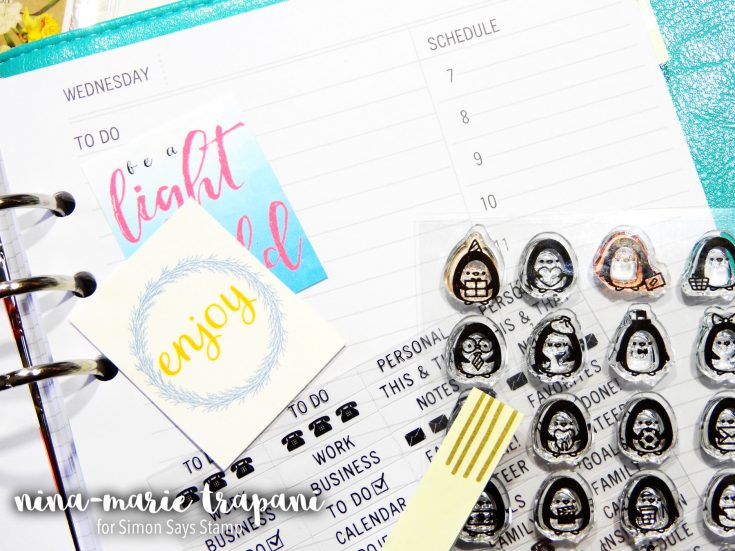
DECORATING
For those that love to decorate their planners, there are a plethora of options to choose from! I think stamps are a perfect option for decorating your planner because they can be customized completely by changing up ink colors, masking, etc. I personally am not a huge planner-decorator. It doesn’t fit my personality and lifestyle all that much. However, I do like adding stickers, quotes and sayings, and little inspirational bits and pieces to my planner pages and pockets. While I don’t personally decorate my planner as much as others do, I think it is a beautiful art form and is inspiring for me to see how others decorate their planners.
For those of you planning on decorating your planner, I recommend selecting items that fit your personality; and don’t feel like the planner has to coordinate either! I think the more mixy-matchy the planner pages are, the more exciting and reflective they are of your life and creativity. If you need a bit of a kick start in selecting decorative elements for your planner, you’ll want to check these out:
 |
 |
 |
 |
 |
 |
 |
 |
 |
 |
 |
 |
 |
 |
 |
 |
 |
 |
 |
 |
 |
 |
 |
 |
 |
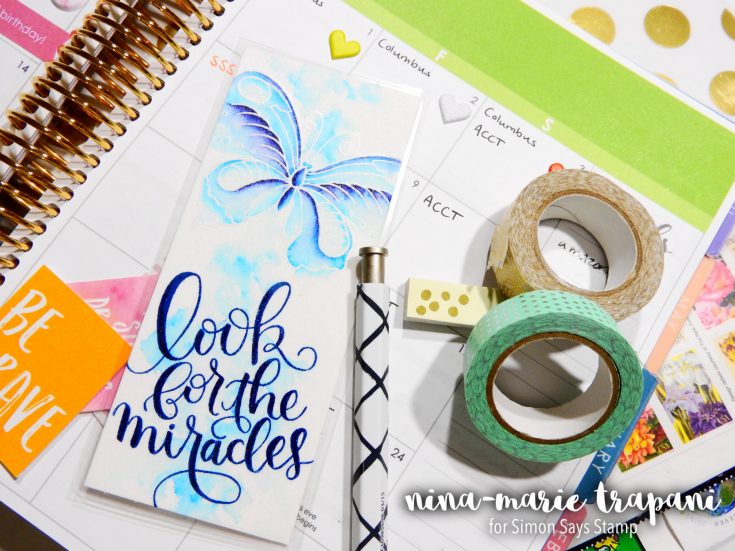
INSPIRATIONAL ELEMENTS
This could arguably be one of the most important aspects of your planner! Because your planner is very much a part of your daily life, you want it to be filled with things that inspire, uplift, encourage and overall make you happy! Just like your home is filled with things that you enjoy and love, and friends support and encourage you in different aspects of your life, a planner should be filled with these same things; elements that make you smile and encouraging words that push you forward into the day.
For me, I love to tuck inspirational quotes that I print online, or write down encouraging words I heard recently into the pages of my planner. I also enjoy making things like bookmarks that have uplifting sentiments on them to mark my place. Having sentiment stamp sets that include quotes or sayings on them is a great idea for your planner, especially if you are like me and enjoy having inspiring words around you!
 |
 |
 |
 |
|
 |
 |
 |
 |
 |
 |
 |
 |
 |
 |
And remember: inspiration doesn’t have to be just words either! I also love to save printed images, photos, postcards, ads from a magazine, etc. in a zipper pouch or pinned to a page in my planner, which I can reference when I am in a creative rut. Whatever it is that you find inspirational, you should try incorporating these elements into your planner! Planners might be a collection of dates, to-do’s, goals and appointments, but they can be made more fun by sprinkling more of ourselves in between the pages of our daily life!
I hope the video below and today’s post gives you some creative ideas and mojo to get your 2017 planner started off on the right track! Thanks so much for visiting me today and have a very happy Monday!
WATCH THE VIDEO
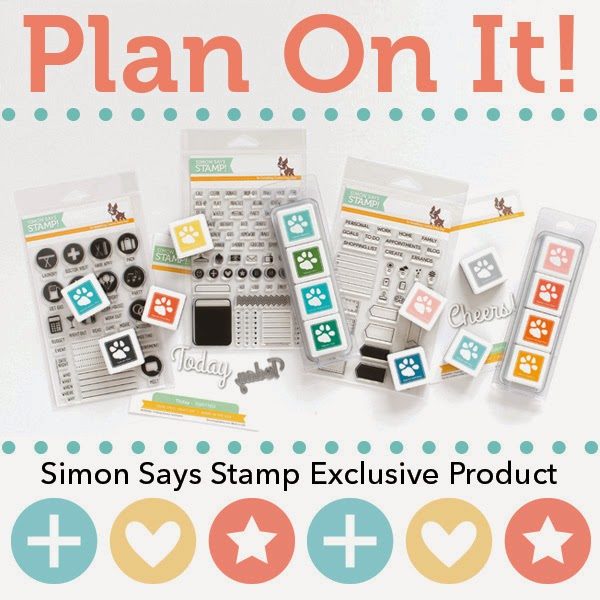
MORE PLANNER INSPIRATION
Did you know we have a Plan On It product category that features Simon Exclusives that are perfect for your planner needs?? You’ll want to check that out HERE! And remember we have a Plan On It gallery where you can find inspiration using Plan On It products, as well as upload your own projects using our Plan On It exclusives! You can find the Plan On It gallery HERE.

Art Journaling: Deliberate Collage with Shari Carroll
Good Day everyone and Happy New Year!
I’m happy to announce that my Art Journaling feature is back!
I thought I’d start you off easy and work into more challenging techniques as we go along this year. I hope to inspire you to try Art Journaling, to find your style and encourage you to play along with me. Ultimately, I want to instruct on how and when to use mediums so they become less intimidating.
I’ve chosen a new journal that I’ll be using for the year. It’s the Dyan Reaveley Black journal, the size is amazing (8×8 pages). The pages are heavier cardstock which is great for mixed mediums and the color doesn’t bother me since I usually prime my colorful pages with white gesso. I have listed several journals below in the supplies for you to consider.
Today’s page is inspired by time and nature and is what I call a deliberate collage layout where everything has a place… the clean and simple of Art Journaling.
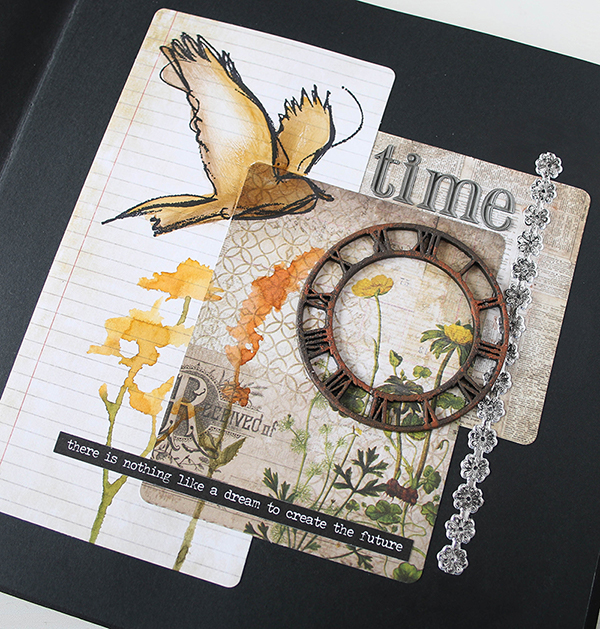
I’ve stacked a few of the Tim Holtz Pocket cards together for the base of my collage. From there I added my stamping while my surface was flat. As a note: I’ve had this package of Pocket cards for a couple of years and still have enough pieces to last me a few years longer.
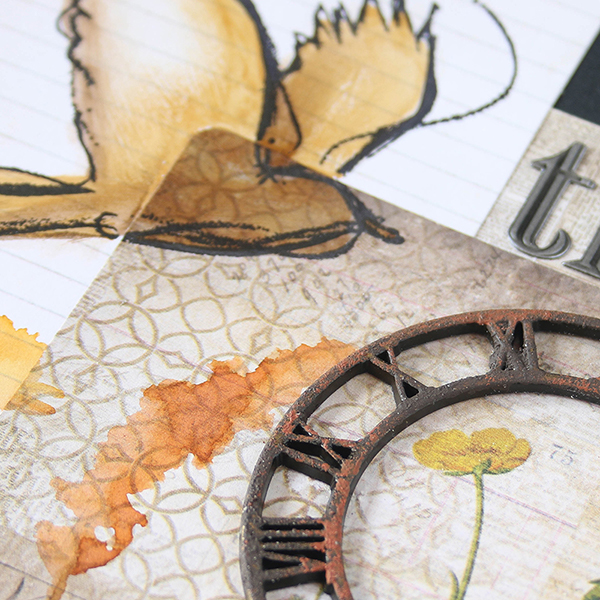
I used rust paste to distress the clock piece, simply applied it with my finger for an imperfect look. I placed it on the page to frame the flowers on the Pocket card.
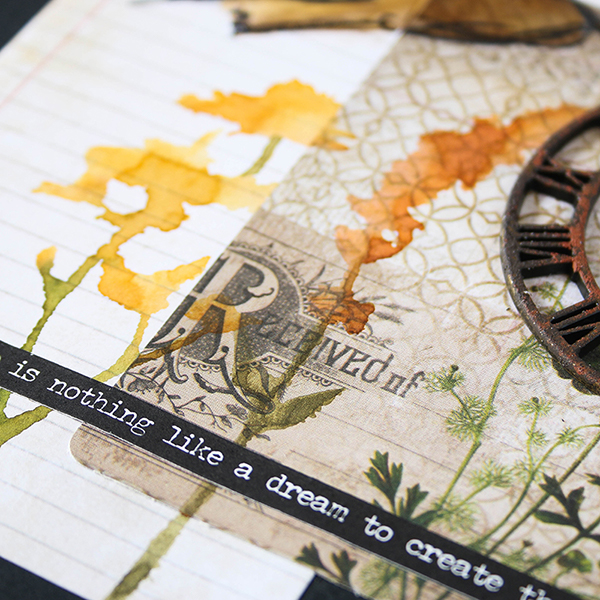
I stamped the Tim Holtz Wildflowers using Distress Markers in: Wild Honey, Fossilized Amber, Peeled Paint and Forest Moss. A spritz of water to the colored stamp helps to achieve a watercolor look.
I have a full process video for you which you can view below or on our YouTube channel HERE. I hope you enjoy!
Blog Candy Alert!! Follow our blog via email and comment on this post for a chance to win a special blog candy!
 |
 |
 |
 |
 |
 |
 |
 |
 |
 |
 |
 |
 |
 |
 |
 |
 |
|
 |
 |
 |
 |
 |
 |
 |
 |
 |
 |
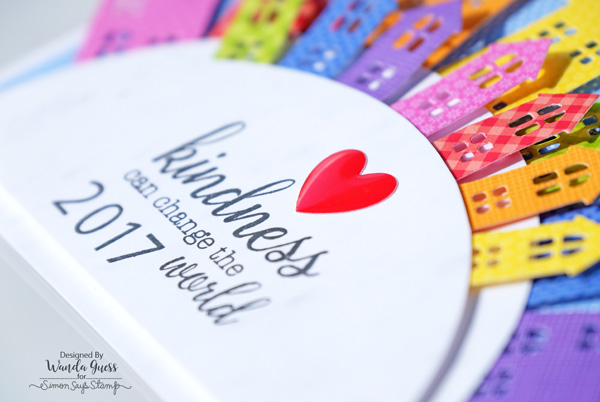
Kindness can change the world! Happy New Year 2017!

Hi friends! Happy Saturday! Happy New Year’s Eve! I’m so happy to be here with you to celebrate the last day of 2016! I hope you had a wonderful Christmas! And all of us at Simon Says Stamp wish you a very happy, healthy, and creative new year! 2017 is going to be amazing, I can feel it! I’m still sort of in shock that Christmas is over! It came and went in a blink of an eye. We had a very nice, relaxing holiday and my husband and I enjoyed getting out and doing lots of activities of the season. We love to go look at Christmas lights and walk around all the little towns near where we live and see the decorations. Now, it’s time to turn over the page on the calendar and get excited about what is to come! Welcome back to the latest edition of Weekender with Wanda!
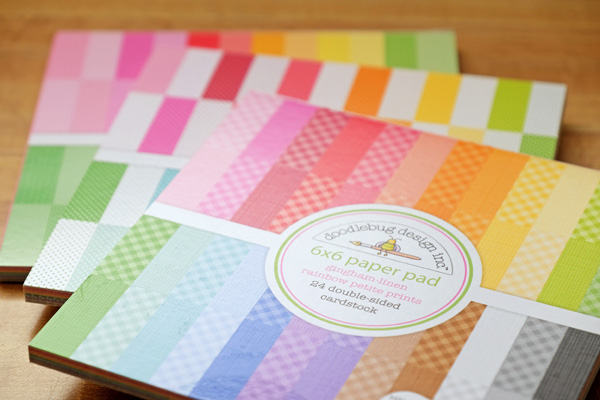
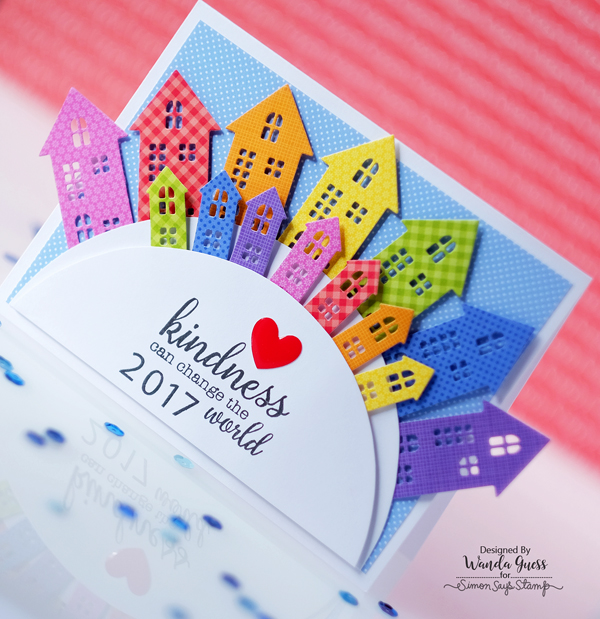
I shared a traditional black and gold New Year Card last week. And this week I thought I would make another New Year card full of color and a not so traditional sentiment. I used papers from one of our very favorite companies – Doodlebug – to make a rainbow village! I used the Petite Prints patterned paper pads from Doodlebug. I have all of them and they rarely leave my table. They are my go-to small prints for backgrounds and layers on my cards. And who doesn’t love patterned paper in a rainbow of colors?
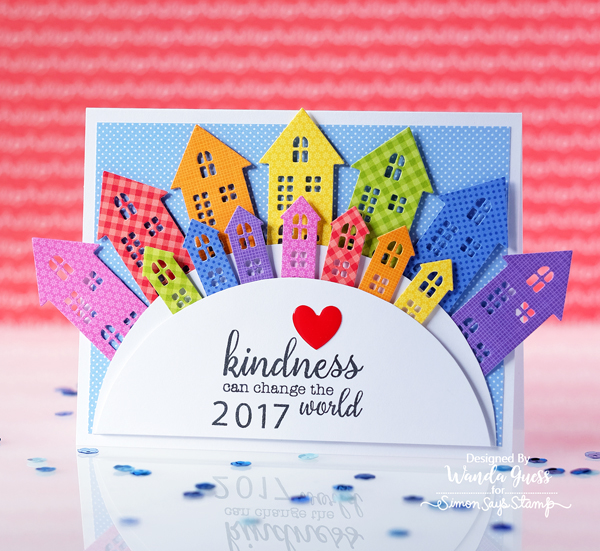
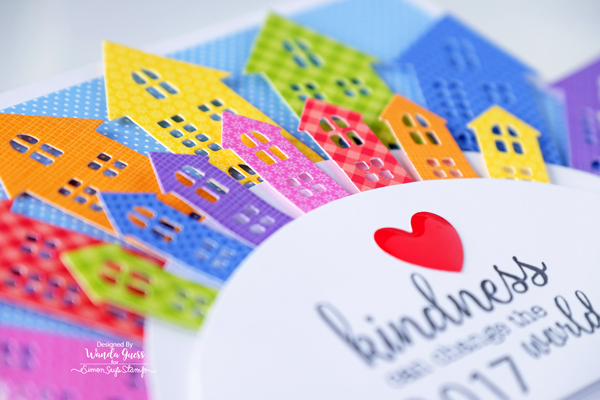
I started my card by making an A2 card base in bright white paper. I layered a soft blue polka dot piece of paper for my background. To make the semi circles I used the Simon Says Stamp Build A Rainbow die and traced it with a pencil and cut it out by hand to make two layers for my houses. I stamped onto the smaller of the two circles using two SSS exclusive stamp sets: Uplifting Thoughts, and Game Tile Letters. I liked how the 2017 fit right into the opening in the sentiment. I thought this was a good saying for the new year!
These are the three Petite Print Paper Pads I used for today’s card. LOVE.
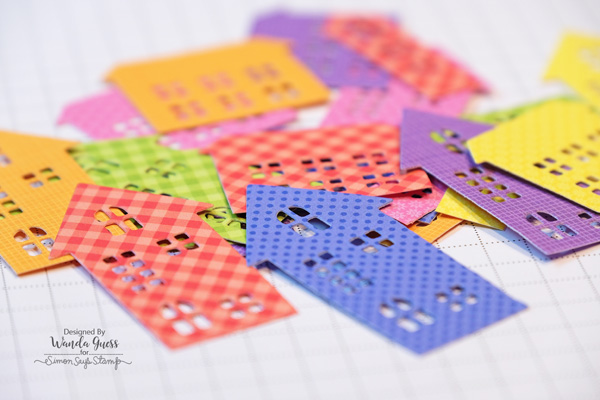
I used the SSS Village Die Cut and cut out the entire die set with each of the rainbow colors. I mixed and matched the patterns so I could sit down at my desk and decide which way they would look the best. I ended up using the two taller houses in all the colors!
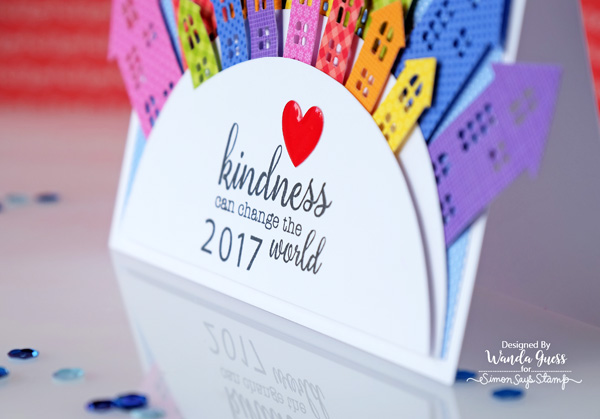
The smaller semi circle is mounted to the larger one using foam tape to add dimension. I finished the sentiment off with a bright red Doodlebug Enamel Heart.
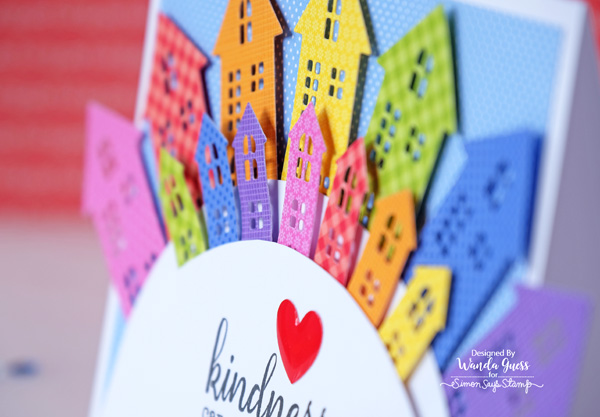
Here are all my little houses laid out on my desk….Looks kind of pretty like this!
Kindness CAN change the world! I can’t wait to see what happens in 2017!
Thank you for spending part of your holiday weekend here with me. HAPPY NEW YEAR!
SUPPLIES:
 |
 |
 |
 |
 |
 |
 |
 |
 |
 |
 |
 |
 |
 |
 |
 |
 |


