Wonderful Teachers!
Hi friends! Happy Tuesday! Thanks for stopping by today! Please welcome back special guest designer Kelly Rasmussen! She has made this gorgeous tribal pattern for a very cool teacher card that would work wonderfully for a man or woman teacher. Please read on for more information and enjoy!

Hey everyone! School is in full swing for my kids and that means it’s time to spoil all those amazing teachers! A simple gift I like to do several times a year is a handmade card telling them how much they are appreciated along with one of their favorite snacks or drinks.
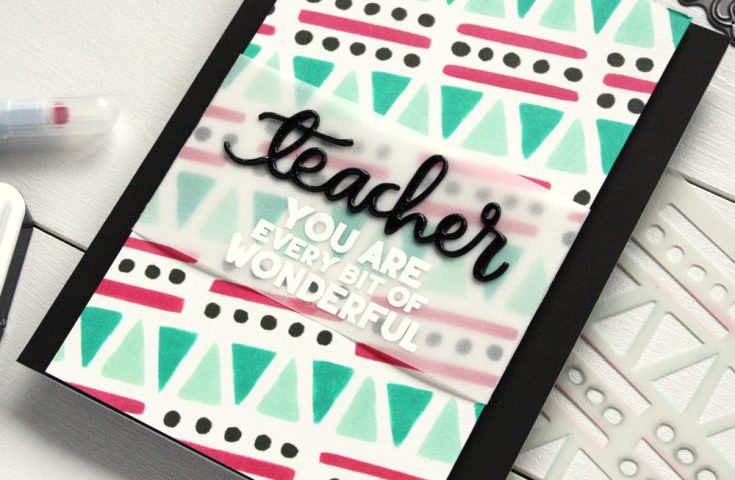
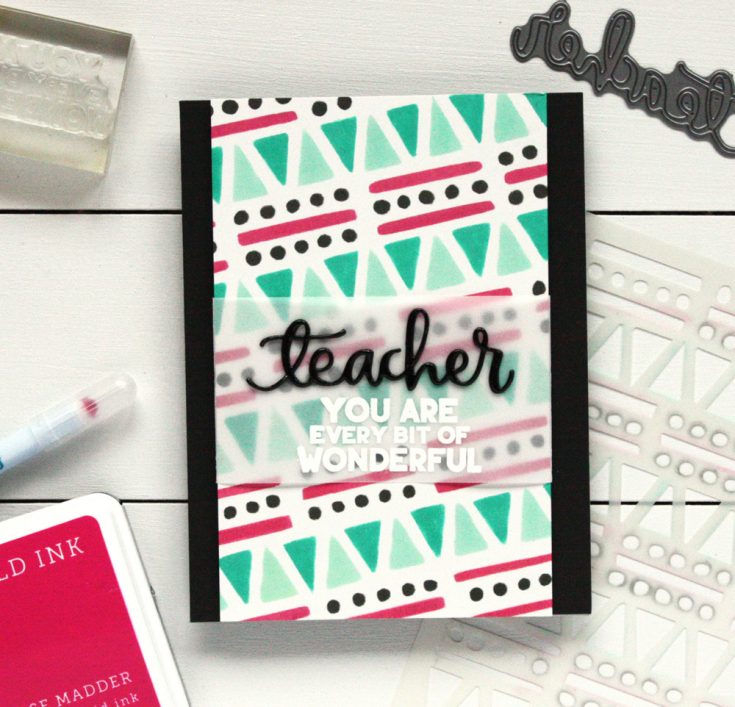
This card starts out with a stenciled background using the Hero Arts Tribal Shapes Stencil. To get into all those tiny spaces I used the Tsukineko Fantastix Bullet Tip Coloring Tool as my sponge. This tool has a sturdy pointed tip that is perfect for inking those small areas! The four ink colors used on the background are Hero Arts Rose Madder, Aegean, Mint Julep and Black.
Next, I die cut the Simon Says Stamp Teacher Die from Bazzill Licorice Cardstock twice and adhered them together to add some stability. Since the stenciled background is so busy and bright I decided to put my sentiment on a strip of Bazzill Vellum so it would stand out a little more. I white heat embossed a message from the Simon Says Stamp Uplifting Thoughts stamp set and then wrapped the strip of vellum around the background. I popped up this panel with some foam adhesive on a Hero Arts Black Folded Card.
And for the finishing touch I covered the “teacher” die cut with a layer of Ranger Glossy Accents. Isn’t that shine just gorgeous!
Change up the colors of ink you use for the background and this card would be great for a male teacher as well.
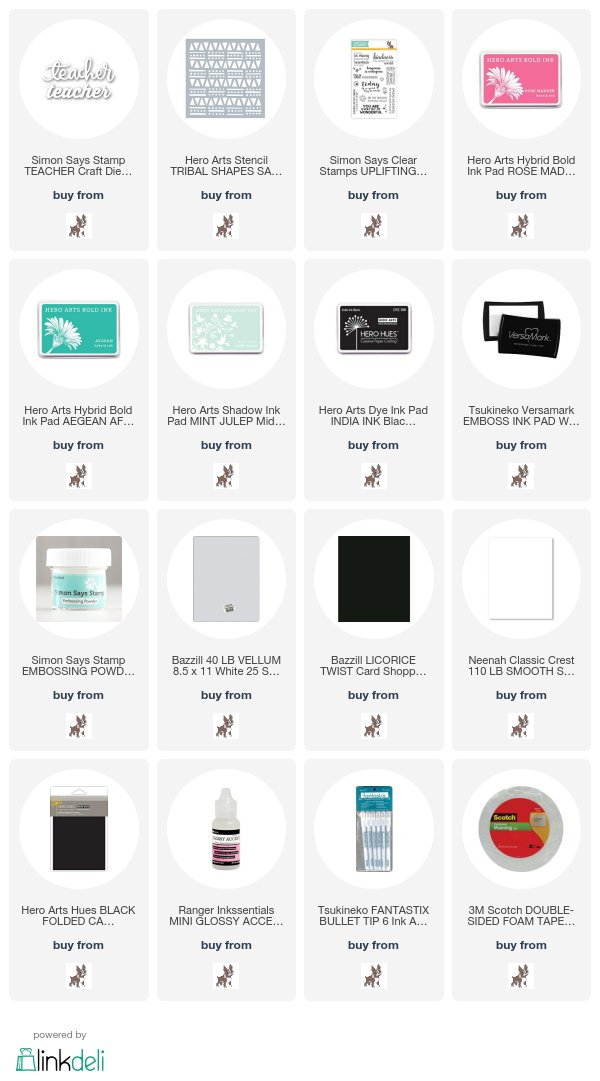
SUPPLIES:
Thanks so much for reading and thanks to Kelly for being our guest!

Blog Candy Alert!! Follow our blog via email and comment on this post for a chance to win a special blog candy!
Congrats! Blog Candy Winners!
From: Studio Monday with Nina-Marie: Stretching Spring Stamps for a Fall Card: Dianna Sroka!
From: Toxique Box: Mixed Medium with Shari Carroll: Teresa Doyle!
From: Newton’s Nook is Ready for Autumn!: Pat Holcomb!
From: Amore Laura Fadora: Picture Book Birthday: Brenda Lubrant!
From: NEW Lawn Fawn Fall & Winter Products are HERE + Intro to Shadow Box Cards: Susan Pezza!
From: Messy Watercolor Technique: Kim Maxwell!
From: NEW Fall & Winter Avery Elle Collection!: Linda Duensing!
Please email [email protected] with your mailing address (if applicable), the name of the blog you won from, and the prize you won to claim your prize!
Studio Monday with Nina-Marie: Stretching Spring Stamps for a Fall Card

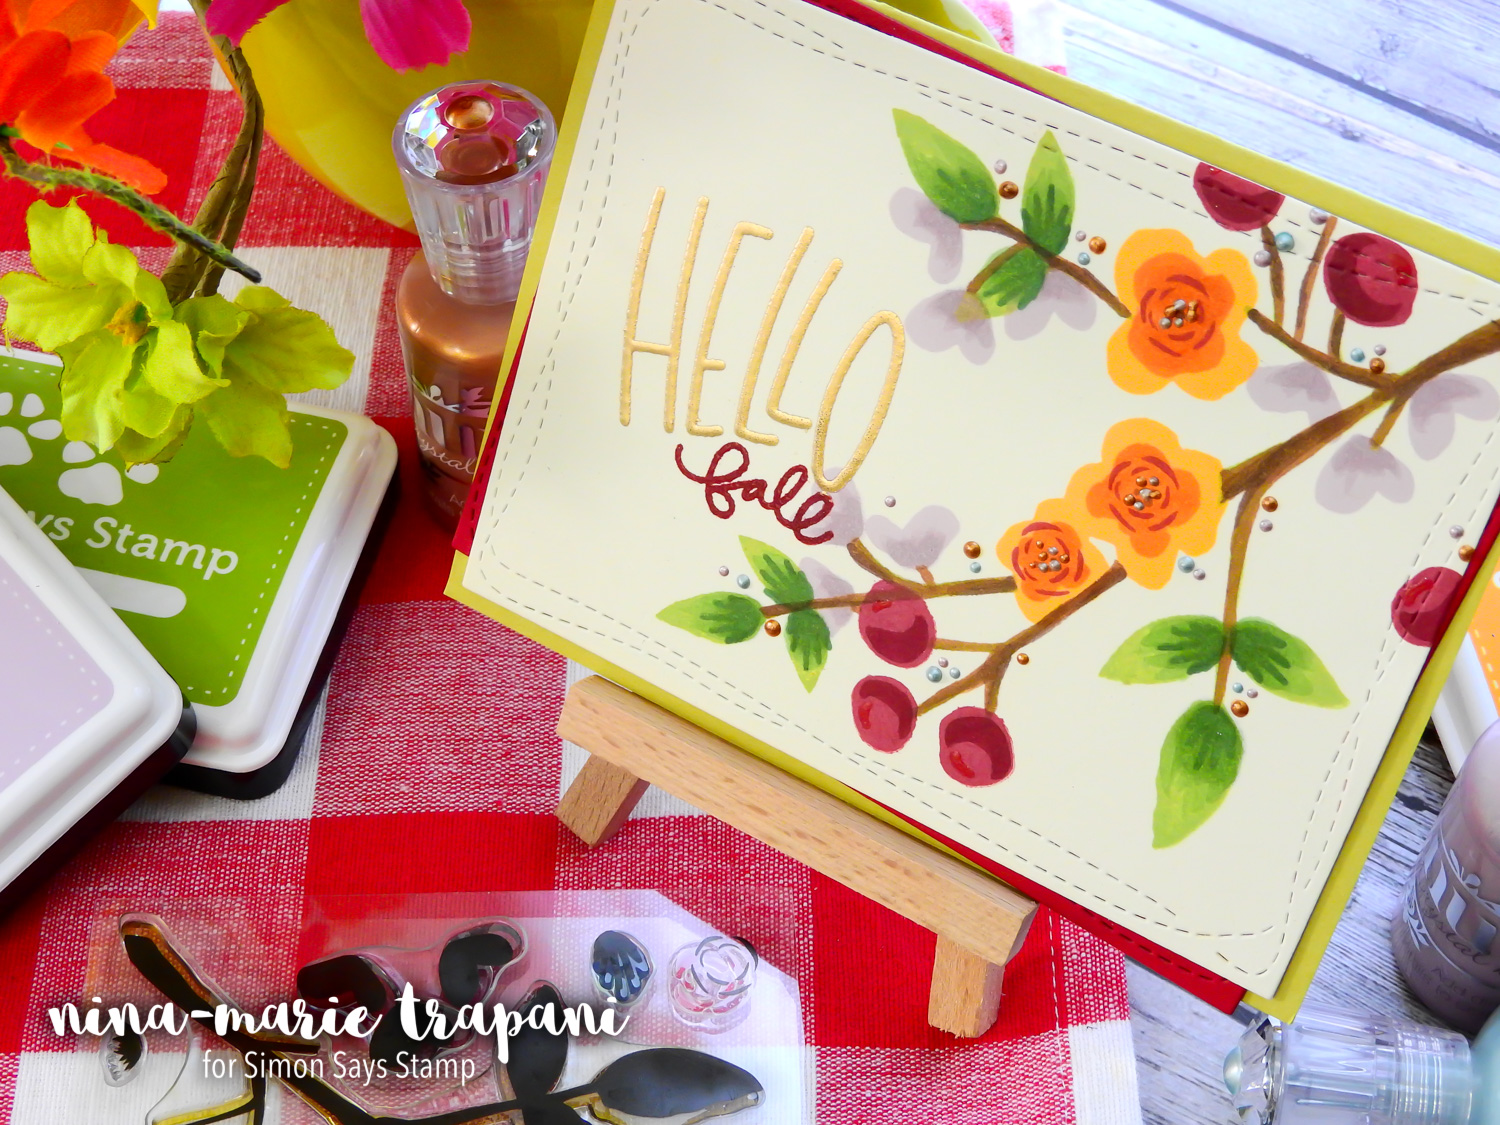
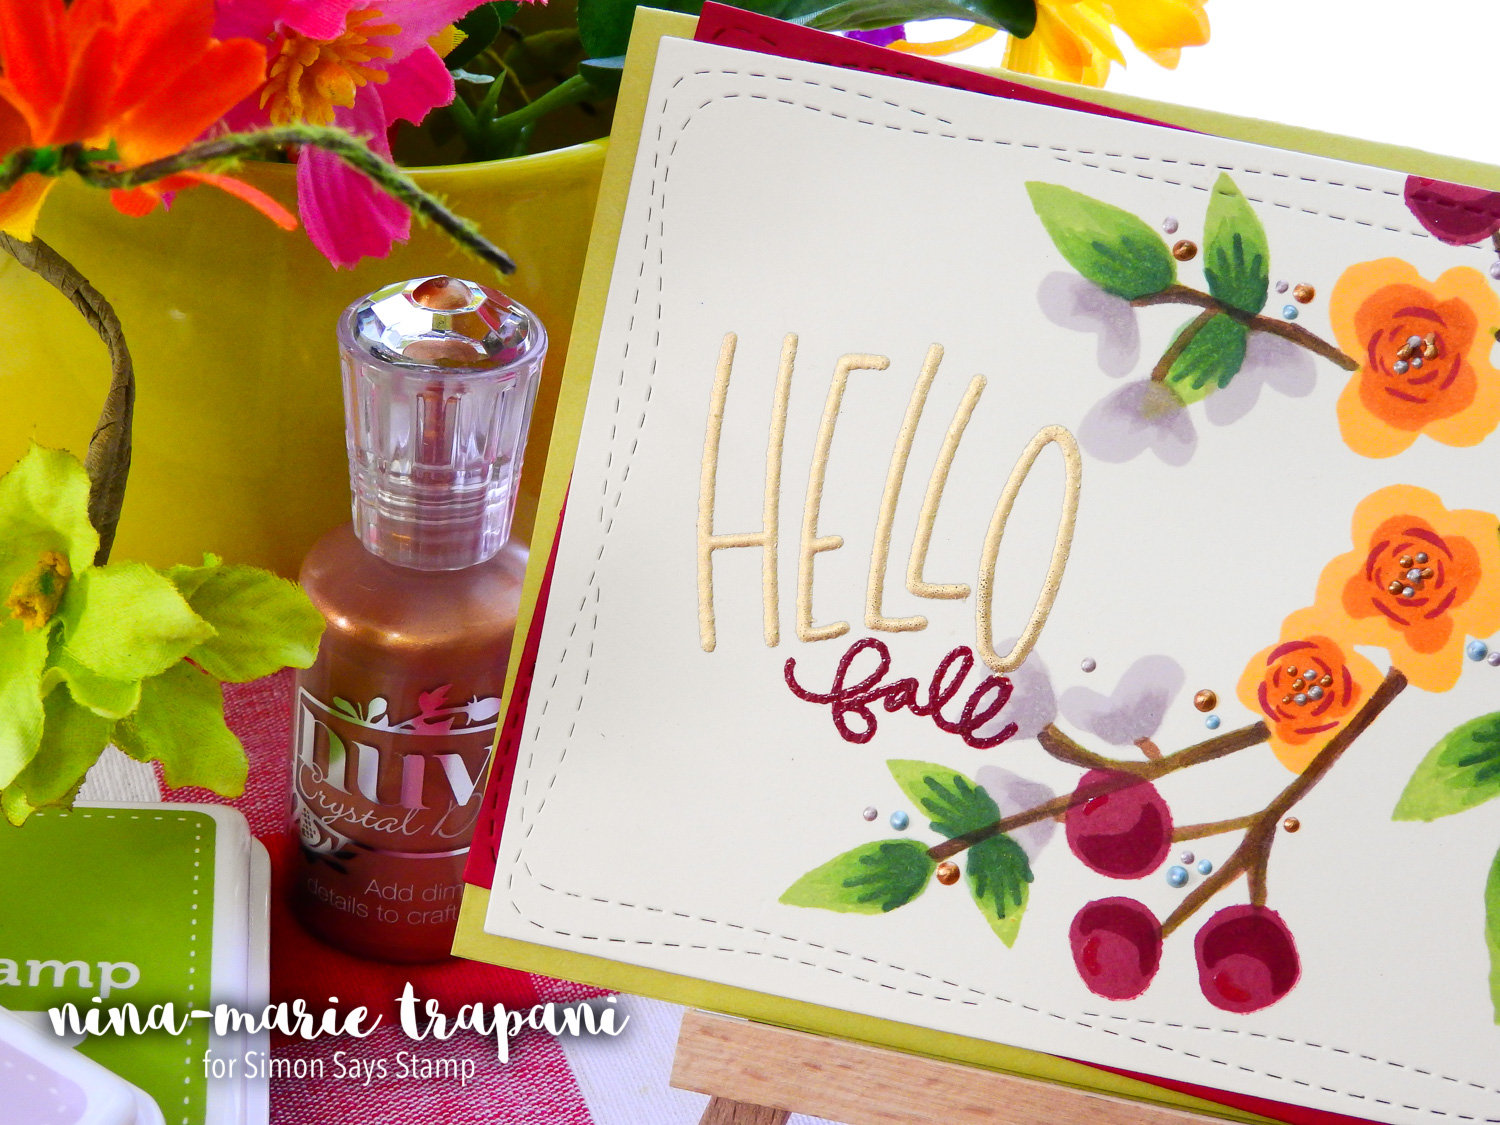
Hello everyone, it’s Nina-Marie here with you for a new Studio Monday video! Fall is just around the corner and with that in mind, I thought I would create a card that welcomed in the new season.
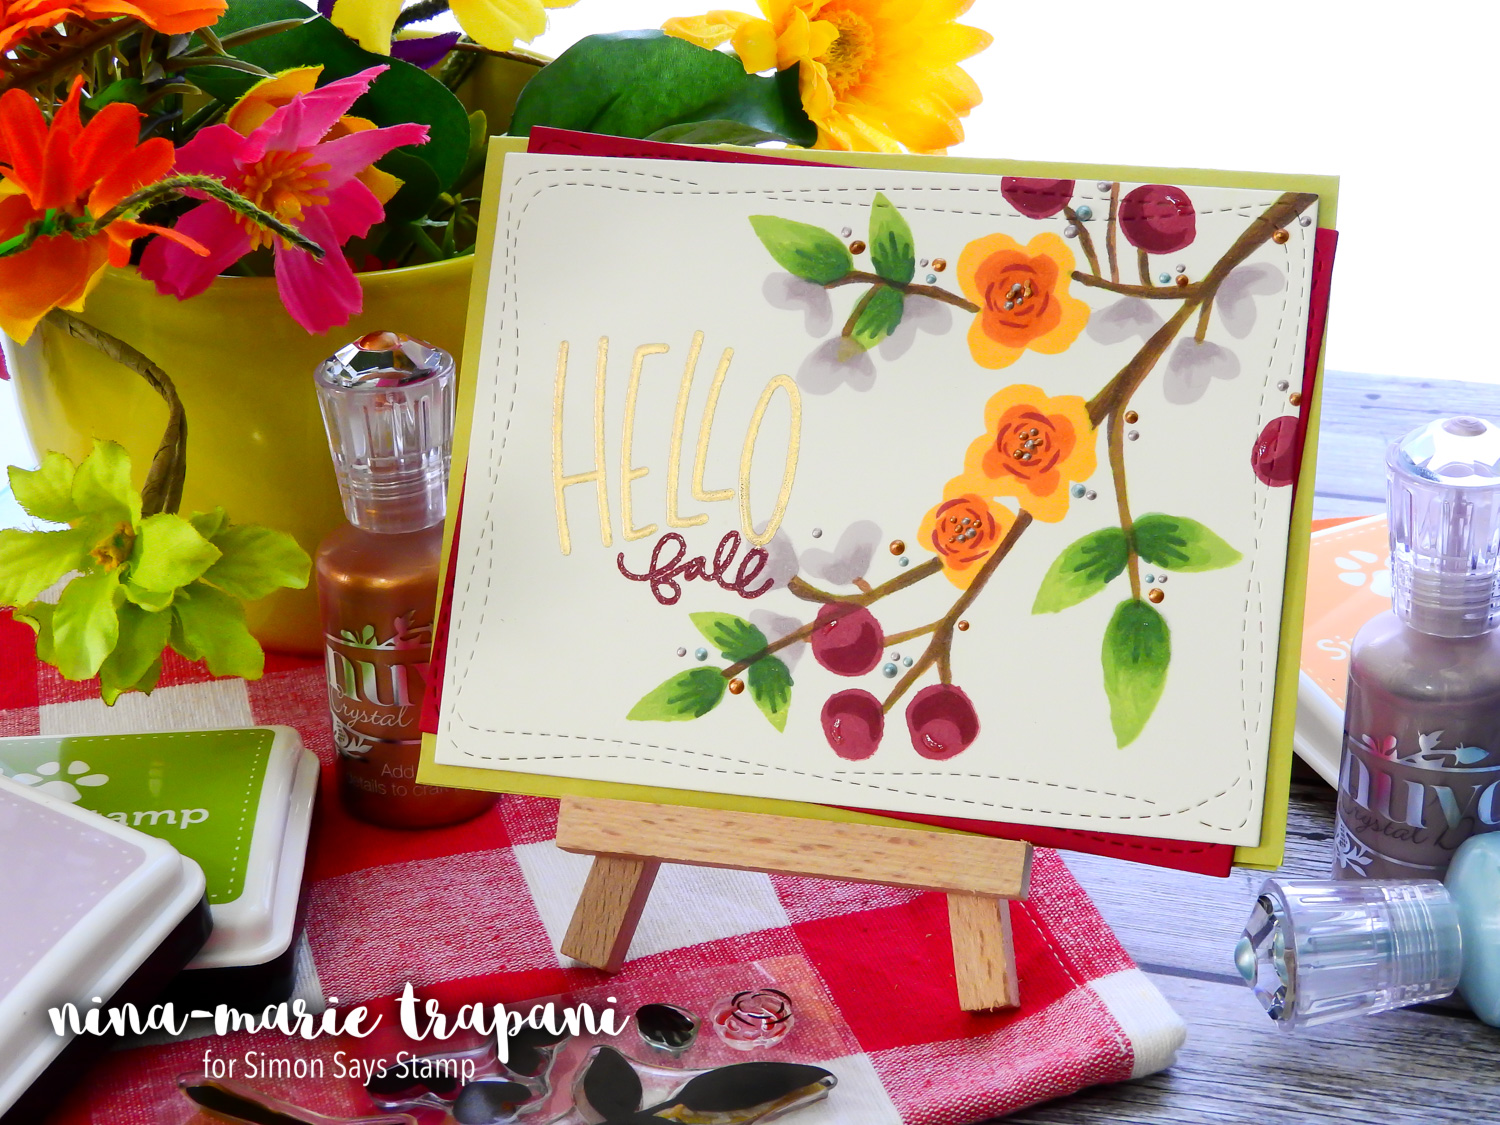
At the time I was making this card, I felt like doing some stamp layering, but I didn’t have any stamp layering sets in a fall theme. So to substitute, I decided to pull out one of my favorite Concord & 9th stamp sets, Flourish. Even though this has a spring feel, you can totally change it to fit a different theme! This post is a great example of stretch the sets you DO have when you don’t have something else that works!
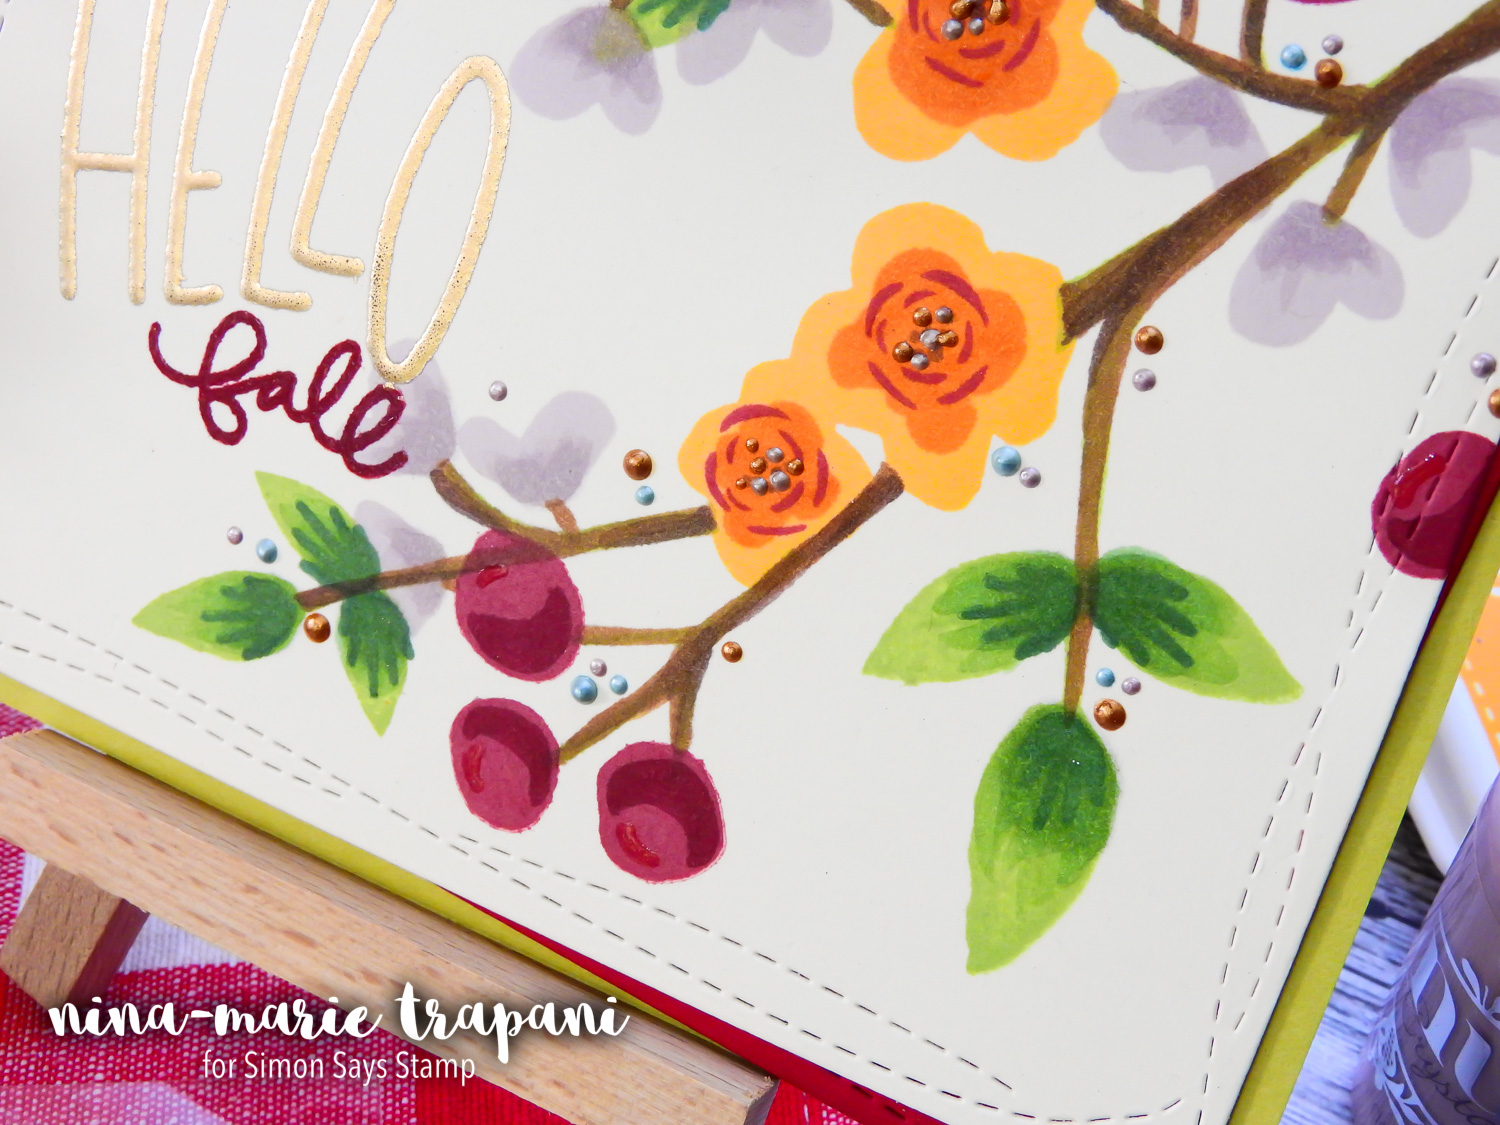
I stamped the images from the Flourish stamp set using our Simon exclusive inks and I added additional details to the stamp layering with Copic markers. When you add additional shading and details to your stamp layering images (or other stamped images in general), you can really customize them! An example is where I added an orange layer to the center of the golden-colored flowers. I love how it changed the look of the flowers completely and added extra dimension!
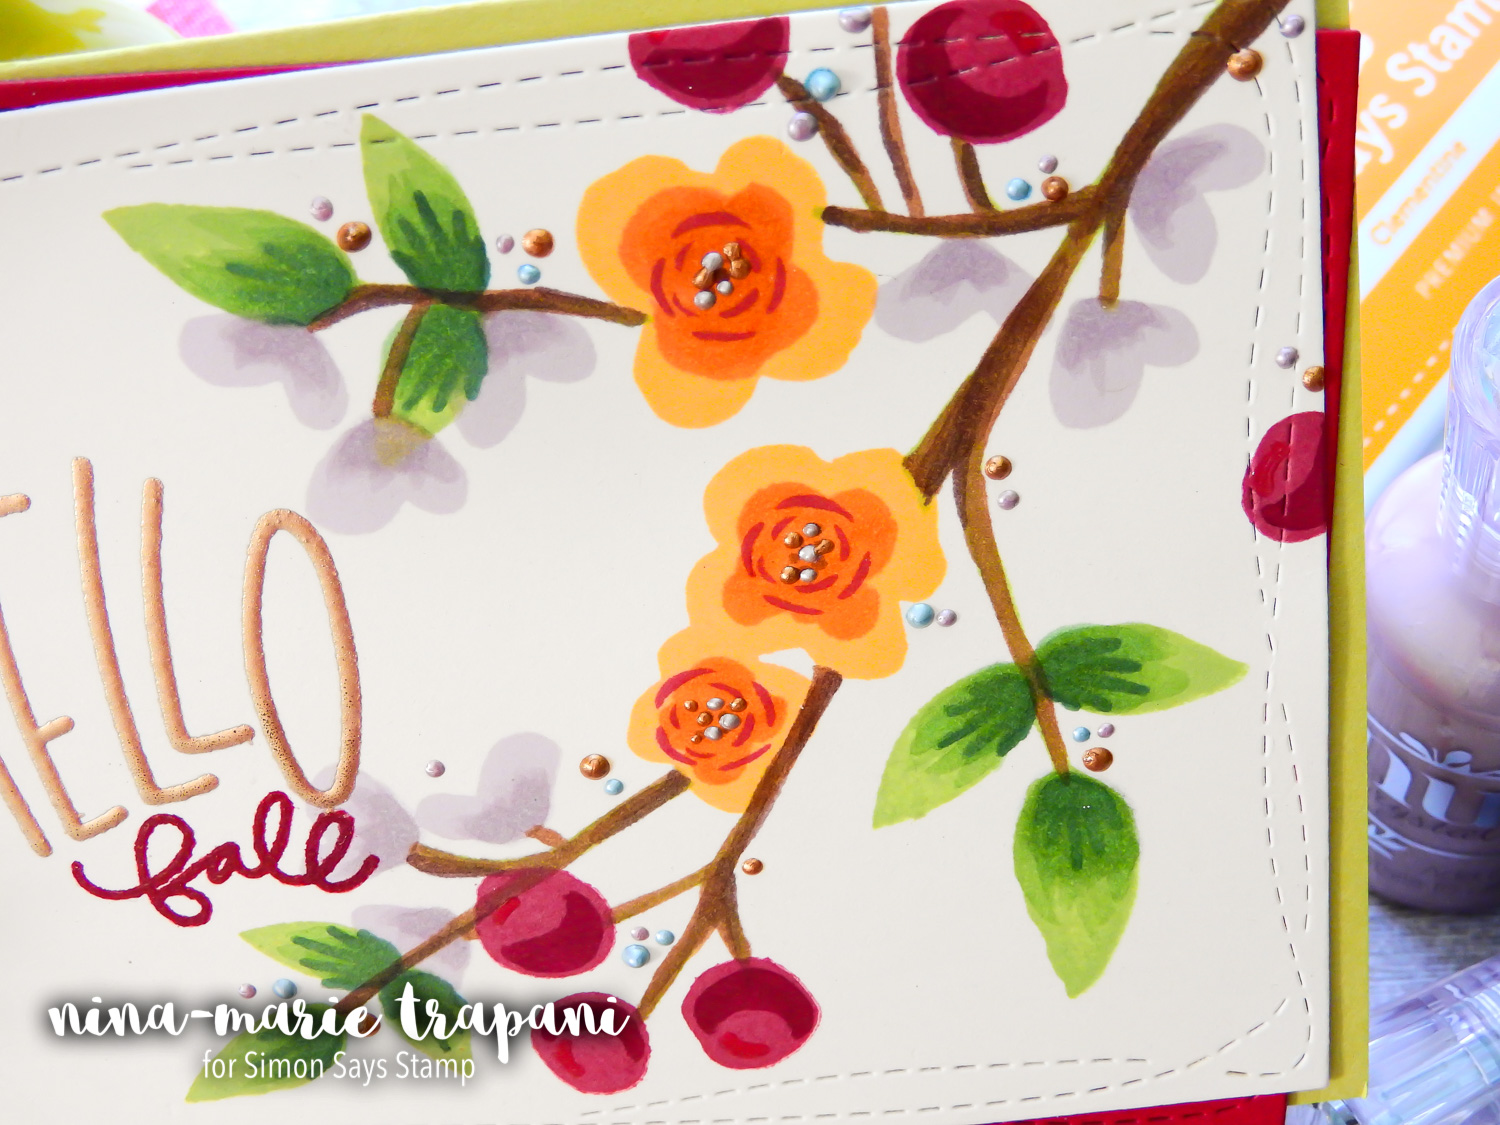
If you take a look at the berries in my card, you’ll notice they have a cool highlight. I created this with the Sakura Clear Glaze pen; the pen applies down a milky-colored ink onto your image; once it dries completely, it has a gorgeous, semi-dimensional sheen. I love that it picks up the color underneath and highlights it so beautifully! If you don’t have this pen, I would highly encourage you to check it out! If you don’t have this pen, you could use a white gel pen or Glossy Accents instead.
Two of the techniques I featured in this video are masking a sentiment and double heat embossing. For the sentiment of this card I used our Simon exclusive Autumn Greetings stamp set. Don’t you just LOVE the fonts in this set?? The set has lots of other great fall/autumn greetings as well.
I hope you will watch the video below to see this card come together! Thanks for visiting with me today… don’t forget to stay tuned to the Simon Blog for STAMPtember starting September 1st!!!!
WATCH THE VIDEO
SUPPLIES


Blog Candy Alert!! Follow our blog via email and comment on this post for a chance to win grab bags and blog candy! Remember to tag your awesome projects with #simonsaysstamp on social media so we can see what you are creating!
Toxique Box: Mixed Medium with Shari Carroll

Happy Sunday everyone! We’re already getting cooler days and nights here, so fall is just around the corner. I was inspired to create a piece for Halloween from some of the amazing new Tim Holtz Halloween goodies this year.
This Tim Holtz Vignette box is simple to make when you break down the steps of creation. I’ve used Tim Holtz Halloween Paper Stash to cover both the inside and outside and Materialize Halloween tissue tape to cover the front of the wood.
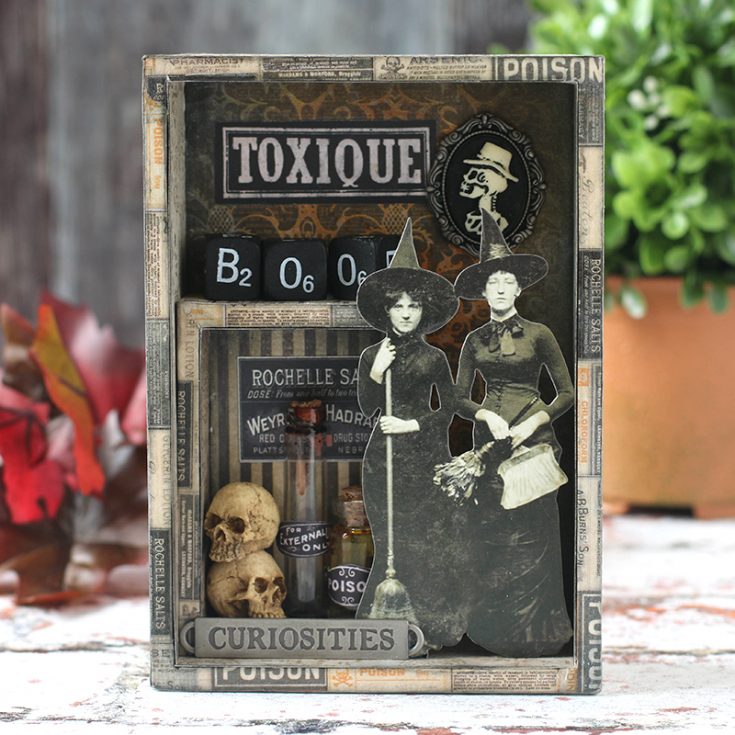
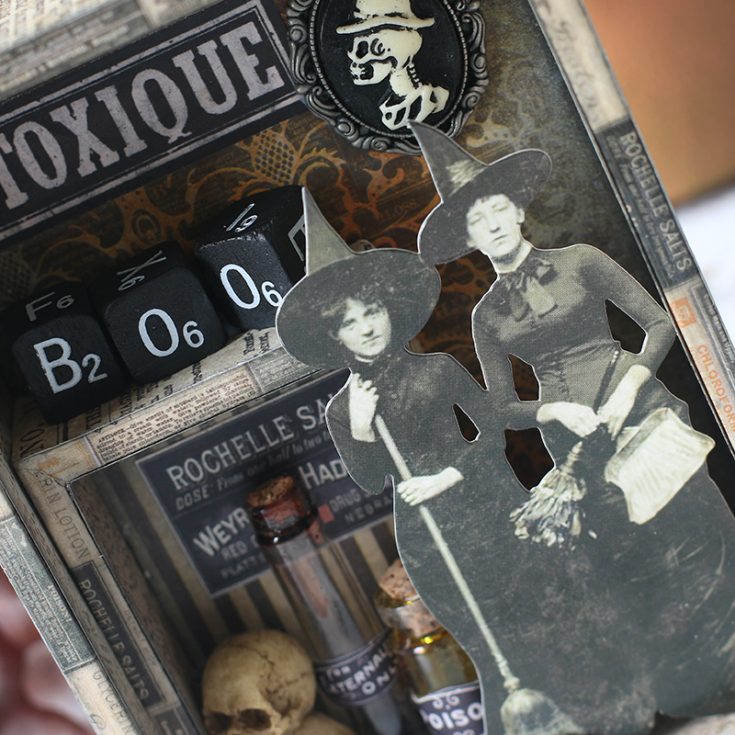
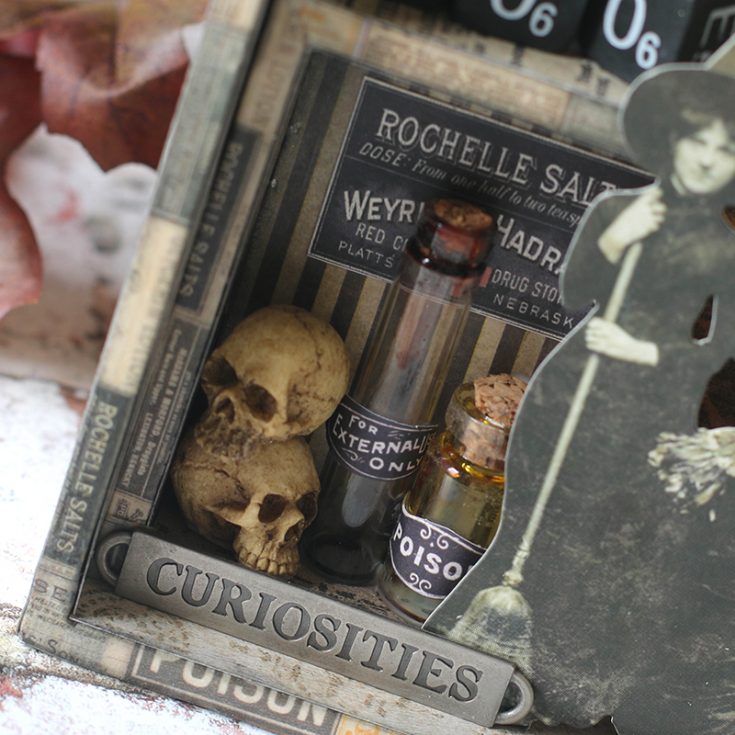
From there, I glued the smallest box to sit inside the larger box to create a shelf for the Tim Holtz Idea-ology skulls and alcohol ink stained glass vials. The witches are from the Idea-ology Ancestor Paper Dolls, notice how well they’re cut out, really great quality!!

I’ve added in Black Alpha Dice to form “BOO” which I’ve glued to the shelf. Behind the bottles and the above the dice, I’ve glued Halloween Ephemera which breaks up the space and adds addition spook factor.
A simple Incantation Metal Word Band at the base of the small box let’s you know the contents…curiousitites!. By using soft matte gel to glue the pieces in place of my Toxique Box, I expect it to hold up for years to come!
I’ve filmed a video of how I created this box which you can view below or on our YouTube channel HERE.
Blog Candy Alert!! Follow our blog via email and comment on this post for a chance to win a special blog candy!
Thanks for stopping by today!! Enjoy!!
 |
 |
 |
 |
 |
 |
 |
 |
 |
 |
 |
 |
 |
 |
 |
 |
 |
 |
 |
 |
 |


