Paper Patchwork Tips with May Flaum
Hey there, May Flaum here to share some of my tips for patching up your paper for this week’s challenge!
Tips for getting started with paper patchwork:
- Cut a bunch of pieces (or use scraps!) the same width OR height. This way they will all line up fairly easily.
- Don’t want to worry about colors matching? Use the same line! They will be patterns meant to coordinate.
- Try working with smaller scale patterns and more subtle colors if you want the patchwork to be your project base.
- Want stunning effects with minimal effort? Find a special accent to highlight (such as a flower or metal charm) your project, then use all those great bold patterns!
- Try making a group of patches, then die cut, punch, or otherwise cut a design from it! The effect will be mosaic-like and it’s always fun to see how the finished accent ends up looking.
Depending on the kind of project you’re working on, and size/scale, you can adjust these tips to work for you. I love that patchwork lets me use up scraps that might otherwise end up in the recycle bin!
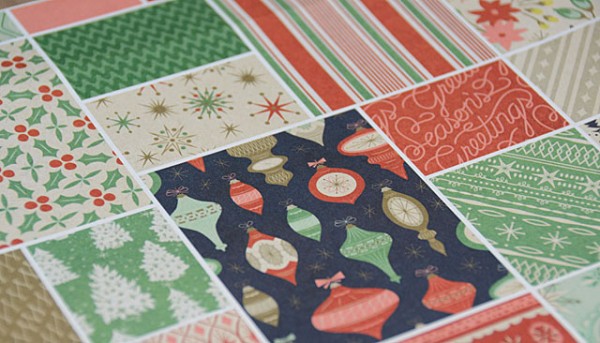
The above photo is of the cover sheet in the Basic Grey 25th and Pine collection. All by itself a chunk of this paper (which is simply meant to show the patterns in this collection) would be fantastic as the background of a card, element to die cut, or anything else! Be on the look out for pre-made patchwork for sure!
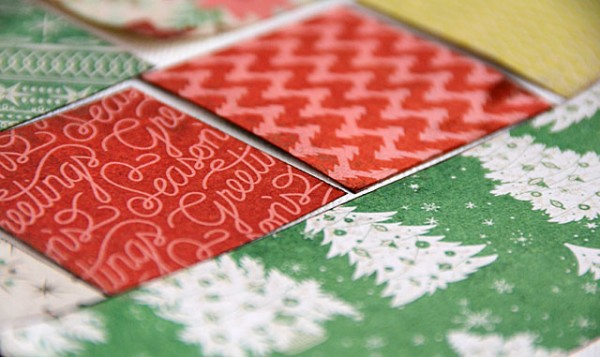
If it isn’t pre-made, and once you’ve settled on an arrangement, what can you do to make your patches come together more cohesively? I like to do one or more of the following:
- ink the edges (shown above)
- leave a thin space between each patch so the background/base shows
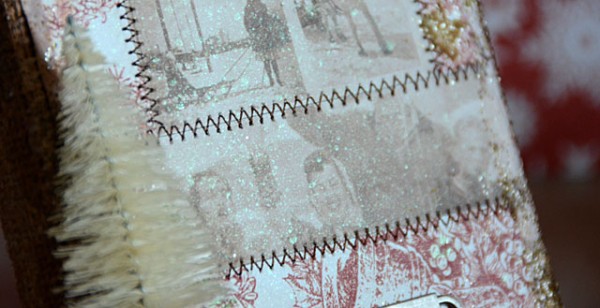
- stitch (machine, by hand, or faux stitching with pen) around the edges of all or some pieces
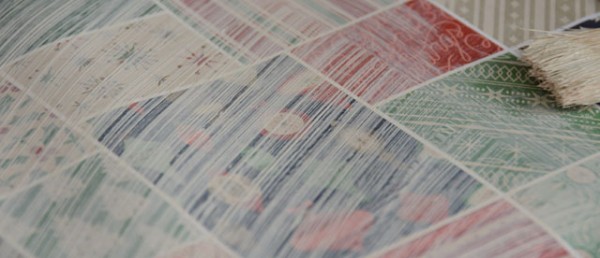
- paint a with a thin wash of white or another light color over the pieces to soften the colors and help create more of a faded background look
Of course there is still another option – look for patchwork papers!! The Tim Holtz paper pads are fantastic for this because in the back there are always small strips and shapes of the various papers.

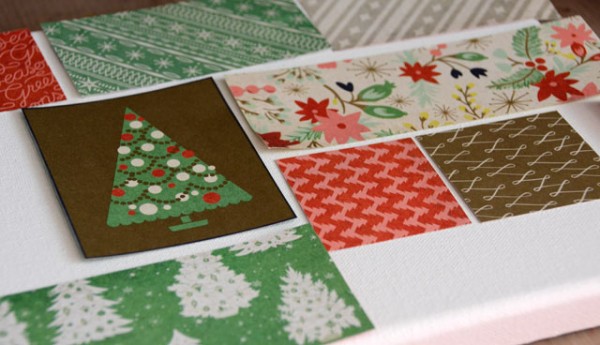
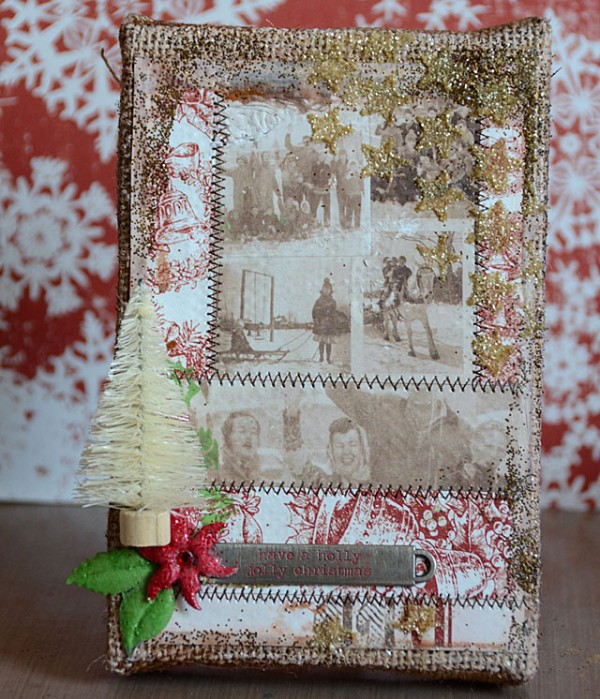
I took this paper to be my project inspiration this week. I used my sewing machine on a 3 3/4 x 5 1/2″ piece of this paper to make it look like I’d patched it together. (even though it is just a single piece of paper!)
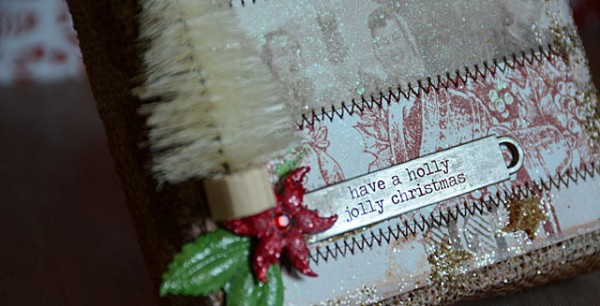
Then I added some painted metal accents, a flower, and even a special little tree to my canvas project.
Note: I cut the back side of the tree so that the bristles would lay flat against my surface and make it stick. I used my favorite liquid adhesive and let it dry overnight as well.
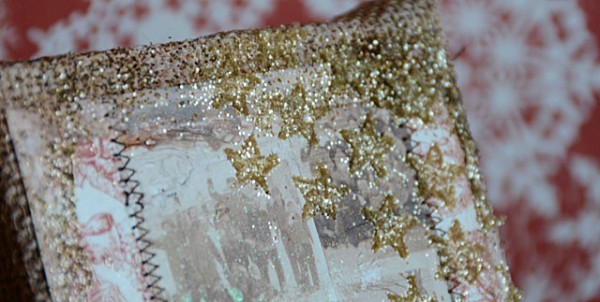
Then (because what are the holidays without glitter?!), I used Tim Holtz distress glitter, star stencil, and some clear embossing paste around the edges of my canvas piece.
I hope you have enjoyed my canvas, and my paper patchwork tips as much as I have enjoyed making this project to share with you!
Thanks for joining me – I hope you have a great (crafty!) week.

Now it’s your turn! Join us in this week’s challenge! For the full rules, read the “challenge rules” posted in the side-bar here on our blog, and be sure to enter the challenge in the post below this one.
Challenge Badge

Spotlight Badge


Lovely canvas! Great tips for patchwork too!
Great tips, and I love the finished outcome! :)
*mwah*
Steph
Simon Says Stamp!
May, I absolutely love this. Too cool!
A total delight-this is the kind of Christmas card I would treasure forever.
Wonderful ideas! I really love this challenge and you had so many different ways to do it! Thanks so much for sharing, May!
Thank you May, I may have to try another using some of your great tips.
fantastic tutorial and wonderful work! thanks for sharing! barbarayaya
Beautiful project, May!
I LOVE the glittery stars. So Christmas-y!!
Beautiful May! Love the shimmery stenciled stars and your gorgeous patchwork!
Love your x-mas canvas !!! and TaB for the tipps
CU hellerlittle
so gorgeous and festive May!!
Love your beautiful stitches and the stars, May. Great inspiration! :)
Beautiful patchwork and inspiration!
Thanks for all the ideas. I really want to play around with patchwork. I collect patterns and say “someday, I’ll make a paper patchwork LO or card”. Someday never quite gets here. Your suggestions really helped. I think I might be able to actually try it this time. Thanks again May!! — Mary Elizabeth
Great tutorial May! Love your patchwork examples and the touches of glitter.
Great tutorial May. Love the patchwork things that you’ve done here. The machine stitching, white washing and touches of glitter are so subtle but add so much! Your finished vintage Christmas card is awesome. I love it! <3 Candy