Yippee for Yana: Hot Foiling and Stamping

Hi friends! Happy Tuesday, and thank you for stopping by today! Check out this GORGEOUS card that Yana Smakula created with some Copic coloring and hot foiling! Be sure to read on and watch the video for more info! Enjoy!
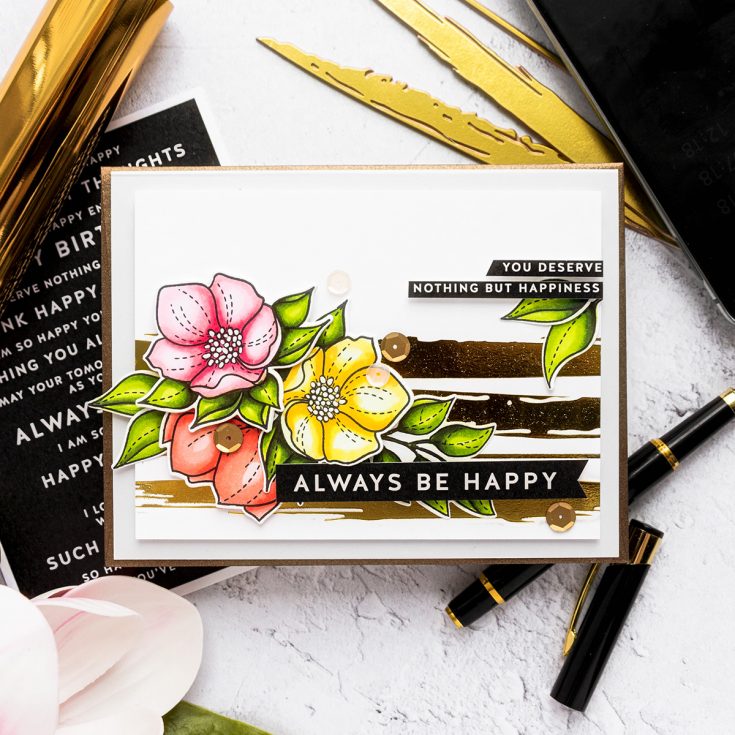
Hi everyone, this is Yana Smakula, welcome back for another Yippee For Yana video! Today I have a foiled happiness card to share using some older goodies form Simon and new hot foil plates from Spellbinders and Laurie Willison. If you’ve been following my videos for some time, you know how much I adore hot foiling and in planning this card I wanted to add some simple foiling to the background and decided to do that with some new hot foil plates.
I foiled Laurie’s Foiled Brush Stroke Glimmer Plates in gold foil on smooth white cardstock. Watch my video for tips on how to get perfect foiled results.
I set my foiled panels aside and moved onto regular stamping. I really wanted to stamp and color several flowers for my card so I pulled out my older stamp set from Simon, Even More Spring Flowers, and picked several flowers and leaves and stamped them in Simon’s Intense Black ink onto white cardstock.
This time I really paid a lot of attention to the coloring and used more than my typical number of markers to color these images. To color the leaves green I started by applying the lightest color, YG01 onto the entire surface of the leaves. Next, I used YG03 and shaped each of the leaves leaving just a small highlight in the center of each.
Next, I used the YG17 marker and started adding shadows to each of the leaves. I added shading to the base of each and also followed any curves.
Next, I brought in my really dark green markers. First – G94, and added darker shadows to the base of the leaves trying to make the coloring as natural as possible. And finally, I used the darkest green I have in my stash – G99 and made those shadows really, really dark.
With all of the colors applied I went back to the YG17 marker and blended the darkest colors together adding more definition the leaves. Next, I used YG03 and did even more blending making sure not to go over the center highlight area. And finally, I used the lightest YG01 marker and blended my coloring even further.
I love the result and I think it was well worth the effort.
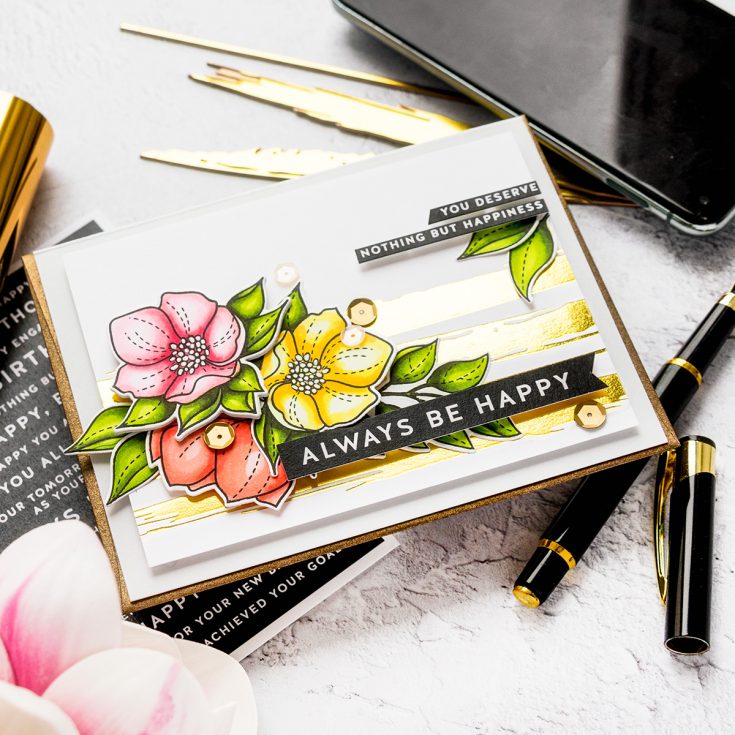
I used the same approach to color flowers and I used different colors for each. I started with RV00 and applied it all over the petals laying my base color. Next, I shaped each petal using the RV10 marker, I went back to RV00 and blended the two.
Next, I started defining the shadow areas and used the RV23 marker for that. Again I went back to RV10 and blended the colors together. I didn’t as much blending when coloring the leaves because the area of the leaves was smaller, here, the petals are larger and thus I can do more blending easier. Lastly, I used the RV14 marker, my darkest pink to really deepen those shadows. I went back to RV23 to blend the colors together and blended some more with RV10.
For my next flower, I used yellow markers. I went with Y00 as my lightest color. Next, I shaped the petals with the Y11 marker. Add shadows with Y13 marker – I’m speeding this part of the video more as I’m basically repeating the same technique, just using different colors of markers. And finally created deeper shadows with the Y35 marker. I went back and blended everything using the lighter colors.
My 3rd flower was colored using light red markers. I used R20 as the base color, R22 to shape the petals and R24 to add shadows. I have a rather limited number of markers in my stash and I simply don’t have enough colors to do really complex blending, but after coloring these flowers I’m actually planning to go and order some additional markers for my stash. I think it is time I expanded my collection, by at least a few markers.
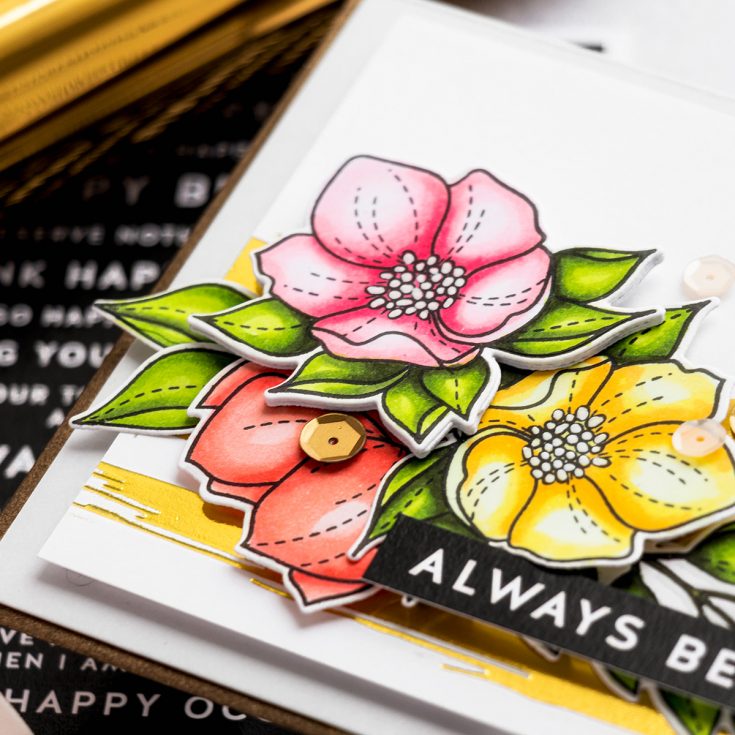
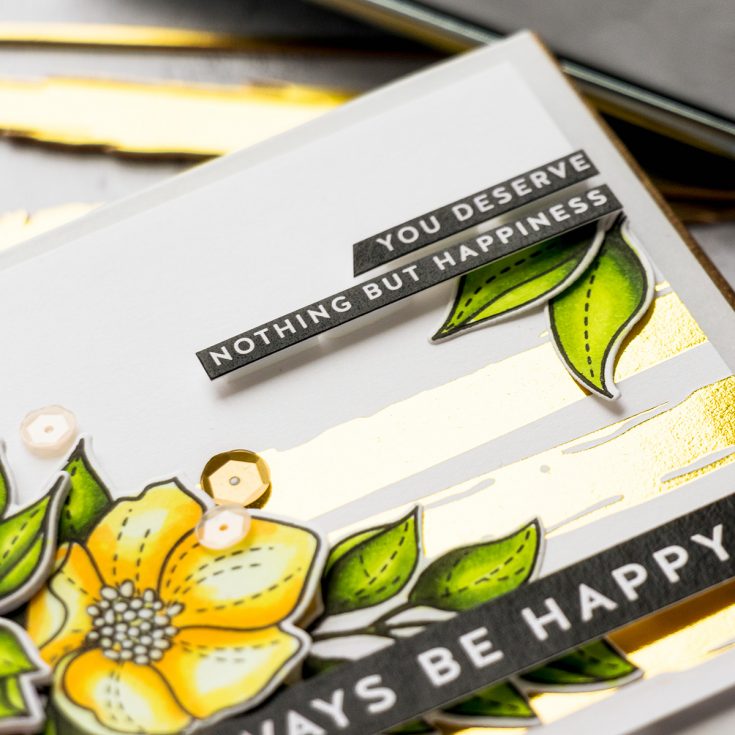
With my coloring done I cut the images out using coordinating dies. Next, I trimmed the foiled panel to 3 3/4 x 5”. I also cut sentiments from Simon’s All Things Happy Sentiment strips. I’ve grown to really like those – the fact that they are really nice dark black is what is appealing the most to me. I trimmed two sentiments – one that reads “Always Be Happy” and another skinny sentiment that reads “You Deserve Nothing But Happiness”.
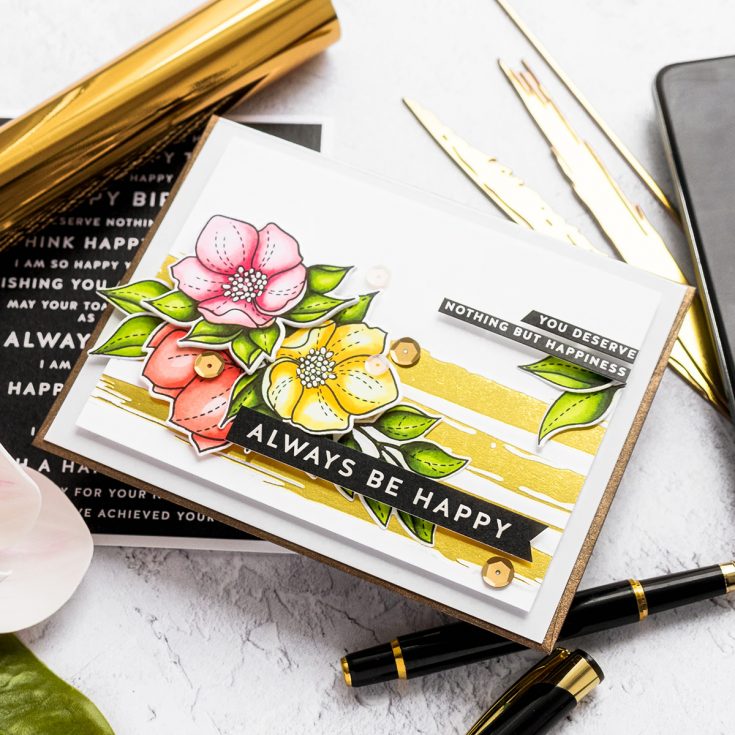
I foam mounted the foiled panel onto A2 top folding Fog card base and then I used foam adhesive squares to form mount the flowers on top.
I also used my white Sakura pen and I colored the flower centers white. I think that really helped my flowers pop. I also used the same pen to clean up any marker bleeding. My coloring wasn’t perfect and the marker bled in a few places on nearly every image, the beauty of using a white pen is that is able to easily cover that up.
Next, I added the leaves and foam mounted the sentiments in place.
Have fun stamping!
WATCH THE VIDEO:
SUPPLIES:
|


Thanks so much for stopping by, and thanks to Yana for being our guest!


Another stunning foiled card, Yana!
Awesome creation, Thanks for sharing!!!
Thank you so much for your tips on foiling. I’ve been so frustrated by trying this as it always comes out with missing places, even if I buy the cards that have the laser printing and try to foil them. I didn’t realize either that the card stock being used could affect it. I loved your card. Still looking at the Spellbinders Foiling Platform.
Love this beautiful card with the foiling. I’m going to have to be inventive to try to create a similar background since I don’t have the foiling system. Thanks for the inspriation!
Oops! Inspiration! Lol!
Really Gorgeous!!!!
Beautiful card, and I love the foiling used for the background.
I sure love the look of the foil. Laurie’s die is so beautiful. I just don’t know if it would be worth buying a foiling machine…
Gorgeous card Yana, I love the beautiful foiled background. Thank you so much for sharing, stay safe and have a wonderful day.
Gorgeous card Yana! Love the foiling.
Beautiful card. Thank you for the tips on foiling. Be healthy and be safe.
This is really pretty
Beautiful card, Yana! I love these new plates. Perfect for backgrounds. Thanks for all the great tips on foiling. I would never have thought to heat my plates more than once to get better coverage. I’ll also be paying more attention to the card stock I’m using in the future. :)
Pretty colors and I like the foiling.
Beautiful! T have not tried the foiling !
Love the brush stroke foil. Super pretty!