Yippee for Yana: Coloring on Colored Cardstock

Hi friends! Happy Tuesday! Please join me in welcoming back special guest Yana Smakula to our blog! Read on, and be sure to watch the video for all the details! Enjoy!

Hello, crafters, this is Yana Smakula for Simon Says Stamp! Welcome back for another Yippee For Yana video! In this video, we are talking about coloring on colored cardstock using Copic markers, colored pencils and adding heat embossing to the mix.
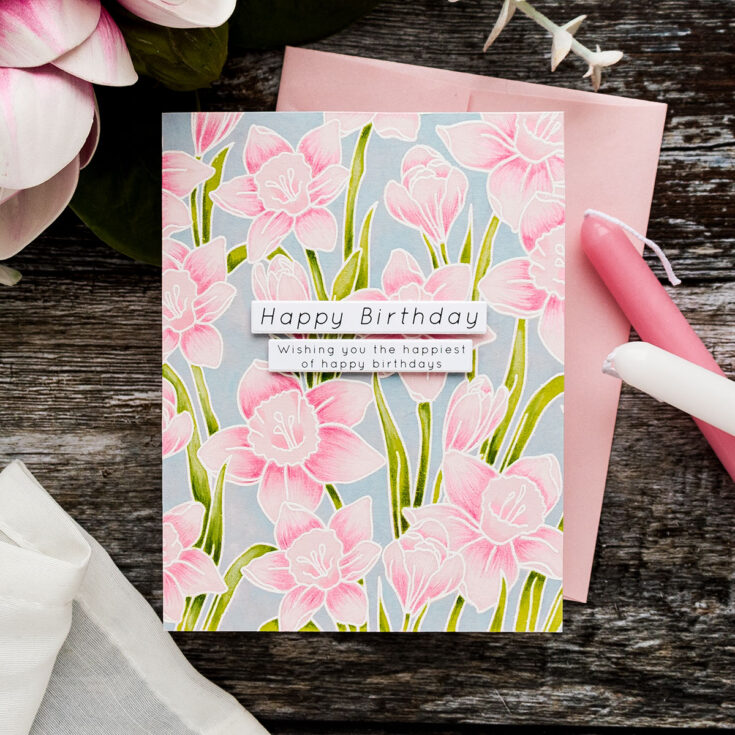
This card started on a sheet of light pink cardstock. Can you imagine? I used Hero Arts Peony color as my base and layered all other colors on top using embossing powder, Copic markers, and Polychromors colored pencils.
First, I heat embossed Daffodil Field background in Detail White embossing powder. You can try the technique with other stamps and on other colors of cardstock. I trimmed the background to a more manageable size, to 4 1/4 x 5 1/2”, this will make the front of my A2 card.
I’m going for pink daffodils, green leaves, and light blue, almost blue-gray background. You might be thinking – this is not going to work on this paper, but I promise you – it does.
Whatever color you want your flowers to be – use that color of paper for the background. I want the daffodils to be pink, so I am starting with pink. If you want yellow daffodils, start with yellow.
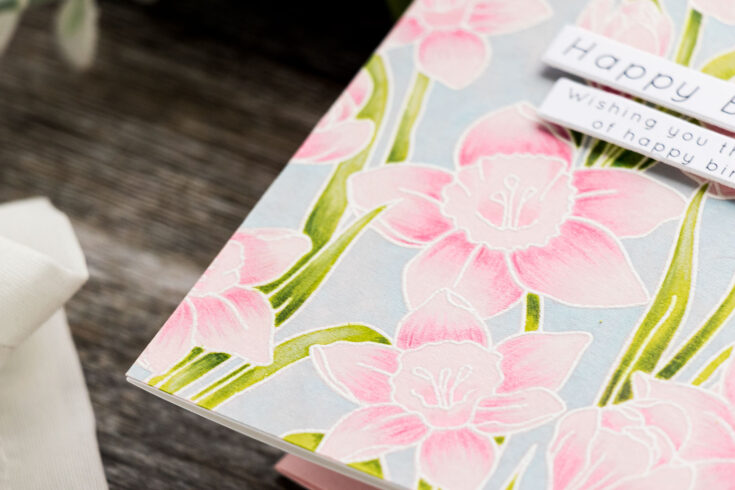
First, I color the daffodils. I flick the RV10 marker onto the base of the petals to add shading. And RV02 to add a touch darker pink. Next, I make the tips of the petals lighter pink, I achieve that by applying a white color pencil. It doesn’t make my paper white, like the embossing powder does, but it does lighten that pink color a bit.
Next, I use a light and a dark pink pencil to add detail to my petals. The darker pink is Light Purple Pink and the lighter pink is Pink Madder Lake, both Polychromos from Faber Castell.
I use YG03 to color leaves and stems green. In this instance, I am using the Copic marker to apply the initial layer of color. I am not using Copics to blend, and shade. I use my colored pencils for that instead – Earth Green Yellowish, Permanent Green, Permanent Green Olive, and Chromium Green Opaque. This works with other pencils and other colors.
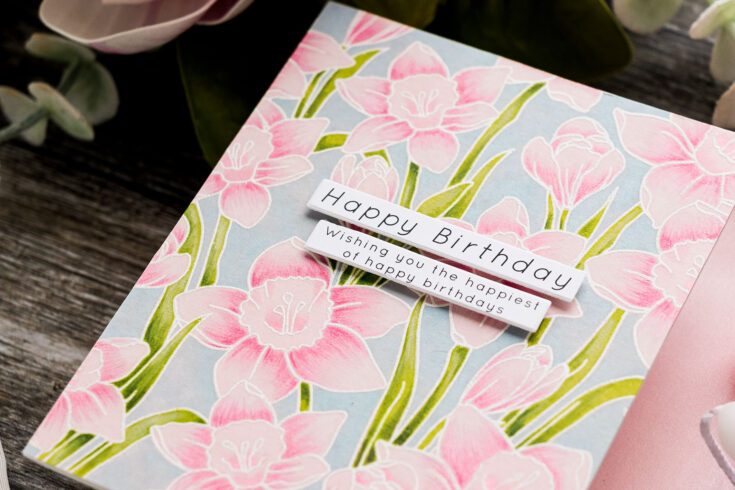
Next, I color the background using a B000 marker and this completes my background.
You can go as detailed as you like when coloring flowers, or just add simple strokes of color. Either way – this is a beautiful stamp and these images already look gorgeous. The background cardstock color provides a stunning base for the flowers and that allows us to spend a lot less time coloring them. Of course, you can use white cardstock as a base, but that would require a lot more time and ink from your markers to color it.
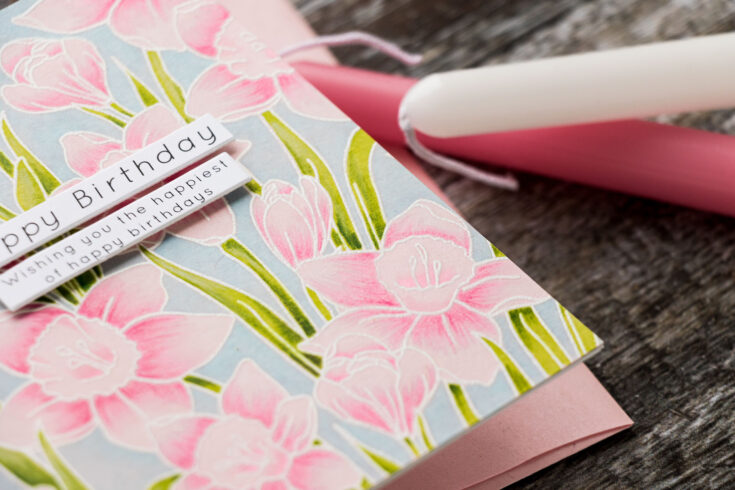
From here you can use your favorite sentiments to complete the card. I used Simon’s pre-printed sentiment strips from the All Things Happy Remix and just added that onto the background with foam adhesive. Have fun stamping!
WATCH THE VIDEO:
SUPPLIES:
|


Thanks so much for stopping by, and thanks to Yana for being our guest!


STAY TUNED!


This is GORGEOUS, Yana!! I love it and will try to remember to use colored paper. What a difference it makes! TFS – I hope you are safe.
Lori S in PA
Man, I love Yana’s work! This is absolutely gorgeous, and now I want that card and a yard full of true pink daffodils to go with it.
This was a wonderful technique and never would have thought of it. Your card was breathtaking and thanks for sharing this idea with us.
I love coloring on colored card stock!!!! Yours looks Fabulous, Yana!!!
This is so beautiful
I love this. I will be trying this. It is so pretty.
Such a beautiful card!
I loved this video. So informative and easy to follow. Thanks for the great instruction. I’d post a picture of my attempt, but I don’t see how to do that.
Beautiful card! Thanks for sharing this lovely technique.
This video was incredible. It was really informative and easy to follow. Thank you very much for your fantastic advice. I’d post a photo of my failed attempt, but I’m not sure how.
It was quite educational and simple to comprehend. Thank you very much for your excellent guidance. I’d post a picture of my botched attempt, but I’m not sure how to do it.
Love this card, so beautiful!
Very good wordle site https://playwordle.app/
downloading service for big files https://debridlink.es/
I was recommended this blog through a friend from school. No one understood my problem, but I looked at your blog and solved the problem. I will share information about to my friends. I like your blog very much. good luck. 먹튀검증사이트