Watercolor Poppies
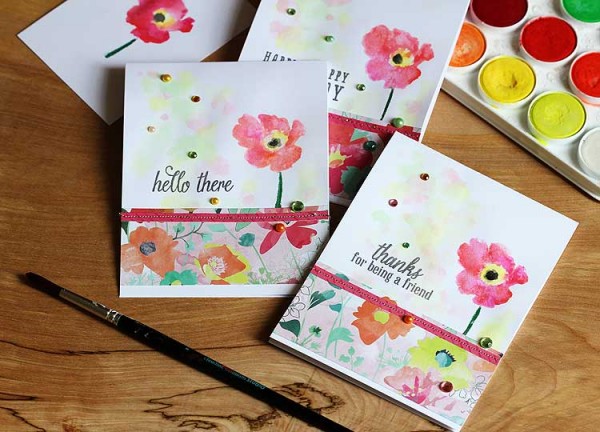
Hi readers! Happy Thursday! I’m happy to bring you some cheery & floral inspiration from our pal Lisa Spangler, who is our guest on the blog today! I don’t know about you, but I’ve really gotten into watercolor stamping! I love the soft subtle color, not to mention it’s just FUN! Lisa brings a trio of beauty to us today featuring the new Poppy in the Wind stamp from Hero Arts! Enjoy!
Hello hello! I am so happy to be joining you today! I’m sharing a fast and simple notecard set that I made using one of my favorite techniques: painting watercolors on stamps. It’s so fun that once you get started you won’t want to stop! Plus, I love how each card is unique, even though it uses the same supplies.
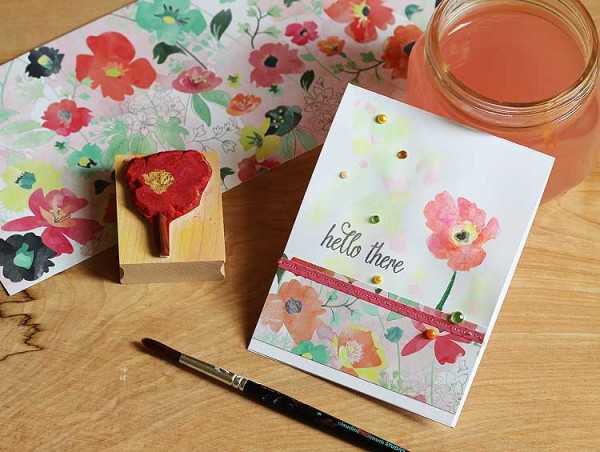
Speaking of supplies, I should mention that my color scheme and the whole idea came from some awesome paper in the BasicGrey Fresh Cut 12×12 collection pack — it’s just so romantic and pretty!
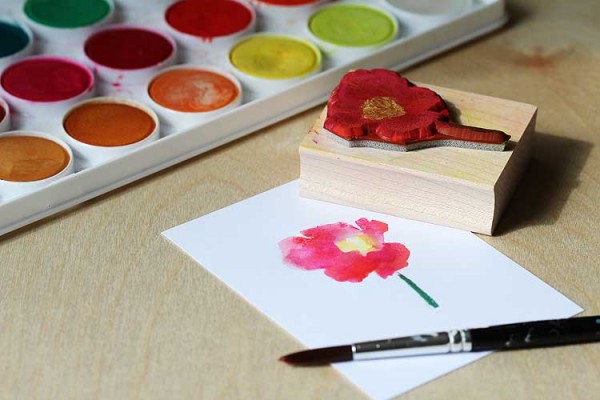
To get started, use a water mist bottle and mist your watercolor set. Give it a really good mist, don’t be shy! Then wait about 5-10 minutes until the water has seeped in and activated the watercolors. It will kind of be the consistency of frosting. (Yum.)
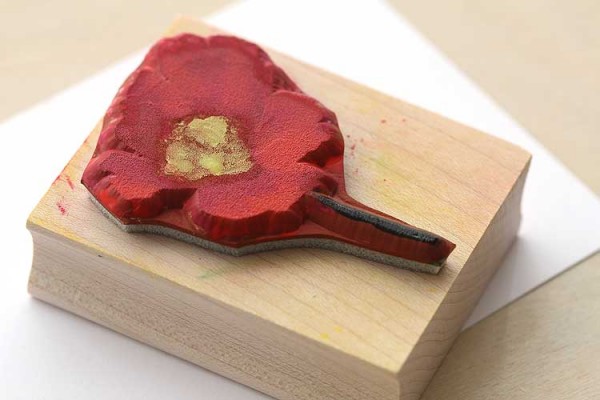
Now that your paints are prepared, grab a brush, wet it with water so that it’s damp but not dripping wet and pick up some paint and apply it to the stamp. You may need to practice a bit to figure out the consistency, but once you get it it’s so worth it! It’s better to be on the dry side than have it be too wet, especially as you can always fix it later.
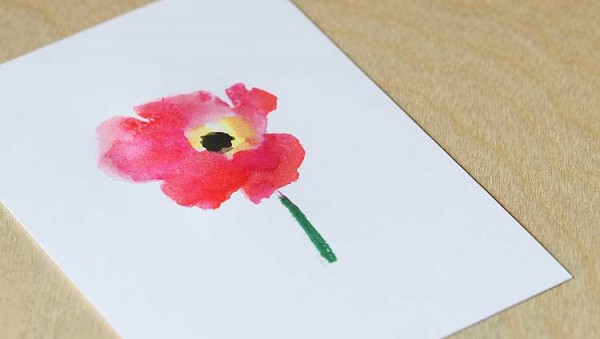
For this poppy, I applied yellow to the center and pinks and oranges to the petals. Then working fast I went ahead and stamped it on white cardstock.
If it doesn’t come out just grab your brush and add more color — or if there is a blob of solid color, add some water to move it around. Love how each flower comes out different!
Then once the flower has dried, add a darker color to the center. In this case I used a dark gray.
To finish off the cards, I stamped a message in Hero Arts charcoal ink, then after it was dry I painted on some watercolor blobs here and there. Then I added a strip of that gorgeous floral paper plus a thin strip (also from the pack) of pink. I sewed the strip with metallic gold thread, then added some gems and pearls. And that was that! Three cards done.
Can’t wait to give these to people — and can’t wait to make MORE! Thanks so much for joining me! xo
Supplies:
Blog Candy Alert!! Follow our blog via email and comment on this post for a chance to win a special blog candy!



So very pretty – great technique :)
Fabulous results and it looks like fun to do!
I really have to try it out. So good looking yet so simple :)
Watercolor is my absolute favorite look for cards. I feel so painterly….
Lovely and simple! Thanks!
Beautiful! Love this technique and the look you achieved with it! Thanks for a wonderful tutorial!
Beautiful!
So pretty, and the pp coordinates perfectly :)
The flowers are so pretty!
Gorgeous water coloring, Lisa and beautiful cards!
Beautiful!
Love your flowers and how each comes out differently. So pretty!
Beautiful card! Love the watercolour technique!
So very classic and elegant! Will definitely have to try this.
What a super fun…and EASY technique! LOVE how the cards turned out! Thanks again, Simon Says Stamp for sharing great information and offering the best products! (((hug)))
This card is just lovely! The poppy stamp and patterned paper are awesome. Can’t wait to get my paints out.
What a great card and fun technique. TFS. i also love that paper :)
OH! i love that will def. try it! beautiful card beautiful paper.. lovely effect!
What a fabulous technique, thanks so much for the tut!
Great technique, TFS!
GORGEOUS and I can not wait to try this watercoloring technique! You rock Lisa!
I’ll have to sneakily use my daughter’s watercolours while she’s at school! This is beautiful!
Such a beautiful card and thank you for the tip!
love the poppies with the water color effect congrats
Beautiful! It’s mother’s day in the UK soon; might have to try this on a card.
Thanks to Lisa for making this seem so easy! Does SSS sell watercolour paint sets?
So pretty! Love this tech thanks for sharing
This is so pretty and what a great technique! I have to try this one. I only hope I can make perfect frosting. Thanks for the pretty and quick.
So pretty! Thanks for the fabulous idea. I was looking for a Spring card to give to someone on their special day!
Beautiful! I’m already looking for stamps to try… :-)
Absolutely stunning! i love the watercolor effect and can’t wait to try it. I feel like an artist!
I have wanted to try watercolor. Now I have instructions! Thanks and thanks, too, for a chance to win.
I appreciated your easy to follow directions. Your flowers looked unique and artsy. That is a good idea to use in making a set of cards for a gift.
Beautiful card, love the poppy flower! Thanks for the tutorial.
That watercolor stamped poppy is so soft and pretty.
Very pretty cards, and great technique!
I love your poppies, Lisa! They are so pretty.
What a pretty card set Lisa. Perfect for spring!
Gorgeous poppies. I just love the water colour effect.
Wow, that’s so pretty!
I love water colors. Beautiful cards!!
What a great technique! I also love the results that it produced! Great cards :)
Pretty poppies…thanks for the technique.
Fantastic technique. Every time you stamp you get beautifully unique results.
the new Basic Grey Fresh Cut collection is one of my faves already. paired with the watercolor poppies, it makes for stunning cards! thank you for the inspiration! :)
This makes me want to pull out my watercolors and create. Thanks!!
Simply beautiful!
Love what you did! I have that paper, now I only need the stamp! TFS
This looks like loads of fun :) Such lovely cards – TFS!
this looks so pretty!