Textured Circle Background
Hi all! Happy Sunday! I hope you’re having a great weekend so far! Please join me in welcoming back special guest Anna-Karin Evaldsson who has made a gorgeous new project to inspire! Read on and enjoy!
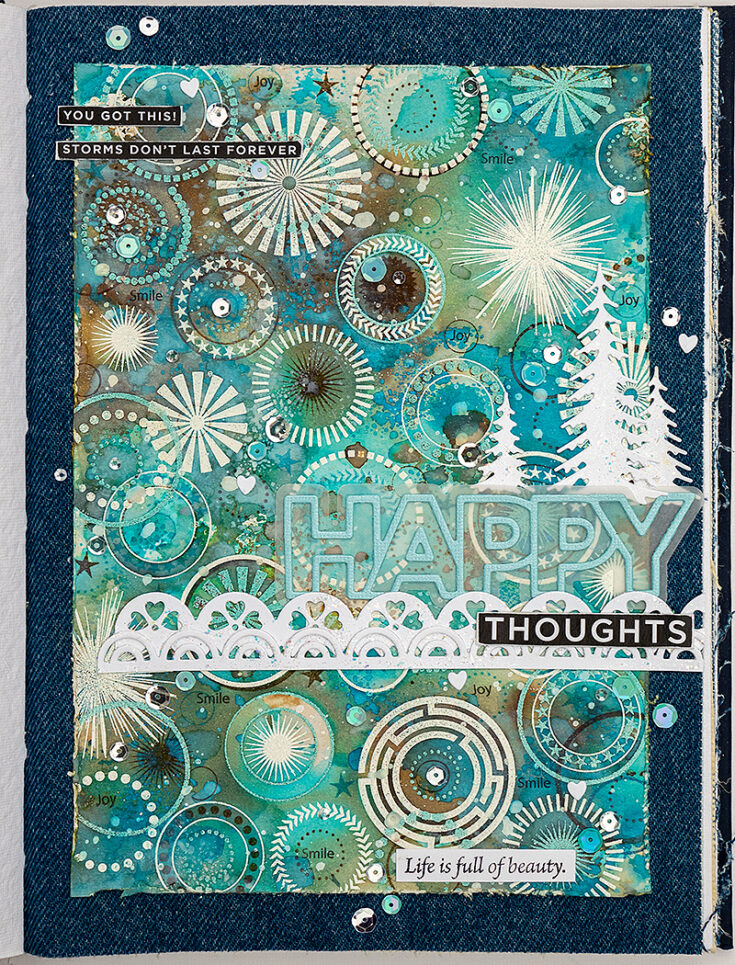
Hi everyone! I am so happy to be here on the blog today to share a stamping tutorial with you. I can hardly believe it is November already and even though I normally enjoy winter, this year I have not looked forward to the darker months. Quite the opposite. After having switched to winter time and changed to winter tires last week, I decided to do an art journal page with a cheerful feel.
This background is full of circles and textures and is easy and fun to do. The design can be scaled down if you would rather make a card. Circles are such fun to work with and here I used a mix of white embossing, color embossing and stamped circles, combined with Distress Ink and Distress Oxide ink. The background was adhered to one of the denim pages in Dina Wakley’s Blue Edition Media Journal.
The background was created using only one stamp set by Simon Says Stamp, namely the Mix and Match Circles set. The circles on the set can be combined and layered in numerous ways and I didn’t even use all of them here.

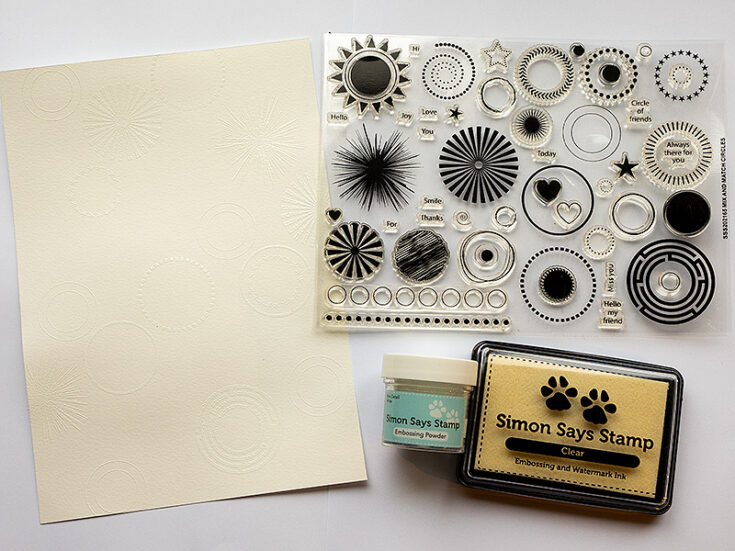
Cut a piece of watercolor paper. My paper is 6 x 8.7 in. Stamp circles with SSS embossing ink and emboss with white powder. Always be very careful when using a heat tool, so that you don’t burn yourself.
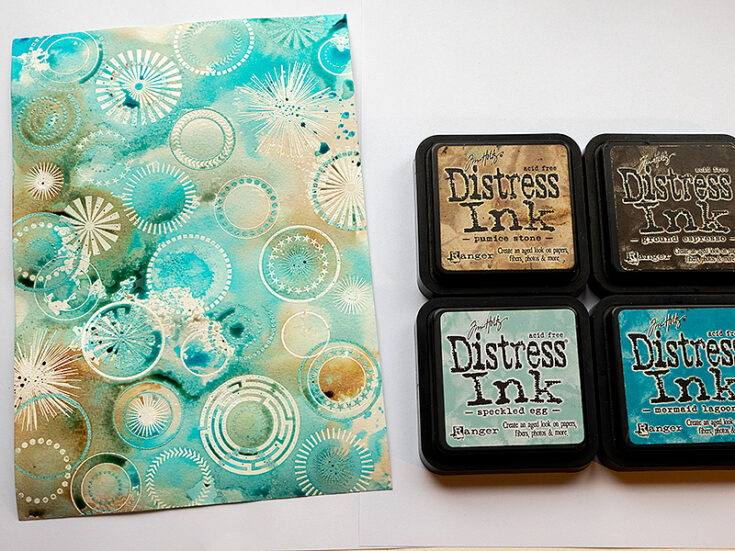
Smear Speckled Egg, Mermaid Lagoon, Pumice Stone and a little Ground Espresso Distress Ink on a non-stick craft sheet. Mist with water.
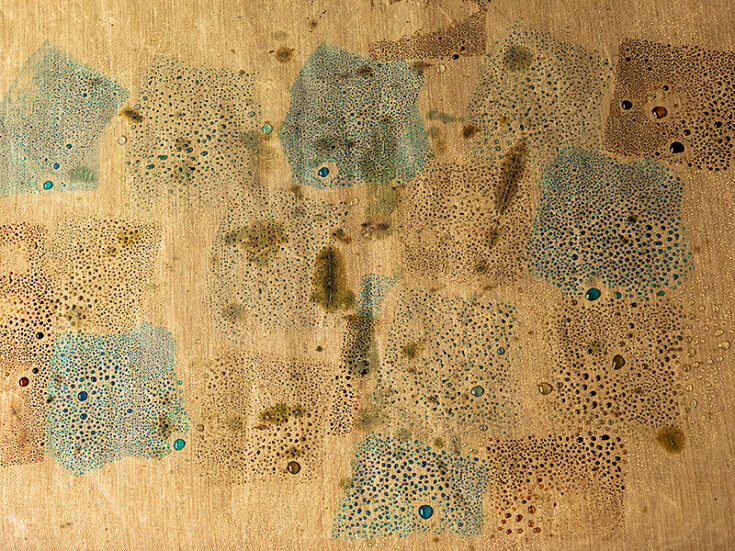
Smear Speckled Egg, Mermaid Lagoon and a little Ground Espresso Distress Oxide ink on a craft sheet and mist with water. Just lightly touch the paper to the ink, you don’t want to press too hard or smooch the paper around. We only want little dots and areas of the oxide ink here and there. Note that I forgot to add Speckled Egg and Mermaid Lagoon Distress Oxide Ink to the photo. I used more of those than of Ground Espresso.
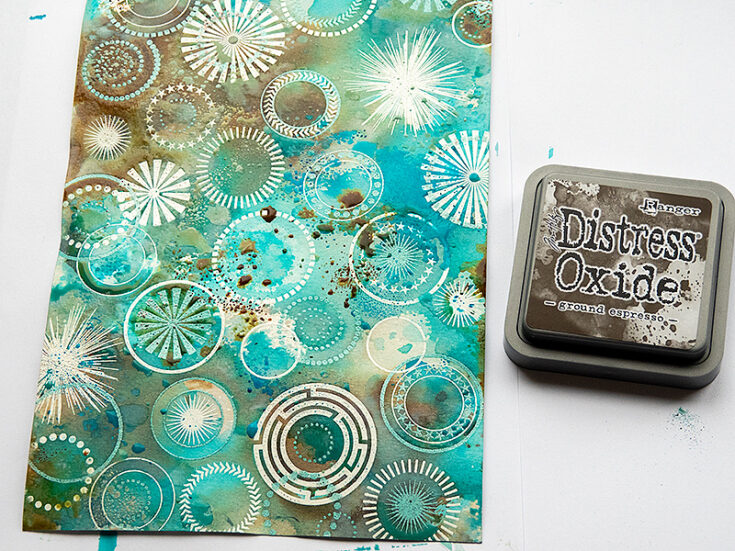
Press the paper into the ink and watch the magic. You could leave it like this or let it dry and repeat the process, for darker colors and more texture. I added one more layer of Distress Ink. Let dry.
Continue adding circles using Ranger’s Mixed Media Sea powder and more white powder. The circles on the set are designed to fit inside of each other. Stamp some circles inside the others and let some of the others overlap.
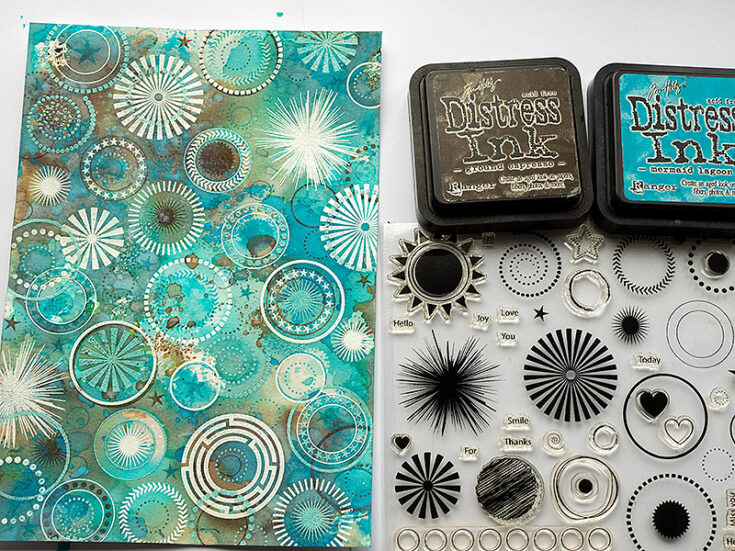
When the background is dry, stamp circles with Mermaid Lagoon and Ground Espresso. Mist lightly with water before stamping. Some of the circles were stamped inside others, some overlapping and some just slightly off-set to create a shadow. I also stamped some stars.
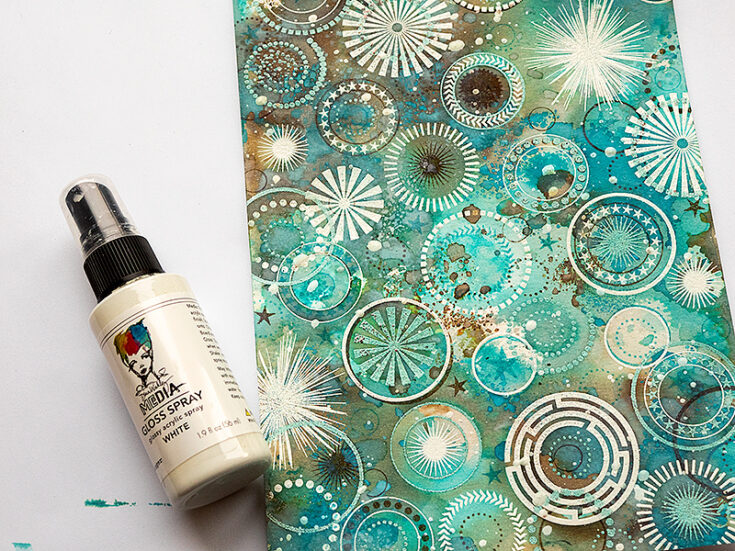
Splatter a little white Gloss Acrylic Spray on the background. Screw off the sprayer and tap it to get splatters from the end of the sprayer (the piece that is usually inside the bottle).
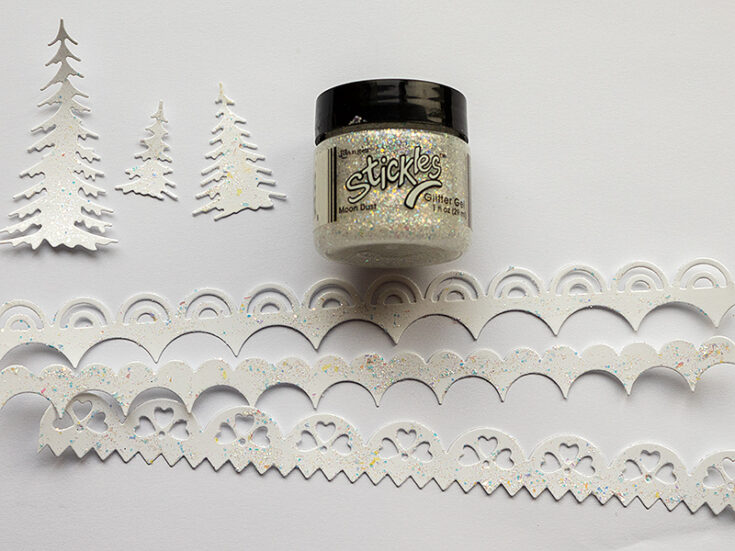
Die cut the Simon Says Stamp Slimline Borders and Edges from white paper. I haven’t separated my dies yet, which is why the edge is shaped on both sides. I die cut a bunch of these for future projects, before separating the dies from each other. Also die cut Poppy Stamp Evergreen Trio. Smear Ranger Moon Dust Stickles over the die cuts.
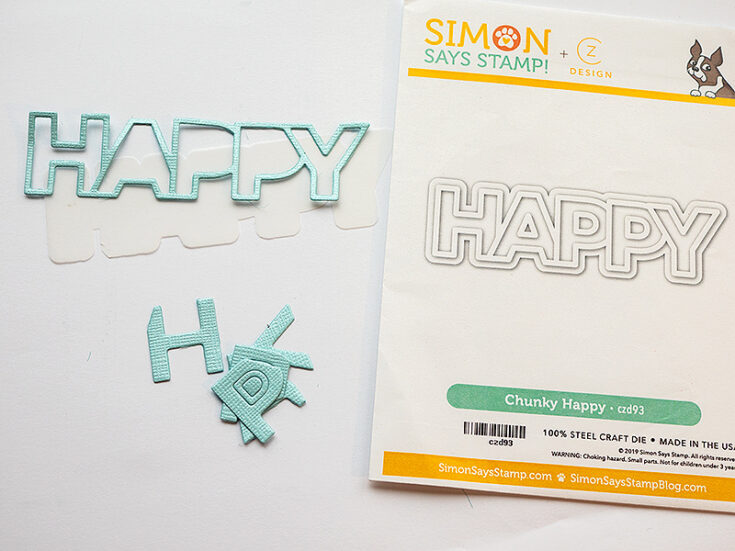
Die cut the SSS Chunky Happy from vellum and Glimmery Baby Blue cardstock.

Glue the outline to the vellum and then glue to the page, adding small dots of glue with the SSS craft tacky glue behind the cardstock die cuts, so that the glue won’t show through the vellum. The second part of the sentiment comes from the Reverse Happy Sentiment Strip.
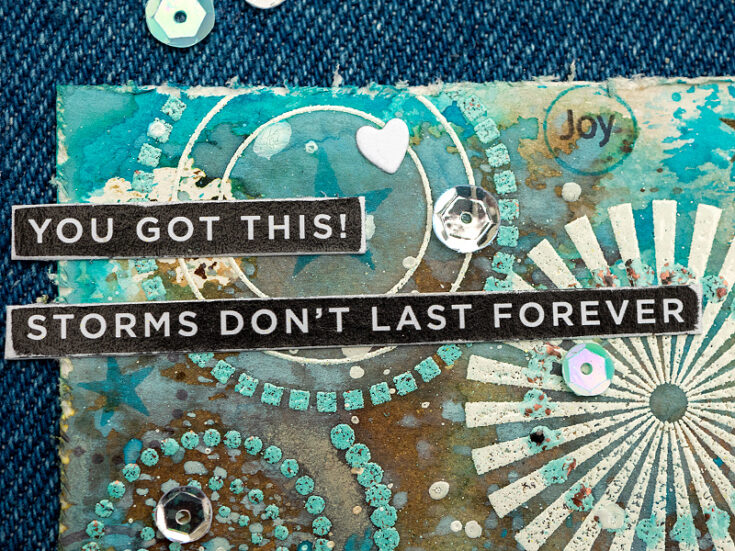
Add more sentiments from the sentiment strip, sanding the edges for a distressed look. I also added left-over hearts from die cutting the borders.
The sequins come from the SSS Seaglass set. I often reach for sequins and they were perfect for this page with its circle theme.
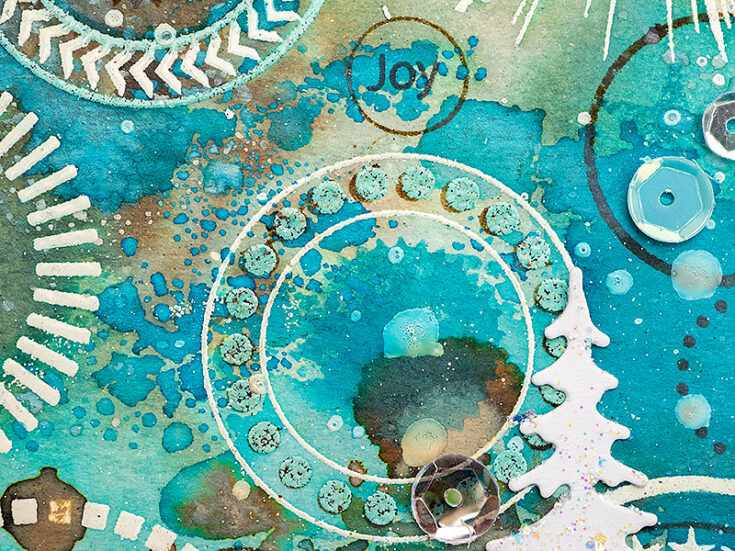
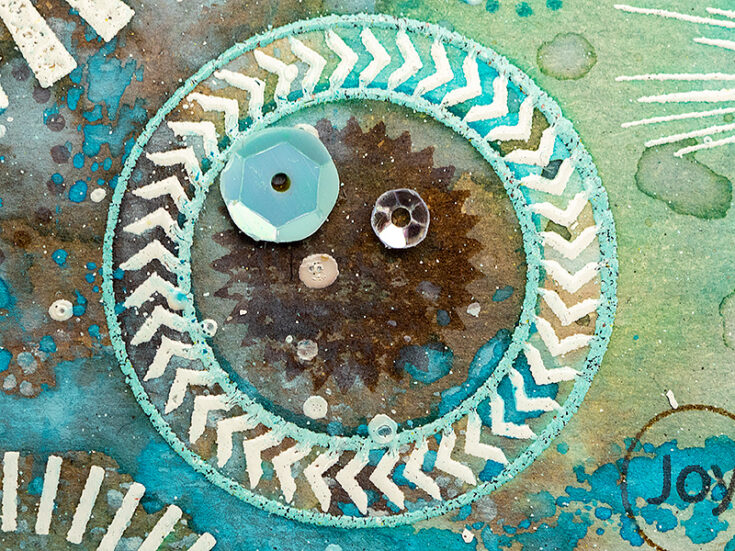
The circles on the Mix and Match set are designed to fit together, so that you can create layered circles, like this one. Several of the other designs, for example, fit into this double-circle, which means that you can get lots of variations from just one stamp set.
Sentiments from Mix and Match Circles were also stamped here and there on the background. They fit into the circles. Here the dots were also stamped in brown, off-setting slightly to create a shadow effect.
The white splatters will pick up some of the color from the ink in the background, making it look as if you splattered the page with different colors.
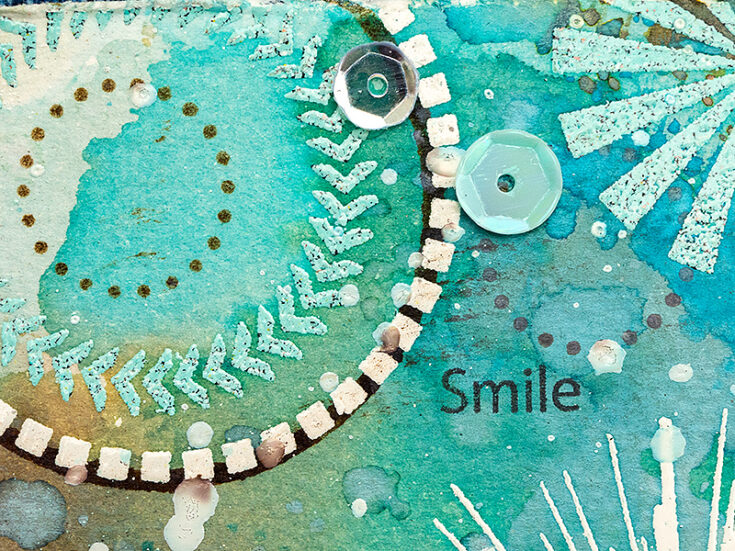
The Distress Oxide ink dots almost shine if you look closely, adding to the layered look of the background.
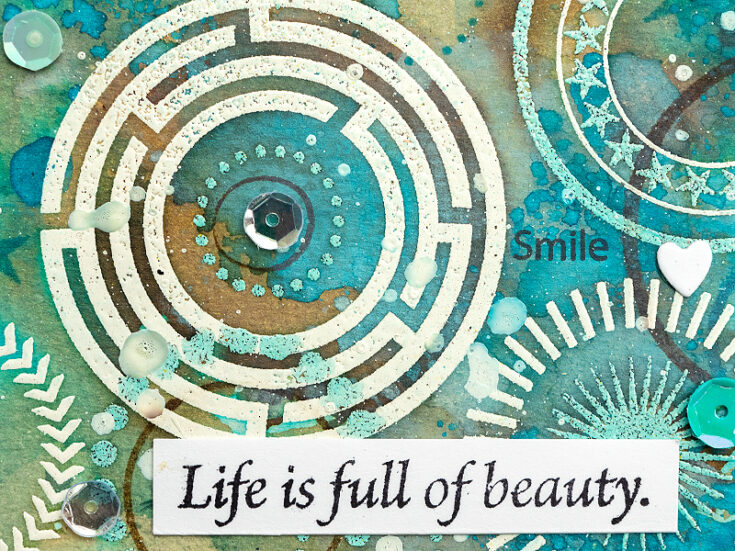
This labyrinth design is one of my favorites on the set. The sentiment comes from SSS Laugh In Flowers.
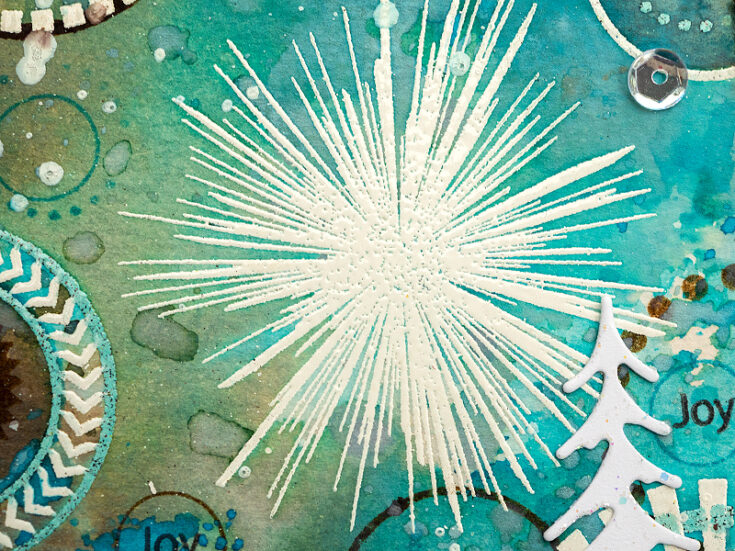
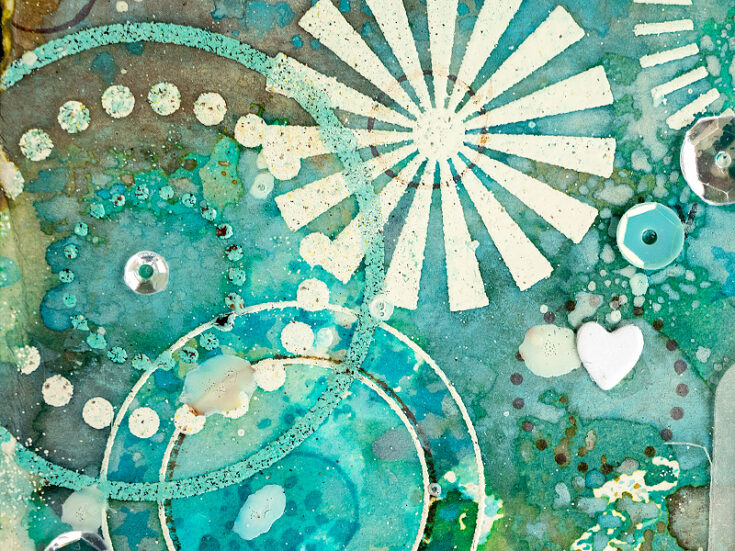
I placed the star burst above the trees to make it look like a big star or snowflake.
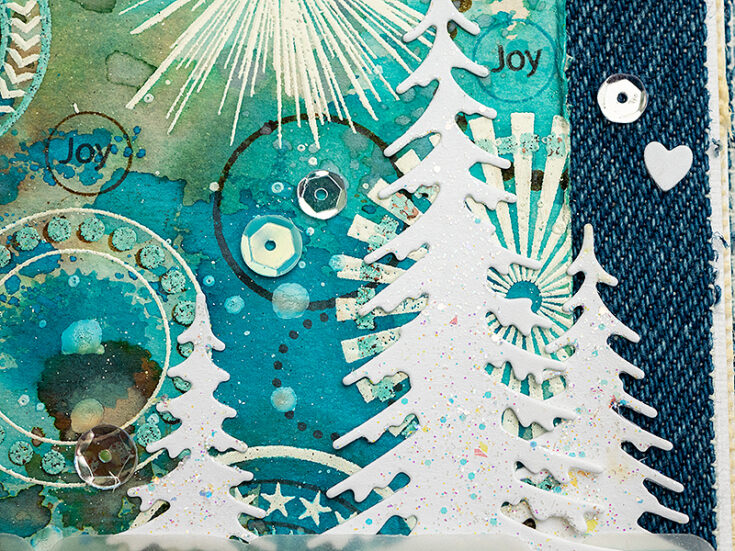
The Evergreen Trio trees are such beautiful trees and I like that they are in three different sizes.
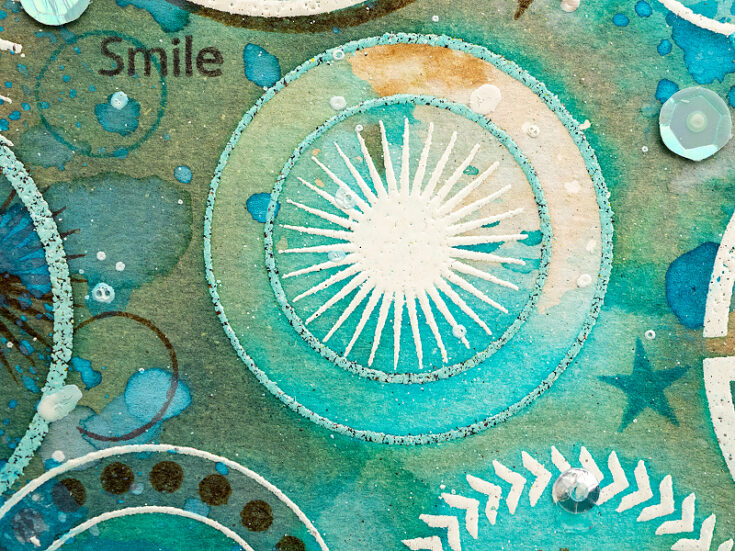
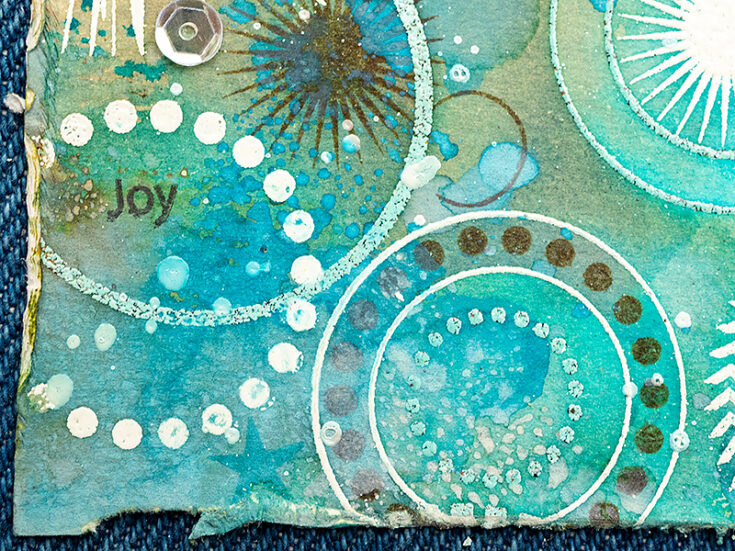
Let’s finish with my favorite detail on this project. When you heat emboss and then do the type of inking technique we did here, the embossing can lead the ink, making it pool in some areas and avoid others. Here the second layer of ink pooled outside this double-circle, making the circle lighter than the background.
I hope this tutorial inspired you to do some heat embossing and inking. You can, for instance, to a full sheet and then cut the background down to use on several cards. Thank you so much for looking! Stay safe! Happy crafting! -Anna-Karin
SUPPLIES:
|


Thanks so much for stopping by, and thanks to Anna-Karin for being our guest!


That background is amazing!
Beautiful!!
That’s absolutely gorgeous! Thank you for the tutorial!
Wow, stunning!!
It looks amazing! Personally I am not a big fan of geographic stamps, but after looked at your project today, it all make sence now! Thanks for the inspiration!!
Absolutely stunning!
Wow!!! This is Amazing!!! Love the colors!!!
That is a spectacular background for sure!
Anna-Karin,
Thanks for sharing! This is just beautiful. There’s a lot going on but it all works. I love the color palette. You are truly an inspirational designer and artist!
Lori S in PA
Beautiful, love the colours!
Love the color choices. I never realized you could add so many layers of ink. Amazing!
What a fabulous card! So inspirational!
Oh wow, this is so cool! Love it!
Simply… WOW!!
Oh my goodness this is AWESOME, I love the combination of colors for the background!
Absolute a stunning page Anna-Karin, I love it!!
The colours, the circles it’s so awesome.
Thank you so much for the great tutorial and inspiration.
Stay safe and have a wonderful day.
Love your card…it has it all …beautiful colors, design and bling…gorgeous…
Beautiful. The colors remind me of turquoise.
so very pretty