Studio Monday with Nina-Marie: Sticker Slider Card + Hopping Along Card Kit!
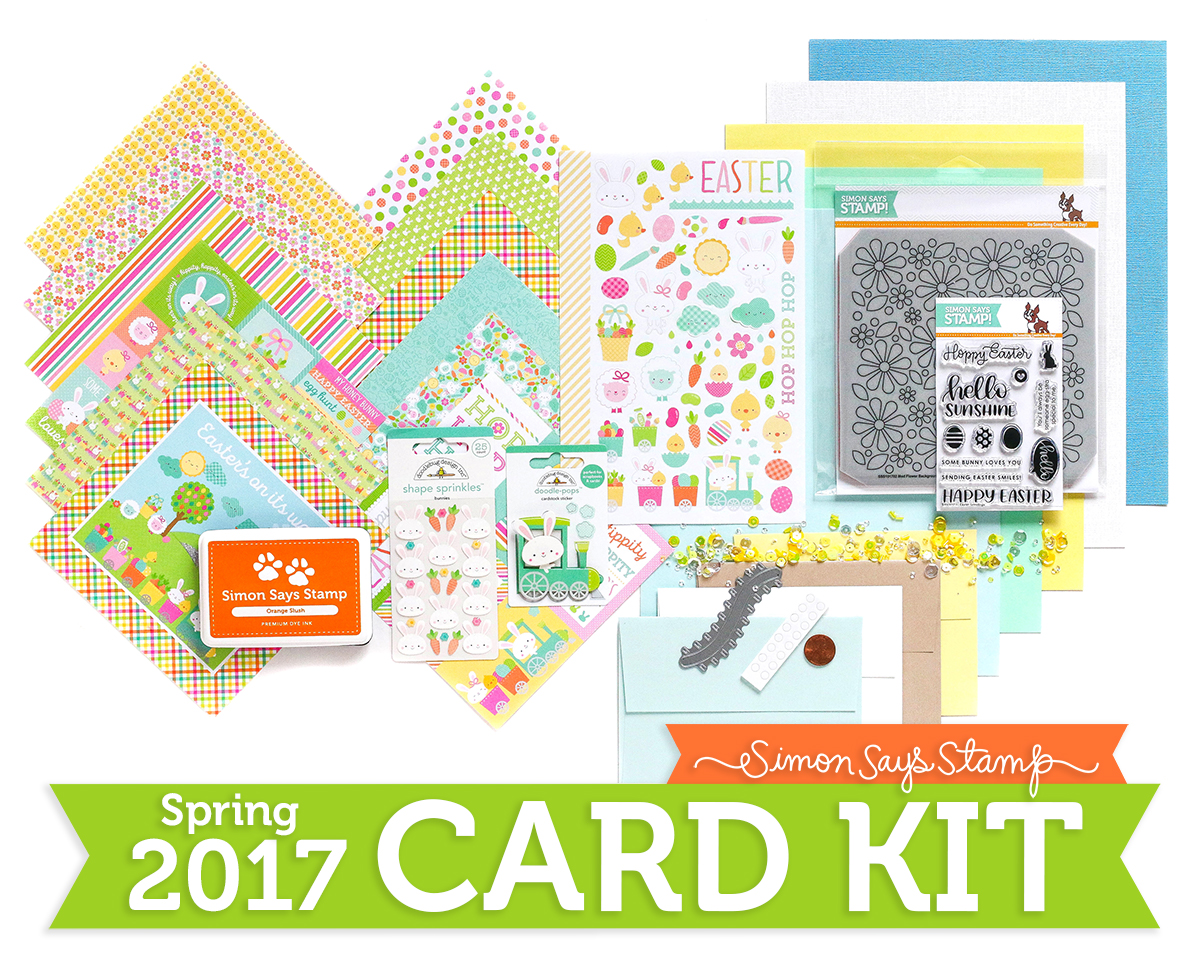
Hello everyone and Happy Monday! As most of you know, we released our latest, Special Edition Card Kit called Hopping Along last Thursday. I thought this would be a perfect thing to feature this week for Studio Monday; so I am going to use the kit and show you how to make a sticker slider card!

As a note, the Card Kit has sold out but most of the items are available for individual purchase. You’ll find them all listed at the bottom of this post.
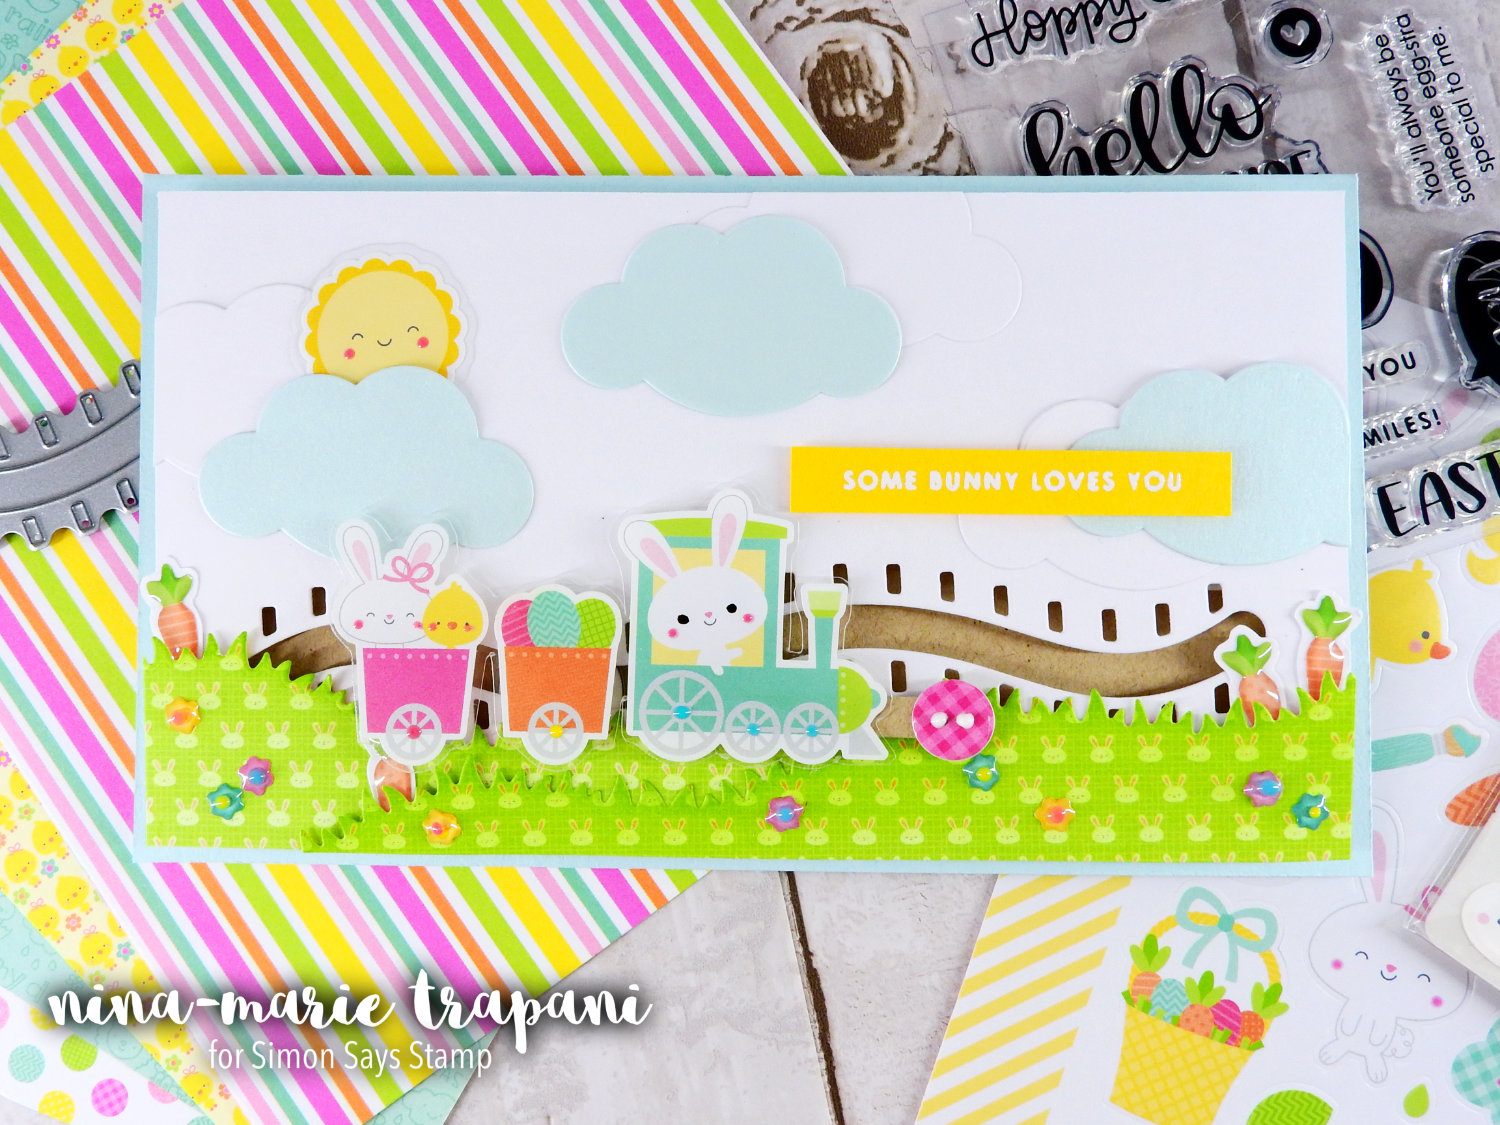
There are a bunch of fun stickers included in this Special Edition Kit from Doodlebug; I used the Easter Express stickers and Bunny Shape Sprinkles today. I paired them with the Train Track slider die, which is the CUTEST slider die ever! The slider die is actually shorter than it appears in my card; in the video I will be showing how I used the partial die cutting technique to lengthen it for this card!
Because I love creating scenes, I wanted to do that with the elements I was using in my card. And all of the items in the kit make it even easier to do just that! This is one of my favorite aspects about every Simon Card Kit; all of the items are hand selected with the intent that they can be used interchangeably with one another. You can also get creative with the uses of the items in the kit… let me show you how!
I was able to use the pattern papers (from Doodlebug) to make my grass and the Sea Glass metallic envelope for the clouds. The subtle, metallic shimmer of the Sea Glass envelope adds the perfect amount of interest to the sky. I also tinted the grass a matching green color to make it a bit more subtle. The dies I used were the Grassy Hills from My Favorite Things and our Simon Says Stamp Happy Days dies.

The Easter Express stickers were easily turned into “faux die cuts” by attaching them to transparency sheets. You could also have used white cardstock instead. Aren’t those bunnies adorable???
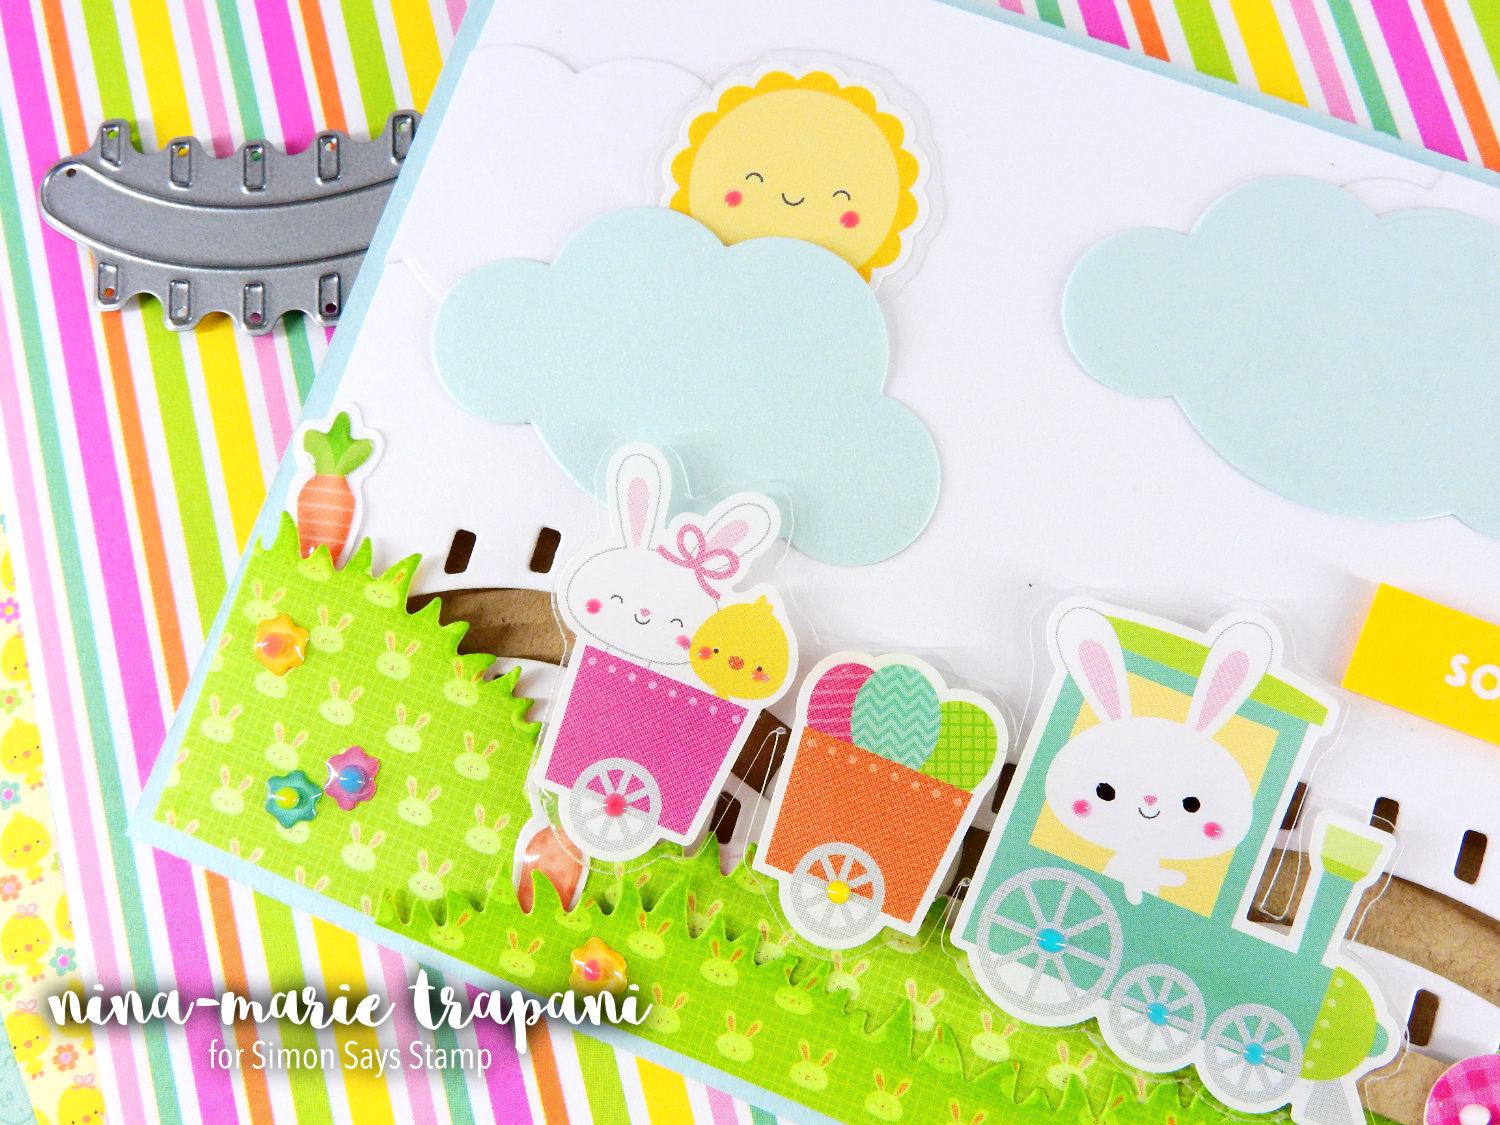
I also used the Bunny Sprinkles Shapes stickers to add flowers and carrots to my scene! The carrots were turned into “faux die cuts” too, which added some additional dimension and separation from other elements in the scene.

For the simple sentiment, I used the mini Easter Greetings stamp set and heat embossed it onto some yellow Simon Says Stamp cardstock. The card base was created with some of the Sea Glass cardstock included in the kit.
I hope this video provides inspiration to you for creating some fun cards with our Hopping Along Card Kit! Be sure to check out the video below to see how this card came together.
WATCH THE VIDEO
SHARE YOUR CARDS IN OUR GALLERY!
In the video, I mentioned we have galleries for each of our monthly and special edition card kits! You can find the link to the Hopping Along Gallery HERE. In the gallery you will find inspiration from fellow crafters using items from the kit. We also would love if you shared YOUR projects that you create with any of our kits in the galleries too! It is so much fun to see what everyone is creating!
SUPPLIES


HOPPING ALONG CARD KIT CONTENTS


Blog Candy Alert!! Follow our blog via email and comment on this post for a chance to win grab bags and blog candy! Remember to tag your awesome projects with #simonsaysstamp on social media so we can see what you are creating!


ADORABLE! Love your FUN slider card! What an awesome Kit!
OMG!!! this is adorable…
Cristina
thehouseoftheblackbirds.blogspot.it
Super bright and happy card!Thank you for sharing!
OMG! I love this! Fun design! Adorable card!
Great card – so colorful! :)
slider cards are FUN!
stamping sue
http://stampingsueinconnecticut.blogspot.com/
Such a great kit. Love this card.
Super cuteness overload!! :o)
Oh my…this is sooo cute!!
SUPER CUTE card! Thanks for the video, I love slider cards!
I adore this kit. Who’s ready for SPRING!?!
Very cute slider card. Looks like some great products to play with in this kit.
Such a cute card!
Supercute:-)
Thank you for showing us how to use the slider die to make a longer track, your card is super cute!
What a fun and adorable Easter card. Great job and so cute!
OMG this is such a darling card – I envy the lucky person who you send it to LOL!!!!
Not only do I love the slider card, but I’m so glad to see this clever way of using stickers as die cuts! Thanks Nina-Marie!!
Such a bright, happy card! I love the little bunny paper you used for grass – and those sweet carrots make the perfect embellishments!
Such a cute and colorful Easter scene…and a slider also!
Slider plus train equals a super fun card for someone
Adorable card! So cute and fun. LOVE ♥
so cute!
Super cute card, love the cheerful colors!
I just made several sliders. Love the techniques
that are included in this post. I’ll be adding them
to my sliders in the future.
thanks for sharing a darling card.
A sweet card for any bunny!!
Love your scene card…it’s just adorable. Also, love the transparency idea. Thanks so much for sharing with us and for the great tips!!!
Super cute card!! I love how you put the acetate behind the stickers, great idea!!!
Adorable. Great video too.
Such a cute card!
This is adorable, Nina. Love the bright colors!
Super cute and cheerful card!
very fun card! It opens up all sorts of ideas
oh Wow!! LOved this Slider Card! So so cool! Thank you for the inspiration!
Wow, this is just so stinkin’ adorable! And what a stunning creation and such fun. Love it!
Your card really showcases this awesome kit. I love it!
So darn cute!
What a cute card. Love the slider.
Very cute!
Lovely bright and cheery scene card. Love scene cards.
Awww!!!! Such adorable slider card! This kit is so cute!!!!
So stinking cute!
What a sweet card! Oh my goodness!
Very cute card and kit! Always something nice going on at Simon Says Stamp! :)
What a fun spring card! Love the colors.
How adorable Nina! Love the bumpy ride on the train. So cute!
Wow, amazing card!
What a fun card!
So adorable! I love your little bunny engineer and the wonderful train track slider!!
<3 J
jwoolbright at gmail dot com
HerPeacefulGarden.blogspot.com
what a fun card, great idea using stickers.