Studio Monday with Nina-Marie: Building a Background with Letter Dies

Happy Monday everyone! It’s Nina-Marie back with you today with a brand new Studio Monday video! With Father’s Day just a week away, I wanted to share some “Dad’s Day” inspiration using some of our newest Simon stamps and dies!
My dad is a preservationist and has a great interest in photography. He is always out taking photos of a wide range of subjects, including lighthouses, maritime, nature and people. This was in the back of my mind when I sat down to create this Father’s Day card for him.
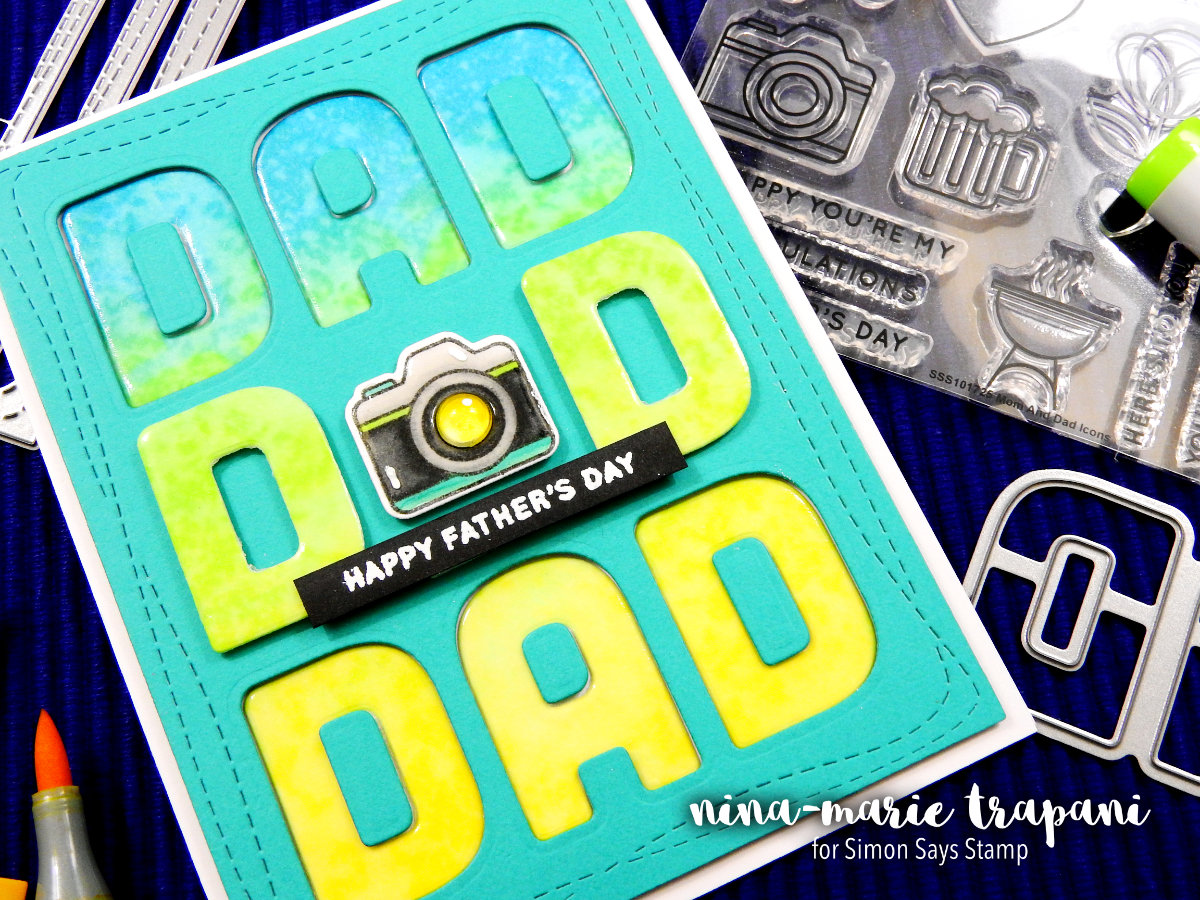
Our Simon Says Stamp Mom and Dad Icons stamp set has a bunch of cute images in it, ranging from a heart, to a grill, a beer mug, a flower … and even a camera! My idea was to use the camera icon with the Big Dad die set (also from Simon) and replace the “a” in “dad” with it.
I also wanted to do something special with the “dad” sentiment. I decided to create an ombre background made up of three rows of the Big Dad die.
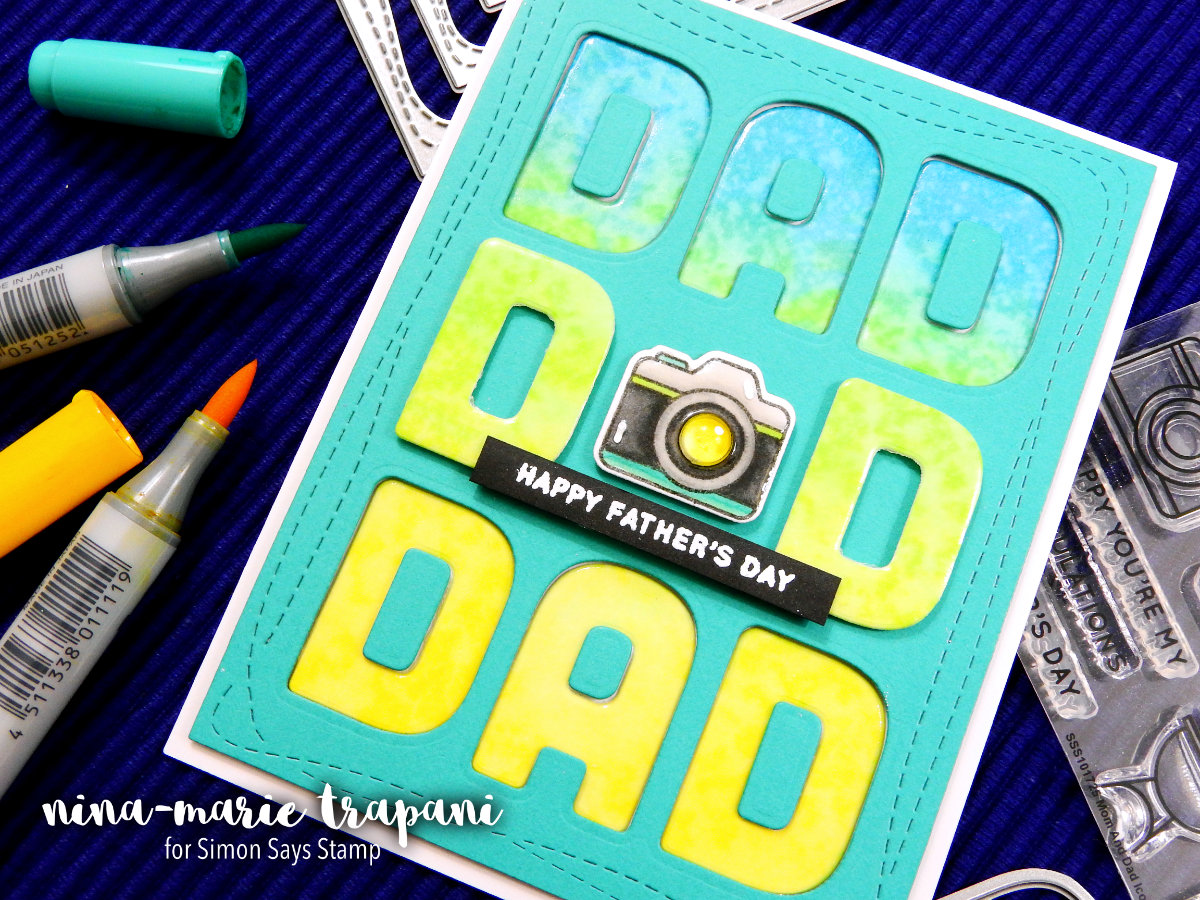
I cut the letters from an ombre background that I had colored with Distress Inks (Mermaid Lagoon, Twisted Citron and Squeezed Lemonade) and an Inkylicious Ink Duster brush. I also die cut the teal cardstock panel on the top and bottom only with the Big Dad die. The middle of the panel I left uncut. This is because I planned on in-laying the ombre letters into the teal cardstock on the top and bottom and for the middle, I wanted to pop that row of letters up off the panel. If you watch the video at the bottom of this post, I’ll walk you through how I did this.
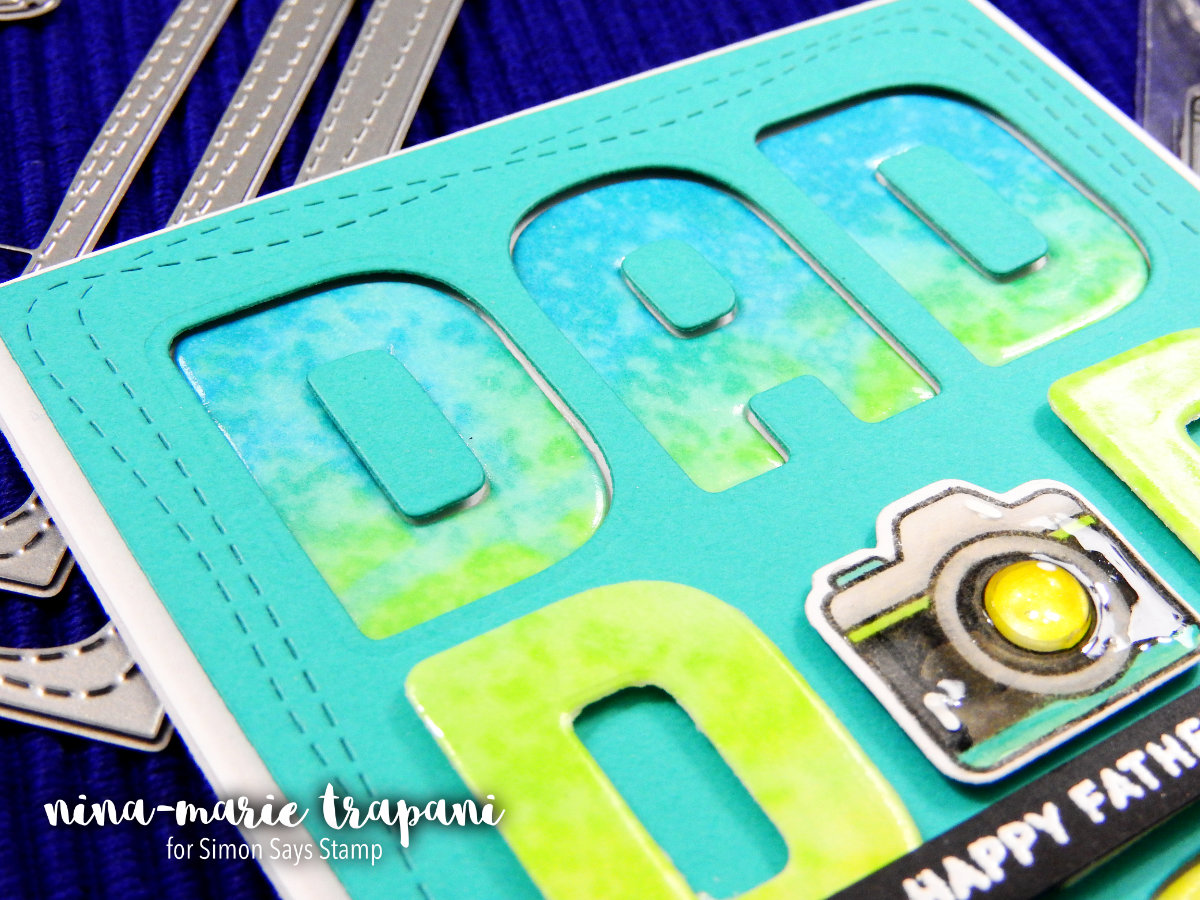
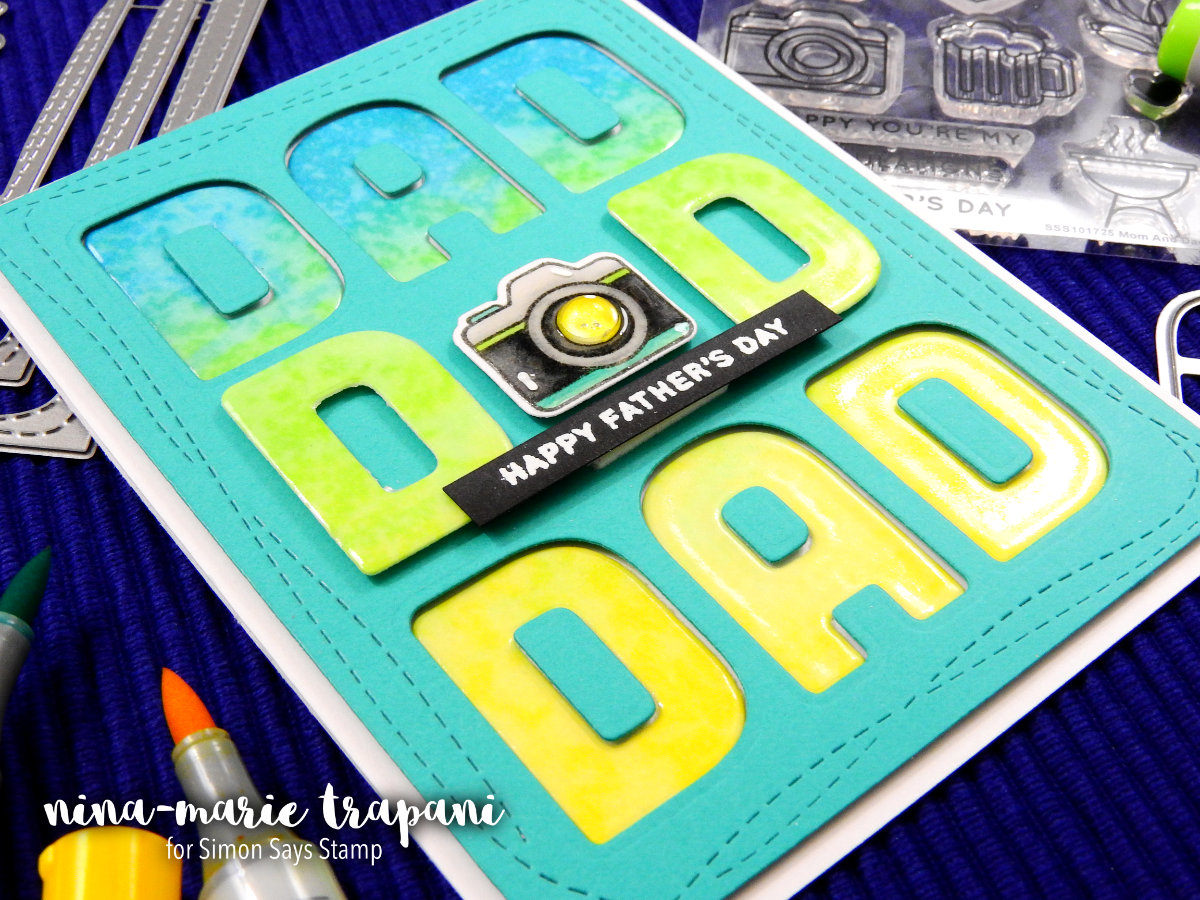
You’ll also notice that the letters are shiny. This is because I heat embossed three layers of clear embossing powder on top of the letters to give them extra dimension. You’ll see this demonstrated in the video as well.
The teal cardstock panel is die cut with our new Wonky Rectangle dies and is popped up off of a white A2 cardbase. The recessed letters are adhered with adhesive and the middle row of letters were attached with foam tape.
You’ll also notice the adorable little camera in the middle of the card, replacing the letter “a” in “dad”. I stamped the camera with Intense Black ink and colored it in with Copics. Because the image is so small, I did not color it with a lot of detail. You can see all the colors I used listed below:
- dark gray: N5, N7
- light gray: N1, N3
- teal: BG23, BG13
- green: YG13
- yellow: Y00, Y02, Y15
Here’s a close up look at the coloring of the camera:
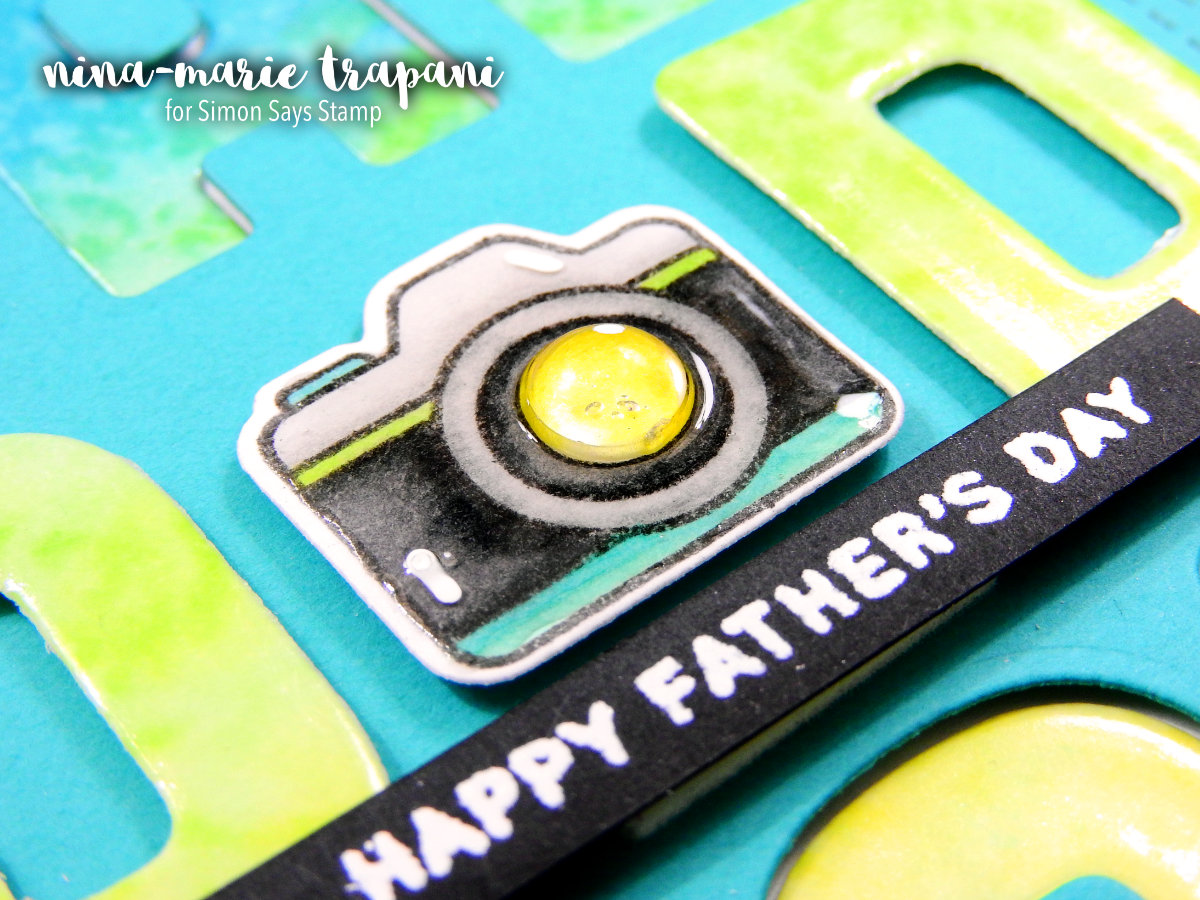
To give the camera extra dimension and interest, I attached a large Clear Droplet from Pretty Pink Posh into the lens of the camera; it fit perfectly! I love how the camera looks with the droplet on top! I also put a layer of Glossy Accents over the entire camera body to make it look shiny.
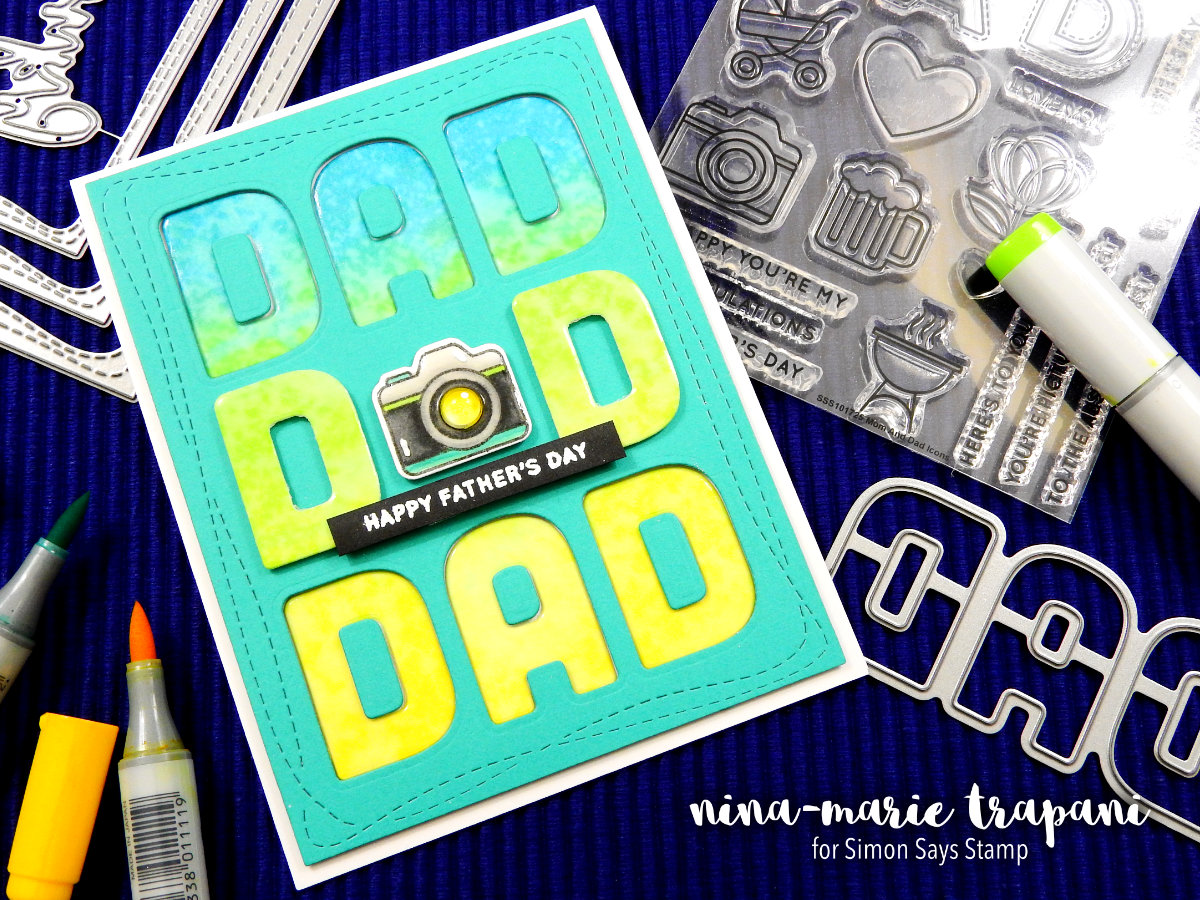
Finally, I heat embossed a small “Happy Father’s Day” sentiment onto back cardstock to adhere under the camera; I popped this up with foam tape also.
This card design is a great clean and simple guy card. I enjoy creating this style of card for guys, since most men are usually “no-frills”. Guy cards can be challenging at times, so by sticking with a clean and simple style, you really can’t go wrong!
You can also adapt this card design to fit the guy in your life you want to give it to. By swapping out the camera icon for another images included in the Mom and Dad Icons stamp set – or for another image from a different stamp set – you can have the card themed as pretty much anything. Also, by changing out the smaller sentiment, you could turn this into a birthday, thank you or thinking of you card too.
Another adjustment you could make to this card is to skip making the ink blended background and instead cut the letters from solid-colors of cardstock.
I hope today’s card has been inspiring to you and that you will give the die cut letter background technique a try! Thanks so much for stopping by and spending time with me today… I will see you next week!
WATCH THE VIDEO
SUPPLIES


Blog Candy Alert!! Follow our blog via email and comment on this post for a chance to win grab bags and blog candy! Remember to tag your awesome projects with #simonsaysstamp on social media so we can see what you are creating!


Great card.. thanks for sharing…
Beautiful choice of colors!!! Beautiful card!!!
Great idea for a Father’s Day card! Thanks for sharing!
very nice i like the bright colors
OOOOOh – I really like this! Nice bold design and great colour!
Great card. Love these colors!!
The photographer in me especially likes the camera. Like the use of the DAD die multiple times.
Melissa
“Sunshine HoneyBee”
Great card! :)
Great card, I’m so happy I took a few minutes to watch the video as you have answered a technique question I have had for awhile…How to emboss small objects. I usually burn my fingers trying to hold on to the paper or it flies across the room, ruining the item. Love the tape idea! Also, I’m going to watch the video about the ink blending brush but I’m not sure if you share how to wash those? I want to try them but am unsure of how easy it difficult it is to clean them. Tips? Thanks for the inspiration!!
fabulous card and creative ways with the alpha letters!
What a fun technique Nina-Marie. Love the color combination. I’m hoping to give this a try!
I like the color combo with the gradations.
Great card and video. Thanks for sharing.
Linda D.
Fabulous design and the camera is perfect for your dad.
What a great card! A clean simple layout with the punch of Distress. Great job!.
Lovely building background and great colors.
Thanks for sharing the idea
Love the bold letters…fun card for dad!
Love the cut out technique!
Great card. Simple lettering but says it all.
Great card for Father’s Day!
Neat background…love the brushes. Awesome tips and tricks in your video too! Thanks for sharing with us!
Fantastic card! Thanks for the video!!
Cute card.
Wonderful card for your dad! Super design.
Lovely card. I love the personal touch you included. Love how you embossed the letters. I’ll have to try that too. TY
Thanks for sharing! Really lovely design :)
Awesome Father’s Day card!
Great card and video. I love those brushes. I use mine all of the time!
Super COOL!
Great card! I really appreciate the video!
Really Like the look of this card! So Cute!
What a cute card! Thanks for the technique tip of putting cut outs on masking tape to emboss them!!! I love watching your videos cause I always learn something new!
Love this one Nina! The colours are fantastic. Love the layers also.
Cute! Cute! Love the colors and background!@!
Thanks for sharing this great lettering technique!
Great card!
Great card for dad! Love the cool colors!
Terrific card. I’m sure your Ada will love all the details and the added camera.
Fun idea, Nina, and it sounds like it’s the perfect card for your dad.
Wonderful masculine card.
very inspirational… love the colors
What a bold and beautiful card! So fun! Thanks so much for the inspiration!
Great card!
Love this fun card design, awesome for father’s day!
I love this card and I know your Dad will love it because you personalized it toward him and handmade it with LOVE!!! I lost my Dad when I was 16 and my husband lost his Dad when he as 12 so for us Father’s Day is always just celebrating him, my husband. Thanks for sharing your card. I still need to make a card for my hubby :)
Great design – what a fun card!
Great father’s day card!!
Awesome Father’s Day card!
Super cool!
fun way to make a background.
Cute card.
thanks for sharing.