Splish Splash! Interactive Ink Blended Encouragement Card: Crafty with Caly
Hi friends! Happy Sunday! We’re sending some positive vibes your way! I hope you can feel it! Read on (and be sure to watch the video!) to learn all the details of this gorgeous interactive card by Caly Person! Enjoy!
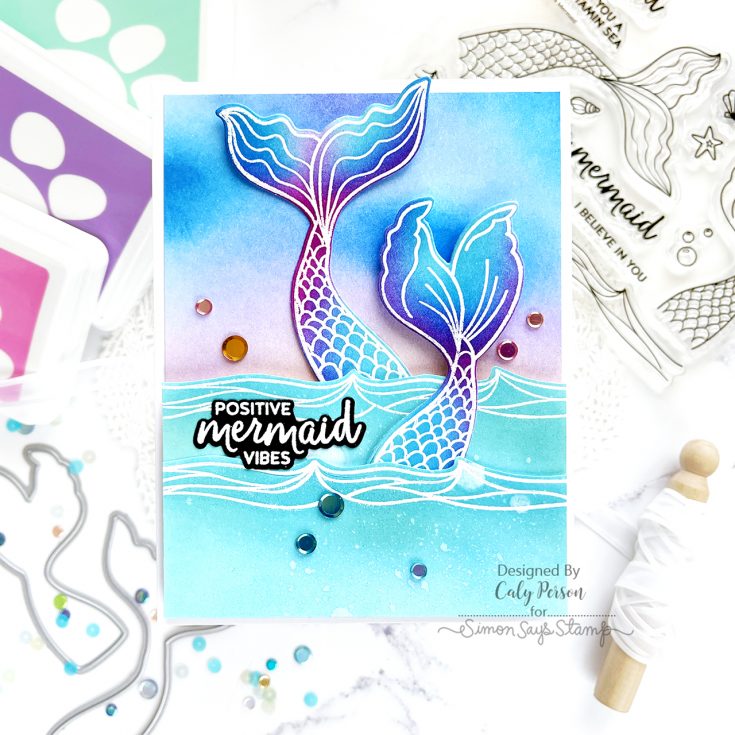
Hi, everyone! It’s Caly with you today and I’m sharing a fun interactive card that requires no coloring – just ink-blending! I don’t know about you, but I spend A LOT of time coloring with Copic markers and watercoloring. It’s really nice to be able to avoid it for a change of pace!
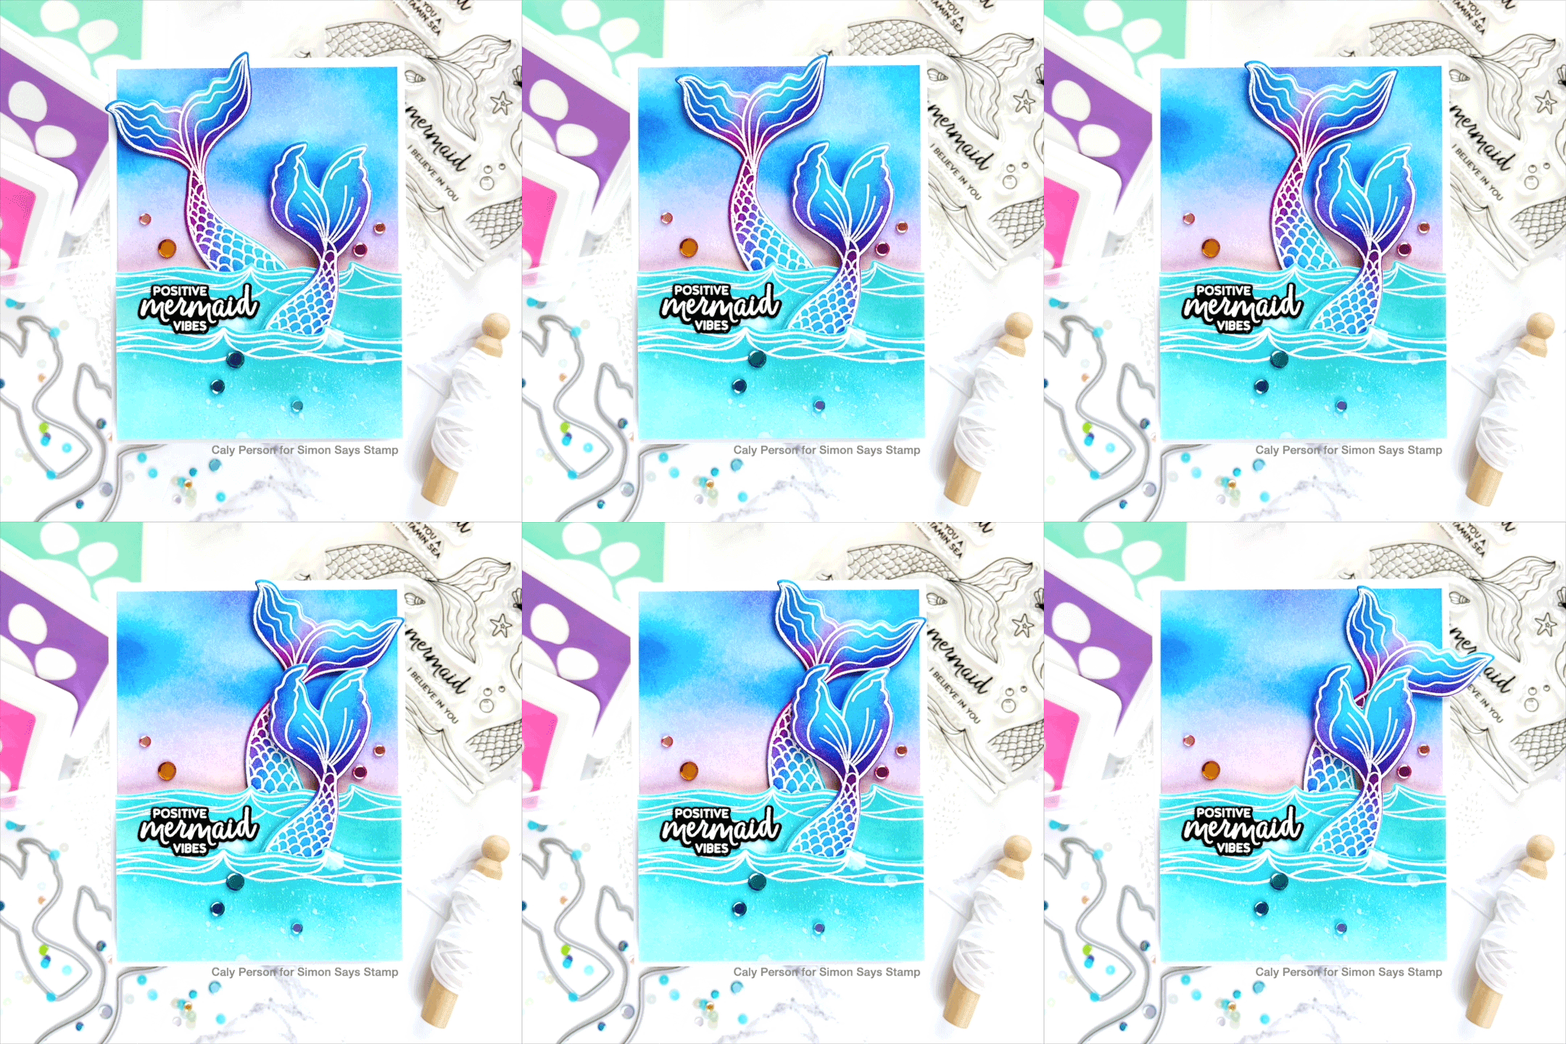
My card today uses the Be a Mermaid set and the bigger tail moves back and forth on a pendulum mechanism! It’s easy to do so be sure to check out the video below to see how it’s done!
WATCH THE VIDEO:
I started my card by stamping and embossing the tails and the ocean waves onto white cardstock using white embossing powder for an emboss-resist look. It looks like a hot mess when you’re adding color, especially for images (as opposed to backgrounds), but once the image is die-cut, it looks great!
After adding ink to the tails with purple, blues and teals, I wiped the excess ink off the embossed areas using a cloth. Next, I ink-blended the waves with teals and blues. For the waves, since the die cuts around the top and bottoms, you can do some partial die-cutting to cut just the top, or you can fussy-cut with scissors. Then, I also ink-blended a background.
The pendulum can be made in different ways. Be sure to check out the video to see how I create mine. You’ll need a weight of some sort at the bottom of the pendulum mechanism. A lot of people like to use pennies. I used a washer. The washer is adhered to the bottom end of a piece of acetate and the swinging image will adhere to the top. What keeps the pendulum anchored in place is a fixed point between the image and the weight. I punched a hole in my acetate (make sure the acetate is wider than the hole) at the center. You can use a small circle die, too. This hole is the opening in which a fixed button or circle foam will sit to anchor the mechanism in place.
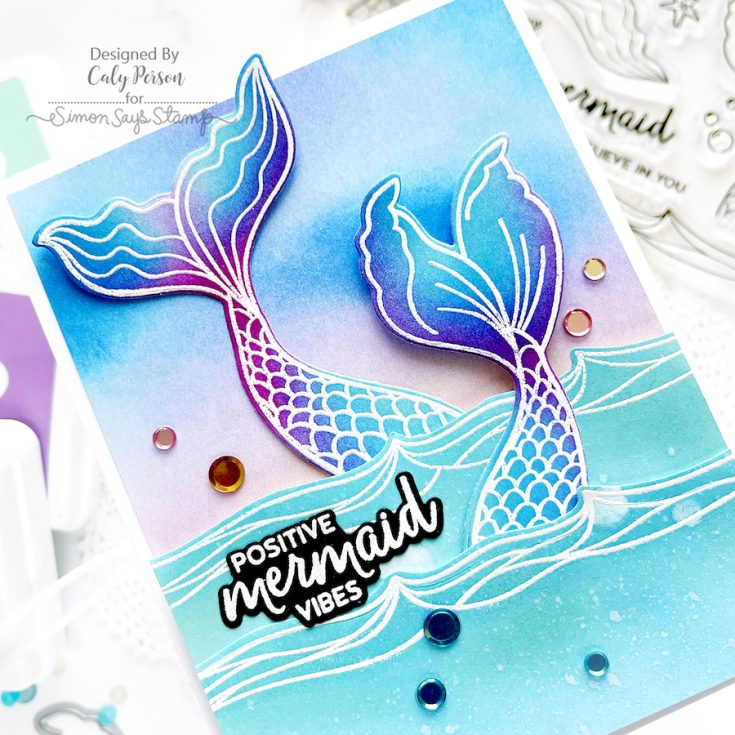
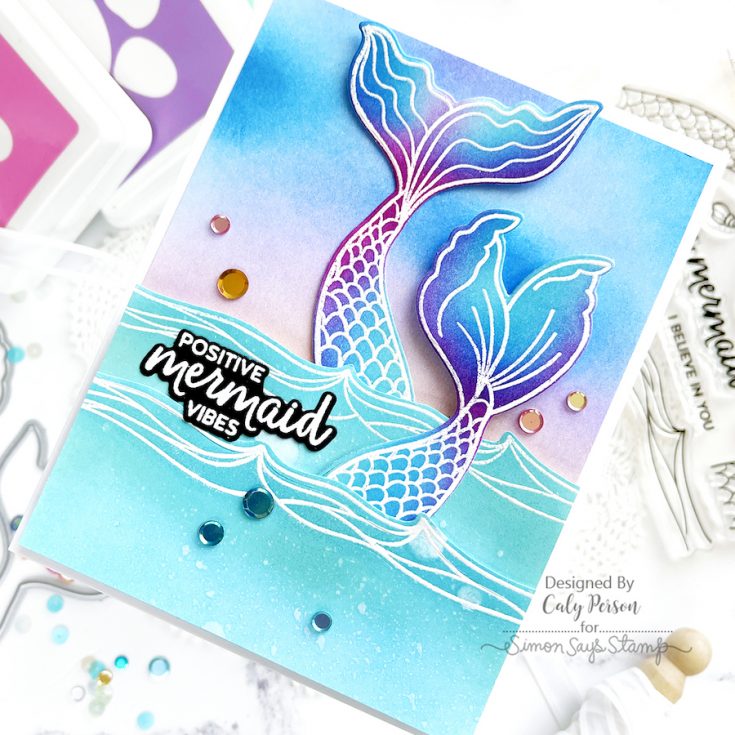
Once my pendulum is put together, I can layer my waves over it to hide the mechanism and complete my scene with the second mermaid tail. I finished with an embossed sentiment and some sequins from the Morning Glory mix. I hope you like it!
Thanks so much for stopping by today! ~Caly
SUPPLIES:
|
Thanks so much for stopping by, and thanks to Caly for being our guest!


Really Fabulous card, Caly!!!! I love the colors!!!
Looking for a comprehensive job search tool? JobHero may be the solution for you! With its innovative dashboard, you can organize your job search process, build a winning strategy, and create a professional resume using their built-in templates. Plus, you can easily tag and download important documents and set reminders to stay on track. If you want to learn more about this helpful tool, be sure to check out the detailed JobHero review.
Such a fun and beautiful card. This technique is new to me and I’m going to try it it out. Thanks for inspiring me for an Easter project ?
Just love this ! Such great colours