Sparkly Winter Forest Mixed Media Project
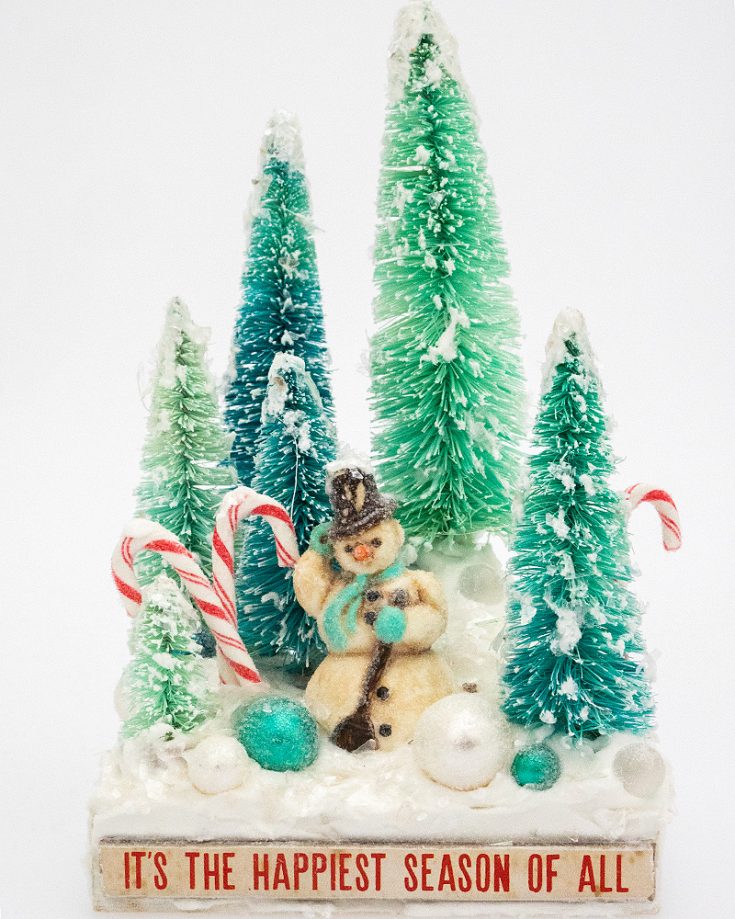
Hi friends! Happy Thursday! It’s always a delight to welcome back special guest Anna-Karin Evaldsson to our blog with a fun mixed media project! Today is of no exception as she’s made a beautiful wintery project that looks so fun! Read on and enjoy!
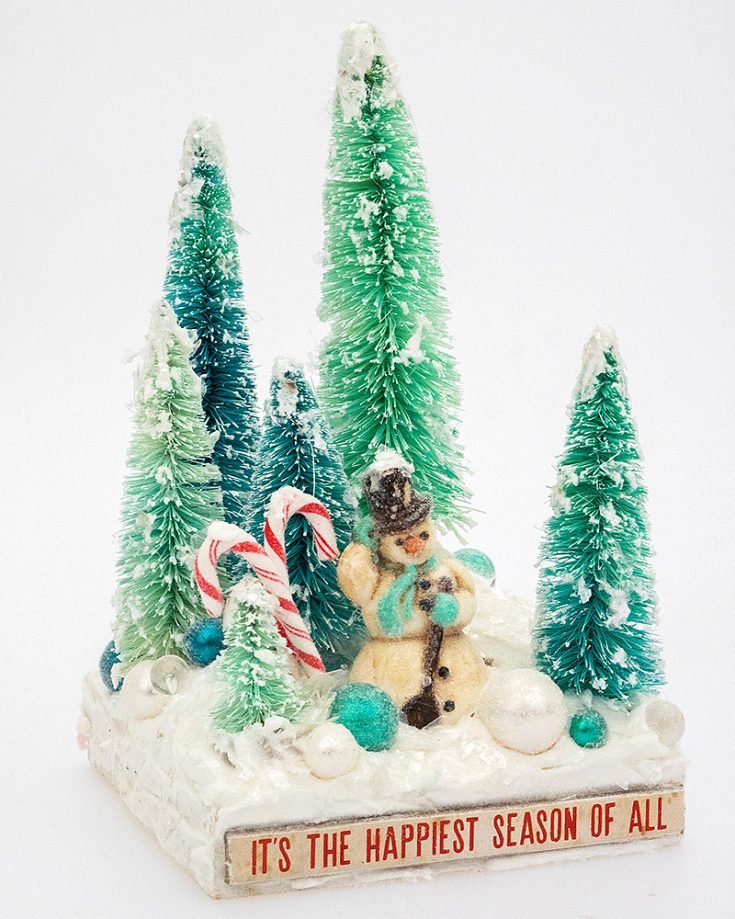
Hi everyone! I am so happy to be back here today. Christmas is around the corner and today I will share a project that can become a great gift or something you make for yourself as an ornament. It is easy to make, but you need a little patience for paint and paste to dry.
I have a winter village on display at home with houses, forest scenes, and other winter and Christmas projects that I have made through the years. The village grows every year and this sparkly winter forest is one of the new pieces this Christmas. I used various Tim Holtz idea-ology products, as well as texture paste, mica flakes and glitter. We have had very cold and frosty weather lately and the forest around the corner is magical. The project sparkles a whole lot, which was hard to catch on photo.
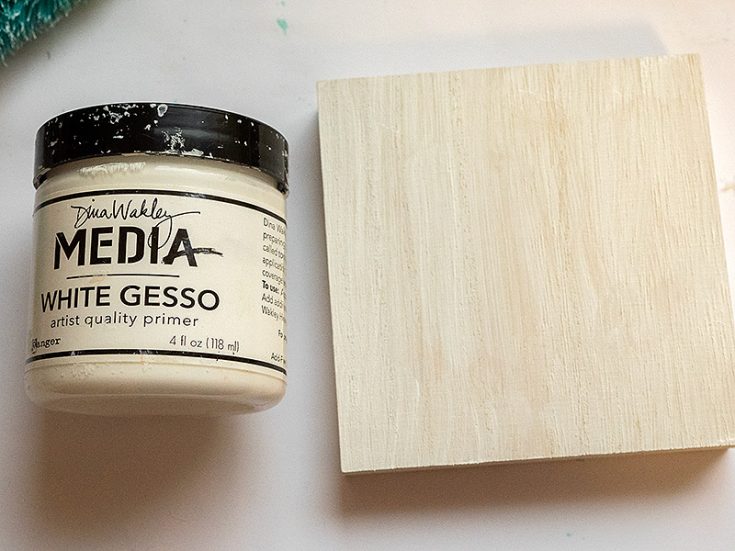
I used a small wooden plank as my base, but you can also use something like a tin or a small sturdy box. The base is 4 x 4 in. Coat with gesso.
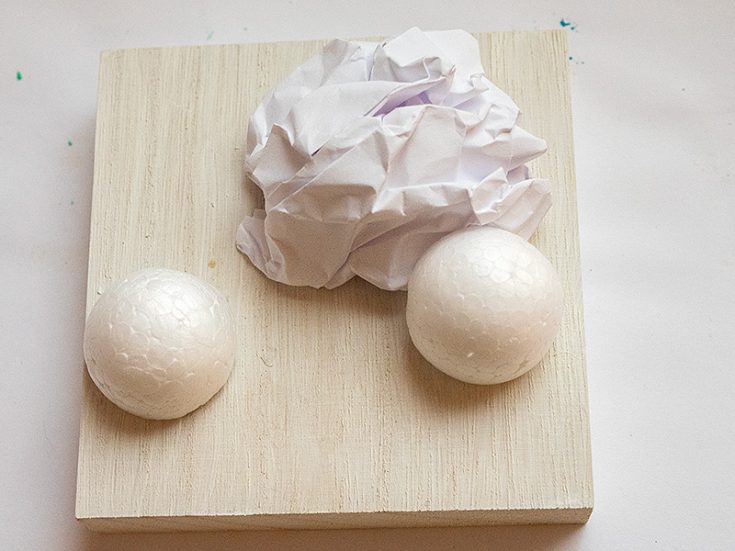
I wanted to add hills and used a crumbled-up paper and a small polystyrene ball which was cut in half. Glue to the base.
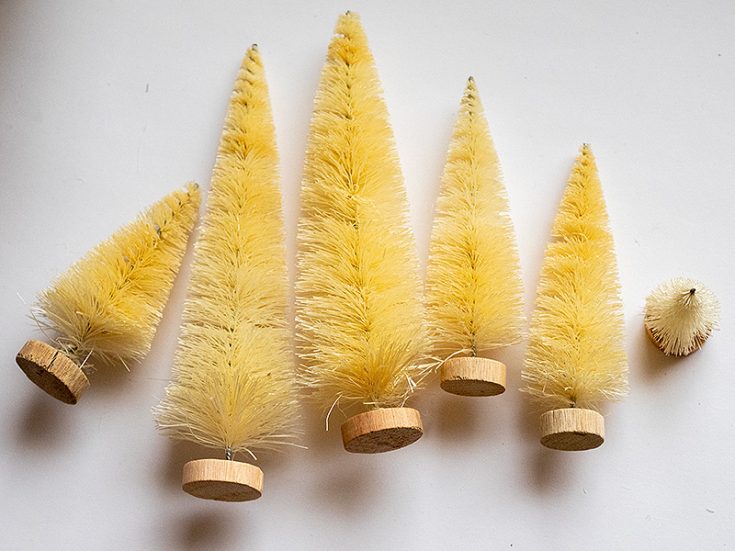
The trees come from Tim Holtz Alpine and Woodland Tree Lot sets.
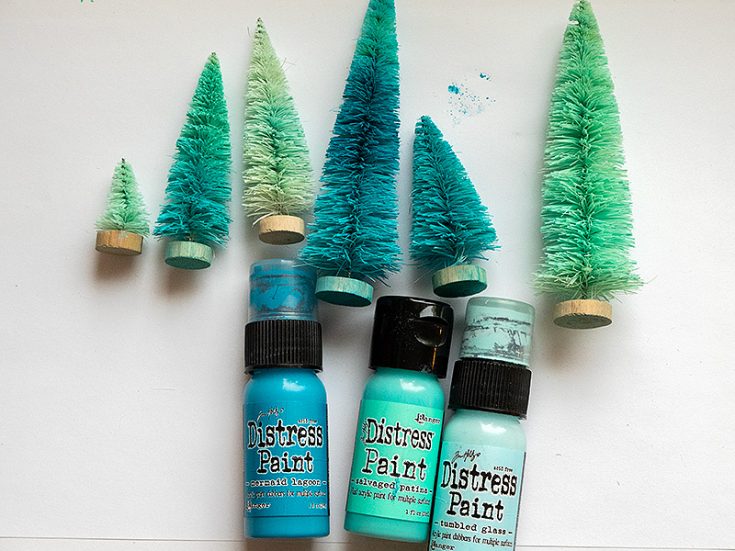
The trees were colored with Distress Paint. You can also use spray mist, but I prefer paint, since the spray mist will color the snow. Place a little paint in a plastic bag and mist with plenty of water. Place a tree into the bag and press the paint into the tree. Dry with a paper towel.


When the paint is dry, brush some gesso or white paint on the branches.
Add a little texture paste to the tops and some of the branches of the trees. Sprinkle with Mica Flakes and Clear Rock Candy Glitter.
Paint a Salvaged Snowman with Distress Paint. Let dry.
Mix Frayed Burlap and Ground Espresso with plenty of water and paint the snowman. When the paint is almost dry, wipe most of it off with a cloth. This gives an aged distressed look to the snowman.
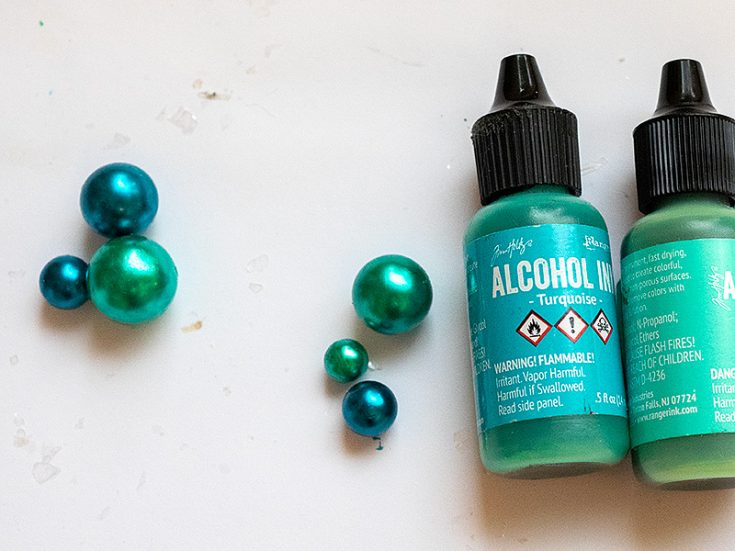
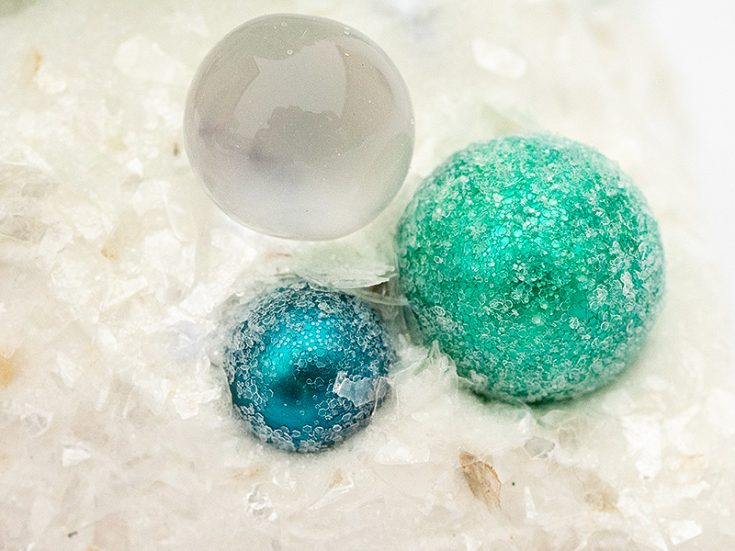
Color Tim Holtz Baubles with alcohol ink. Place the ink in a plastic bag and place the baubles into the bag.
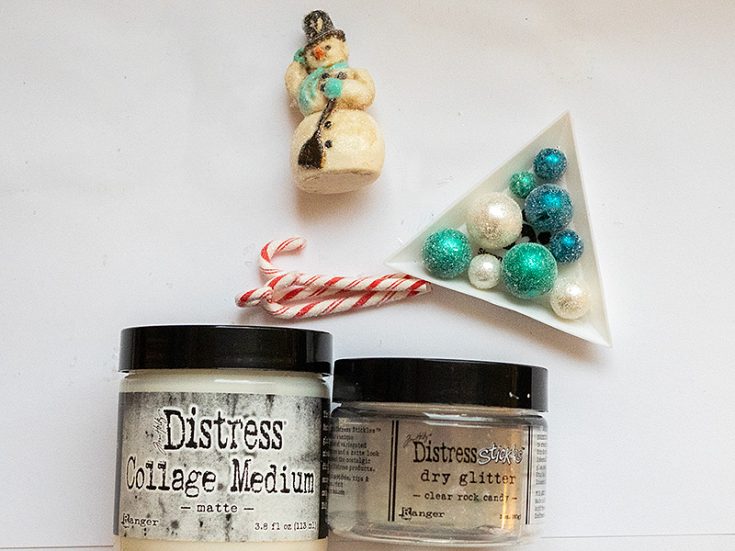
Paint the snowman, baubles and Candy Canes with Distress Matte Medium and cover with Rock Candy glitter.
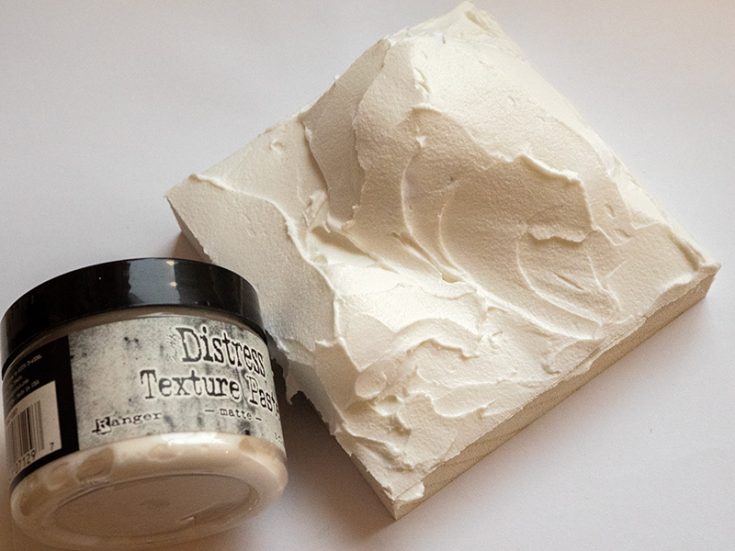
Apply a thick layer of Ranger’s Opaque Texture Paste to the base to create snowy hills.
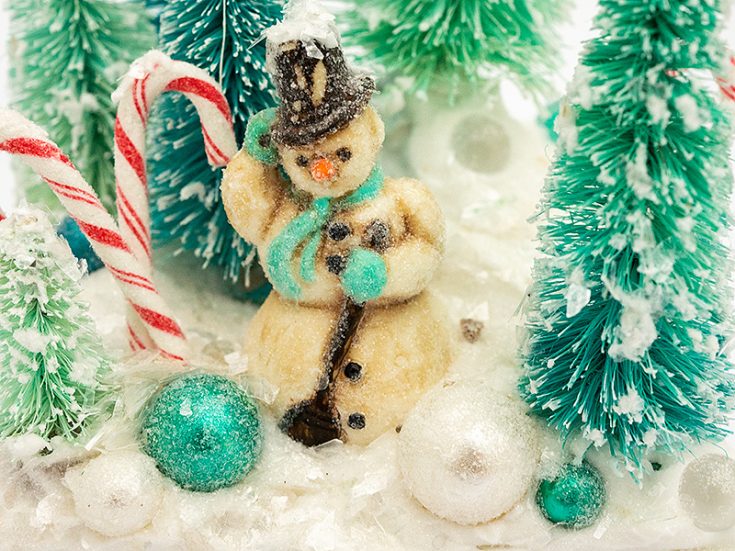
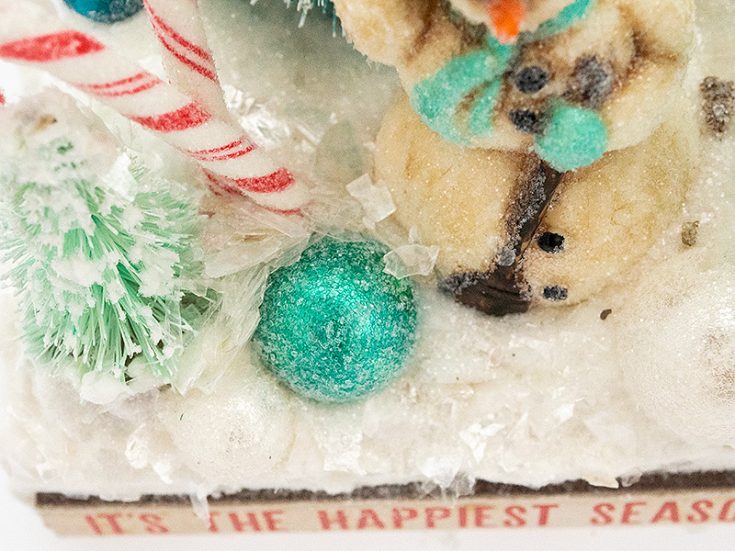
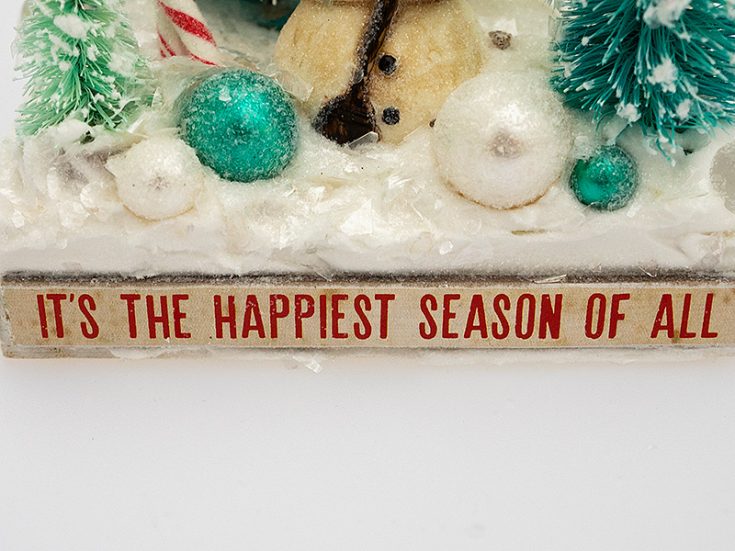
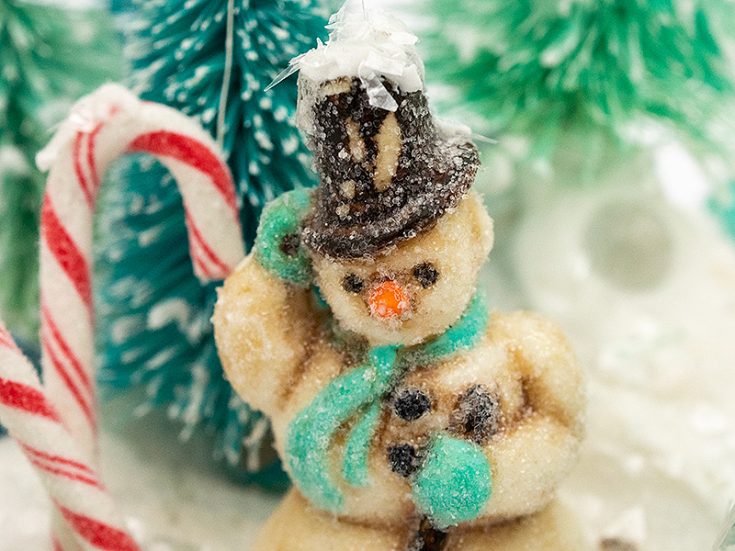
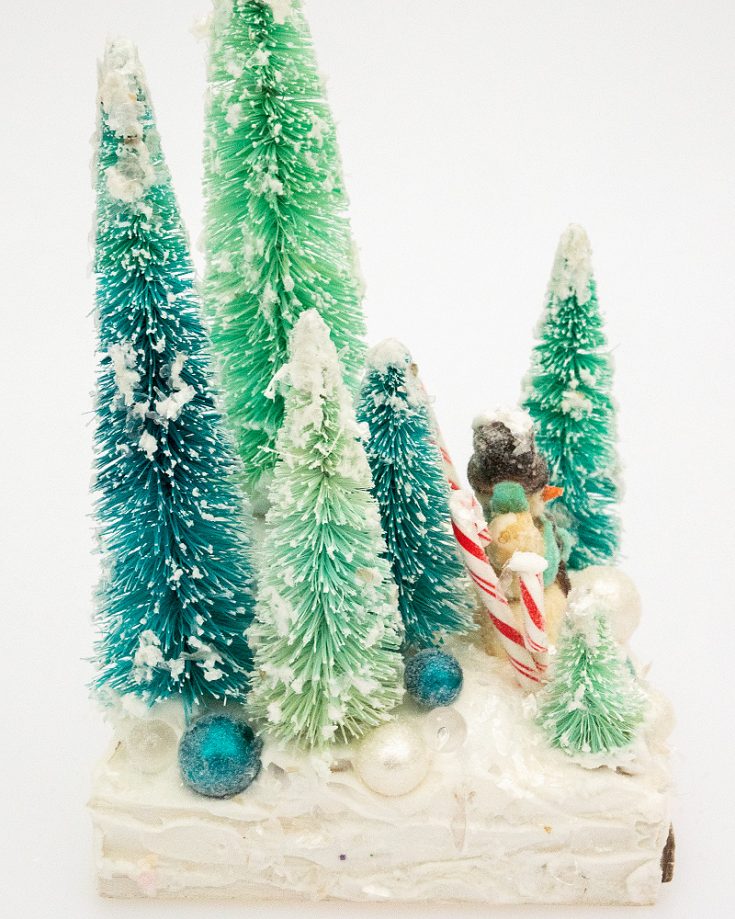
Press the trees, snowman, baubles, bubbles and candy canes into the paste. Cover the wooden base of the trees with more paste.
Sprinkle Mica Flakes on the ground and then sprinkle Rock Candy glitter. The paste works as an adhesive.
I pressed a sentiment from Tim Holtz Christmas Baseboards into the paste at the front of the piece.
Add a tiny bit of texture paste to the snowman’s hat and sprinkle with Mica Flakes.
The combination of paint, paste, mica flakes and glitter make for both colorful and sparkly trees.
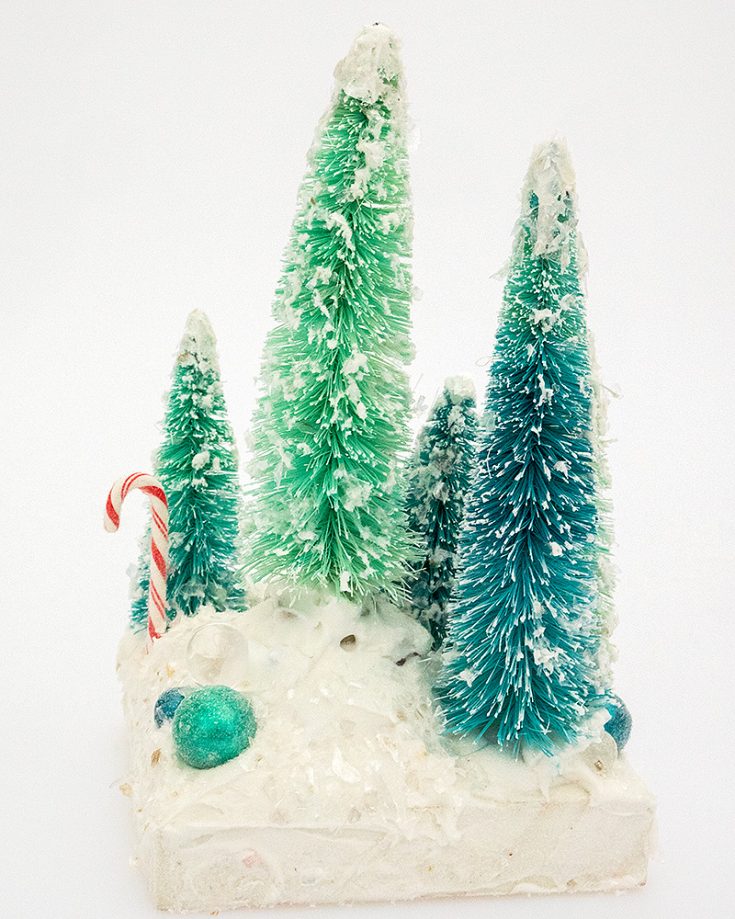
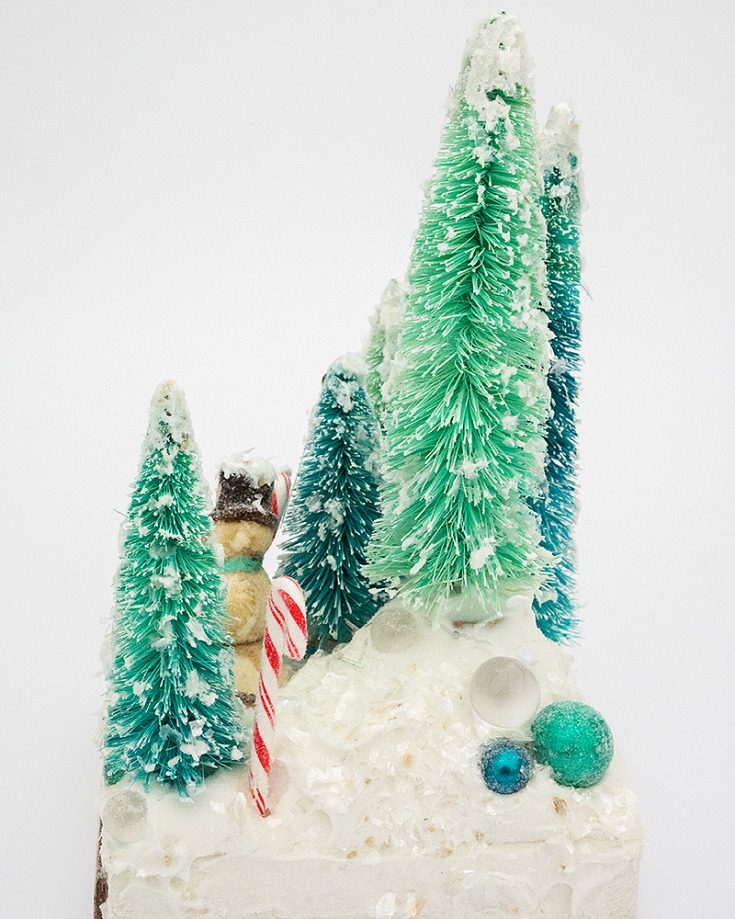
Because of the hills, even the trees which are the same length have different height.
The project looks nice from all sides. This is the back. From this side you get a better view of the tallest hill. I also added a few Tim Holtz Bubbles, which are clear.
I hope this tutorial inspired you to create Christmas or winter ornaments and to create a snowy and sparkly look.
Thank you so much for looking! Merry Christmas!!-Anna-Karin
SUPPLIES:
|
Thanks so much for stopping by, and thanks to Anna-Karin for being our guest!


I love this so much Anna! The colors, the textures, the variety of heights….beautiful project!!! 🩵💙🤍
This is so delightful and gorgeous!!
This is Amazing!!! I would love to see your whole village!!!
This is so pretty – the colours are gorgeous
so pretty