Prima Bloom Girl
Creating is a funny thing – sometimes things end up working out in ways you never expected! May Flaum here, and today I’m excited to share with you a project that started as a colorful card that turned into a mess, that turned into a fabulous shadow box! Today I’m working with my favorite Prima Bloom Girl Stamp.
To begin, I stamped with embossing ink and heat set with black embossing powder.
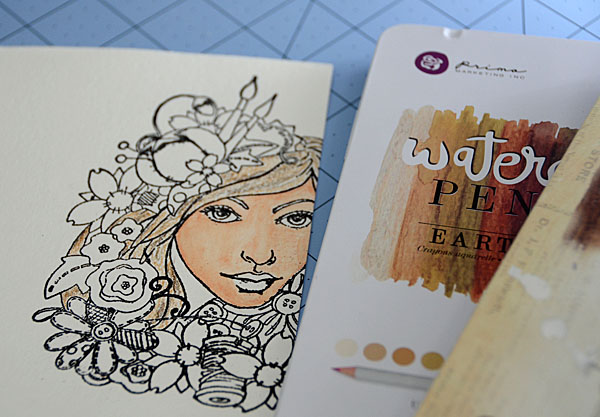
I did this to ensure the image would stand out, and I love the results. Speaking of love – I began coloring this crafty lady with my Prima watercolor pencils and water brush. Love those earth and skin tones!
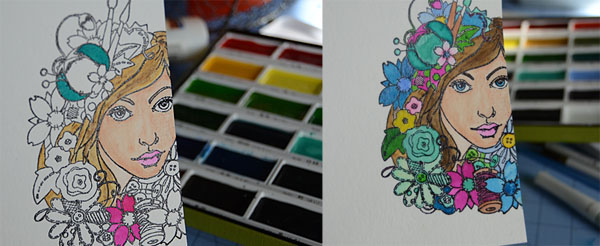
This part was the most time consuming – but fun! I colored each piece with either watercolor pencils or from my Kuretake watercolor set depending on the color I wanted. My big tip is to not work on items next to each other while wet – it will help you avoid colors bleeding together.
Once all those details were colored in I stamped the edge of the stamp onto a scrap of cardstock and created myself a mask to lay over my image. I didn’t have quite a big enough area to make it work so I cut out another little scrap (and taped it all together. Improvise with what you have, I always say!
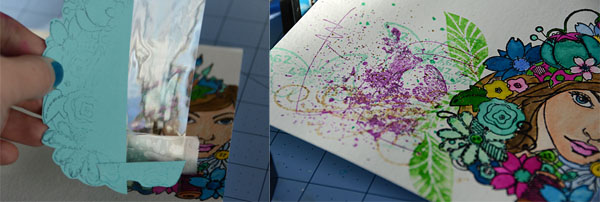
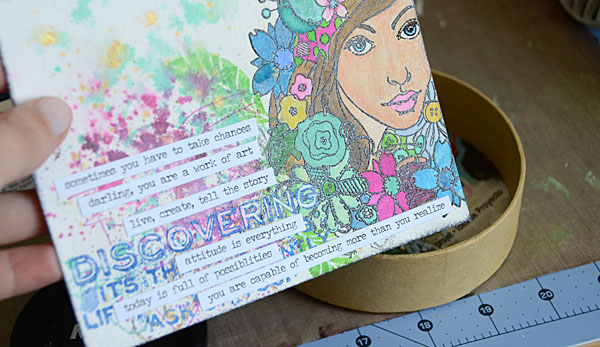
This is where things went sideways. You see, I was stamping and inking and misting my heart out, and things got too bright and too messy. In short I went too far! I tried adding word stamp + stickers to cover up the worst… that only made it worse! I tried misting with picket fence mist and that helped tone things down, but I still didn’t like this card. That’s when I went digging and found a small circular box.
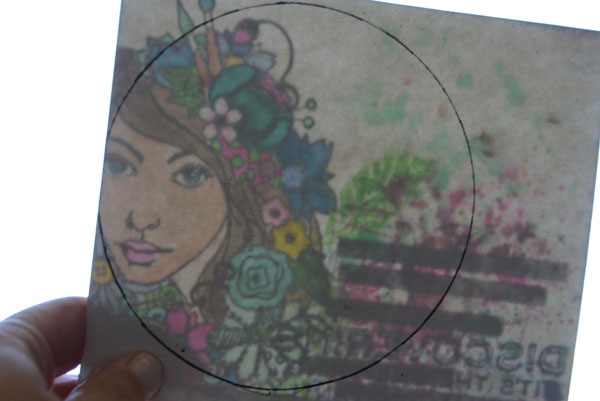
Realizing it was a good size and that I could cut part of my image out and create a shadow box I found myself once again excited! I used the box to trace a line then held my image up to the window to make sure I liked where it was at.
Oh yes, this will work fine! I cut just inside the line, then made adjustments until I could fit this into the base of my box.
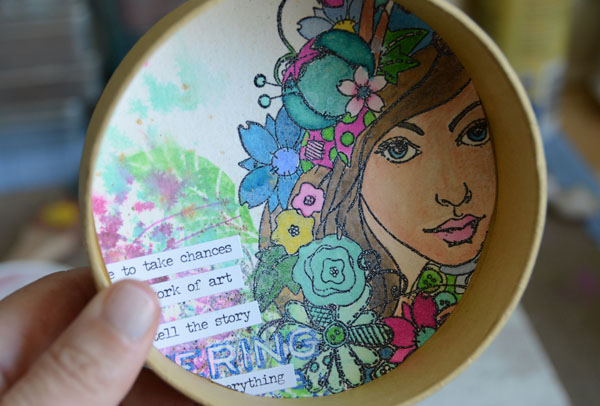
This in, I edged the outside with washi, then washed the inside and out down with a bit of gesso and a few streaks of gold paint for good measure.
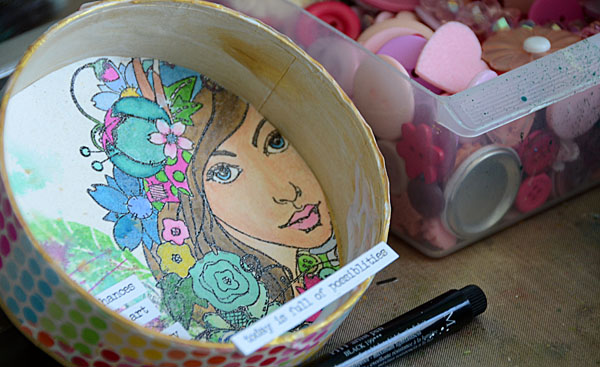
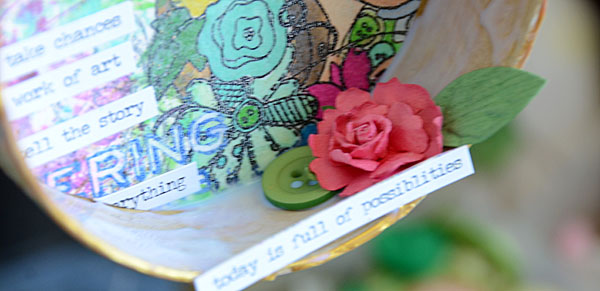
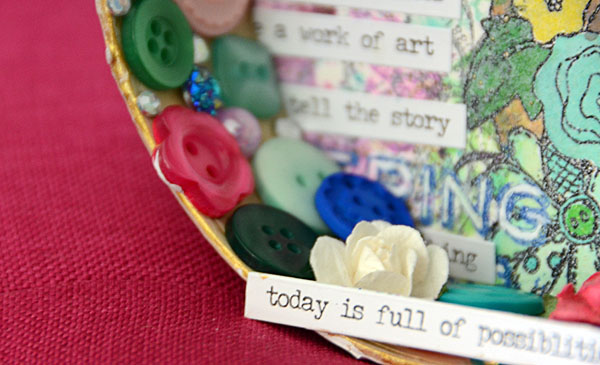
Next up: decorate! I used another phrase sticker and I glued a number of buttons, gems and things both to the inside and also at the top edge (where her hair ends) as well.
The great thing about a project like this is that you can just add whatever you might have! You’ll just want to play with an assortment of colors, sizes, and textures.
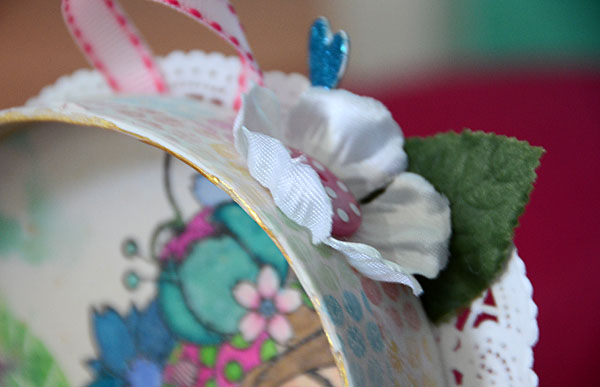
Once I felt satisfied I added a loop of ribbon (so it can hang) and a doily to cover that and secure it better onto the back.
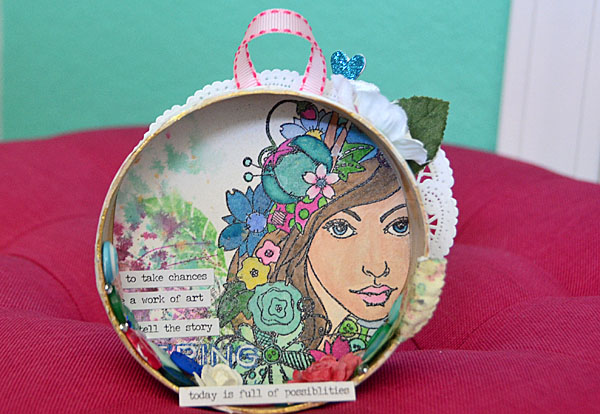
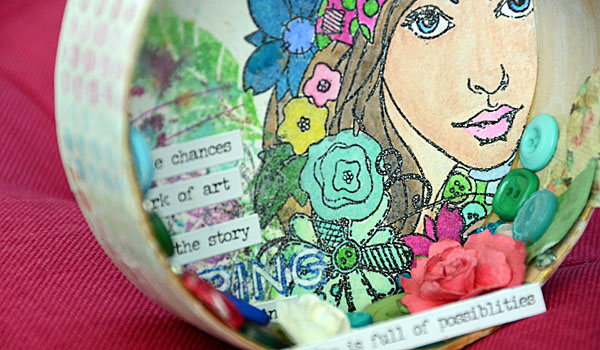
Here is the finished piece – and I absolutely love how it turned out! It just goes to show that sometimes you can over work a piece then re-work it into something even better than the original concept.
I hope that I’ve inspired you to play today – happy crafting!
Supplies Used:
 |
 |
 |
 |
 |
 |
 |
 |
 |
 |
 |
 |
 |
 |
 |
 |
 |
 |
 |
 |
 |
 |
 |
 |
 |
 |
 |
 |
 |


This. Is. FABULOUS.
Beautiful! And thanks for sharing how you re-worked the project! It is intimidating to see all these gorgeous projects! Makes one feel quite inadequate!
So creative and fun! I love the round shadowbox! The rose and buttons are such fun texture, greta project and thanks for sharing!~kim
Beautiful. I liked how you took it and changed from a card to a shadow box, Great idea, I always wonder what to do my rejects. Now I will look for other ways to use them. Thanks for the idea.
It looked all a bit too much early on when it was just the painted image with that riot of colour. But once you got it in the box, it just looked amazing. Kudos to you and that foresight!
Great project! ;-)
Beautiful!!!
Gorgeous shadow box! Loving the buttons!
This is fabulous….I love this idea! Your embellishing is just beautiful. Hugs, Robin
Really cute. Great idea.
This is so unique and beautiful!
I have this set and can’t wait to use it. Every time I’ve seen it – the coloring is amazing.
thanks.
That is amazing. Great coloring
Such a stunning project! Very creative and inspiring!
What an adorable project! ♥ Too cute!
Wow. What a great shadow box! Thanks for sharing your process of turning a not-so-great work into an awesome one!
Great save. The shadow box is adorable.
really invented project – beautifully done:)
Bee-utifully colored & looks so nice framed & embellished.
Melissa
“Sunshine HoneyBee”
amazing idea and beautiful creation
Such a beautiful piece!! Love how you used your mistake and turn it from gorgeous to even more fabulous!!! Such inspiring work! Thank you!!
Great save. The results are gorgeous.
I adore that stamp. Way to make lemonade, May!
Love the shadow box, and how often “mistakes” turn into the most awesome art!
Beautiful shadow box!
Gorgeous project!!!
Wow those colored pencils look like a lot of fun
So inspiring that you stayed with the project and created such a gorgeous piece!
so pretty!
Gorgeous project! Love the awesome coloring!
Such a gorgeous project! I love the amazing coloring!
Stunning!
Very pretty image and shadow box. Hugz
GReat idea to paint the INside of a box !
Wow! Amazing project. I follow the blog by email.
Gorgeous! Lovely way to fix a mistake.
Beautiful. Love! Michelle t
I always love your creations. They are so unique.
Gorgeous! Love the colors and details!
Thanks for taking us thru your creative process. The project is very pretty. I love your coloring.
Stunning project, love your beautiful creation!
BEAUTIFUL!!!
LOVE IT ALL!!!
I love how it turned out. Always try and rescue your projects is what i say, i liked the sprays and such on the side, but you are right they were a little distracting, shame of all the effort in the image, but you solved it fabulously, well done and thank you for sharing the whole process ;-)
Definitely a HUGE touch of “Serendipity” here with how this turned out!! I love this and I actually have some of these little boxes with lids in round and square shapes! Thanks for the inspirational idea!
Nothing is ever a complete disaster. A happy accident that became a pretty work of art. Thanks for sharing.
So creative & beautiful! Glad you didn’t give up!
So bright and colorful!
Beautiful! Love how you thought of a new direction to take when your original idea didn’t turn out as planned! Wonderful job!
Beautiful May, great idea to make your card into the shadow box, really highlights your beautifully coloured stamp!
Beautiful project. Love all the colors and textures.