Oxide Ink Easter Egg Cards
Hi friends! Happy Thursday! Thanks for stopping by the blog today! With the Easter holiday right around the corner, we’re re-sharing these clever cards by special guest designer Heather Ruwe a few years ago. She did some very cool and clever outside-of-the-box thinking using oxide inks! Be sure to read on to learn how to create this cool concept for yourself and enjoy!
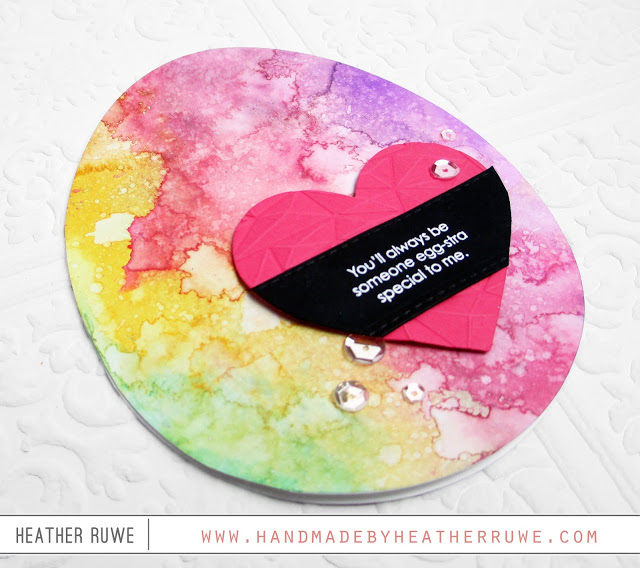
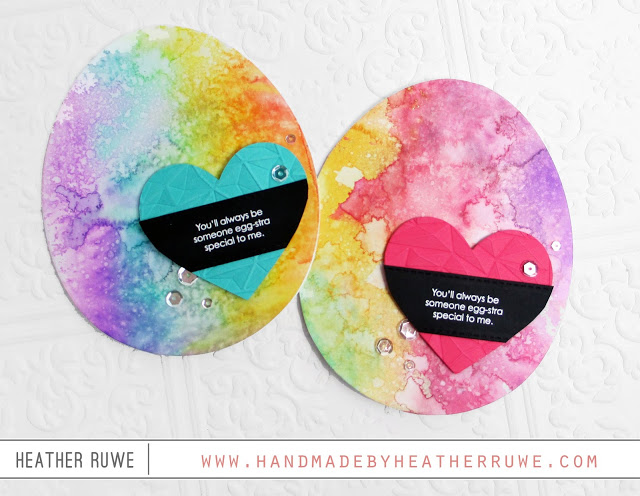
Hello and welcome. I’ve been having so much fun playing with Distress Oxide Inks. I’ve been experimenting and creating many backgrounds. The finished look reminded me of Easter eggs after they have been color dyed, which inspired these cards…
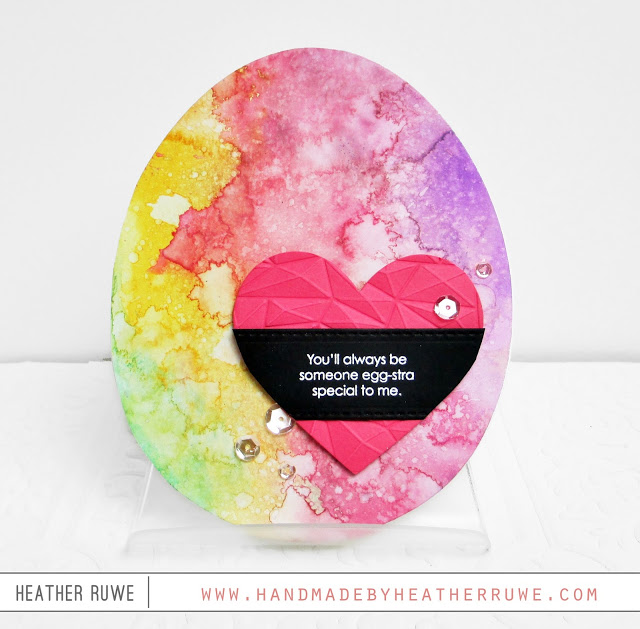
I applied the ink to a craft sheet and then sprayed with water. I swiped a piece of watercolor cardstock through the ink and dried it with my heat gun, spraying with water as it dries.
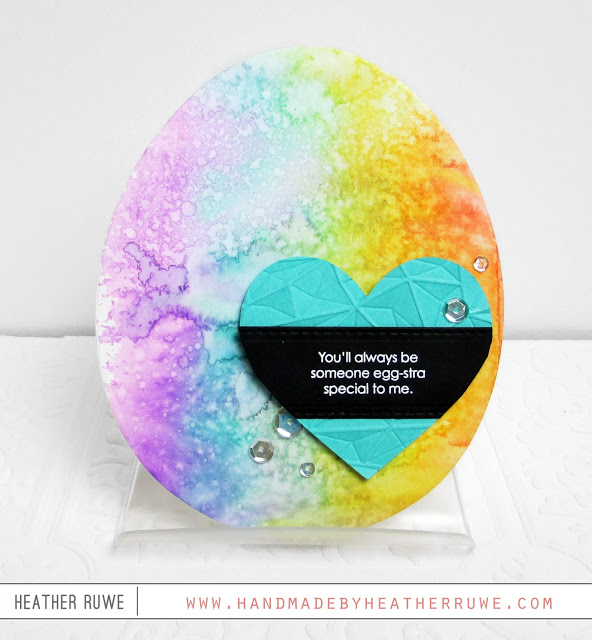
I wanted to make an egg shaped card but didn’t have a large egg die, so I used the largest balloon of the Simon Says Stamp’s balloon die set. After die-cutting the backgrounds, I trimmed off the end piece off the bottom of the balloon and turned it upside down, creating an egg shape!
I white heat embossed a sentiment from the Easter Greetings stamp set on to a strip of black cardstock cut with the stitched banner die. I also die-cut some hearts and dry embossed them with an embossing folder. I finished the cards with a sprinkling of clear sequins.
Supplies:
 |
 |
 |
 |
 |
 |
 |
 |
 |
 |
 |
 |
 |
 |
 |
 |
 |
 |
 |
 |
Thanks for reading today, and thanks to Heather for being our guest!


Beautiful, loved how used the balloon dies. Great idea!!
So pretty and clever. That die is perfect and alcohol ink backgrounds would work well, too!
Delightfully colored cards. tfs-stay healthy.
Love the colors and the egg shape.
These are gorgeous!!! I would love for my real eggs to look like this!!!
Great cards, love the marbled eggs.
Although this is a re-shared post it’s stil gorgeous Heather.
Thank you so much for this inspiration, stay safe and have a wonderful day.
Wish my real eggs turned out this well. Beautiful.
I like these cards! Wish I had time to make!
These are so pretty
What a smart lil project! I love the balloon to egg idea!
Super sweet!!
Awesome, colorful eggs, love the heart shapes too!
May have been balloons dies, but they look perfectly Easter eggy to me! Love those color mixes! Wow!