One Stamp Five Ways: Sunflower Garden

Hi friends! Happy Sunday! Please join me in welcoming back special guest Suzy Plantamura! Read on to learn on the details to recreating these 5 gorgeous cards, and enjoy!

My “one stamp, five ways” post today uses a 6” x 8” stamp set that was in the September Card Kit called Sunflower Garden. As I am writing this post, the kit is still available and so are the TWO large floral stamp sets that came in the kit. I also have a “one stamp, five ways” post using the other stamp set called Sunshine Flowers on my blog. But today, it’s ALL about sunflowers, so let’s get started!
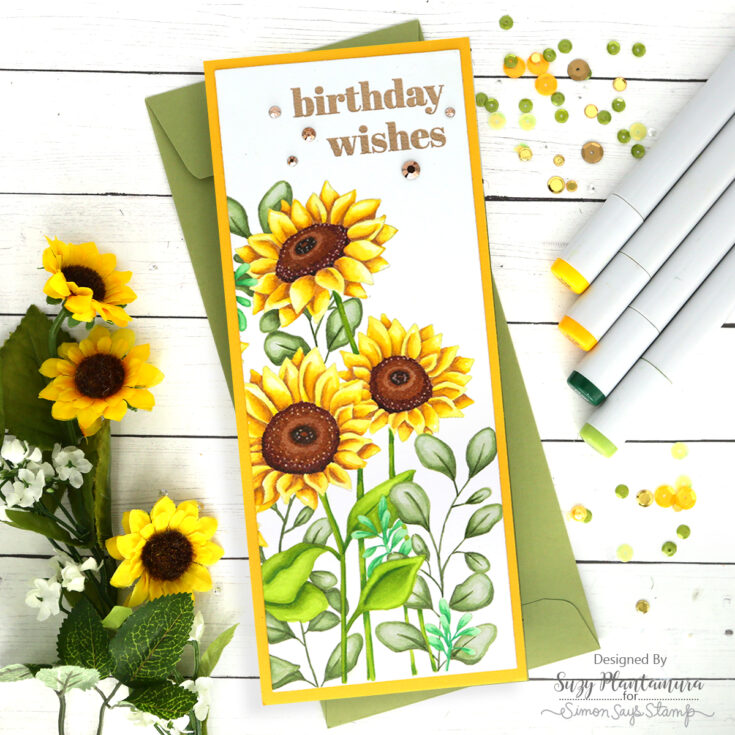
I wanted to show this stamp set colored with my three favorite coloring mediums, so I used watercolors on one, Copics on one, and colored pencils on one. This is my card colored with just Copics and it ended up being my favorite! I wanted to use a slimline design so I could fit the stamp set on it vertically. I stamped one side of the stamp on white cardstock with MFT Natural Ink and colored it in with Copic markers.
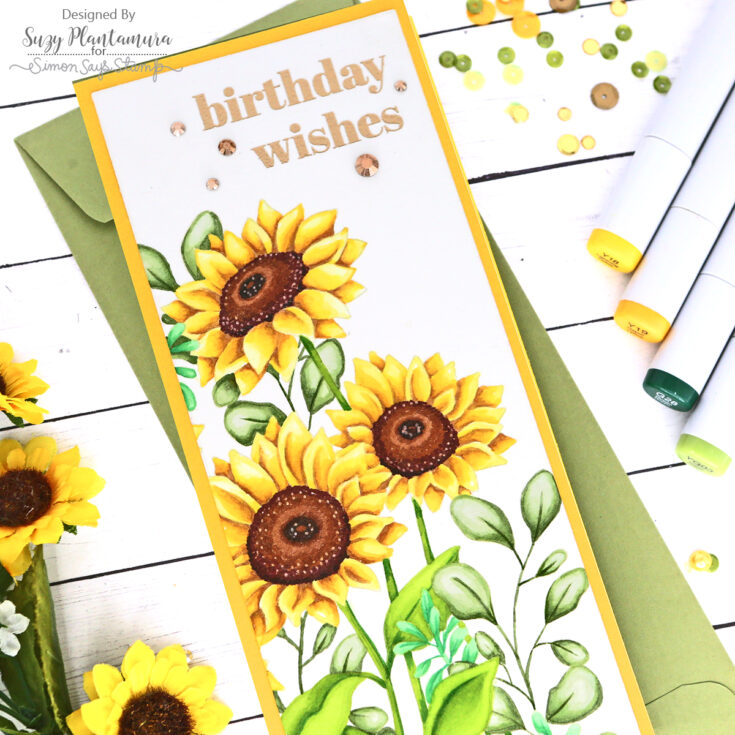
I cut my colored piece down with the largest rectangle in the SSS Slimline Rectangle die set and mounted it on a yellow cardstock base. I embossed the “birthday wishes” sentiment from the stamp set with Antique Gold embossing powder on the top. I added some Pretty Pink Posh jewels around the sentiment.
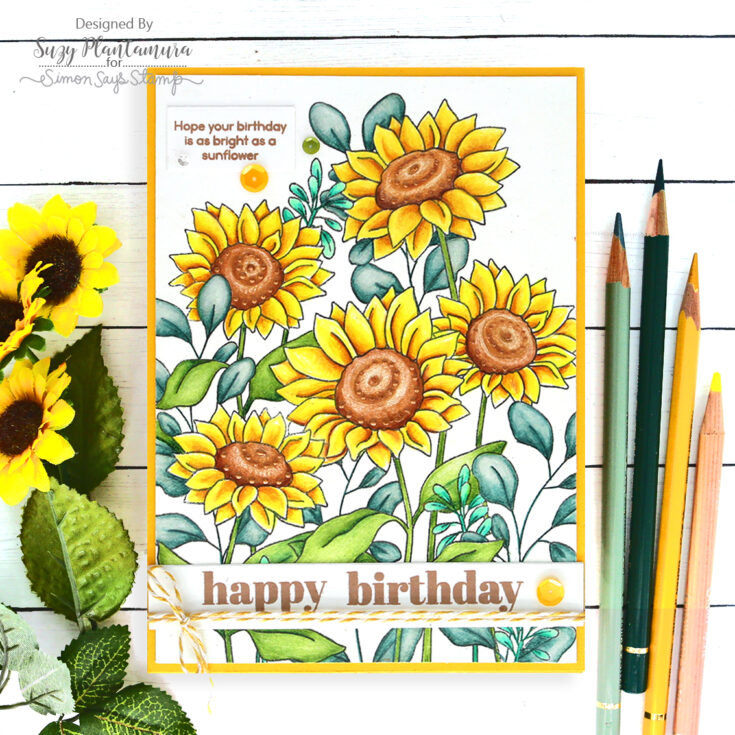
This time I wanted to color the image with colored pencils, so I stamped the full image on white cardstock with Intense Black Ink. I decided to use as much of the image as possible since I colored the entire thing, so I made it into a 5” x 7” card (which is a standard size they have at stores!). I used several different kinds of colored pencils on this including Prismacolors, Caran d’Ache Pablo and Luminance, and Faber Castell Polychromos. I have all of my colored pencils mixed together by color and enjoy each brand for different reasons. I couldn’t live without ANY of them haha!
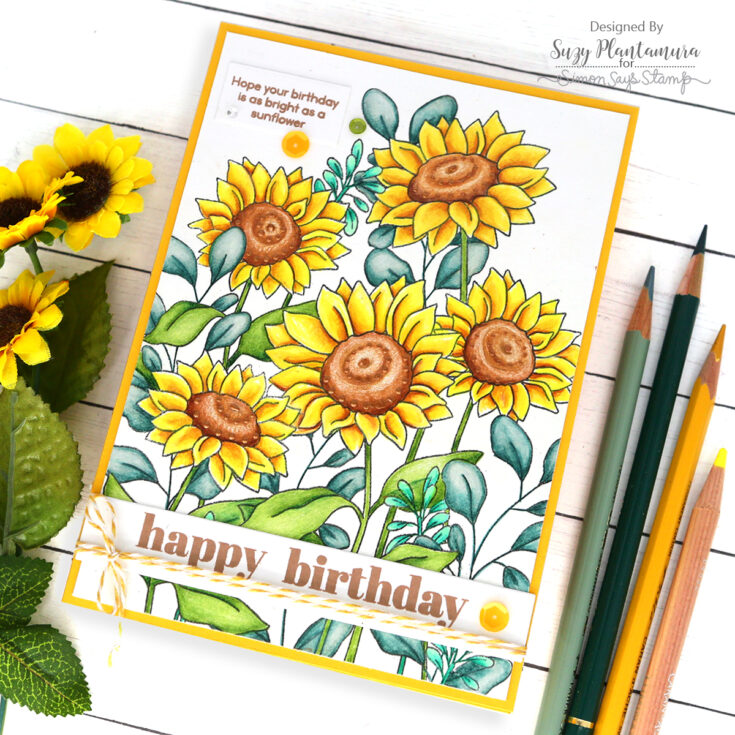
I cut the piece down slightly and mounted it on a yellow card base. I die-cut two white banners using the SSS Sentiment Label dies. I stamped a small sentiment on a short piece and adhered it to the top left side of the card (I actually stamped it right on the card first, but it was crooked, so this was my do-over). I stamped the “happy birthday” stamps on another one of the banners, both with Lawn Fawn Doe ink. I attached that to the bottom of the card and added some twine around it tied in a bow and a yellow sequin to the edge. I also added Copper Penny Nuvo Drops to the flower centers and some Spring Chick sequin mix around the sentiment.
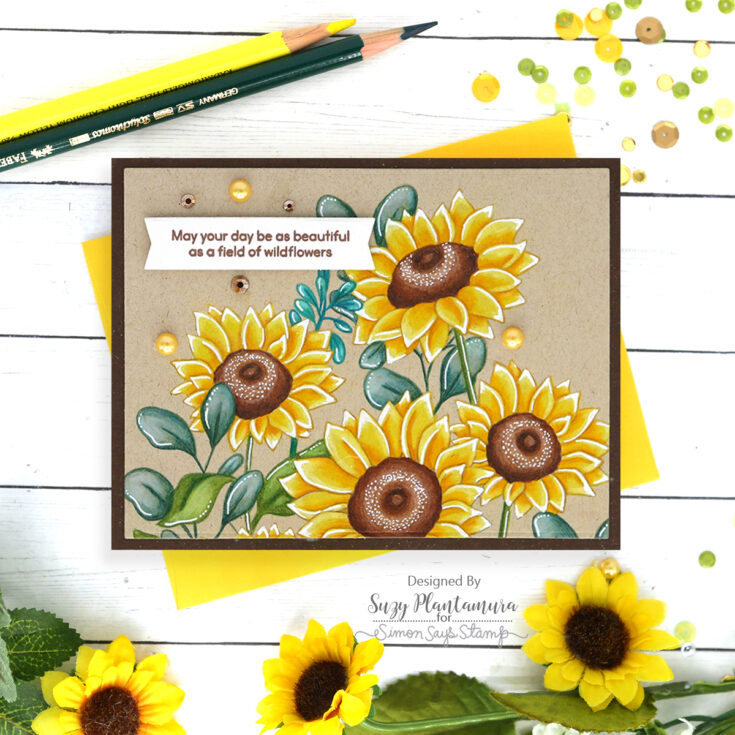
This time I wanted to show colored pencils being used on Kraft cardstock. I don’t color on anything but white usually, so this was a bit of a challenge for me. I stamped the image on the bottom of a standard A2 size card base with MFT Natural Ink since it is a darker kraft type of color. I found that my Polychromo colored pencils worked the best on the kraft cardstock. Once I was finished coloring it, I die-cut it down slightly and mounted it on a yellow cardstock base.
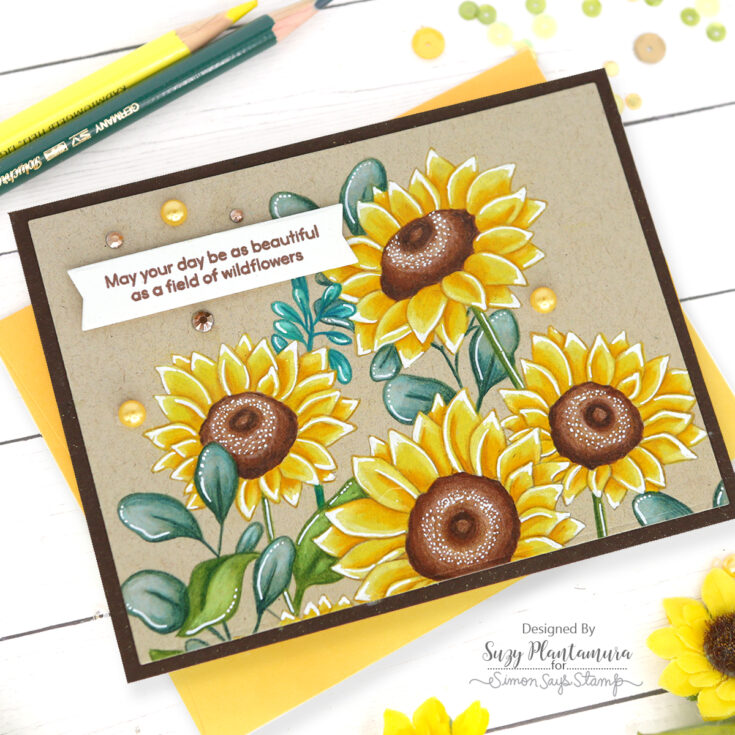
I felt like the image was getting lost on the kraft cardstock – it just wasn’t popping. So I went back and used a white colored pencil over all of the flower and leaf edges. Then I used a white Uniball gel pen over just the edges of each. I also added lines to the leaves. I feel like this made the image pop more and show up better against the background. I stamped a sentiment from the stamp set on an off-white banner using brown ink. I attached that to the top left of the card. I added some PPP Espresso Jewels and some Farm Meadow adhesive pearls around the sentiment and flowers.
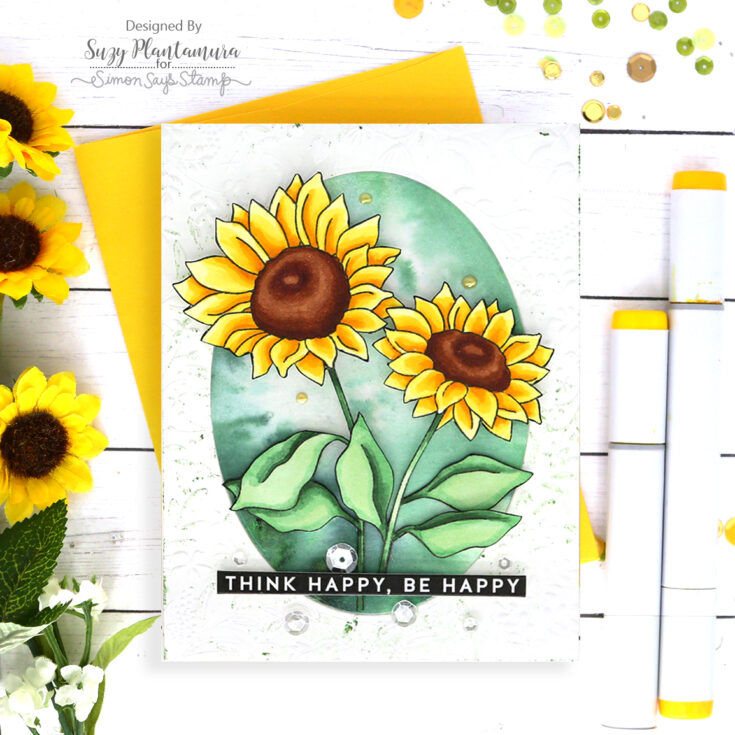
I used the SSS Splendid Leaves embossing folder for the background. I rubbed Distress Oxide Ink in Rustic Wilderness over the flat part of the folder and then wiped most of it off so it was very subtle in just some of the deeper areas. I die-cut an oval from the center using the SSS Nested Oval dies and die-cut another one using watercolor paper. I painted the oval with Nuvo Shimmer Powder in Green Parade. I inserted that into the center of the embossed piece and attached both to a white card base.
I stamped the sunflower stamp with black ink on white cardstock. I cut out two of the sunflowers and their leaves. I used a black marker along the edges to cover any of the white or imperfections from cutting them out. I colored them with Copic markers. I attached them inside the circle with foam tape beneath the flowers and leaves. I used a pre-printed sentiment (from the All Things Happy set) for the card die-cut with the Sentiment Label dies. I added some sparkling clear sequins around the sentiment and some Gold Luxe Nuvo Dream Drops around the flowers.

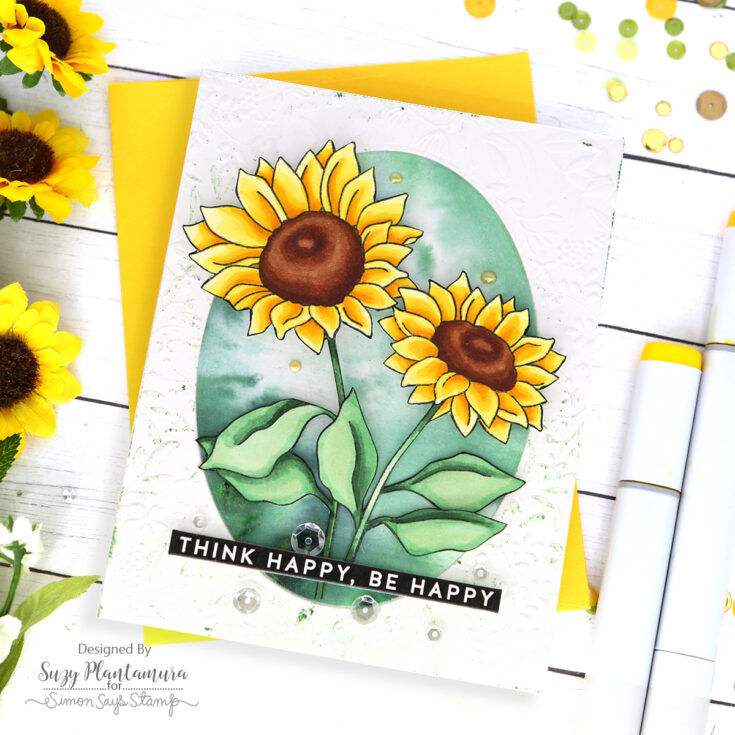
I wanted to make a card showing the stamp painted with watercolors. I embossed the flowers on both edges of a piece of Arches Watercolor paper using white embossing powder. I die-cut this piece with the largest SSS Mini Slimline die. I painted in the flowers with Karin Brushmarkers.
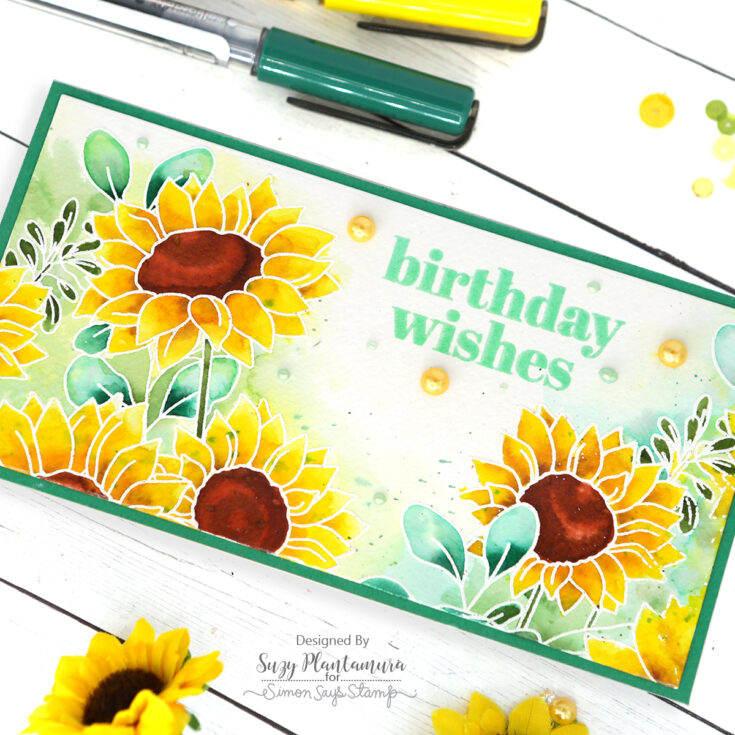
I embossed the sentiment with Ranger Cracked Pistachio Embossing Glaze. I mounted it on green cardstock that matched the embossing powder fairly well. I was going to use yellow cardstock again, but my artistic daughter told me that green would look better, so green it was! I finished it with some Farm Meadow Adhesive Pearls (from a previous card kit) and some Dragon Scales Dream Drops.
Now that’s a lot of daisies, right? It posed a bit of a challenge for me to use one flat stamp five ways. I might have spent a lot of time coloring in these flowers, but I sure enjoyed doing it! And I tried a couple new things in the process, like coloring on kraft cardstock. I enjoyed the challenge and I hope you enjoyed the outcome! Thanks so much for visiting today! Suzy
SUPPLIES:
|


Thanks so much for stopping by, and thanks to Suzy for being our guest!


Great inspiration! When you need a fun, browser-based break, I recommend checking out 2v2io.
Need a quick distraction? Try playing Arrows Go for a simple, free online game.
Need a break from creative projects? Try this simple 38 0 0 game for some fun, free online play without downloads.
I also found check it out really helpful.
I really like how you used three different coloring mediums on the same stamp set — especially the Copics version on the slimline card. I have a crafting resource site too, check it out if you are interested.
I also found image-to-3d really helpful.
I love how your “One Stamp Five Ways” series showcases versatility in crafting! The Sunflower Garden stamp can inspire not just beautiful projects but also a greater appreciation for nature in our art. Keep it up!
Explore the Gakuran world better with the roblox gakuran map, a great resource for players.
I also found AI Logo Generator really helpful.
I also found Samaudiotool really helpful.
Love seeing how versatile this Sunflower Garden set is across different coloring mediums! Your kraft cardstock experiment really paid off, and I appreciate the honesty about needing to go back in with white pencil for contrast. It’s always helpful to see real problem-solving in action. By the way, if anyone wants to save these gorgeous card ideas for reference, you can use a tool like download reels online to grab video tutorials for your creative workflow. Thanks for sharing all five stunning versions!
It’s interesting how different inks can affect the vibrancy of colored pencil work, especially when transitioning from white to kraft cardstock. While the article highlights the success with Faber Castell Polychromos on kraft, I wonder if other brands might perform similarly or differently, perhaps something like image to stl could offer a unique texture. The variety of techniques shown is truly inspiring for maximizing a stamp set.
I also found animatediff.net really helpful.
I also found check it out really helpful.
I also found video-face-swap.net really helpful.