One Stamp, Five Ways: Flower Power
Hi friends! Happy Tuesday and happy LAST day of April! Oh my goodness, where does the time go? Please join me in welcoming back special monthly guest Suzy Plantamura with a super fun, bright, and colorful rendition of “One Stamp, Five Ways” featuring our newly released Flower Power set! Read on and learn more! Enjoy!
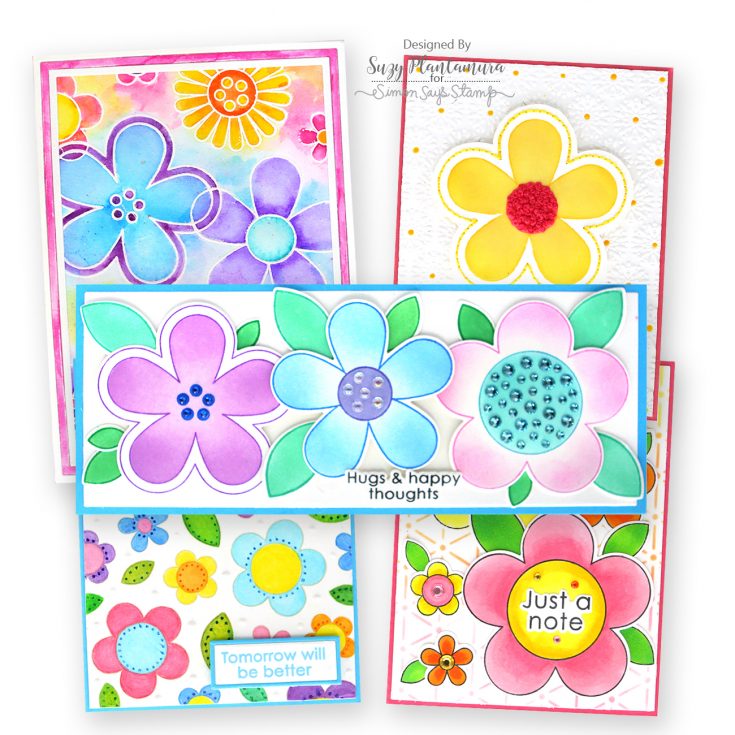
You are going to be so surprised at what stamp set I picked from the Celebrate release for my “one stamp, five ways” guest post today! I picked Flower Power because a) it’s full of FLOWERS I can color and b) it has matching stencils and dies! I love this whimsical groovy flower stamp set and I can’t wait to share with you all the card creations I made with it, which include lots of other products from the Celebrate release!
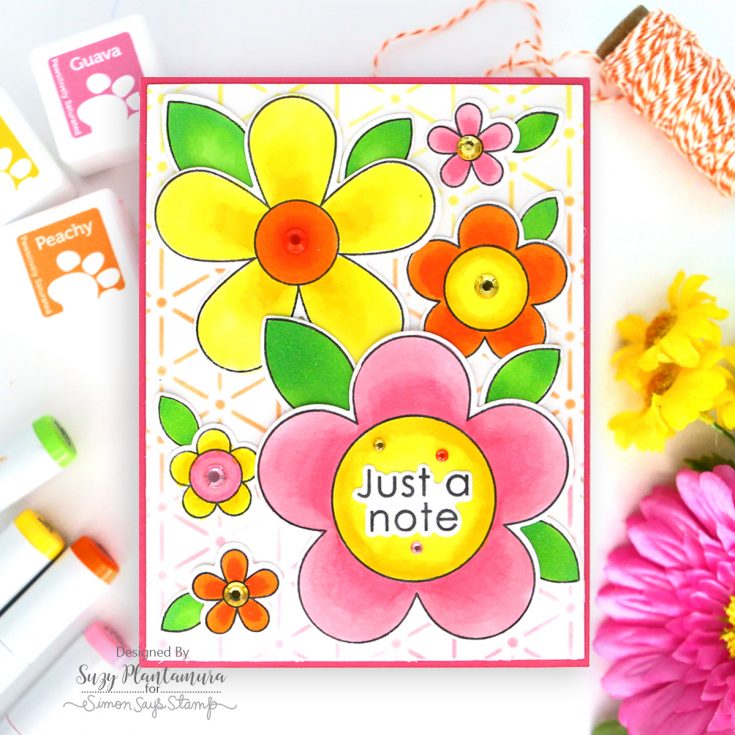
I made the background with the new Dash and Dot Stencil. I used Lemonade Ink on the top, Cantaloupe in the middle, and Guava on the bottom, overlapping each color so they blended. I die-cut this piece with the A2 Thin Frame Die and attached it to a red card base.
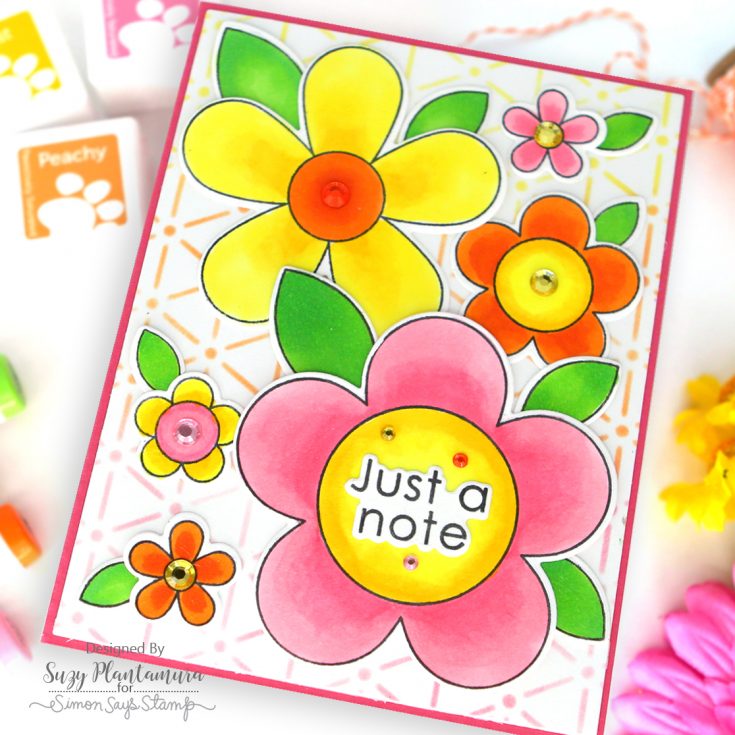
I stamped a few of the different flowers and leaves in the Flower Power stamp set with Intense Black Ink and colored them in with Copic Markers. I die-cut them out with the matching dies. I arranged them over the card background overlapping some and tucking the leaves under the edges of the flowers. I used Rainbow Splash Gem Stickers in the center of the flowers. I stamped a sentiment from the stamp set with black ink and die-cut it out with the matching die and attached it to the center of the largest flower.

I wanted to make a 5×7” card to use with the new A7 Nesting Frames. I realized when I cut apart my smaller A2 size frames from the last release that by leaving them together you get twice as many frames that are all the same exact size as the space between the dies is equal to the size of the dies. I die-cut the full set out of Tim Holtz Watercolor Paper and used the three largest ones (two largest frame dies and the space in-between them). I painted the center one with a pink Karin Brushmarker and used a double-sided flat tape to adhere them together on the back side. I die-cut the “thanks” die from the frame set twice and painted one with the pink marker. I glued it over the second one with the frame around it.
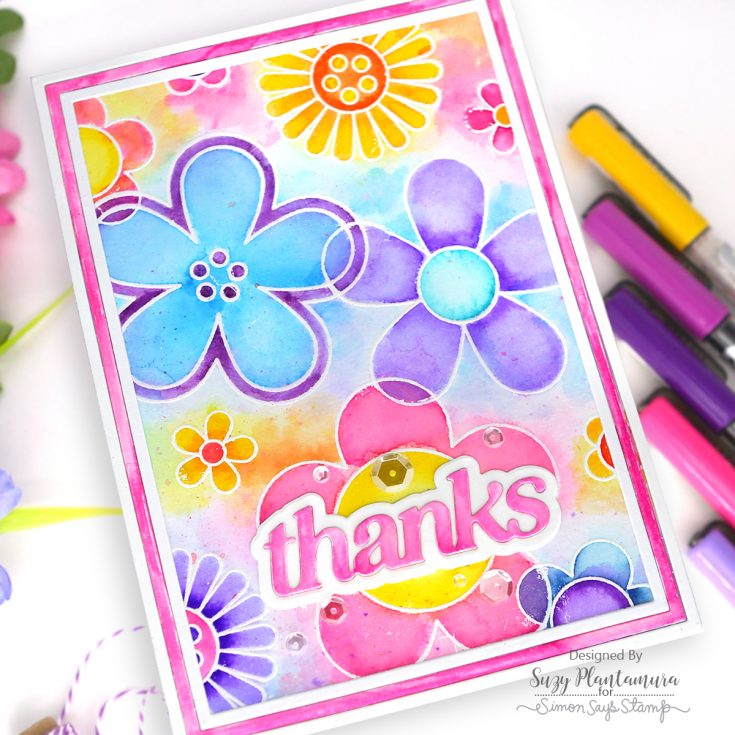
I embossed all the flowers in the stamp set with white embossing powder on a piece of 5×7” Tim Holtz watercolor paper. I then painted over the flowers with Karin Brushmarkers. I used a wet paintbrush to pull some of the color out around the flowers for a blended background. After it was dry, I adhered it to a white card base. I then applied the frame over the top of it with the double-sided tape. I glued the word “thanks” to the bottom center. I added some sparkling clear sequins around the sentiment.

I decided to use my love of stitching on one of my cards. I used the Flower Power stencil for the flower. I applied Zest Ink for the petals and Guava Ink for the center of the flower. Instead of using the matching die, I fussy cut it out so I could leave a wider edge along the border. I used a basic straight stitch with two strands of yellow embroidery floss around the outside of the flower. I used French-knots with three strands of embroidery floss covering the center of the flower.

I made the background with the new Flower Buds embossing folder and cut it down slightly so it would fit on a red card base. I attached my flower to the top center with foam tape behind it which also held all those stitches in place. I stamped a sentiment from the stamp set with Watermelon Ink and die-cut it out with the matching die. I attached two together for a little more depth and glued them to the bottom of the card. I added some small drops of yellow Nuvo Drops to the center of each flower on the embossing folder.
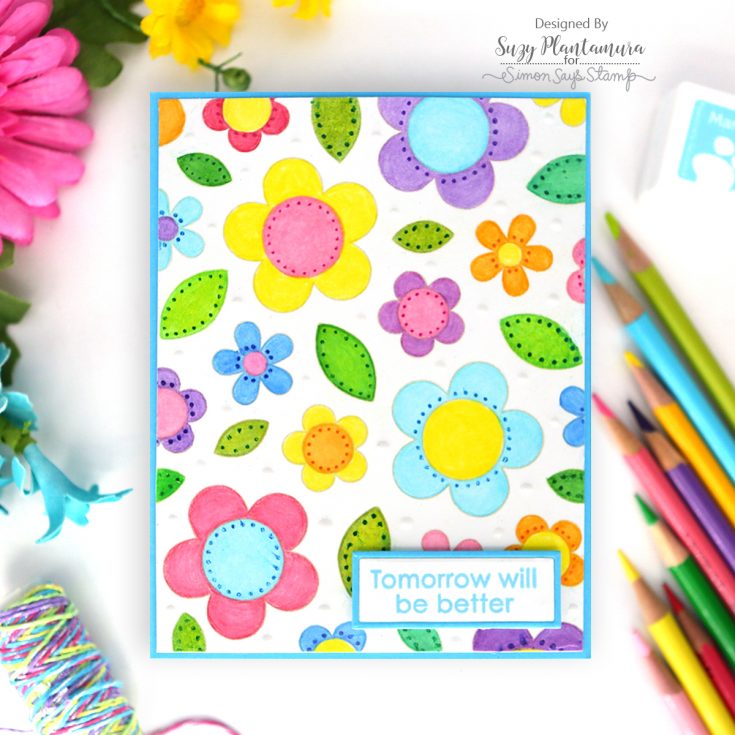
This is my “random stamping” card! I stamped all of the small flowers and leaves randomly over a piece of white cardstock with Latte Ink. I colored them in with lots of different colors of Prismacolor pencils. I used a white pencil over the top of each color to blend it better and smooth the colors out. I used glitter pens to add dots on the flowers which wasn’t the best idea as they smeared over the waxy pencils.
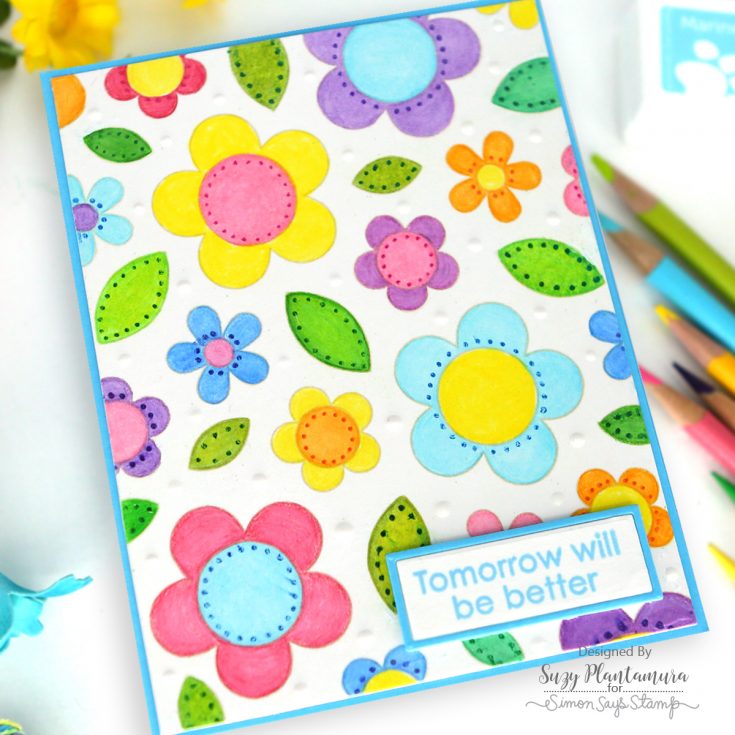
I die-cut this piece down with the A2 Thin Frame Die and attached it to a card base made with Rainbow Splash Sea Cardstock (the best bright blue ever). I used the same A2 Thin Frame Dies for the sentiment die-cuttting it from both the blue cardstock for the frame and white cardstock for the center. I stamped a sentiment from the stamp set with Marine PSInk. I attached this to the bottom of the card with foam tape behind it which holds the frame in place. I added some white Nuvo Drops around the card background.
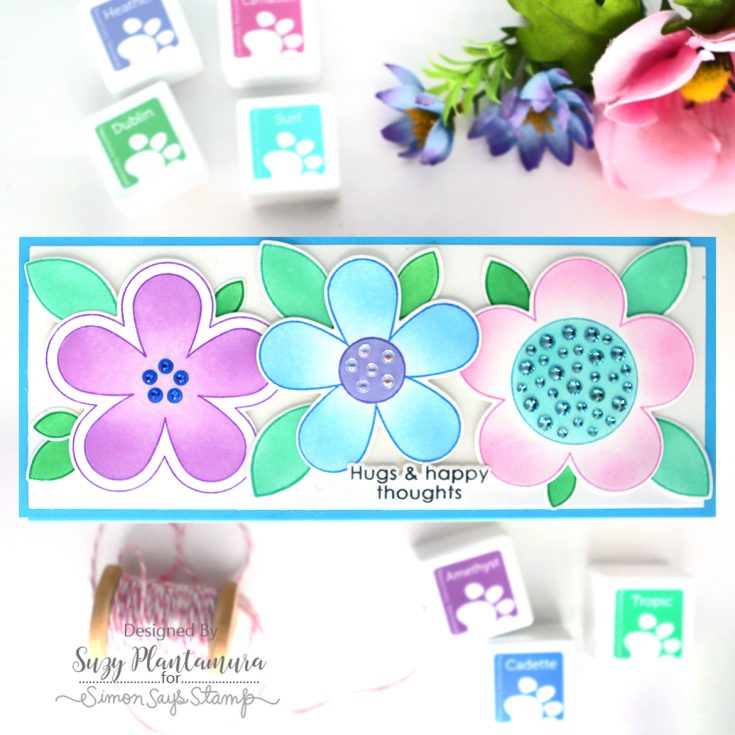
I wanted to make a card with both the stamps and the stencil used together. I first stamped the flowers in the middle color of ink in each Trio. I then used the lightest color of ink in the Trio with the stencil for the inside of the flower. I used the Tim Holtz mini foam applicators to keep the colors really soft. I die-cut the flowers and leaves out with the matching dies.

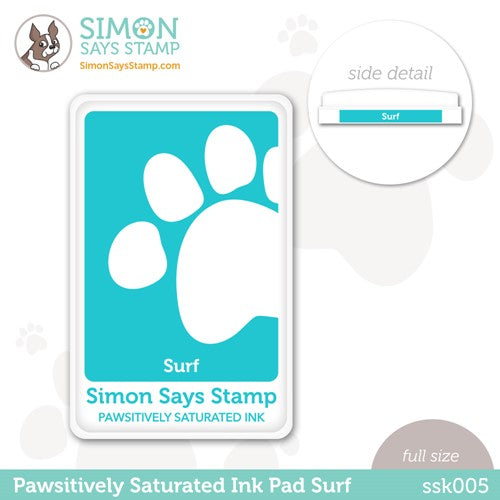
I die-cut a piece of white cardstock with the SSS Nested Slimline Rectangle Dies and attached it to a piece of the same Rainbow Splash Sea Cardstock cut to be 8.5” x 3.5”. I attached that to a white card base. I stamped a sentiment from the stamp set with black ink and die-cut it out with the matching dies. I arranged the flowers on the front of the card first using foam tape behind them. I then put just a small piece of foam tape on the tips of the leaves and glued the inside of them tucked behind the flowers. I added the sentiment to the bottom of the card. I used Rainbow Splash Gem Stickers in royal blue on the flower on the left, Rainbow Splash Drop Sticker Assortment drops to the center of the flower in the middle, and Pawsitively Dazzling Gems in Surf to the center of the flower on the right.
Whew, that’s a lot of flowers! But it is Spring now, so creating a flower garden seems very justified, and this Flower Power stamp set was just perfect for it! I hope you enjoyed this “one stamp, five ways” post to motivate/inspire you to use your stamps in more ways and to combine them with all the other products you have in your stash (or want to buy from the new release!). Thanks for visiting today! Suzy
SUPPLIES:
|
Thanks so much for stopping by, and thanks to Suzy for being our guest!








such sweet cards!!
Just ordered the whole set of goodness. All the inspiration made me realize how versatile this is. Just think of all those color choices to use. Can’t come fast enough.
Hi Suzy –
Love these! All so happy and cheerful and pretty! TFS –
Lori S in PA
Beautiful cards!!! I love the stitching and the french knots!!
These are so fun
Explore Tanzohub, where data-driven innovation meets seamless collaboration. Empower your organization with advanced tools for data analysis, visualization, and collaborative insights at https://tyloonguru.com/tanzohub/. Harness the power of data to drive innovation and achieve transformative results in your projects and initiatives.”