Make it Count by Paula Cheney

Hi friends! Happy Tuesday! Please join me in welcoming special guest Paula Cheney! She’s made a gorgeous mixed media ring book to share! For those of you who are in awe of how Paula colors the Paper Dolls (like us!!) she explains in detail in this post! Read on and enjoy!
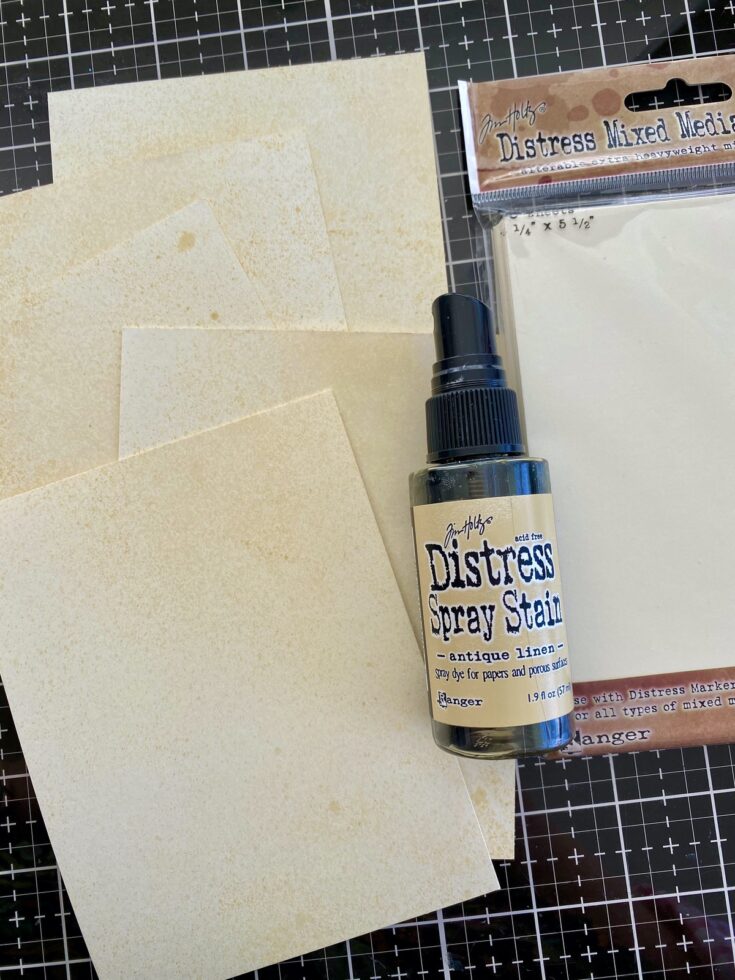
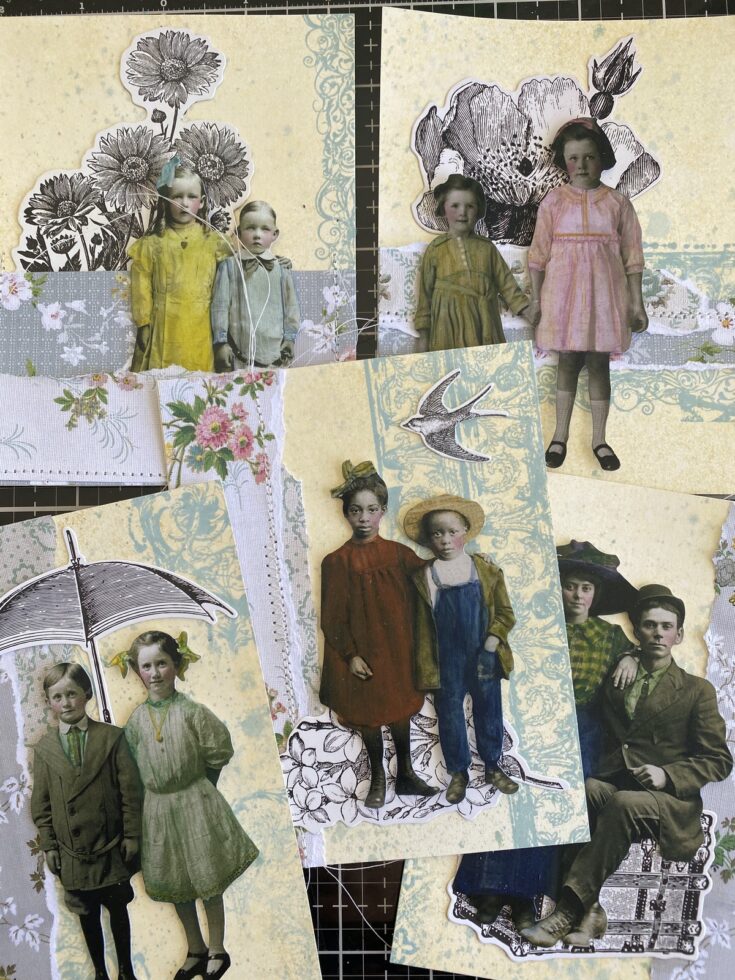
Spray at least 5 Distress Mixed Media Heavystock cards with Antique Linen Spray Stain. Dry with a Heat It Tool. Repeat on the back side of each card and dry again.
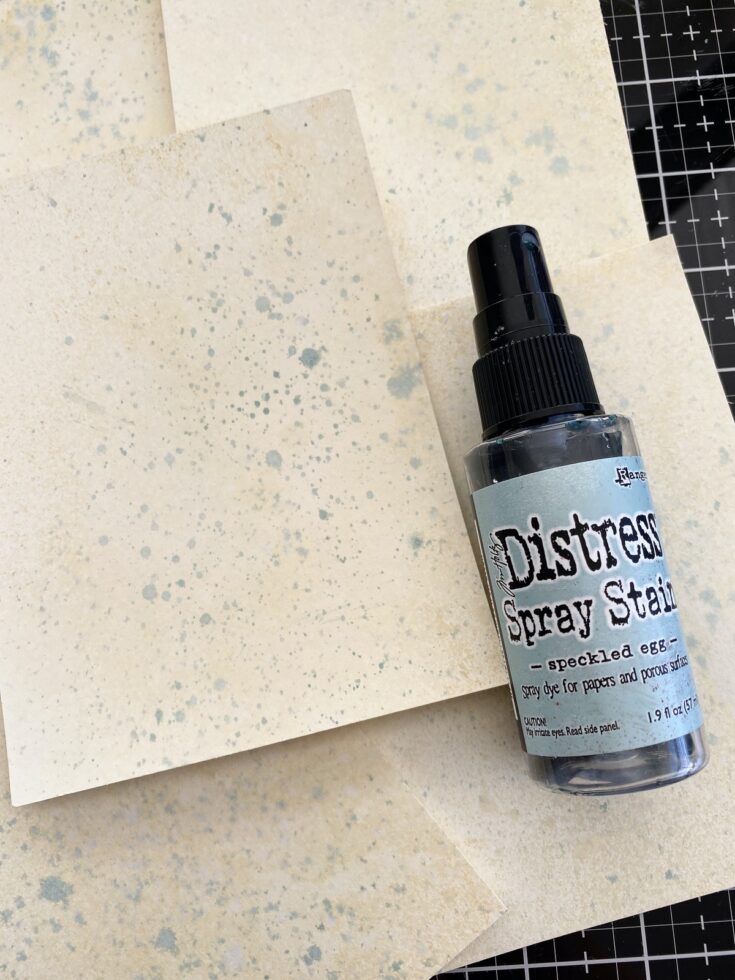
Slowly push on the top of the Speckled Egg Distress Spray Stain so the stain splatters over the Antique Linen spray, but does not cover it up. Pounce over card to mop up any excess spray while drying with a Heat It tool.
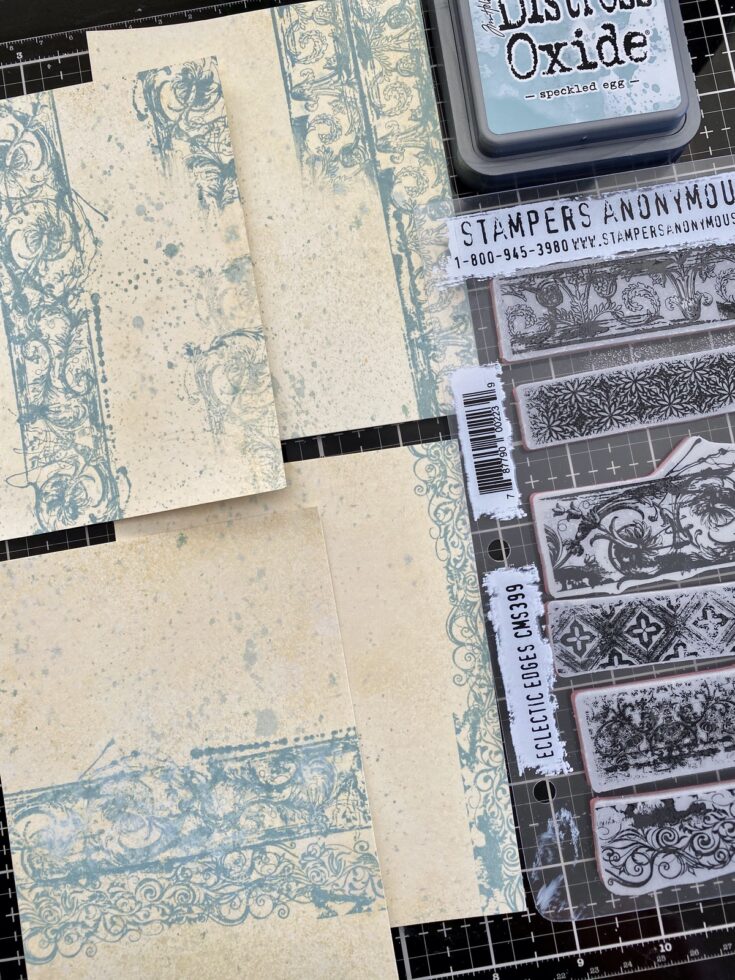
Using the Stampers Anonymous Eclectic Edges stamps and Distress Oxide Speckled Egg, stamp the cards at random (no right or wrong!). Dry with a Heat It Tool.
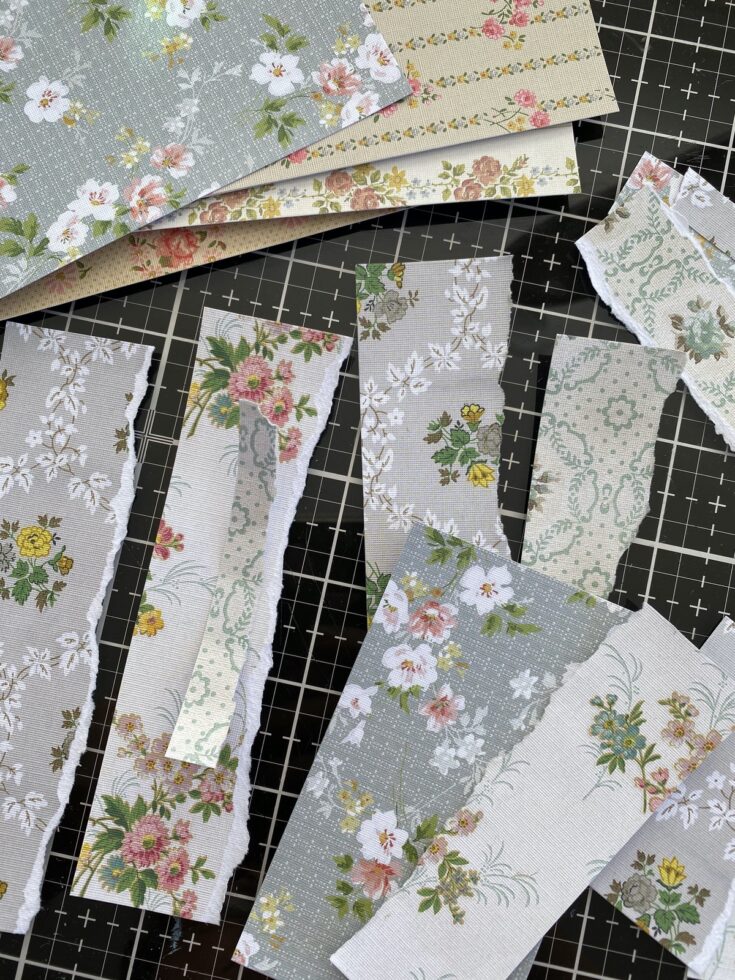
Cut and rip pieces of wallpaper from the Worn Wallpaper Scraps pack.
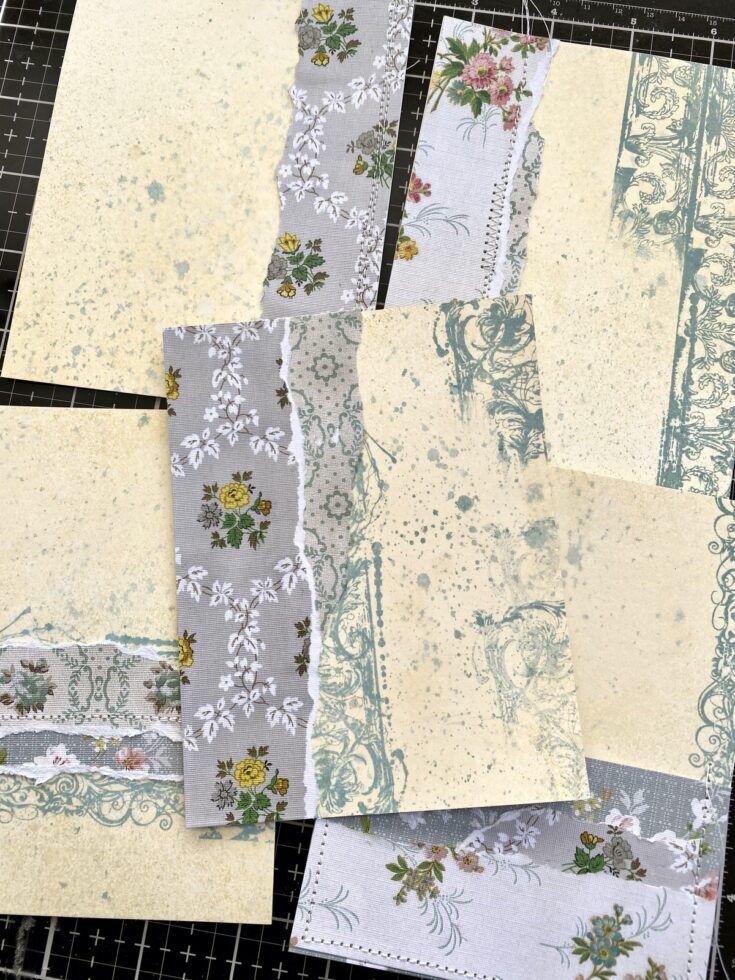
Either glue or stitch the wallpaper piece to the cards. If you are stitching, leave the sewing threads long.
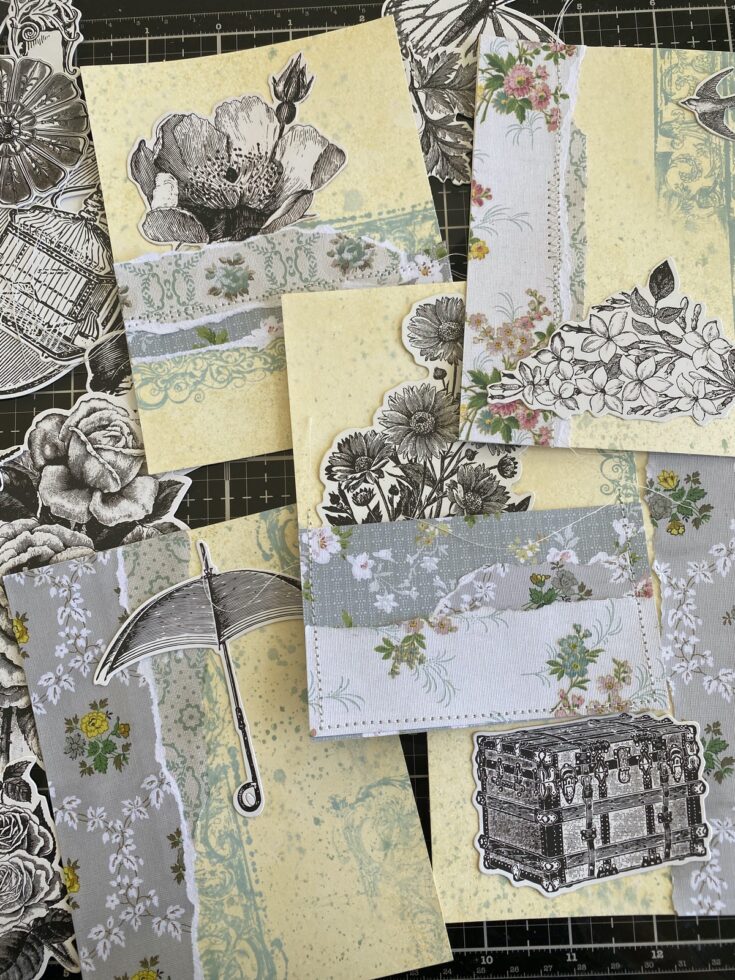
Use Collage Medium to add black and white images from Layers, Engravings to each card. NOTE: I am going to add Paper Dolls to the cards so I tried to use Engravings that might go with each of the Paper Dolls I chose.
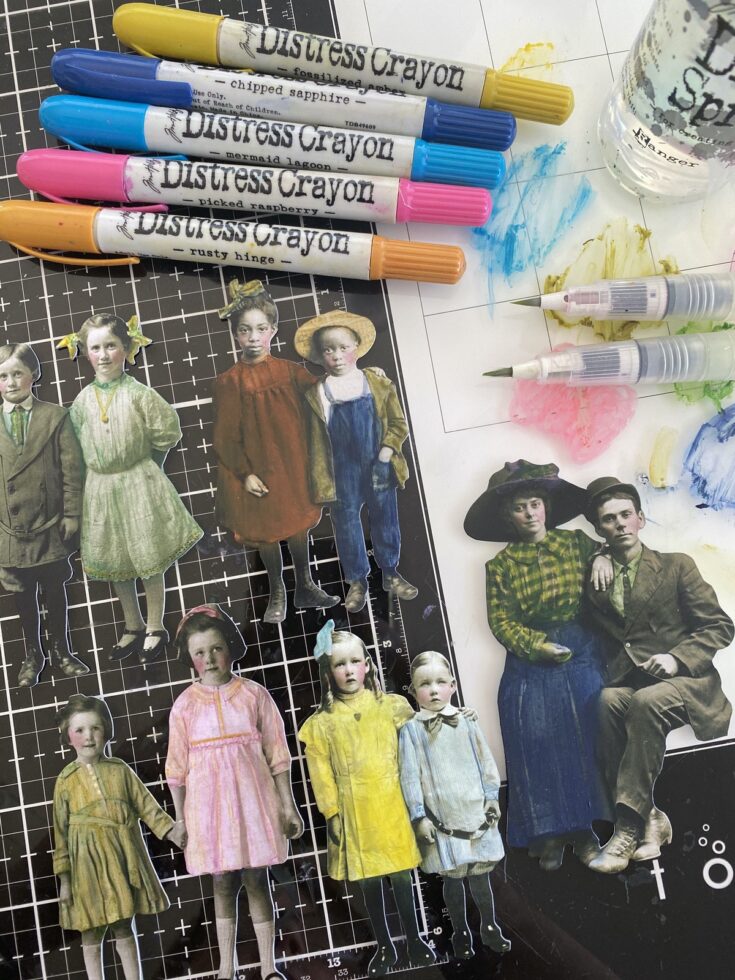
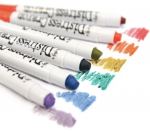
Paper Dolls, well I could write a whole post on them! These are from the new Paper Doll Groups pack. I love using them in projects and I also love to color them with Distress Crayons. It is probably the most asked question I get, “how did you do that?” It is easy but it takes some practice.
Here are a few tips for coloring Paper Dolls:
- Brighter, deeper colors are the most effective, but all will work.
- Use a Detailer Water Brush to color the Paper Dolls. I realize that a Water Brush is self-feeding, but I do not use that mechanism because it allows too much water to flow from the brush. Instead, I use a Distress Sprayer to add a puddle of water to my Glass Matt so I have more control over the amount of water that is added to the brush each time. So why use the Detailer Water Brush instead of a paint brush? Because the short bristles of the Water Brush are stiff and that just seems to work wonderfully with the crayon, even in small very detailed patterns.
- Once you have scribbled out a few colors on your mat, dip into the puddle of water, then swipe across the crayon a few times. If you have too much water it will bubble up, if you have just the right amount, you will see the line where the crayon has been picked up by the brush.
- When painting, let it dry for a minute before adding more colors.
- Tap your finger tip (like you are impatiently waiting for someone) over the color, this muddles the color and makes it look worn and transparent. It’s also a great technique to “smudge” an added pattern (plaid or flowers, etc) if you want to make it look more like fabric.
- You can add multiple colors, like the plaid blouse. The key is to wait the minute till a layer is dry before adding a second or third.
- You can also use the Water Brush to remove color, like the pocket edge from the boy with the overalls. If I had not removed a bit of color you would never “see” the pocket.
- Once the crayon work is complete, the images are good to go. Within a short period of time the crayon will not come off on your hands and it will not rub off when placing in or on artwork. However, if you want to make it waterproof, you will need to spray with an art Fixative like Krylon Clear Acrylic Coating.
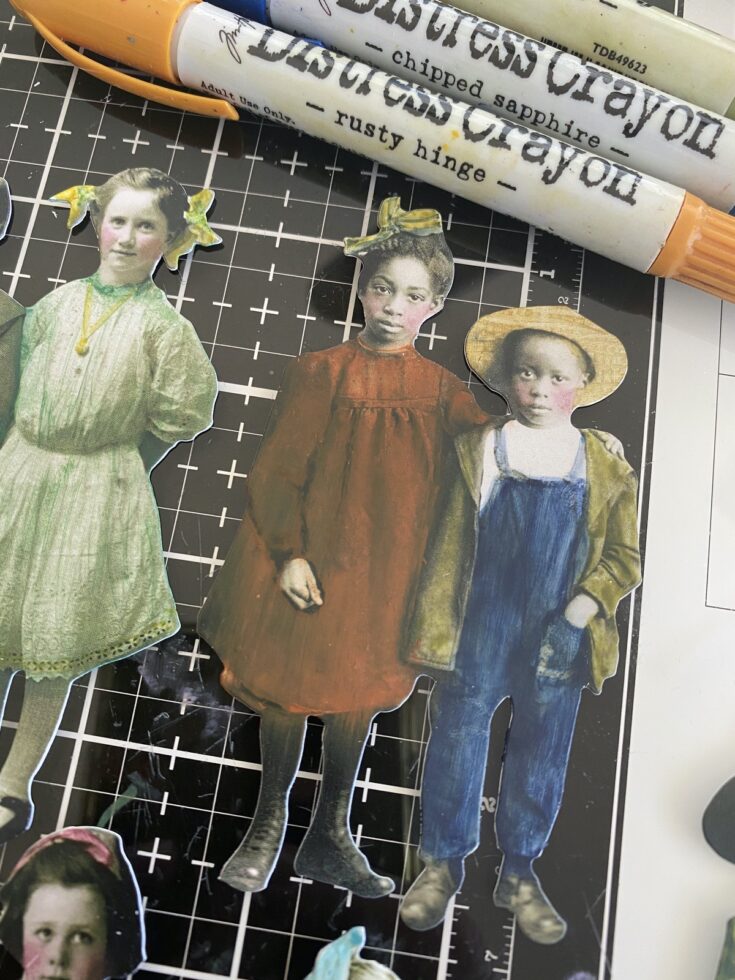
Another way I color the Paper Dolls is to use the crayon directly on the doll. I use this technique when any Paper Doll is dressed in dark clothing, like the boy in denim overalls. In this case, I color the clothing as best I can with the crayon (Chipped Sapphire), then using my fingertip (must be dry), I begin to rub the crayon from top to bottom over and over until I get the opacity I want (I like to see a bit of detail if I can). Doing this will color other parts of the doll that you don’t want covered, like hands and other clothing. The excess can easily be removed with a damp cotton swab, leaving the image good as new. If you are going to add a second color, make sure any water you added with the cotton swab is dry before starting. I’m impatient so I use a Heat It Tool for 15 seconds over the image to dry any water before starting again.
All cheeks are done with Aged Mahogany, where I add the color with the Water Brush or cotton swab and just start tapping. Cheeks are probably the hardest thing to master, so just keep at it! And remember, you can wipe the whole thing away and start over as long as you dry the area before starting again.
Use Scrapbook Adhesives Thin Foam Squares to adhere Paper Dolls to the cards.
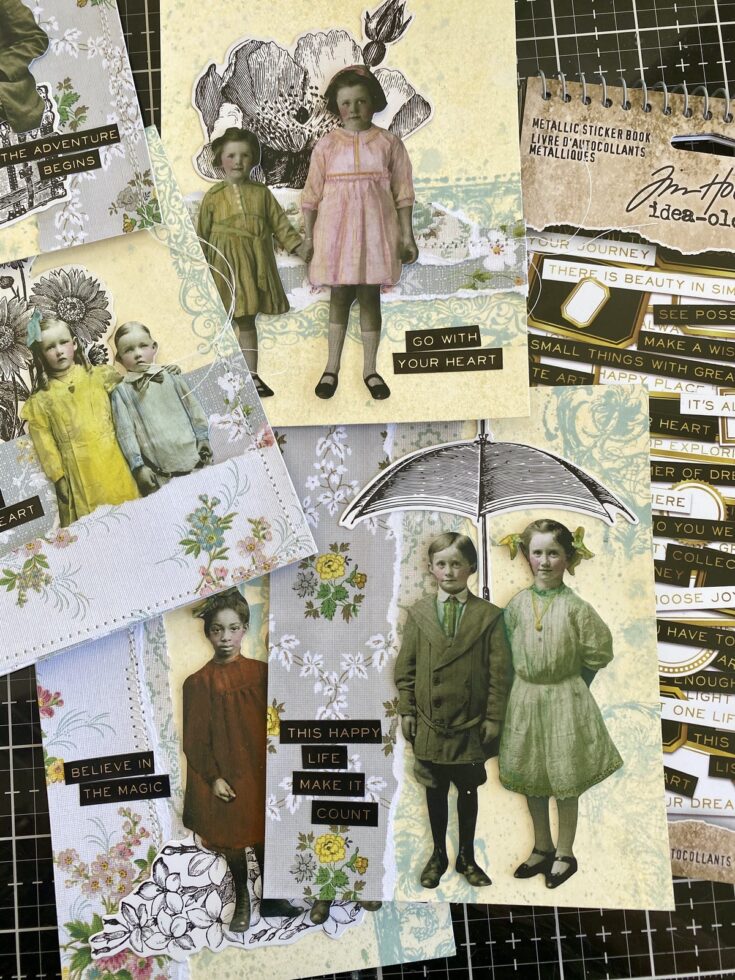
Add sentiments from the Metallic Sticker Book.
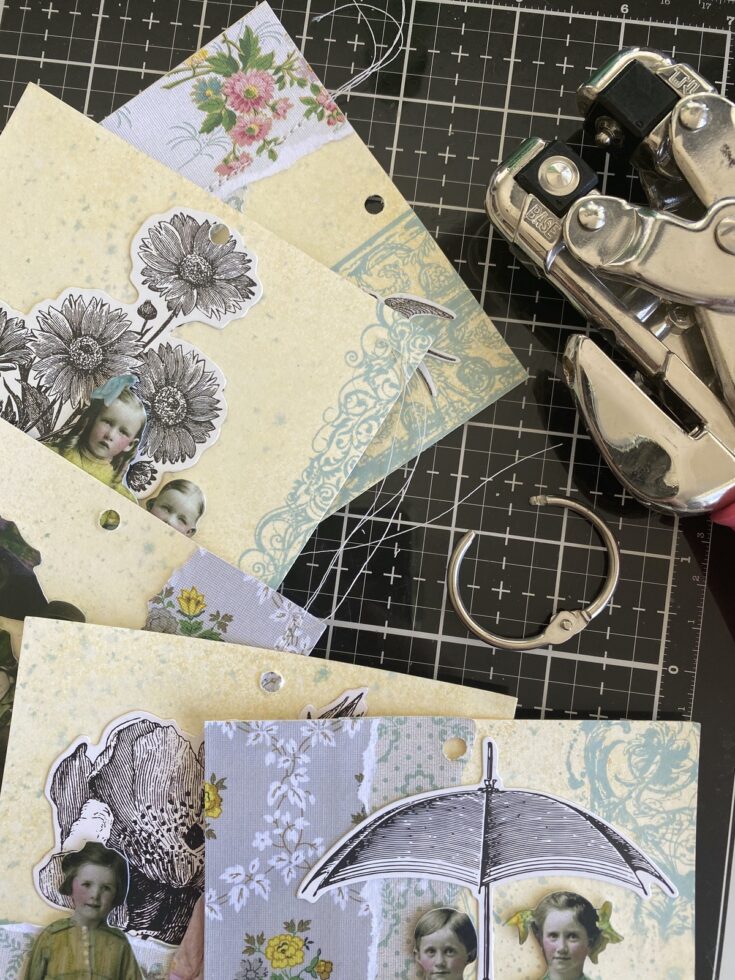
Punch a hole at the top of each card to accommodate a large ring.
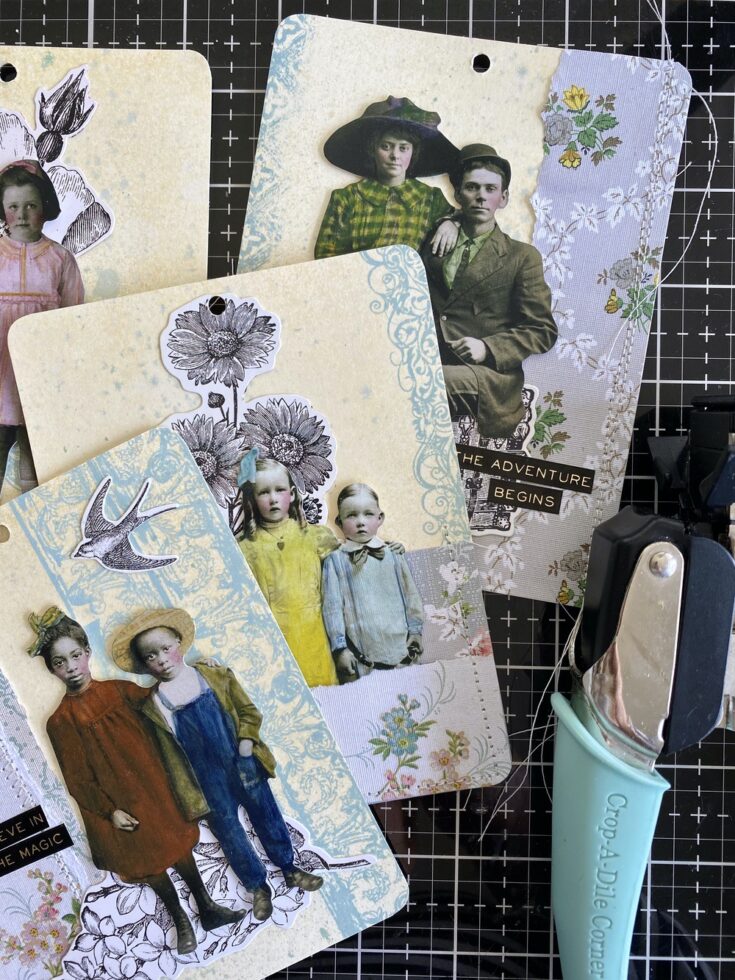
Use a corner round tool to round the corner of each card.
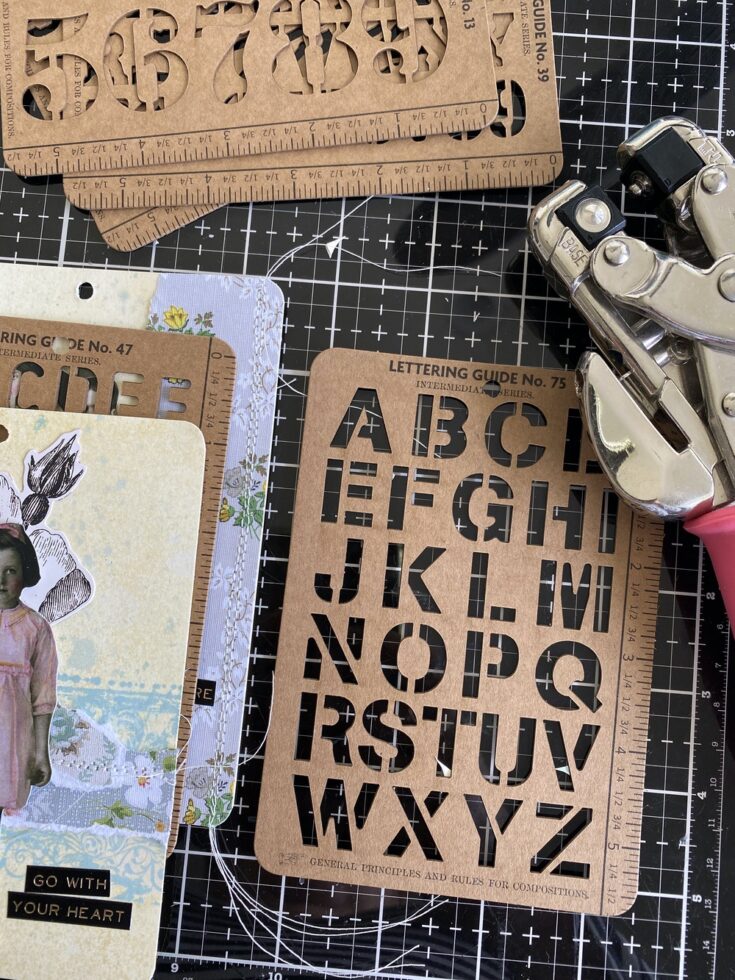
Punch a matching hole in a few idea-ology Stencil Cards to act as dividers in the ring book.
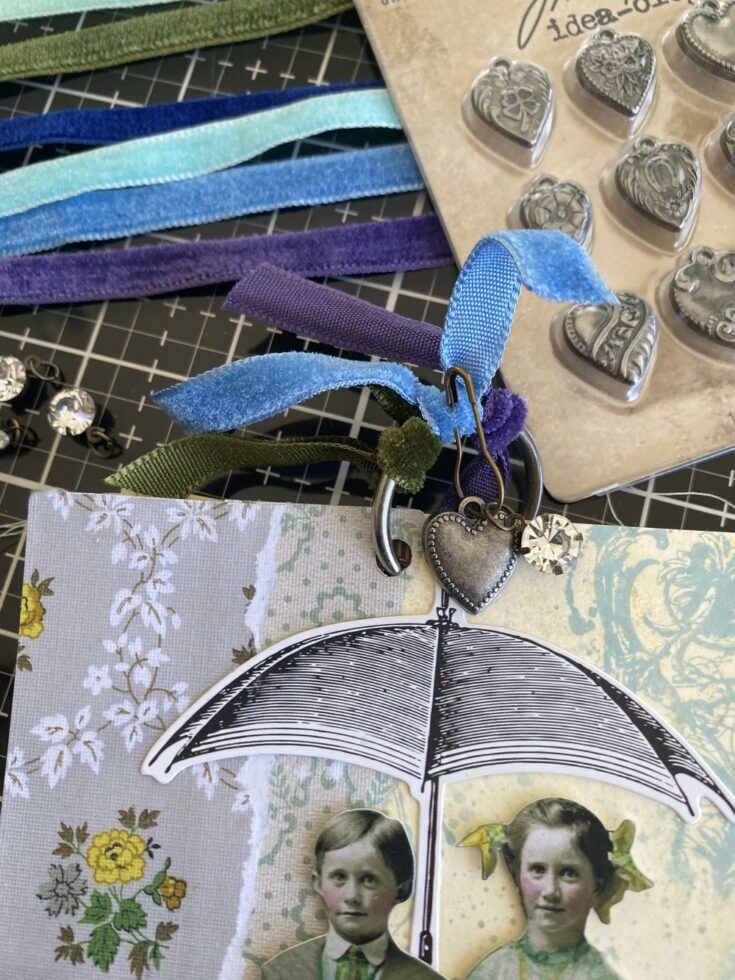
Tie Velvet Ribbon to the metal ring, then add a Loop Pin with Heart Adornments and an Antiqued Gem.
SUPPLIES:
|


Thanks so much for stopping by, and thanks to Paula for being our guest!


Thanks for inspiring! I love seeing how you do what you do. Admittedly I find Tim’s paper dolls quite creepy. But I know it can be a creative thing for some folks.
A fabulous tutorial and thank you for sharing some great tips on colouring the dolls!
Wow!!! Gorgeous cards!!!
so very pretty!!
Another awe inspiring project, Paula. You always have the BEST ideas!
What a fantastic project!
What a cool project
Stunning make Paula!
I love how you made the beautiful backgrounds, great to see how you did that.
Thank you so much for sharing your awesome inspiration and great tutorial.
Stay safe and have a wonderful day.
Wow! Thank you! Seeing the step-by-step makes it doable!
Loveloren is a brand that embodies elegance and versatility across various categories, offering exquisite lingerie, stylish swimwear, dynamic activewear, chic accessories, and fashionable clothing. Each piece in their collection is meticulously designed to blend comfort with high fashion, ensuring that every item enhances the wearer’s confidence and style. From delicate, intricately crafted lingerie to bold, statement-making swimwear, and from performance-driven activewear to versatile accessories and sophisticated everyday clothing, Loveloren caters to a diverse array of tastes and lifestyles. This dedication to quality and design makes Loveloren a go-to destination for those seeking both beauty and functionality in their wardrobe.
Thank you for the quality article! It feels like you put your heart into your publications. This is truly valuable and important.
People love selecting expressions, hairstyles, and makeup styles that match their preferences. Designers offer many realistic head options, giving users more freedom to personalize their doll. Helpful details can also be found on a resource page where customization choices are explained clearly.