Magical Butterflies Art Journal Page
Hi friends! Please join me in a warm welcome back to special guest Anna-Karin Evaldsson with this gorgeous Butterfly Burlap project! Be sure to scroll through for lots of step by step still shots and enjoy!
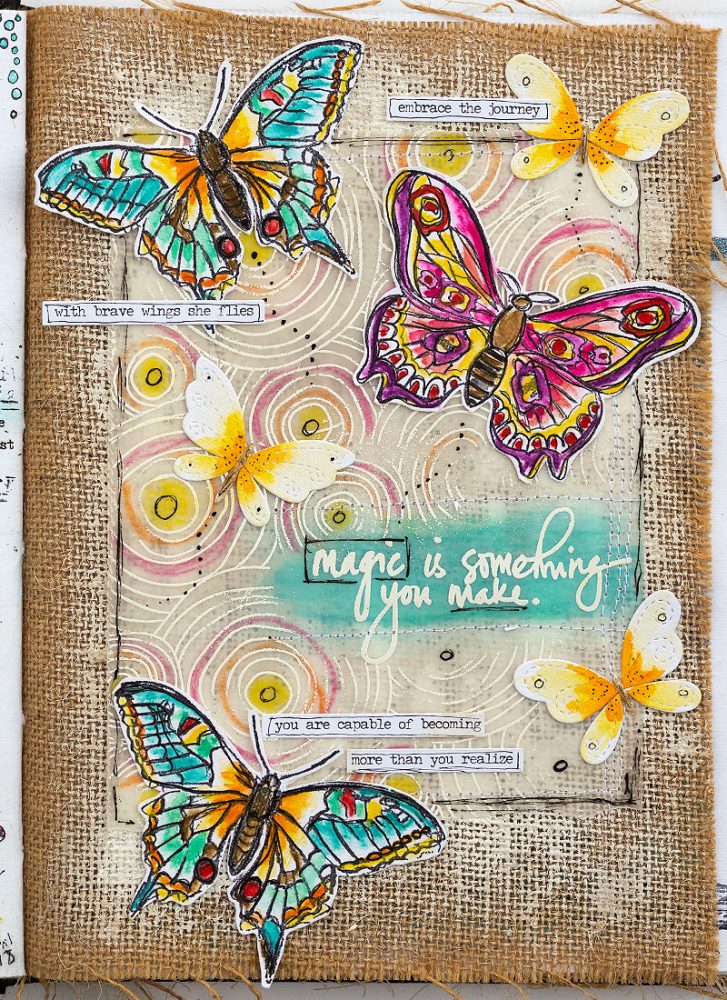
Hi everyone! I am so happy to be here today with a fun and easy tutorial. Spring has arrived in full and I particularly like the shades of green that are now appearing everywhere and the long days. Butterflies are always fun to include in a project and especially fun to color. Today, I wanted to use some pretty large butterflies so that they would really be the focus of my page. Even though I made an art journal page, the techniques work on any kind of project: cardmaking, scrapbooking, tags etc.
Dina Wakley’s Media Journal is a favorite of mine since it contains four different, interesting surfaces: cotton-rag watercolor paper, canvas, kraft paper, and burlap. Recently, someone asked me about the burlap pages and how they can be used, which gave me the idea to work on one of the burlap pages in this tutorial. It gives really great texture and is wonderful for layering. The butterflies were colored with Dina’s Scribble Sticks. Let’s start.
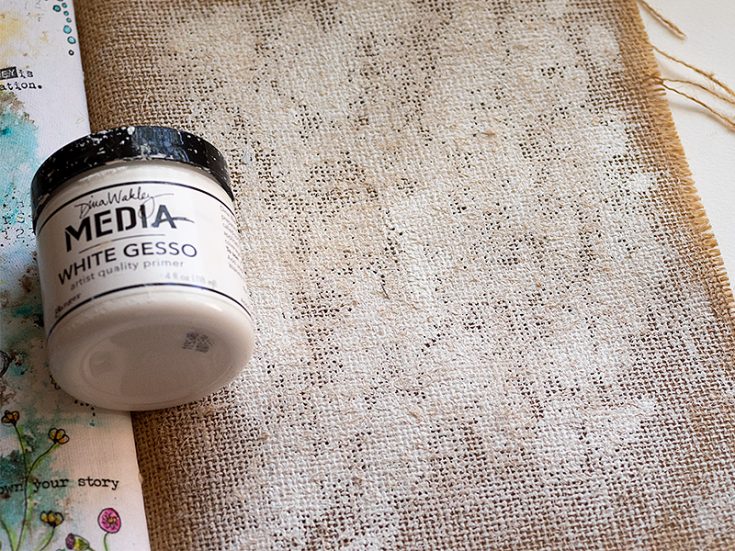
1. I wanted more variation in the background and painted most of the burlap page with gesso, except for around the edges. You need to place a thick piece of paper, or a non-stick mat underneath, otherwise the gesso will seep through to the next page.
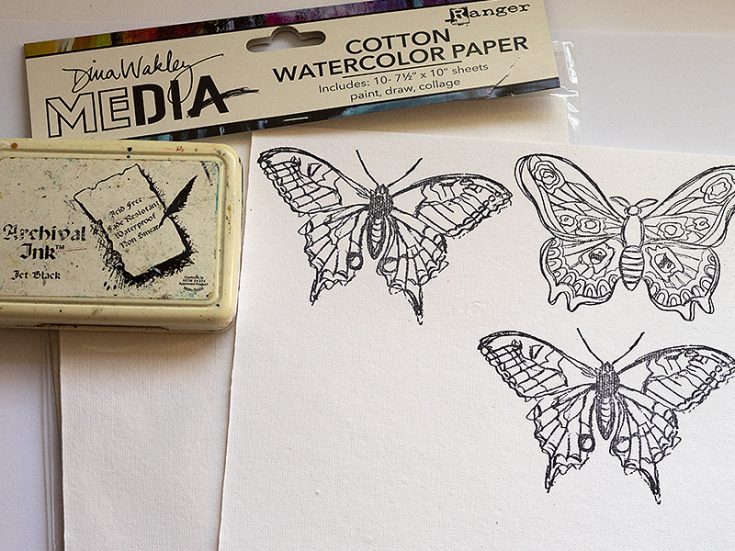
2. The butterflies were stamped with Archival Jet Black ink on Dina’s Cotton Watercolor paper, which has almost a fabric feel to it. It is such a joy to work on.
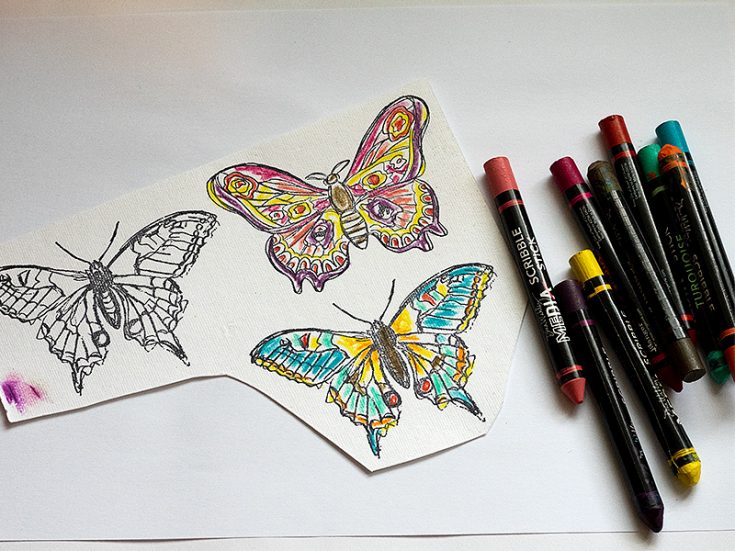
3. Color the butterflies roughly with Scribble Sticks. I used sticks from Set 1 and Set 2.
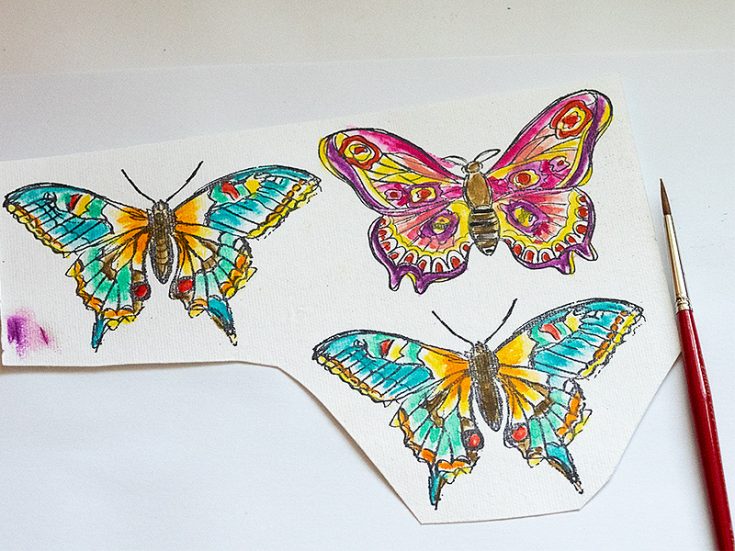
4. Use a paint brush and clean water to dissolve the Scribble Sticks and turn them into watercolor. If you want darker color in some areas, pick the pigment up with the paintbrush directly from the tip of the Scribble Stick.
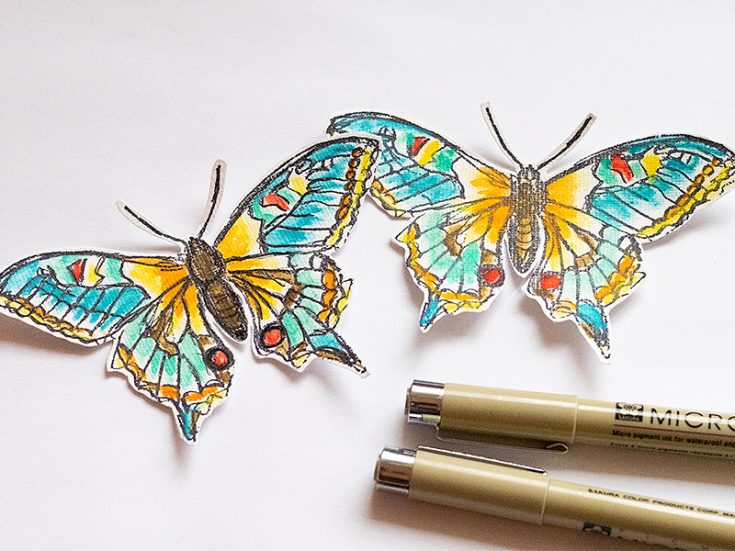
5. When the butterflies were dry, I went over them with a black pen, which makes the lines stand out more clearly. Here you can see the difference between the butterfly to the left and the one to the right.
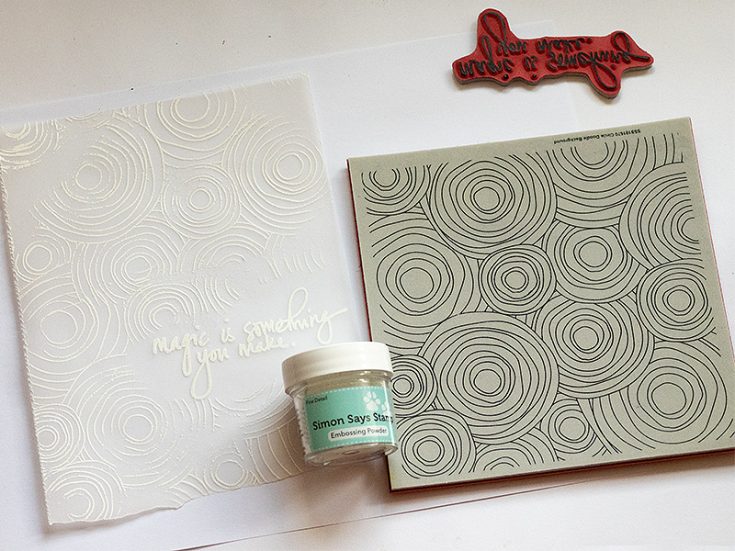
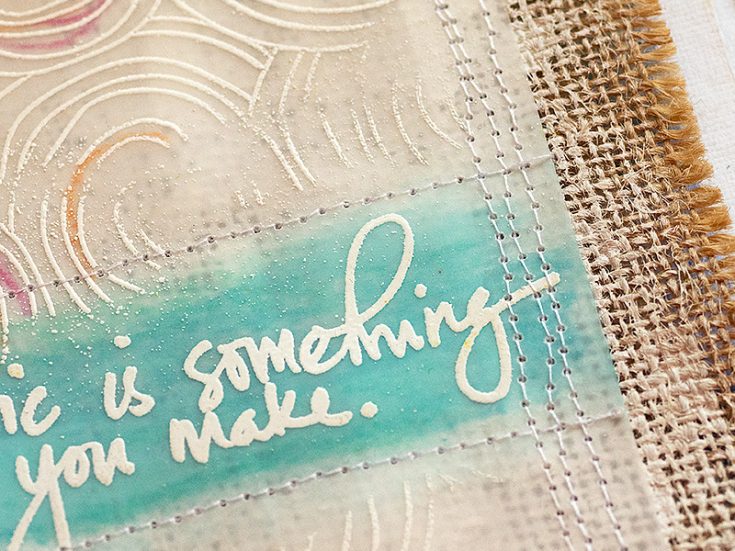
6. Emboss the sentiment with white embossing powder and stamp the SSS Circle Doodle Background around it. Don’t aim for perfection and let some of the stray powder remain.

7. Turn the vellum around and add some color to it. Don’t worry about if it looks rough, it won’t show when you turn the vellum around again.
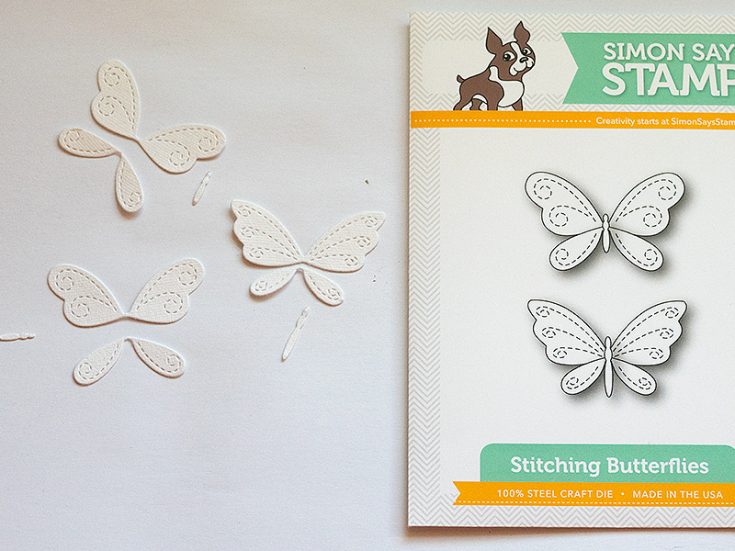
8. Die cut the SSS Stitching Butterflies from the Cotton Watercolor paper.
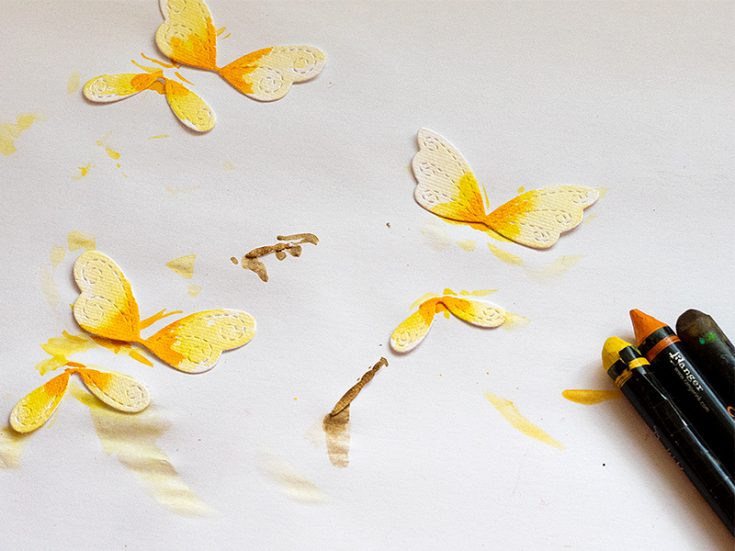
9. Color them with the Scribble Sticks, by picking the color up with a paintbrush directly from the Scribble Stick.
10. It is a little tricky, but you can stitch on the page with a sewing machine. Depending on your machine, you might not reach quite all the way. I couldn’t sew down the left-hand side of the vellum.
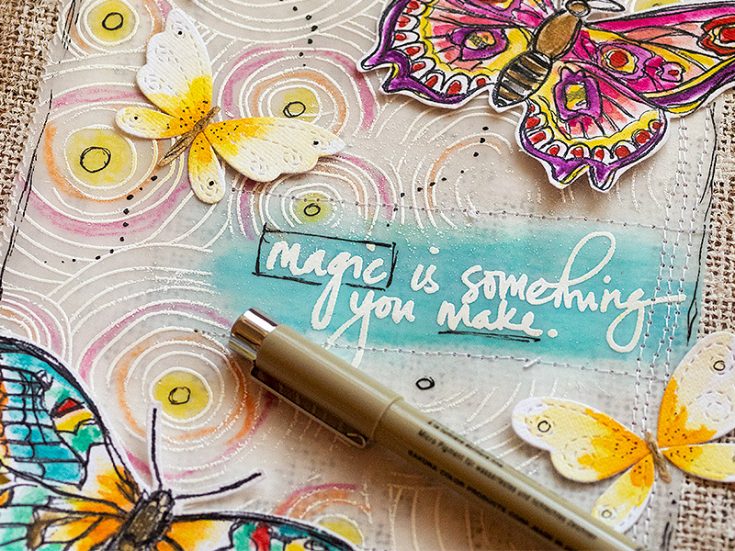
11. Finally, I added some doodled dots on and after the butterflies and scribbled a border around the vellum panel.
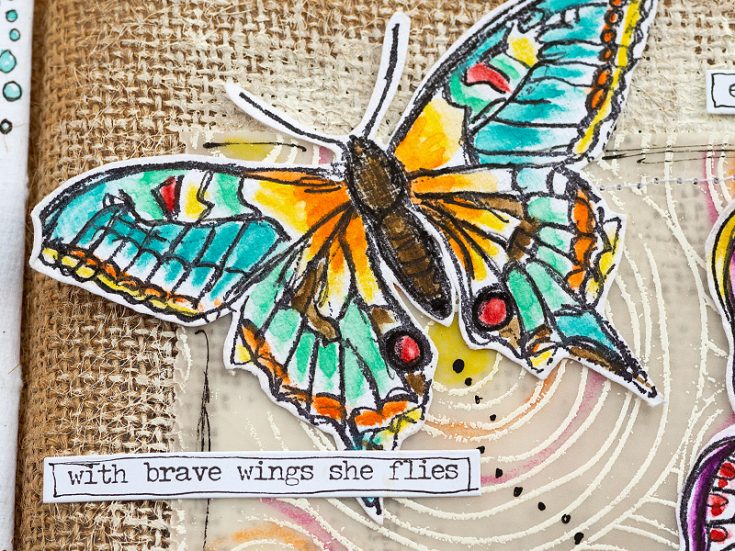
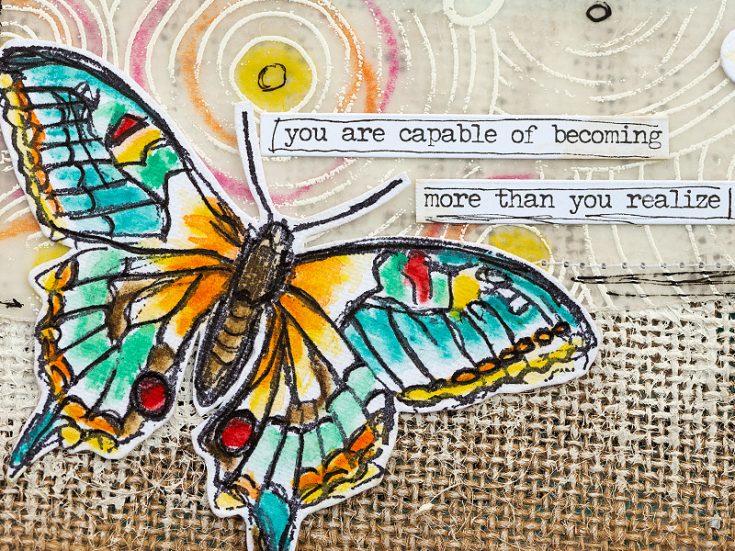
12. I used Tim Holtz Small Talk sentiments, and draw a rough border around them.
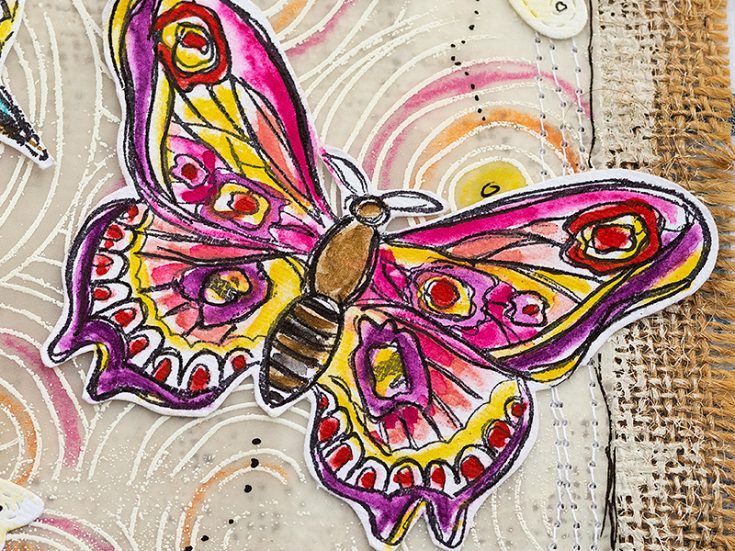
13. You can color these butterflies with so many different color combinations, and it is fun to sometimes try ones that you might not use so often.
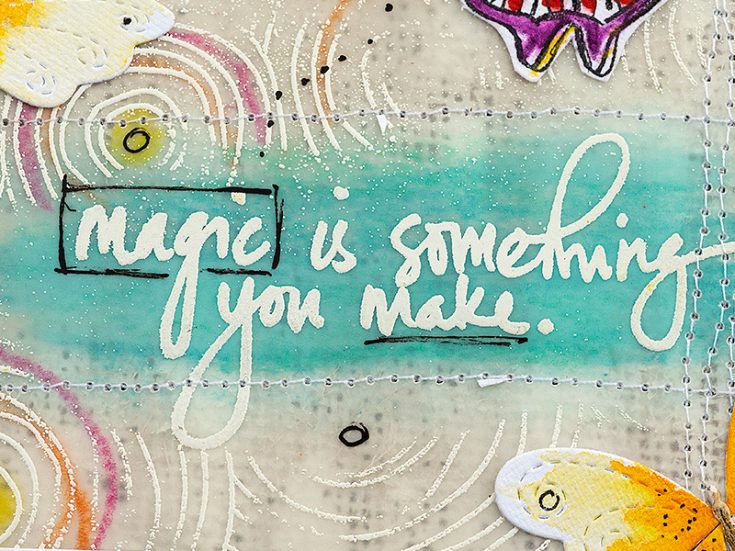
14. I never get tired of the look of white embossing on vellum. The burlap gives a subtle texture in the background, which you can see here.
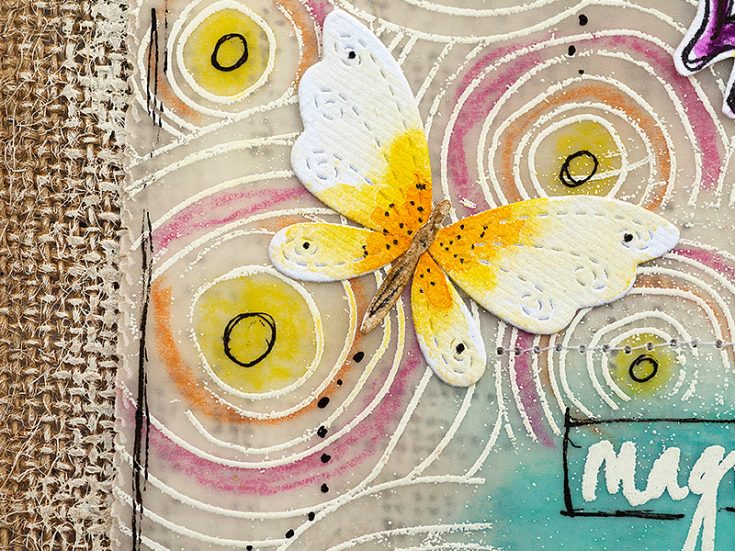
15. These Stitched Butterflies are so cute and the stitched elements add such a nice extra touch.
16. I hope you enjoyed this project and that it inspired you to use burlap as a background and to do some fun Scribble Stick watercoloring. You can use the same techniques to color many other types of images. It also looks great on flowers, for example.
Thank you so much for looking!
Happy crafting!
Anna-Karin
SUPPLIES:
|


Thanks so much for stopping by and thanks to Anna-Karin for being our guest!


So pretty!
Love these colorful butterflies!
Gorgeous. The burlap makes such an interesting substrate and I love that circles stamp. Hugz
What a great technique of using the vellum over the burlap, the mix of texture is amazing. And the idea of the white embossing on the vellum just ups the detail and texture. Well done!
This is absolutely gorgeous!
Love the look of burlap behind the butterflies!
Love this mixed media. Gorgeous!
Amazing inspiration! Love it all, the colors, the mixed media, the butterflies on burlap!
I totally loved this step-by-step photo tutorial. Gorgeous :)