Love this Life: Funky Foliage Tag
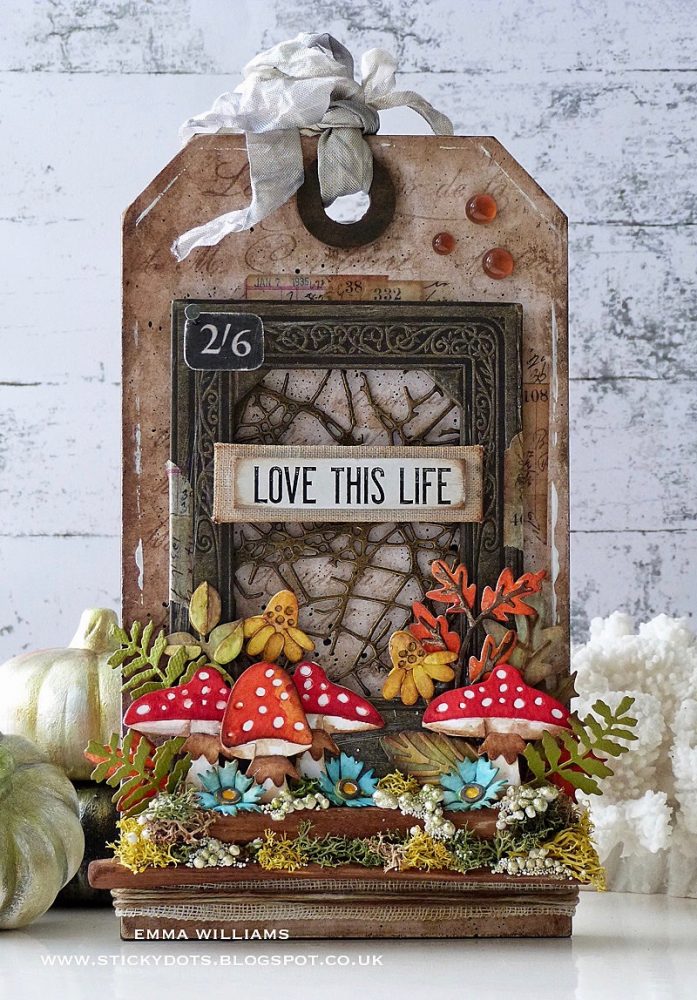
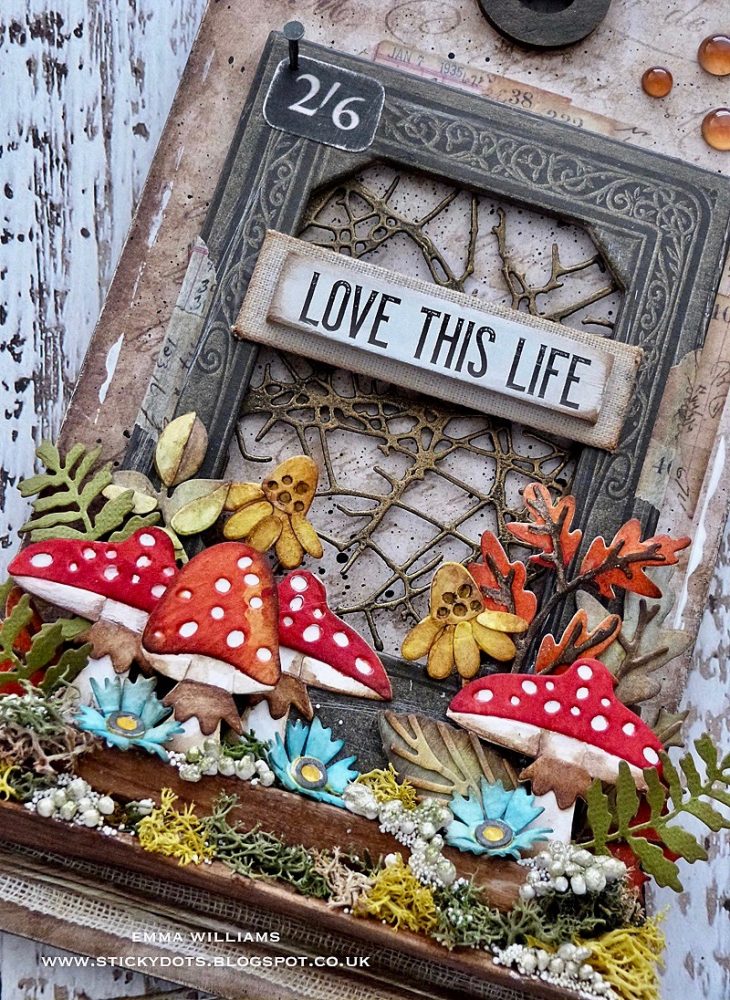
Hi friends! Please join me in welcoming the super awesome Emma Williams back to our blog as a special guest! She’s made this gorgeous Funky Foliage Tag using a plethora of fun products! Be sure to read on for tips, tricks, and product detail shots and enjoy!
Hi everyone, it’s Emma here and I’m so excited to be back on the Simon Says Stamp blog to share my latest project with you all.
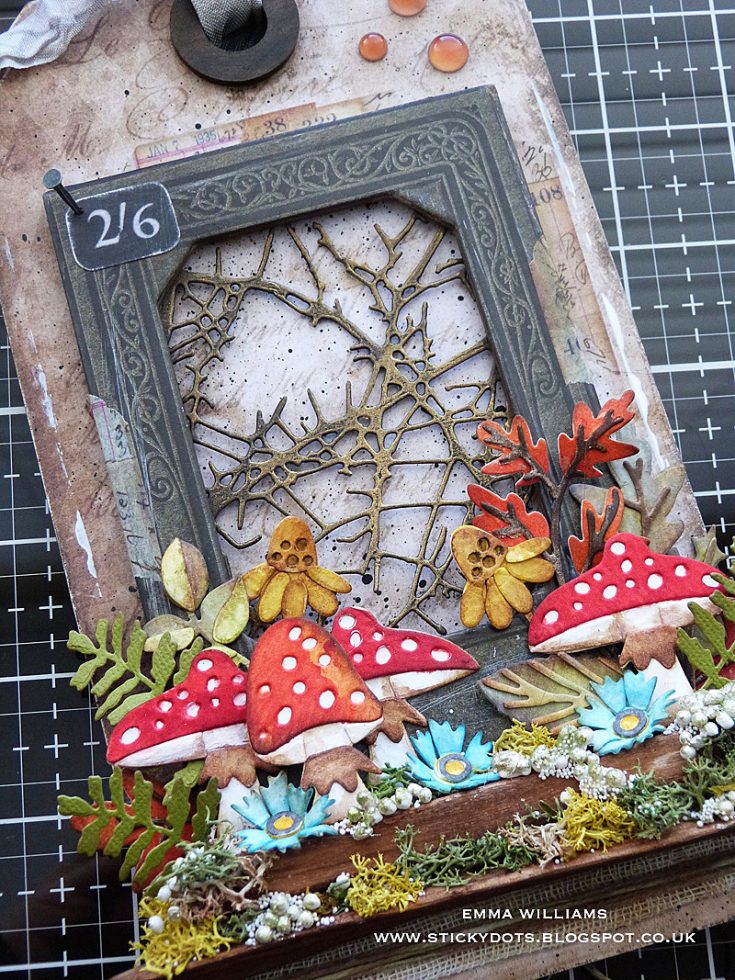
I think we can say that Autumn has finally arrived, or at least it has here in the UK and a celebration of my favorite time of year I decided to create this tag, which was such a fun piece to make. I fell in love with these Funky Foliage dies when I first saw them on Tim Holtz’s Facebook Live video they are just the cutest and I just had so much fun bringing this little woodland scene to life and creating a home decor piece that can be displayed in the home and enjoyed…
So, it’s time for me to share how I created this tag…
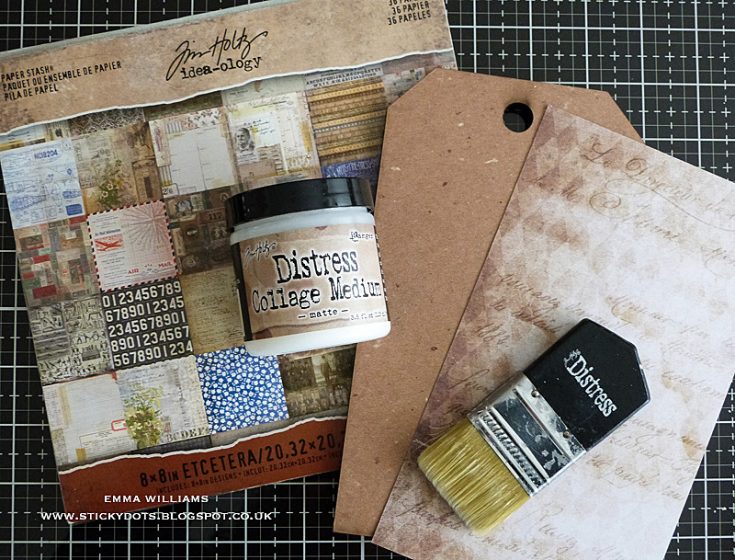
1. For this piece, I used a Mini Etcetera Tag which is perfect for this project as it’s such a wonderful, substantial surface to work on.
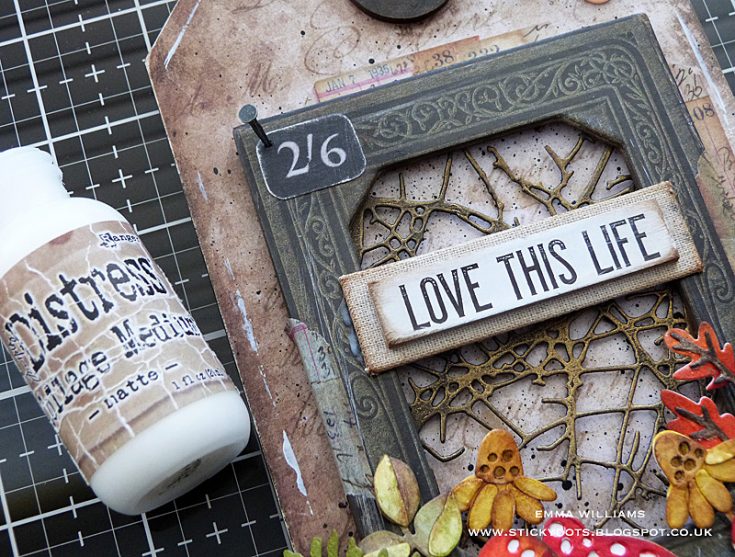
2. Using paper from the Etcetera 8 x8 Paper Stash, I cut a panel roughly the same width as the tag and then adhered the paper directly onto my surface using Matte Collage Medium and the Tim Holtz Distress Collage Brush. At this stage, I also applied a layer over the top to seal the paper.
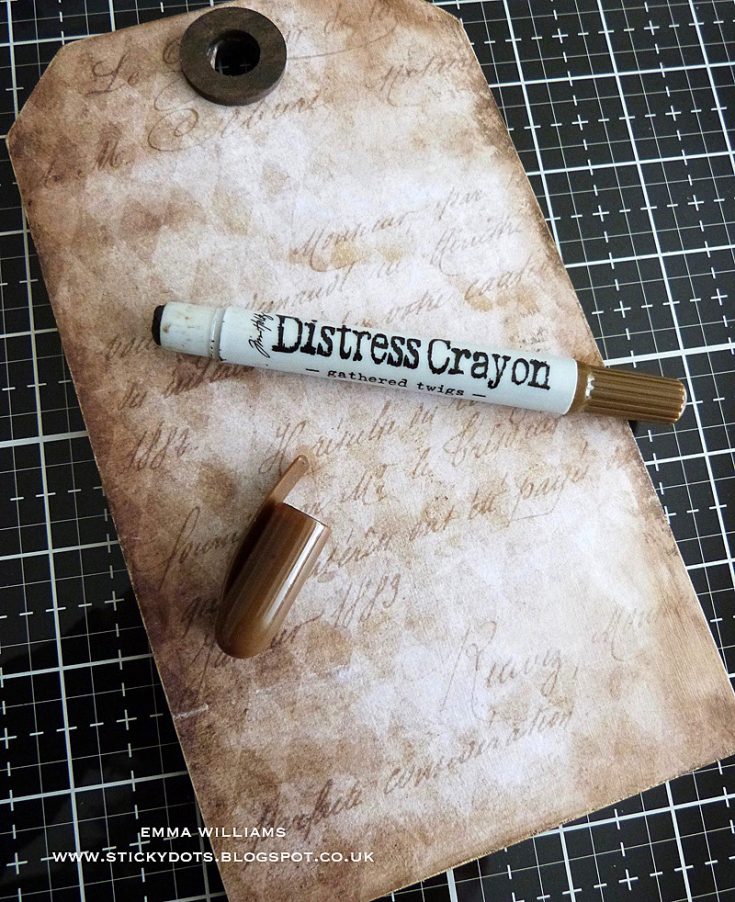
3. Once the medium is dry, I then applied Gathered Twigs Distress Crayon around the outside edge, blending out the color with my fingers or a semi dry baby wipe.
4. Paint the hole reinforcer piece, which is supplied with the tag using Walnut Stain Distress Paint and pop it over the hole of the tag using Matte Collage Medium to adhere it into place.
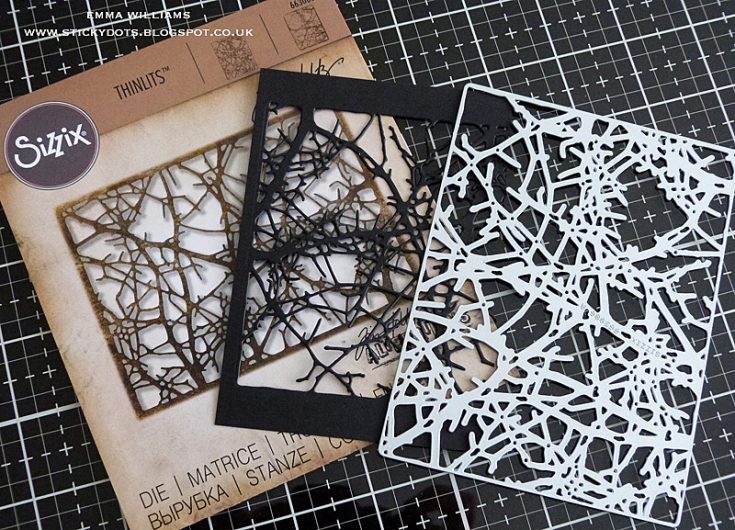
5. Setting the tag to one side, I moved onto the frame section and to begin, I used the Tangled Twigs die to die cut a panel of the black card.
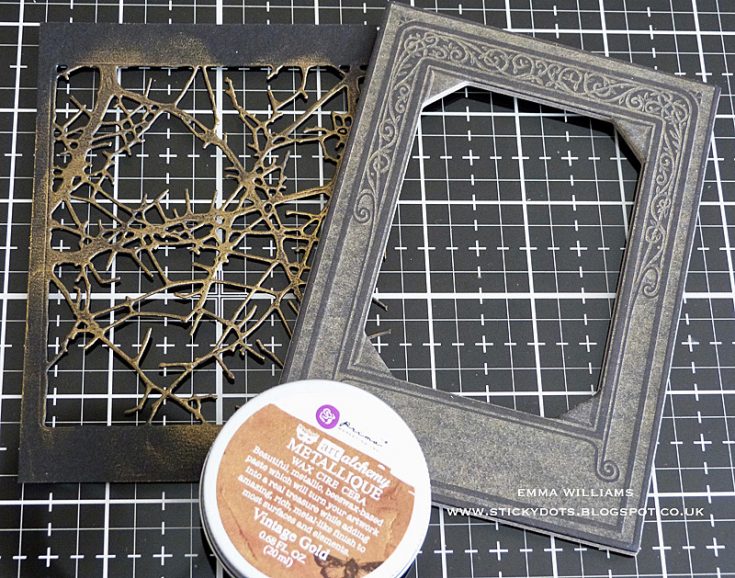
6. Taking the Tangled Twigs die cut, apply a small amount of Vintage Gold Alchemy Wax. Using one of the Baseboard Frames, cut the twigs die cut down to fit behind the aperture of the frame.
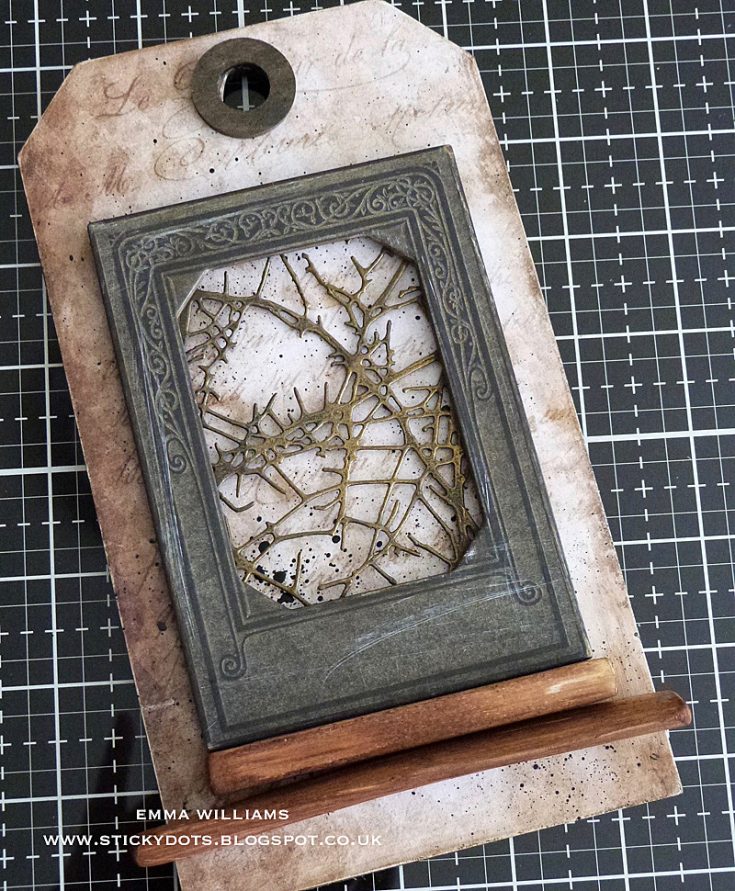
7. I attached the tangled twigs panel to the back of the frame with strong adhesive tape and then used foam pads to mount the frame onto the covered tag.
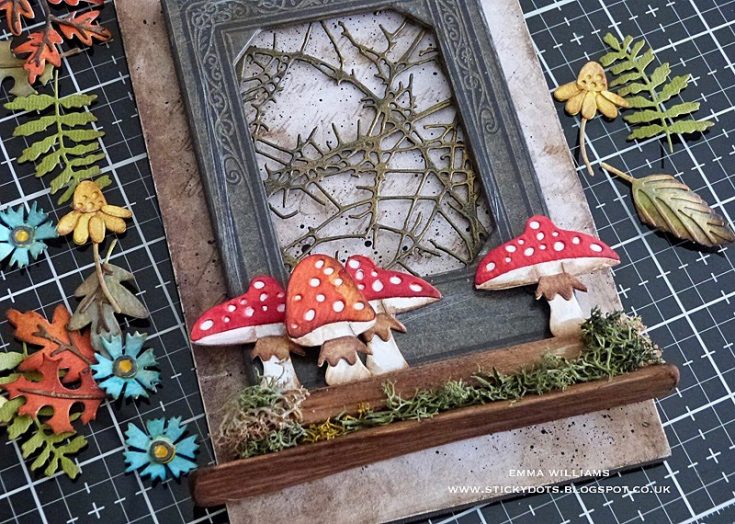
8. To create the little ledge that is sitting directly below the frame, I used two pieces of driftwood that I had in my stash, (you can also use thick pieces of chipboard or MDF if you haven’t got any wood to hand). I placed the two pieces of wood onto the tag to create a step and used Matte Collage Medium to secure them into place. Allow for the medium to dry and the wood to be secure.
9. I then placed small torn pieces of Design Tape around the edge of the frame to create a more worn, vintage feel before moving onto all those die cuts that will create my scene.
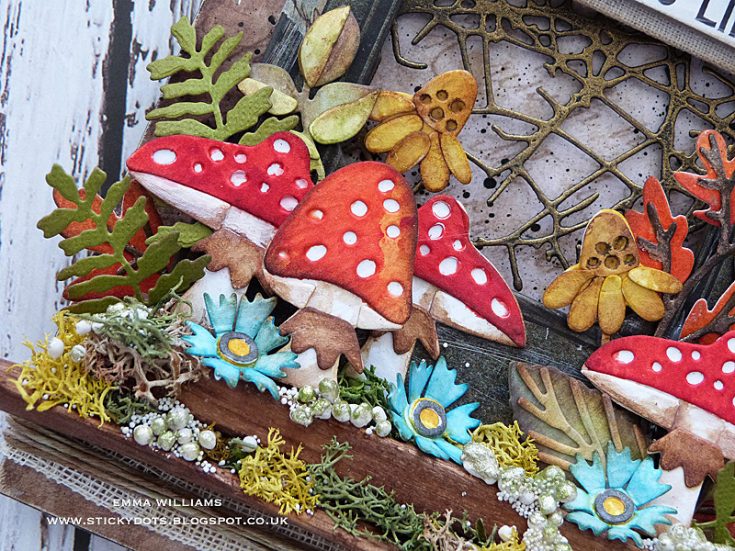
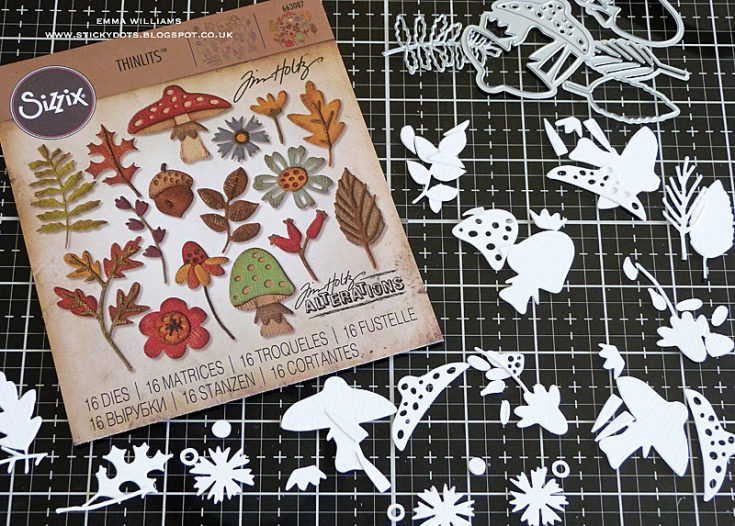
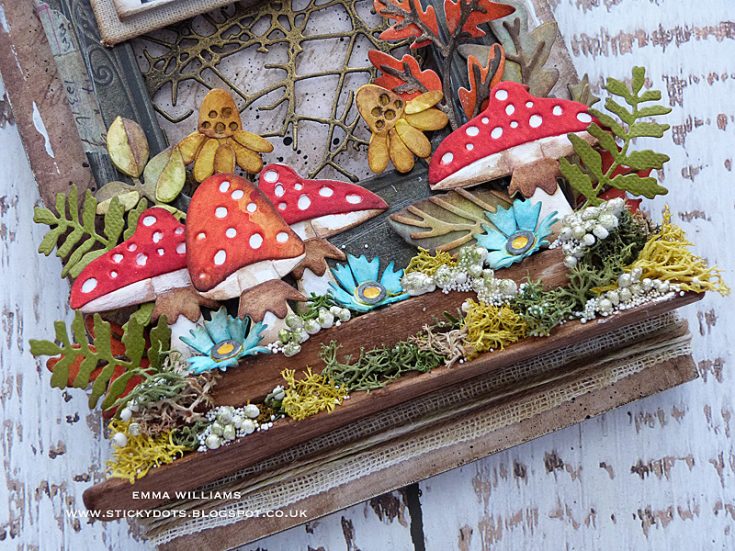
10. Using a selection of dies from the Funky Foliage set, die cut the pieces from Tim Holtz Distress Watercolor Card.
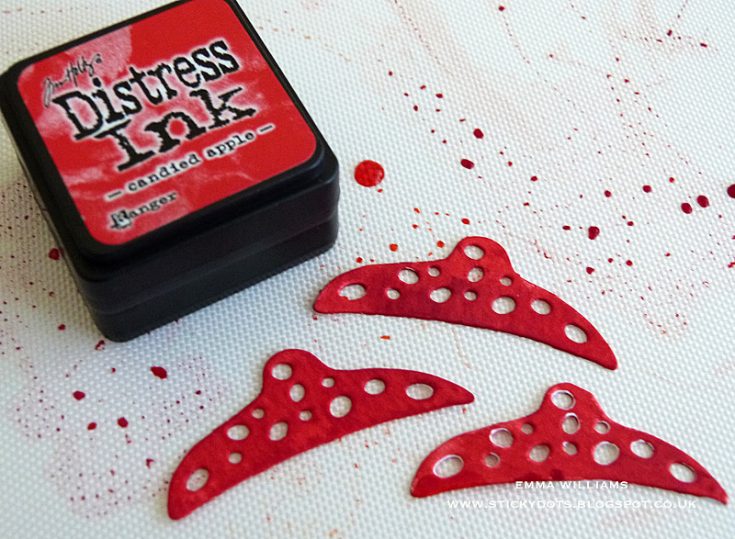
11. Starting with the toadstools, apply Candied Apple Distress Ink to the mat and spritz with water. Swipe the die cut pieces through the ink to pick up the color and heat dry.
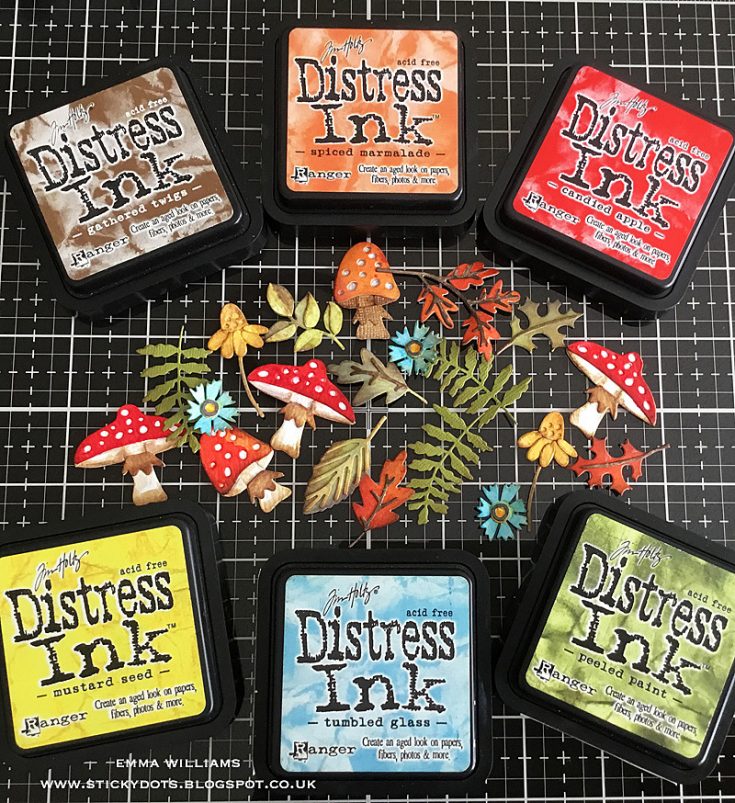
12. Continue to do this will all your pieces to color the die cuts in a variety of Distress Inks, shown below. If you need more color on any of the pieces, keep dipping into the inks to create more intensity but remember to dry thoroughly between each layer.
13. Ink the edges of each piece using Gathered Twigs Distress Ink and assemble all the individual pieces of Funky Foliage ~ this part does take time and a little bit of patience but it is definitely worth it.
14. Once I had all my pieces, I then started to adhere them to the tag, building up the layers to create dimension using various depths of foam that I attached to the back.
15. At this stage, I also placed small pieces of moss amongst the funky foliage die cuts, attaching it directly onto the ledge using Matte Collage Medium.
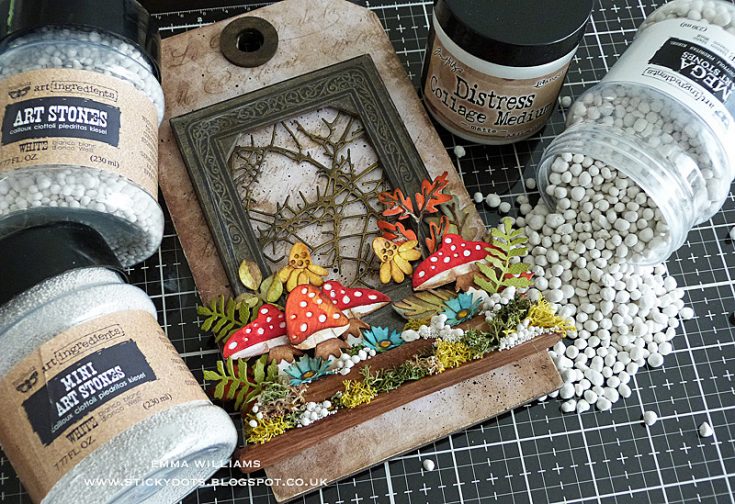
16. When I was happy with the placement of all the pieces, I added some Art Stones amongst the moss, again adhering them into place with Matte Collage Medium.
17. Allow for the stones to dry thoroughly before painting them with Prima Marketing, Unicorn’s Hair Acrylic Paint.
18. Cutting a strip of Mummy Cloth, (if you haven’t got Mummy Cloth a strip of cheesecloth, will do equally as well), I wrapped this beneath the wooden ledge, together with some twine and secured the wrap with a knot at the back.
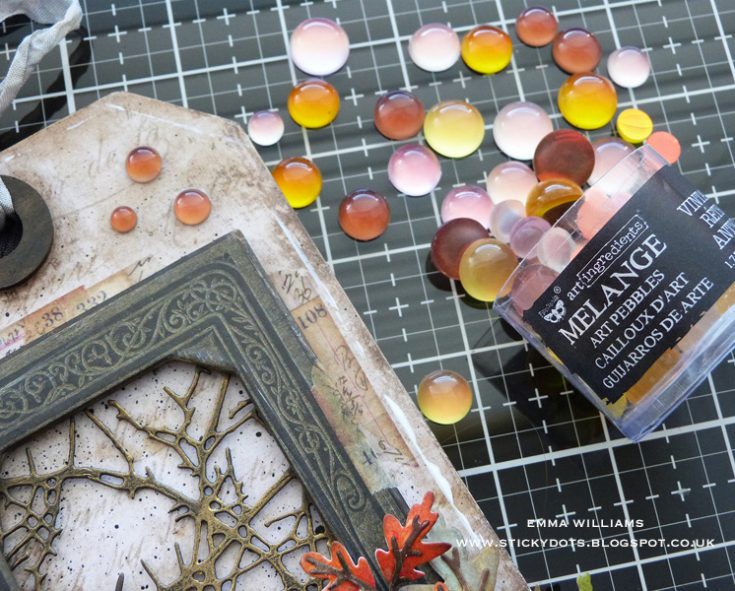
19. Adhere three Melange Pebbles to the top right-hand corner to create the look of tiny bubbles.
20. To complete the frame, I added a Snippets Ephemera piece, ‘2/6’ and attached this to the top left-hand corner of the frame and hammered a Vignette Hardware Nail directly into the frame.
21. Finally, I placed a Quote Chip, sanded around the edges and attached this onto a piece of linen covered chipboard before adhering it across the aperture of the frame.
22. As the finishing touch to the tag, I dyed some white crinkle ribbon from my stash using Weathered Wood and Antique Linen Distress Spray Stain. Once the ribbon was dry, I cut it into strips and threaded it through the hole at the top…
…and that completes this autumnal, funky foliage tag that I’ve packed full of dimension and layers.
Thank you so much for stopping by today, I’ve really enjoyed taking you through the creative process of this tag and I hope I’ve inspired you with some of the tricks and techniques.
See you again soon everyone…
Emma
SUPPLIES:
|
Thanks so much for stopping by, and thanks to Emma for being our guest!




LOVE!
That is the cutest thing ever. I never thought mushrooms could be so cute. =)
Emma’s piece is delightful! She brought it to life with bright colors and attention to detail. Love it!
Gorgeous tag!
Love all the
texture and
embellishments.
Carla from Utah
Awesome nature tag. I like the colors and dimension.
This is such a pretty décor piece Emma. I didn’t really like the mushroom dies at first but the more I see them, the more I like them. Thanks for sharing with us.
This is beautiful! The autumnal feel is lovely, especially the mushrooms.
I am so impressed with all of the wonderful items used to create this lovely piece of art – TFS – just amazing!
How fun. You get great color from Distress Ink and I love the little art rocks. I already follow by email.
Very fun!
A real work of art!
Love all the attention to detail!! so gorgeous!
What an AMAZING tag. So much work but how beautiful and how worth every second!!!!!! Your colours and ideas are just fabulous. TFS. Need these dies now.
Absolutely gorgeous piece of artwork!
Thanks for sharing…
Wow Emma! Fabulous tag! Thanks for sharing all the creative process! I love it!
Wow, what a detailed tag!! It is one of the most awesome tags I have seen!! Very imaginative!! I wish I could think up projects like this!
Magnificent! Such attention to detail! Love it…
Wow Emma, absolutely amazing!
So beautiful. Love the Tangled Twigs die.
So fun! All those layers and details! Lovely!
What you’ve done starting with a simple tag base is amazing…such creativity! tfs
Oh wow. This is just stunning! Love all the detail and I especially love your mushrooms!!!
That tag is outstanding! Love it.
Gorgeous mixed media. Love the look of the Funky Foliage. I would love to be able to create something like that.
This is just too cute.
This is totally amazing! Such detail!
Absolutely fabulous project!
A great tag and great instruction of how the tag was made.
Awesome project!!! Love all the amazing details!!!
Oh Emma, I really love this panel, it’s funky fabulous! The mushroom and foliage pieces are stunning in color and placed amongst the moss and stones look amazing! The tattered twigs is a wonderful background highlighting the composition! Your work is always so beautiful, thanks for sharing all the details! xx
Love it! Thank you so much for this great tutorial :)
Gorgeous tag!
Have a great day!
Marilyn❤️
OMG! This is so amazing! Love the design and all the embellishments. Beautiful tag!
Stunning! Absolutely stunning!
The mushrooms are too cute, and such vibrant colours!
OMG. Funky foliage is on my list of things I wish for. I am thinking it is moving from the wishlist to I need list. I always love mixed media and this does not disappoint at all.
Very nice!
Stunning tag. Thanks for sharing.
Linda D.
The mushrooms are so very cute. Great coloring job.
That is a masterpiece. Really. The moss, mushrooms, background, everything works together to make this great!
Wow! Such a gorgeous tag!!
This is really quite incredible! Makes me want to get into mixed media. Wonderful, wonderful project.
WOW what a stunning tag, I love the beautiful details and textures!!
This tag is awesome. Love all of the tiny details.
Wow what a stunning work of art!
Pretty tag! I really like all thd differeng layers!
All I can say is WOW. It looks like it is alive.
Much like watching Bob Ross, I can see all the steps you do, but the final product is still pure magic. I am amazed at what collage artists can come up with.
Just so amazing … the Product Queen in the House !!! Your use of product Emma is amazing; and your creativity is over the top AWESOME !
Fabulous!! Love all the details and the fun mushrooms!