Journaling Card Box
Hi Friends! I’m excited to welcome back special guest Anna Karin Evaldsson to our blog today! If you want to see what she’s up to on a weekly basis check out her blog HERE and our weekly Monday Challenge! Read on and enjoy!
Hello everyone! I (Anna-Karin) am really happy to be back here with another tutorial. For many years now, one of my favorite surfaces to work on has been mat board. I love to use mat board, both as a base for 3-D projects and to die cut embellishments or letters from. The Sizzix Little Sizzles Mat Board comes in white and cream and the sheets are 6 x 13 in, which is perfect for die cutting. The techniques can be used on other surfaces too, such as manila or watercolor cardstock.
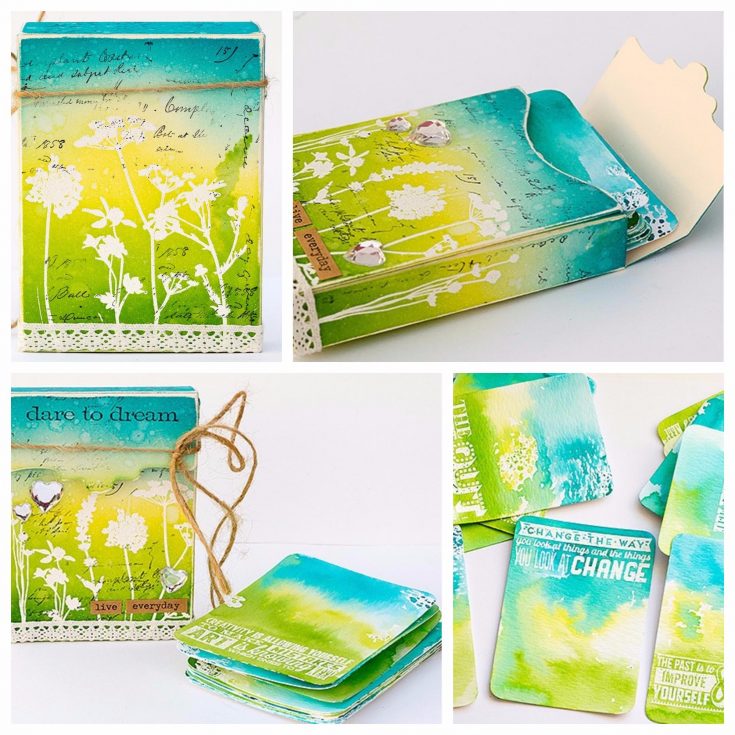
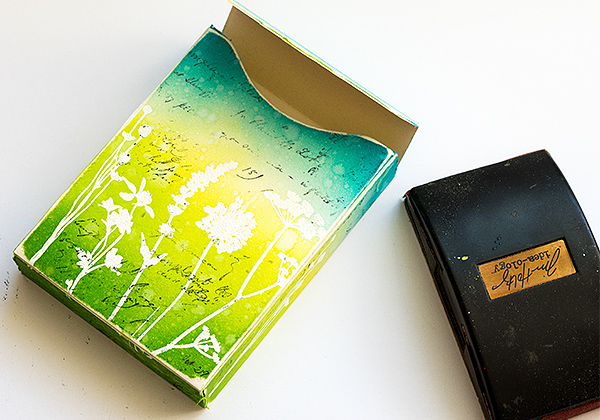
 I used the Recipe Box Scoreboards die by Eileen Hull and Sizzix to make a box (4.1 x 3.1 in). The box die is great and the box it can hold, for example, a little gift, a mini-book, gift cards, photos, or little cards or notes. Today, I filled it with cards, which can either be given away as cards, or used as journaling cards in a project.
 Mat board is really sturdy and holds up to a lot of use, for example, I made some storage containers for my son when he turned three, and they are still holding up four years later, even after being handled often by little hands. When it comes to techniques, mat board takes ink beautifully and works great together with stamping, paint and even water techniques. Let’s start!
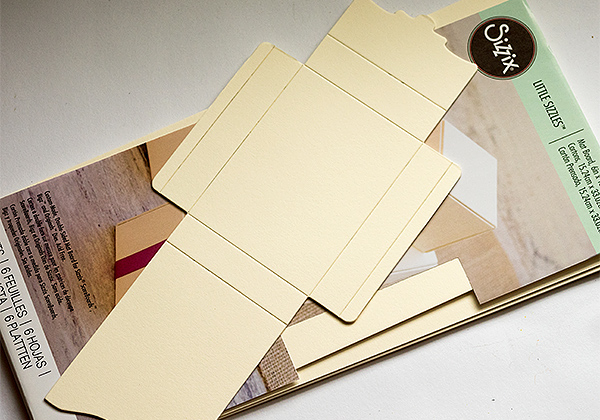
Start by die cutting the Recipe Card Box from cream Little Sizzles Mat Board. This is an XL die, so you need the Extended Cutting Pads, but it fits perfectly in an ordinary Big Shot or Vagabond machine. You don’t need the Big Shot Plus. Use this sandwich: Extended Cutting Pad, die facing up, mat board, second Extended Cutting Pad. As you can see on the photo, the ScoreBoards dies both cuts and scores the material, making assembly very easy. You can also use chipboard.
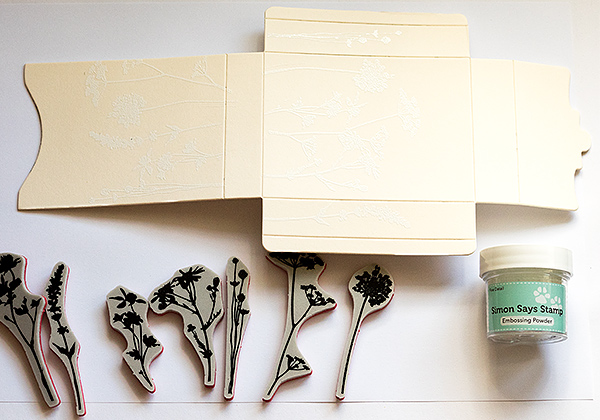
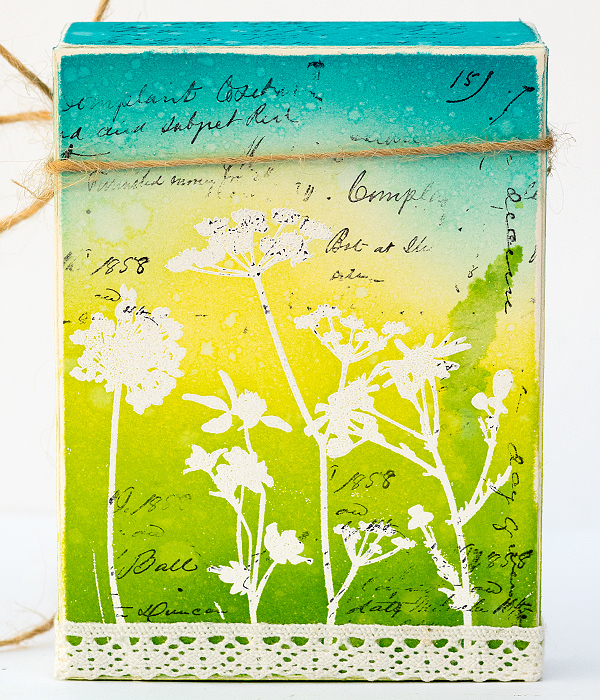
White emboss flowers from Tim Holtz Mini Bouquet set on the front, back and sides of the box. Remember to make sure that you are stamping them in the right direction. It is easy to by mistake stamp upside down on the front.

Start inking with the lightest shade of Distress Ink, using an Ink Blending Tool. The embossing will resist the ink.
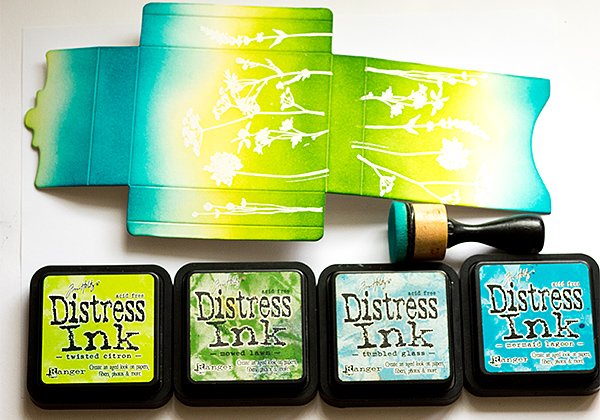
Continue inking the box until you are happy. I used Twisted Citron, Mowed Lawn, Tumbled Glass and Mermaid Lagoon Distress Inks.
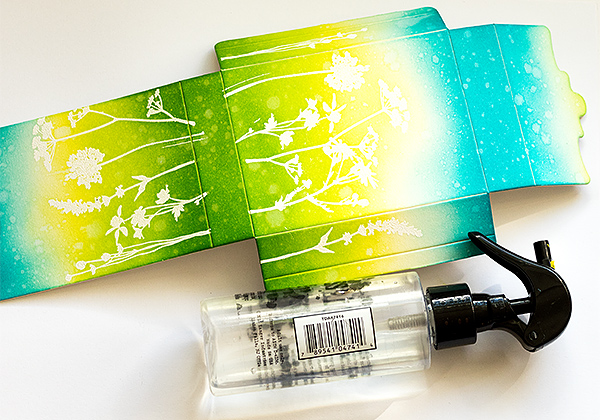
Splatter the box with water to create a bit of texture.
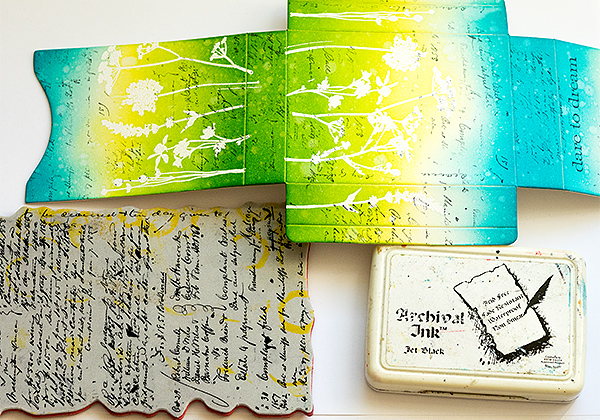
Randomly stamp the box with a script stamp and Jet Black ink. You can skip this step, if you want a less messy look.
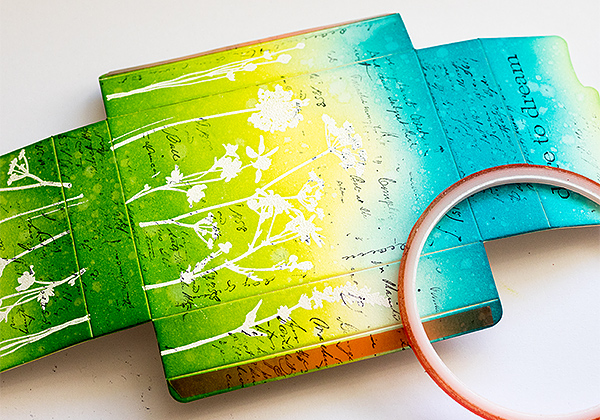
Apply a strong adhesive along the flaps of the box. I used Ranger’s Wonder Tape.
Assemble the box and carefully sand the edges slightly to reveal the cream mat board.
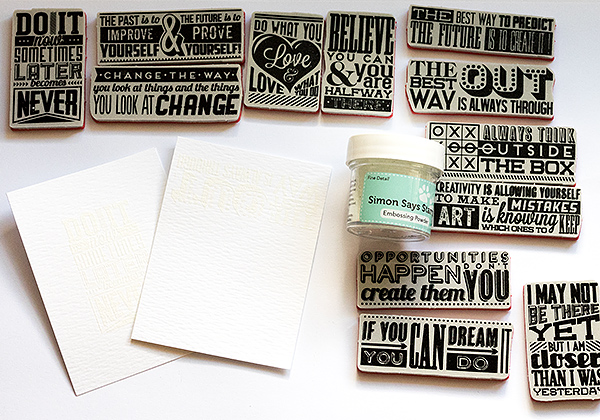
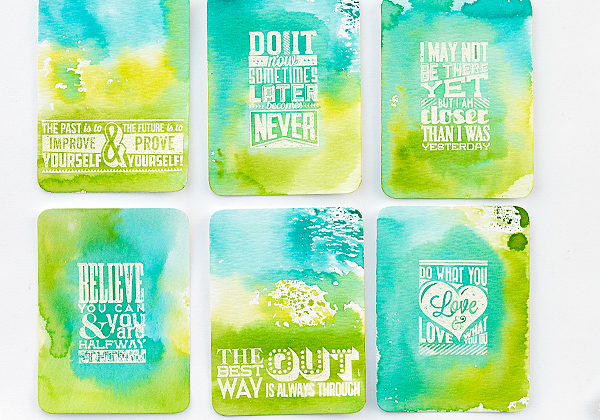
Cut cards from watercolor paper. Mine are 3,9 x 2,9 in. I made 12 cards, one for each sentiment on Tim Holtz’s Mini Motivation set. White emboss the sentiments on the cards, varying the placement.
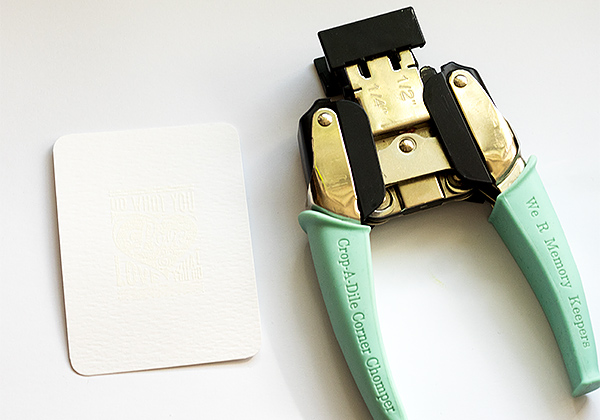
If you want to, you can round the corners of the cards.
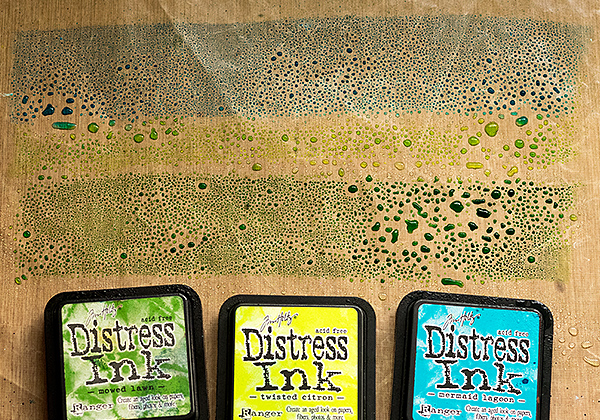
On a craft sheet, smear a line of Mowed Lawn, followed by a thinner line of Twisted Citron and finally at the top, a line of Mermaid Lagoon. Mist with water and start pressing the cards into the ink. Wipe the sheet and reapply the ink when you get to the end of the line.
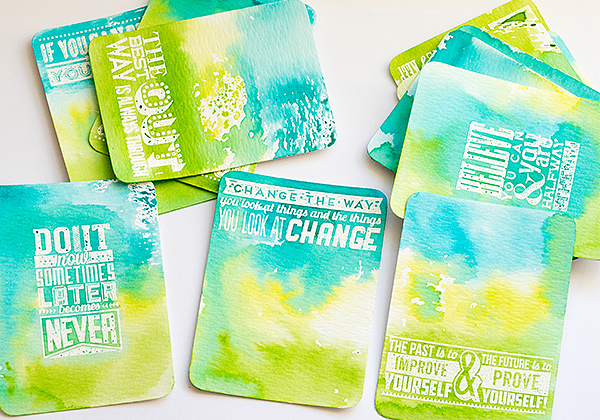
Continue until you have colored all the cards. Sometimes I added a little bit of darker ink with my finger over a word or two, to make them stand out better.
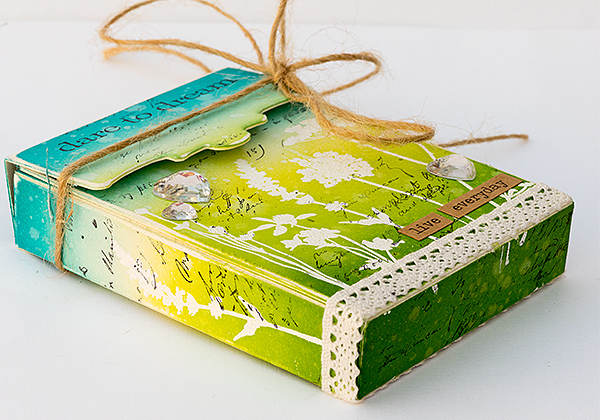
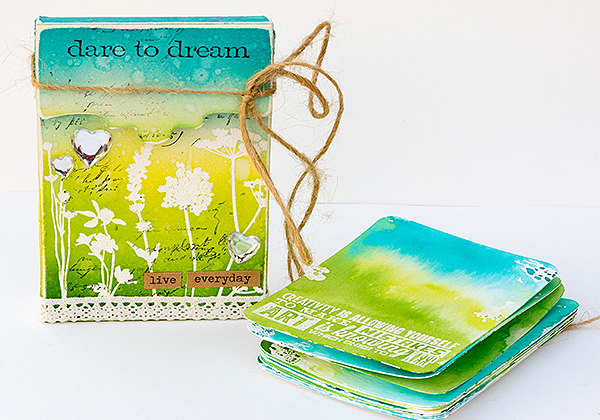
Tuck the cards into the box and tie with a string.
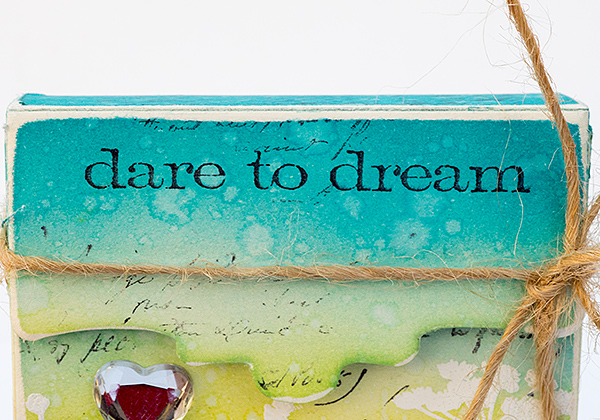
I stamped a sentiment from Simple Sayings on the flap of the box. You can also close the box with Velcro.
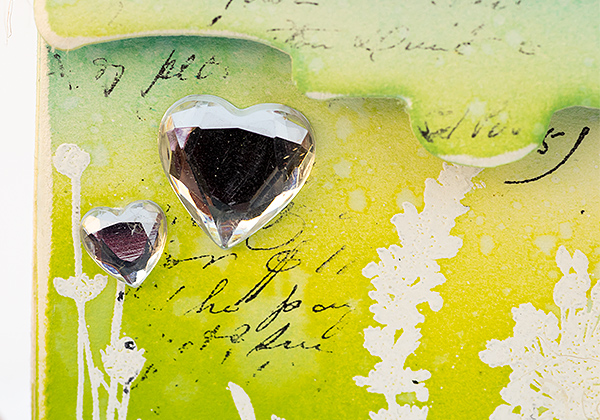
Mirrored Hearts are great embellishments that fit almost any project, giving a little bit of bling.
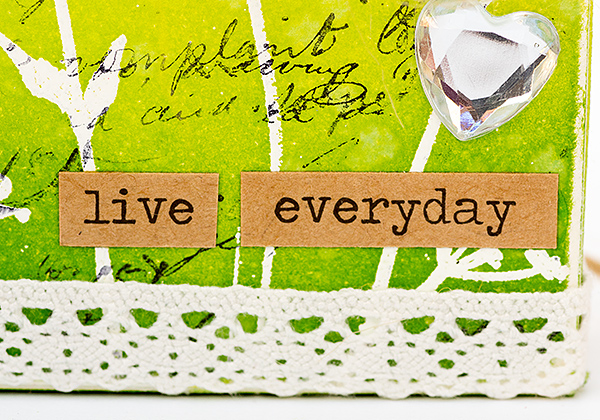
At the bottom of the box, I glued a piece of lace, and I also added a couple of Chit Chat stickers.
This is the back of the box. If you use other stamps and colors, this box can work for almost any theme.
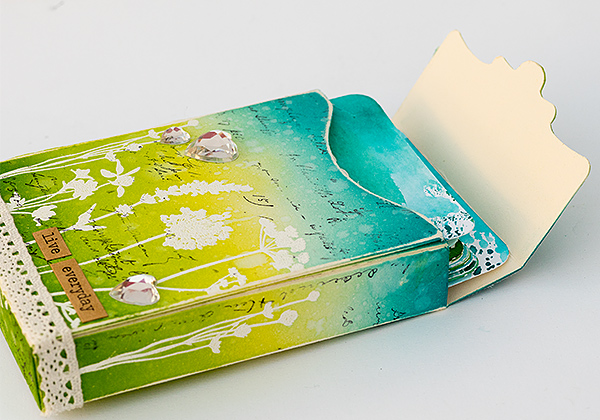
The box can easily hold more cards then the twelve I made. Or you could also add little envelopes, which I did in another project of mine, namely this Quick Gift Card set.
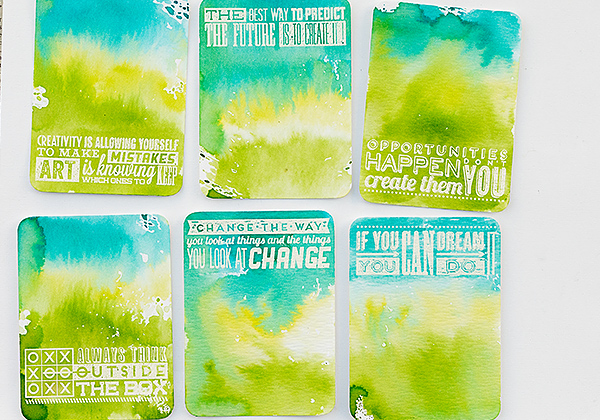
Here’s a look at the cards. These sentiments are so great and fit many different occasions. You can color the back of the cards too or leave them white.
The cards can be used as journaling cards, or as simple greeting cards. They could also be added to gifts, as gift tags.
I hope you enjoyed this tutorial and that it inspired you to play around with mat board.
Thank you so much for looking!
Happy crafting!
Anna-Karin
Supplies:
 |
 |
 |
 |
 |
 |
 |
 |
 |
 |
 |
 |
 |
 |
 |
 |
 |
 |
 |
 |
 |
 |
 |
 |
 |
 |
Thanks for reading today, and thanks to Anna Karin for being our special guest!

Blog Candy Alert!! Follow our blog via email and comment on this post for a chance to win a special blog candy!


What awesome card box. Colors are beautiful and love the die. Thanks for sharing..
Love this one. Makes me wasn’t some new stuff and inspired to try new things
very cute, i do like to make little boxes for gifts and party favors, never thought of making one for these
absolutely beautiful, love the colors!
Stunning! Gorgeous ombre colors and I love the embossing and stamping. Would make a lovely gift. Thank you for the step by step.
Love the colour combinations you used! Fab project!
Simply beautiful!!
You always make such creative, beautiful projects, Anna-Karin, but this one may be my favorite! Absolutely beautiful box & cards–love the sentiments! Twisted Citron is one color I don’t have & now I really want it!
Thank you so much Great! I love Twisted Citron – and my son even sometimes mentions that ‘it is that green color that you like’ when he spots the same shade of green somewhere. :)
What a great project and your easy-to-understand tutorials are always fantastic. Thanks!
Wonderful project! Love the color combination. Thanks for sharing.
This is an amazing project! Great color choices too.
Wow ! SUCH a need project , I need to try this !
WOW that’s awesome. Love the little box and matching journaling cards. They’re Beautiful
Another great idea for the recipe card box. Awesome colors. LOVE how you designed each journal card.
OMG! I just Love this!!
Wow! Very cool project. Love the ink blending. And the little cards look amazing.
What a fabulous project! Love this gal’s style and have followed her blog! Super projects and inspiration!
Yes, I really like this.
I read your blog everyday, but didnt think to comment. Time to start. Lovely box set. Not sure if I understand.. Can I make this die work with a regular Big Shot w/o the longer base plates?
Thank you so much for your sweet comment Francine. Yes, all the Sizzix XL dies work perfectly in the ordinary Big Shot machine. All you need is the Extended Cutting Pads. The XL dies are the same width as ordinary Bigz dies, just longer. Happy crafting! / Anna-Karin
These colors make me so happy! This project is awesome, thanks for sharing!
Fantastic project.
A box of these would make
a welcome gift.
thanks for sharing a wonderful
idea.
Fabulous project! Love the colors and textures. How awesome is that card box!
I love this. The colors are so gorgeous and bright and the box and journal cards and brilliant. So beautiful. Great job.
Stunning colors. This is a technique I’m going to try! Thank you.
Like the use of the colors, stamps & the Distress Inks.
Melissa
“Sunshine HoneyBee”
This set is gorgeous! Great job and wonderful tutorial.
Wow!!! Really Gorgeous journaling card box!!! Love the beautiful colors!!
What a fantastic project!
Such a beautiful project today!!! Love the colors used too:)
What a fun project!
Beautiful colors and images! Love the box you created and your fabulous journal cards! FANTASTIC!
What a fantastic project! I love the colors, the emboss resist & the versatility of the die and mat board!!
Amazing project!! Love colors and how the box is decorated. Beautiful… TFS :o)
So fabulous. A great project and wonderful spring colors. Thanks for this great inspiration!!!
Fabulous gift box and cards, Anna-Karin!!! I loved your color choices and embellishments. TFS all your links and photos..so appreciated. Hugs…
Fantastic project!! Thanks for the tutorial!
What a great project! Love the colors used and the sayings on the cards!
I’d like to make this box for ATCs!
The box is perfect for ATCs Denise. I actually started out wanting to make ATC sized cards, but they were just a tad too small for the Mini Motivational stamps, so I cut my cards a little bigger instead.
/Anna-Karin
What a great idea! I’m already picturing how I can use this idea. Thanks for sharing it.
love those colors together.
absolutely gorgeous Anna Karin-LOVE those colors!
Anna’s project is so fun and the color combination and textures so lovely!
Clever project!
WOW! This is quite a project but it is STUNNING!
Great box and love the colors. Thanks for the tutorial and for sharing.
Linda D.
Awesome idea and
they are so colorful
and neat looking!
Carla from Utah
Oooh, I like that xx
Wow, these are beautiful
Absolutely beautiful! I love all the pretty color blend of color that unifies all the cards, and the idea is so creative and fun! Gorgeous!
Fun project< I like the motivational stamps. I already follow by email.